
Monday, October 31, 2016
Happy Halloween
We are getting SO many calls right now from unknown numbers, I'm assuming it's because of the upcoming elections and that they are all automated calls so I don't answer them, but it's still driving me kookoo. Saw this and it made me laugh, how funny and satisfying would it be to do this?! :) Happy Halloween!!

Sunday, October 30, 2016
Mummy Pretzels
Need a last minute treat to take to work or school (or just cuz they're cute!)? These pretzels twists covered with melted white chocolate to look like mummys are easy, fun, and they'll be devoured in minutes hahah!
 |
| mixed in with pumpkin whoopee pies - I'll post how to make them later - they were also a hit! |
Lay out mini pretzel twists on a rimmed baking sheet. Melt one package of white candy melts in a big glass measuring cup in the microwave according to package, put in a ziplock baggie and snip one corner (or use a decorating bag) and fill in the pretzel holes and then smooth some on the top creating a solid surface. I used a small decorating tip that makes a ribbon like design (don't know what number it is) and applied additional white frosting on top of the pretzels in a mummy pattern. You could do the same with a baggie if you cut the hole so it comes out in ribbons - I hope that makes sense. Look at the pictures to see what I mean by ribbon effect, you need to make flat strips on top of the pretzel to get it to look like mummy bandages. Before the chocolate sets add candy eggs - I found these at our grocery store but I've seen them lots of places so they aren't hard to find. Look how cute they turned out and it only took me a few minutes to make a whole plate of them (I had enough eyes for 36).
 |
| supplies: mini pretzel twists, white candy melts, candy eyes, glass measuring bowl, rimmed baking sheet. |
 |
| fill in the holes and then smooth across the top |
 |
| apply frosting in ribbon zig zag strips like a "mummy" |
Saturday, October 29, 2016
Brain Hemorrhage
Going to a Halloween party tonight and I asked what I can bring. Amy said to bring whatever I feel like making, but Scott goes "if you want to bring something I want it to be brain hemorrhages" - apparently a long time ago I made them and he still remembers it hahahah. I have a terrible memory and do not remember making them but he does so I'm happy to bring them! I'm hoping the reason I can't remember this is that my memory is just bad and it's not because I drank to many of them LOL!! Yes, they look disgusting but it's a Halloween party and I'm pretty sure that's the point - you might not have anyone that wants to try them cuz it's a gross looking drink, but it tastes good if that helps...be brave!
 for each drink: put 1 ounce chilled Peach Schnapps in a shot glass and slowly add 1 teaspoon of chilled Baileys. Wait a second and it'll start to curdle which looks nasty. Top with a little bit of chilled grenadine.
Dekuyper's website has the ingredient amounts listed as 3/4 parts peach schnapps to 1/4 part irish cream (baileys) with a few drops of grenadine. It doesn't say to have them each chilled beforehand but I think it tastes even better cold. The picture I'm using is from their site since it's early in the morning and I don't want to make one of these right now hahah - but it should look like this!

Dekuyper's website has the ingredient amounts listed as 3/4 parts peach schnapps to 1/4 part irish cream (baileys) with a few drops of grenadine. It doesn't say to have them each chilled beforehand but I think it tastes even better cold. The picture I'm using is from their site since it's early in the morning and I don't want to make one of these right now hahah - but it should look like this!
Click here to see how to make brain hemorrhage shots if you'd rather!
Friday, October 28, 2016
Pumpkin Spice Soap
 No one tell Brooke about this post, she is going to be so bummed I made soap without her, she loves it! But unlike when she makes it I only made a few bars and was in and out of the kitchen in minutes :).
Doesn't it seem like Pumpkin Spice is everywhere and in everything? I needed a quick little gift and saw this on Pinterest (click here for that post)- pumpkin spice soap in 10 minutes. Perfect, just what I'm looking for. This would have only taken me 10 minutes but I had to run upstairs for additional molds. Otherwise it was easily a 10 minute craft and turned out really nice - I had to keep reminding myself to not lick my fingers tho, it's creamy and smells so good!!


 Cube up about a pound of white opaque soap (you can buy this in blocks at the craft store), put it in a big microwaveable glass bowl and melt it in the microwave according to package directions. After it's melted add 2 Tablespoons pumpkin pie spice and a few drops of yellow and red coloring (you can get those at the craft store where the soap is). Stir well and pour into molds. Let it get hard before removing from the molds, takes about 30 minutes or pop them into the freezer for just a few minutes.
About a pound of cubed melted soap made 6 small bars.
To give as gifts I wrapped the individual bars with a coordinating piece of patterned paper. Cute, practical, and smells great.
Thursday, October 27, 2016
Trophy Wife
 Need a pretty easy last minute Halloween costume? I did this last year and didn't take step-by-step pictures but you can easily see by this photo what I did. Cut a piece of cardboard that's big enough to go over your head into a wall trophy/plaque shape, cut a hole in the middle for your head, and draw "wood grain" lines on it with a black sharpie. I glued a frame thing to the bottom and printed "Dear" on it (get it? not "deer"...it would have been super cute if I could have talked Dave into being a hunter but he wouldn't haha). I made the antlers using 2 pieces of cardboard and hot glued dark brown felt over, then attached to a plain headband. Cover the headband in brown yard to hide how you attached the antlers. Paint your face to look like a deer, it took me a few tries to get it right but I think eventually it turned out cute - I also used big feathery false eyelashes to make it even more fun.
Saw this idea online - if you google it I'm sure you can get more pictures and examples of how people make this!
Wednesday, October 26, 2016
2 ingredient Pumpkin Spice Cookies!
Mickey made these and wrote that they'd be a good post - I love that she is now remembering to share things with me and takes pictures, so I can share with you... I have the tendency to yell at people when they make good stuff and don't share it hahaha! I haven't made them yet but she said they are the number 1 selling cookie at the corn maze she works at, and apparently Kyle ate 2 which isn't a normal thing for him hahahah. So they must be good! And seriously, this seems like the easiest cookie recipe ever - and they taste great too? Winner winner...

Here's our conversation about what she did:


Here's our conversation about what she did:

Mick: 1 can pumpkin. 1 can spice cake. Bake at 375. I'll let you know how long in a bit.

me: did you use anything in them except cake and pumpkin? eggs, etc.?

Mick: Nothing else. Bake 13 mins. if they're fat, 10 if they're the small baby ones

me: are your cookies like little mini cakes? What's the texture?
Mick: the cookies were surprisingly moist. They're AMAZING.
Tuesday, October 25, 2016
Paper Covered Candle
Last project using Ronda's Stampin' Up Halloween papers - I made so many things with them! Very simple - just cut a strip of paper to fit around a glass candle (or candle holder), apply glue stick or double sided tape to one edge and stick it together to make a cover. Slip it over the candle. You could glue it right to the candle but I want to be able to change the paper seasonally so made a slip cover instead.


Monday, October 24, 2016
Creepy Bat
Found this ugly bobble head figurine for a buck at the dollar store and easily transformed into a creepy cute Halloween decoration by painting it all black, then add red glitter paint for eyes.


I can't find my before picture, trust me - it was ugly...so much cuter now!
Sunday, October 23, 2016
Hanging Felt Bats
 This is a great idea if you have a table or Halloween display that needs filler - fill a big jar full of sticks and hang bats from them, it fills up a lot of space (especially if you have a lot of sticks!). Funny dumb story - it was on my list for days to go to the craft store and buy sticks for my display table...uh yeah, I was gonna buy sticks. Walking around the neighborhood (and then my yard) it occurred to me that there are sticks everywhere...there are even sticks on my deck. So Sarge and I went on a stick gathering mission and ended up with more than I could carry without even trying very hard! Good grief - I was gonna buy sticks!
I did buy a package of felt bats instead of making them, that makes a little more sense - it would take a while to cut them out of felt but if you are so inclined then go for it. The ones I found have foam adhesive circles on the bag so I just peeled that off, threaded a big needle with orange/white twine and attached a piece to each bat leaving a long enough tail to tie onto the sticks in various lengths. To finish I covered the jar with a piece of scrapbooking paper from Ronda's Stampin' Up supplies (they have some really cute papers, I think I'm going to have to stop using Ronda's stuff and order my own haha!).
Another cute idea to do with the sticks at this time of year is to attach black birds - I did it last year and it turned out really cute and creepy. Re-reading that post I forgot that I wanted to do that again and make a "nevermore" sign to go with it...maybe next year! Click here to see that post.


Saturday, October 22, 2016
Paper Covered Letters


If you like the collage idea here's what I did: tear the paper into little pieces; spread mod podge on the part of the letter you are working on and the piece of paper you are applying and stick it down; then randomly add more paper until the whole thing is covered. If you don't like a certain area just add more paper on top of it until you're happy with it.


If you like the plain covered letters: I painted them black first so I wouldn't have to wrap the one sheet of paper around the edges and in the center of the letters - this was my being lazy for sure. If you want to take the time to completely cover the letter inside and out then go for it you crazy OCD crafter you. I went for the easiest way :). After the paint dries trace the letter onto patterned paper, cut it out, glue it down.
Friday, October 21, 2016
Halloween Door Covers
 Helping out at the Elementary School this week and saw these 2 covered door, thought I'd share these ideas if you're looking for a fun house decoration. It's just paper taped to a door, but look how clever and easy these are!
Fun on any interior door, and if you have protected front doors this would be so cool to do for the trick or treaters you'll get!


Thursday, October 20, 2016
Jack O'lantern Candy Jar
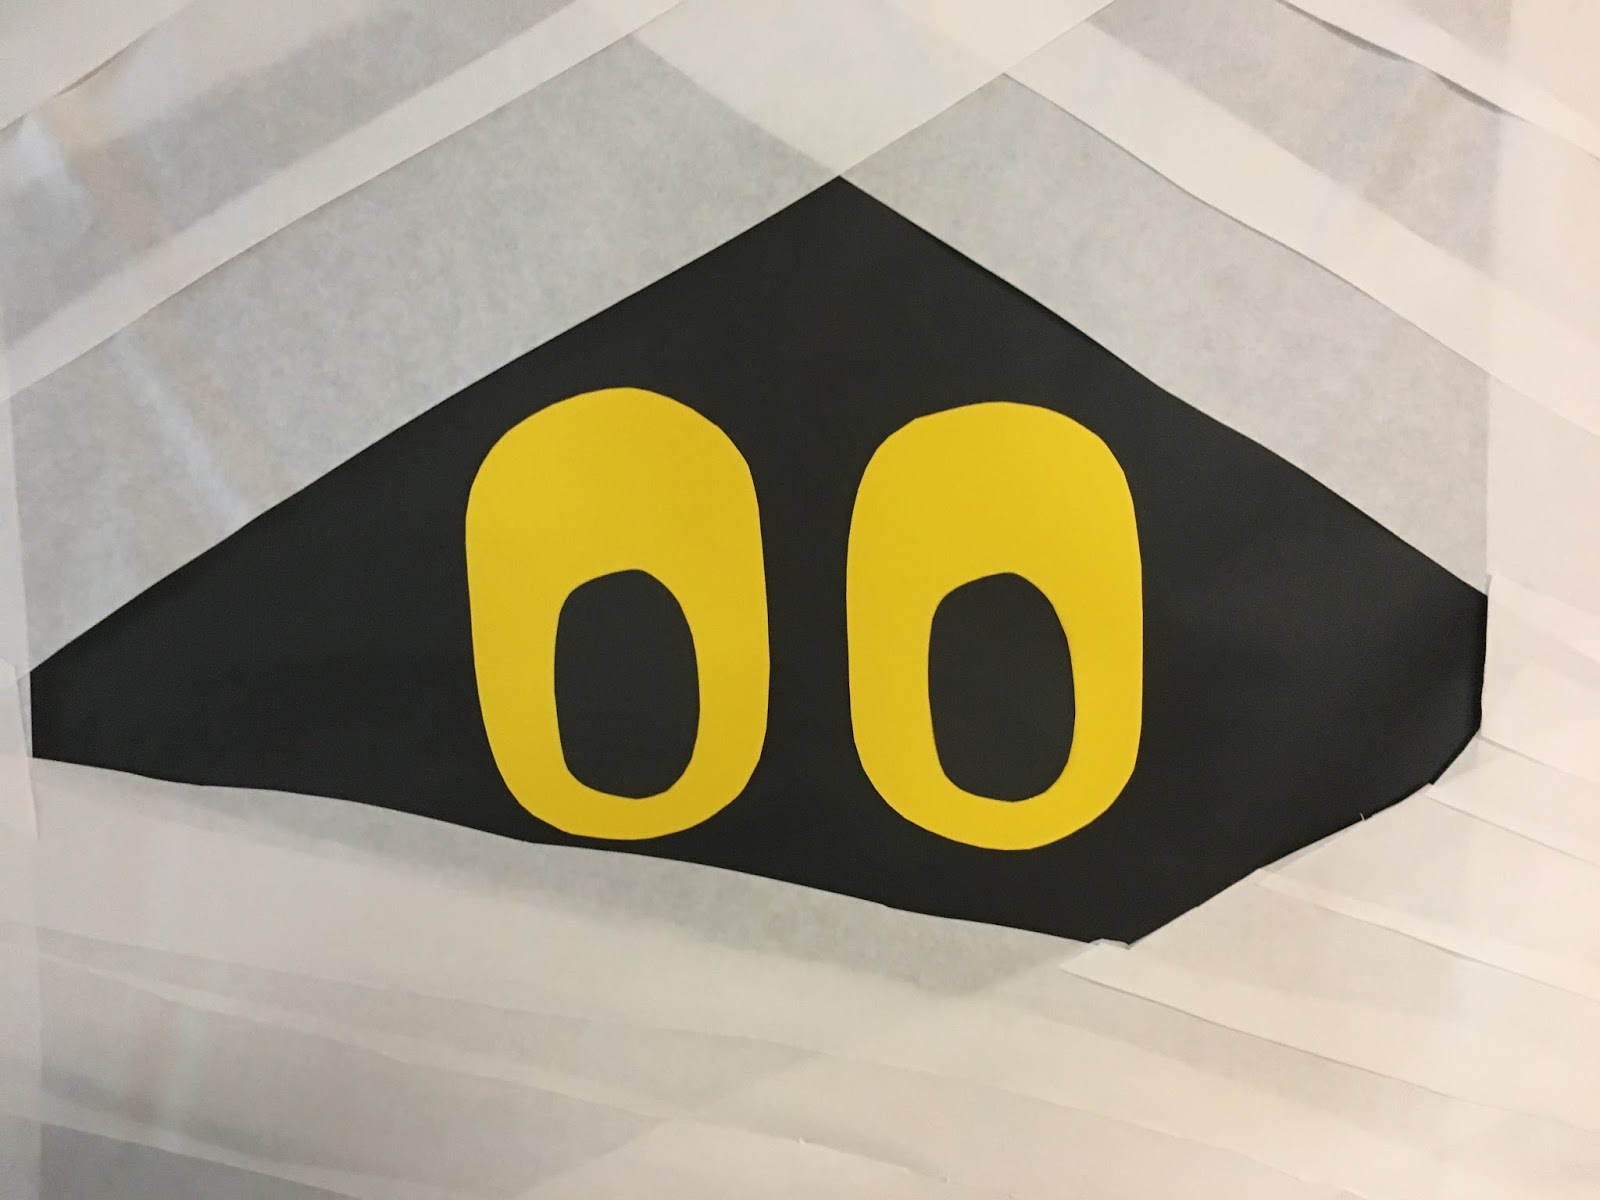
Here's another super simple Halloween idea - fill clear jar with candy corn and stick on a face...easy, right?

I cut out 3 triangles and a mouth from black cardstock and stuck them in place using glue dots - I'm sure double sided tape would work too. I finished the jar two different ways: first I cut a square of Halloween fabric I had and put a mason jar screw cap on top - but then I broke the jar! For the second jar that has a glass top (that I used for Ronda's display, click here to see that post) I just tied a ribbon around the top. If I had burlap or orange ribbon I would have used that but I made do with what I have on hand - so white it is!

I cut out 3 triangles and a mouth from black cardstock and stuck them in place using glue dots - I'm sure double sided tape would work too. I finished the jar two different ways: first I cut a square of Halloween fabric I had and put a mason jar screw cap on top - but then I broke the jar! For the second jar that has a glass top (that I used for Ronda's display, click here to see that post) I just tied a ribbon around the top. If I had burlap or orange ribbon I would have used that but I made do with what I have on hand - so white it is!
Wednesday, October 19, 2016
Graveyard Dirt Cake
 Mickey made this dessert for a competition she did with friends - the "hooked on desserts" challenge. She made this up based on traditional dirt cake, and it sounds so good - I will definitely be making it! And look how cute it turned out, love. Creative girl :)
Since she didn't follow an actual recipe I'm going to just tell you how she did it - you're going to have to wing it but I can tell that it's not going to matter how you assemble it or what amounts you use...it's going to taste good no matter what!
The layers are pudding, cream cheese mixed with cool whip, and crushed oreos. She used one box each of chocolate pudding and oreo pudding (follow the directions on the box to make it). For the cream cheese layer, beat some cream cheese in a bowl until fluffy (you can add a bit of powdered sugar to this if you want) then fold in some cool whip.
In a 9 x 9 pan (you can do it in 13 x 9 but she wanted it to be thicker) layer half of the chocolate pudding, oreo pudding, crushed oreos, and cream cheese mixture; repeat with remaining ingredients ending with crushed oreos on the top. Decorate with candy headstones and bones (she found them at Walmart), and other candy if you want. She wrote her dessert competitors names on the headstones - haha!
Yay, and she won the competition - here's their "trophy":

Tuesday, October 18, 2016
Pumpkin Owl
 This week it's all about easy crafts for Halloween decor - yesterday was the cute sharpie ghost on canvas, today it's this fun little owl. I made him out of a small fake pumpkin, you can certainly use real if you want. Depending on the size of the pumpkin you need 2 white cupcake liners and one brown one (I used a small pumpkin so did mini cupcake liners); then out of scrapbook paper (or construction paper, or whatever you have on hand) cut a beak triangle, 2 round circles that fit into the bottom of the liner, and 2 small black circles. Glue the black circles onto the larger round circles for eyes, then glue them into the white liners. Cut the brown liner in half, glue one to each outer edge of a white liner for eyelashes. Hot glue the whole thing to the pumpkin, then hot glue the beak triangle on. Done, and super cute :)
Monday, October 17, 2016
Halloween Canvas
 This is a super super easy fast inexpensive Halloween craft - I lightly sketched on a face with pencil, traced the outline and filled it in with a giant black sharpie. That's it! Took me maybe 2 minutes tops. I love how this turned out. For the seasonal display table at Ronda's studio I stood it up on a pretty scrolly easel but I'm sure you can think of lots of ways to display it. I'm not into "scary" Halloween decorating (obviously - go back and see all the things I made last October and the goriest thing is probably the dripping "blood" candle. click here for that post), I like cute and mildly creepy so this is perfect for me! Try it - easy and cute!

Sunday, October 16, 2016
Burger Salad
I make this very easy salad all the time, Dave and I both love it - he doesn't usually want a salad for dinner but for some reason putting a grilled burger on top of it makes it acceptable haha!

This isn't really a recipe - just toss a bunch of things together...this is what I do, change it to suit your own taste. Put down a big base layer of chopped lettuce, top with rinsed and drained black beans, corn, chopped tomatoes, sliced avocado, and shredded cheddar cheese. Dave likes when I put tortilla chips on top of all that but I don't always have them. Drizzle with dressing and top with a grilled burger patty - I season the meat with montreal steak seasoning and a few dashes of worcestershire sauce before forming into patties for him to grill. Serve with additional dressing on the side.
For the dressing: mix together a big scoop of mayo and sour cream, thin it out with milk to get salad dressing consistency; then add a little ranch dressing and some kind of mexican seasoning blend (it changes depending on what I can find at the store) - if you don't have that or don't want to get it then add a big spoonful of salsa, I do that instead of the seasoning sometimes. Either way it's good! Drizzle over the salad before adding the burger patty.
Dave also really likes this using buffalo burger, which has quite a bit less fat in it - and you usually can't even tell the difference. Might as well go for less fat and calories!

Saturday, October 15, 2016
Substitute Seafood Seasoning (Old Bay Copycat)
 I didn't have any Old Bay seasoning when I made those delish crab cakes the other day (click here for that post) but didn't realize that until I was in the middle of mixing the crab cake ingredients together - ugh. I googled to see how hard it was to make and found a recipe on allrecipes.com that includes spices I have on hand - easy and turned out good. Not exactly Old Bay but it's a good substitute and will be good on other things as well.
Mix together:
Seasonal Display - October

I put together the cool tiered tables she bought (let's not talk about that tho, I'm great at putting furniture and things together but these weren't drilled properly and I worked up a sweat getting them together!) and then set up the display for October. I will show you next week how I made all the projects, for today tho I'll just give you a preview of how it all came together - isn't it cute? Note the K-cup ghost lights hanging across the table (click here to see how to make them, and click here to see how Brooke and I covered the wood pumpkin - I posted both last week), I'm so happy with how they look mixed in with all the other items.
The other things I made are bats hanging on sticks, wrapped candles, candy jar jack o'lantern, paper covered letters, ghost picture, and the pumpkin owl. Also mixed in are cards and projects that Ronda made.
 |
| when I unpacked the parts it didn't seem like it'd be hard to put these together...then I found the holes weren't drilled right... |
 |
| ...it took way too long but look how cute these tables are. |
Friday, October 14, 2016
Brooke's Tip to get Curly Hair
Brooke stayed over the other night and did this to her hair - it's such a good idea I thought I'd share for today's post. When her hair is wet she divides it into 3 big sections; then divide each section in half and twist the entire length pretty tightly into a long coil and hook the 2 halves together at the bottom with a hair rubber band. You'll have a total of 6 coils. After completely dry (she slept with them in) remove the bands and gently finger comb the coils loose. Look how pretty! My hair is just a little too short (that's an understatement haha) to do this, but if you have long hair give it a try - really easy and cute.


Subscribe to:
Posts (Atom)