Welcome to day camp - it's either a place for you to get inspired and want to make stuff, or a place where I can show off the cute things I've made since my family is tired of my texting them pictures every day! Just like camp I do all kinds of fun projects - crafts, DIY, bake, cook, garden and more - and can't wait to share them with anyone looking for ideas.
Sunday, October 25, 2015
Cinnamon Roasted Chicken with Pumpkin Polenta
Saw this recipe on BHG and thought it sounded good... yep, it's a keeper! I modified it a little - the original recipe called for grits but after I googled the difference between grits (which I couldn't find in the grocery store) and polenta (which I already have in my cupboard) and found it's just a matter of how coarse the cornmeal is ground I decided it's now "pumpkin polenta". I used bigger pieces of chicken so increased the spices and baking time a bit, made more polenta than called for, and added parmesan in addition to the cheddar cheese (click here for my version). Served with roasted asparagus - delish Sunday Supper.
Saturday, October 24, 2015
"App" Halloween Costume
Brooke was a big help and did most of the work actually - how nice! She found the images online, sized them accordingly and reversed the image before printing them out onto fabric transfer paper (instructions come with the transfer paper and it was very easy - I found the paper at Walmart). We then decided where to place them on t-shirts and I ironed them on.
![]() |
| She said "take my picture, I'm doing a really good job cutting this one out" |
They are finishing these costumes with store bought tutus and leggings - Brooke asked me to crochet her a beanie since it will probably be cold for trick or treating... my sister asked why we don't just buy a cheap one but B wants homemade - awwwwwww - how could I say no? So I'm sure in the next few days you'll be seeing a "crocheted beanie" post haha!
![]() |
| I used a yardstick to measure halfway across and 4.5 inches down to get the image centered. Then iron according to directions. |
Friday, October 23, 2015
Pumpkin Line-Up
Went to a local farm that grows tons of pumpkins, gourds, etc. and picked out a few to make my little creepy/cute row of pumpkins that I put outside on a bench - they are pretty simple and didn't take me very long to do.
Note: I didn't carve out the insides of any of these...
- for the "zombies" I hollowed out two openings and jammed ping pong balls in (painted with bloodshot eyes, I've had them a while but think they came from the Halloween Store - don't make the openings too big or the balls will fall into the pumpkin), then just cut a thin slit underneath for a mouth.
- for the "vampire" I cut an opening just big enough to hold a set of plastic fangs (they come in a bag of approx 10, I've seen them lots of places - not hard to find)
- for the one with the sewn shut looking mouth: I cut a small mouth opening and made 4 holes with a skewer across the top and bottom of mouth. Then I cut the fluffy ends off of qtips, bent the sticks a little bit and stuck them into the little holes.
- The middle one I just cut a slit for a mouth and used googly eye push pins.
- I also bought 2 cinderella pumpkins and gourds - I didn't notice that one of the pumpkins had a mushy spot in the top so I stuck a small rubber rat in the rotted hole and stacked the other on top of it. That was kinda gross actually - sticking the rat in the mushy hole...ewww!
![]() |
| the whole little scene turned out cute! |
Thursday, October 22, 2015
Halloween Nail Art
I don't do nail art on myself very often - my left hand is hopeless when it comes to drawing things! Was inspired though when I saw a picture of someone who painted googly eyes on her nails and I wondered if I could change the idea to just super gluing actual googly eyes on my nails... sure enough, it worked (and it's kind of funny). Surprisingly they stayed on for a few days but I have to admit, it felt kinda weird and I wanted them off.
So my next attempt at nail art is a little more "normal"; I just painted them different halloween colors and dotted on eyes instead (I used craft paint and the little round end of a paintbrush to make the dots), also tried a ghostly one based on the squash ghosts from a few days ago - wasn't hard to do on myself at all. This will be easier to live with I think...
Wednesday, October 21, 2015
Black and Orange Cookies
Saw these in a Food Network magazine and thought I'd give them a try - I think I need to start a new category of "failed" recipes and projects! I will say that they taste really good, big fluffy almost cakey cookies - I will keep the recipe (click there for the magazine recipe) for that part. The problem is that the icing was too time consuming, tedious, and not very pretty to want to make them again. I changed technique after icing a dozen, gave up the 2 tone black and orange and just went with one color and sprinkles! Sprinkles fix everything...
The batter is not firm, I had doubts that they would end up as round cookies but they did...
One interesting thing is that you ice the bottom/flat side of the cookies, I've never done that before. This icing is very runny so if you put it on the domed/top part of the cookie it would run right off.
I might be a bit of a perfectionist it's true - I don't like that I couldn't get an even line down the center between the black and orange...I tried different ways of applying the icing - doing a few black and then going back to add the orange (not good, if the first color sets up too much it then cracks when you pick them up to apply the second), doing at the same time (not good, the colors run into each other and get blurry)...never found the answer.
I will say again though that they taste really good, Dave and some friends couldn't have cared less that the line between the colors wasn't "perfect"! I'm taking the sprinkle ones to my niece's soccer team practice and I'm betting they won't mind them either :)
Tuesday, October 20, 2015
A Boo-tiful Setting
Monday, October 19, 2015
halloween haunted gingerbread houses
Brooke and I had so much fun making these halloween gingerbread houses! It got a little silly (snacking on the building materials gave us both a sugar rush I'm sure) but in the end they turned out super cute. Watch her talking about the project...

We started with graham crackers and I thought we could just stick them together with frosting and shape our house, but that was a giant mess and it kept falling down (which made us laugh hard, seriously- there was frosting everywhere). Brooke asked if we couldn't just hot glue the crackers together and that gave us the idea to scrap the crackers and just build our houses out of cardboard and hot glue! We cut out 5 4" squares to make the walls and bottom, cut out 2 triangles for roof support and then B had the idea to use popsicle sticks for the roof. So having created sturdy houses that wouldn't fall over we continued on with frosting the entire thing in white, then stuck on lots of different candies to create our masterpieces. Of course because she is 12 it turned into a contest to see who made the better one, so on her video she is asking you to pick your favorite :) I had such a fun time doing this with her!

We started with graham crackers and I thought we could just stick them together with frosting and shape our house, but that was a giant mess and it kept falling down (which made us laugh hard, seriously- there was frosting everywhere). Brooke asked if we couldn't just hot glue the crackers together and that gave us the idea to scrap the crackers and just build our houses out of cardboard and hot glue! We cut out 5 4" squares to make the walls and bottom, cut out 2 triangles for roof support and then B had the idea to use popsicle sticks for the roof. So having created sturdy houses that wouldn't fall over we continued on with frosting the entire thing in white, then stuck on lots of different candies to create our masterpieces. Of course because she is 12 it turned into a contest to see who made the better one, so on her video she is asking you to pick your favorite :) I had such a fun time doing this with her!
Sunday, October 18, 2015
Spinach Artichoke Spaghetti Squash
I saw this on Pinterest back in January and just got around to trying it, we LOVED it - it's so good, cheesy, and easy (what's not to like!).I modified the recipe a little bit:
- didn't use the onion and garlic
- sautéed the artichokes to heat them up, sprinkled with garlic salt; then added the sour cream, neufchâtel cheese, and parmesan till creamy; added twice the amount of spinach and let it wilt down into the sauce.
- I pulled apart the spaghetti squash strands with a fork and added it to the sauce in the pan, combine all and add salt and pepper to taste.
- put the mixture back into the squash shells, top with cheese and bake at 425' until melted about 10 minutes.

*note: if you haven't made spaghetti squash before give it a try, it's a nice substitute for pasta and very healthy. I cut off both ends and half it, remove the seeds, put cut side up in a covered microwaveable dish with a little water for about 10-12 minutes. Drain off the water; using a pair of tongs I stand the squash halves up in a large bowl and scrap the flesh with a fork into long strands.
Saturday, October 17, 2015
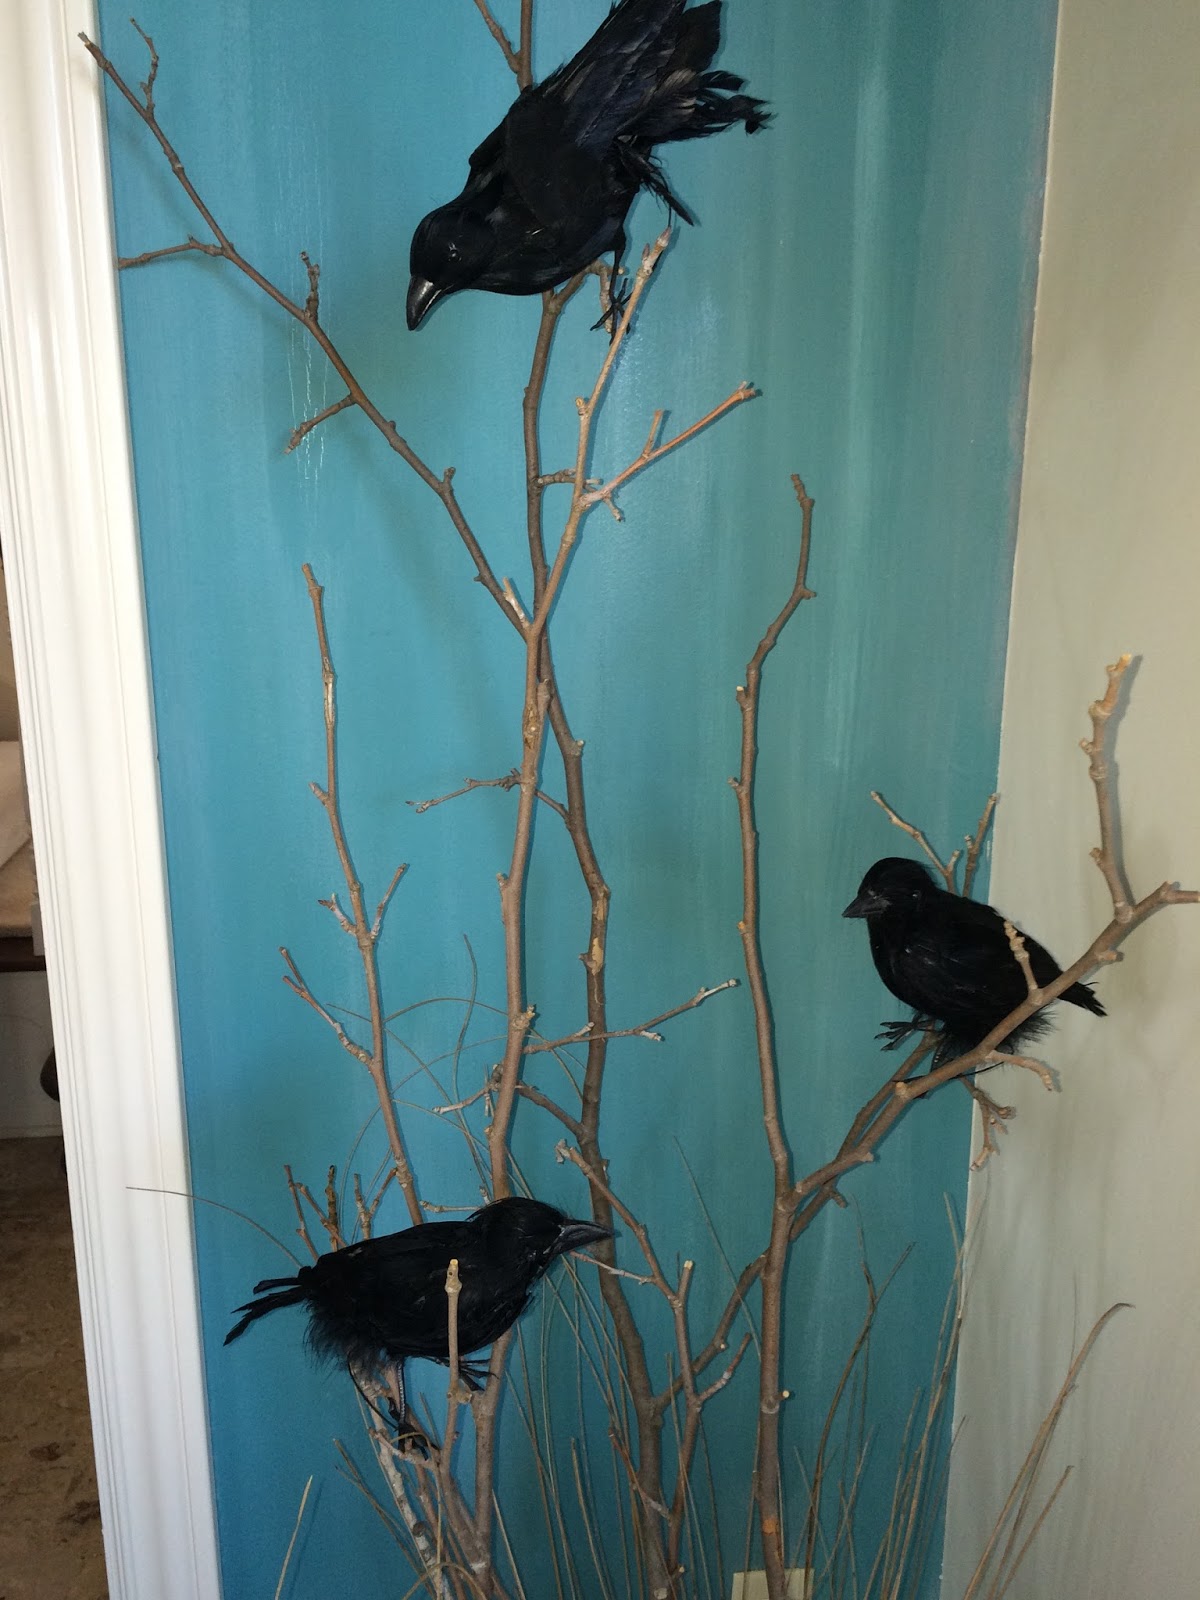
Ravens on Sticks
Quick easy decorating idea - I've had these ravens for a while now and usually just set them out on a table or in the front windowsill, but this year I got some sticks from our yard and anchored them in a vase, and attached the crows to the branches - I used a short piece of black pipe cleaner to hold them in place- and think it looks pretty cool. Maybe next year I'll make a "nevermore" sign to go with them...that'd make it even creepier.
I like to come up with different ways to use the things I already have - look around your house and see if you can change up your things to style them in a new fresh way - doesn't have to be birds and sticks but you get the idea!

Friday, October 16, 2015
Jack O'Lantern Gift Enclosure
I was invited to a Stampin Up meeting to check it out and see if I'd like to be a Demonstrator for them (yes, I am going to do this - so fun and I was VERY inspired after listening to all of the ideas and projects!), and my friend Ronda who ran the meeting was nice enough to send me home with four easy "make and take" projects. I didn't have time to make them while there but I was sure I would remember how to do them...have I told you what a terrible memory I have?! Well it's bad, so when I finally sat down this morning to put the jack o'lantern gift enclosure together and am faced with a little baggie full of bits, I wasn't sure what I was meant to do - I might not have done it exactly right but I guess that's what being creative is all about...do it however you want! Turned out great - don't know what I'll use it for but I'm thinking a little bag of candy inside would be cute. This was made with 2 pieces of cardstock, 3 black triangles, 1 half round circle, 3 punched out shapes for the stem, and thin twine. I will definitely be making more of these - it will be a good project for when my niece comes to craft day! Wish me luck putting the other projects together from "memory" ;)


Subscribe to:
Posts (Atom)