Friday, April 30, 2021

Mushy Roomy Rice

The title of this is supposed to be "Tracey's Mushy Roomy Room Rice" but I'm changing it to the shorter 'mushy roomy rice'. Because I can. Don't tell Joanne Fluke tho.

  • 1 cup long-grain brown rice
  • 1 cup wild rice
  • 2/3 cup brown Basmati rice (*see note below regarding the rices)
  • 3 and 1/3 cups chicken stock
  • 3 chicken bouillon cubes (I use 'better than bouillon' instead of cubes)
  • 1/2 t. ground pepper
  • 1/3 cup red onions, finely diced
  • 2 cans (13.25 oz.) mushrooms, drained
  • 1/2 cup butter (1 stick), cut into 8 pieces

*note: if you can't find one of the rice varieties, substitute any other variety that you like. Just make it equal 2 and 2/3 cups of mixed, uncooked rice. Or use a mixed rice medley totaling 1 pound. 

1. Preheat oven to 350'. Prepare a large round glass casserole dish by spraying the inside with nonstick cooking spray.

2. In a large saucepan (big enough to hold the broth and rice),  bring the chicken stock and bouillon cubes to a boil over high heat; turn the burner down to medium heat and stir until the bouillon cubes are dissolved. Add the ground pepper, finely diced onions, and drained mushrooms to the saucepan, mix to combine. 

3. Remove from the heat and add the rice, stir until all the ingredients are thoroughly mixed. Transfer the rice mixture in the saucepan to the greased casserole dish. Top with the butter pieces, cover (if your glass dish doesn't have a cover, use heavy-duty foil to cover the dish. You can assemble the dish ahead of time up to this point and refrigerate it until you are ready to bake it. 

4. Bake for 2 hours. When 2 hours have passed, remove the lid or foil and bake for another 20 to 30 minutes. 

serves 6

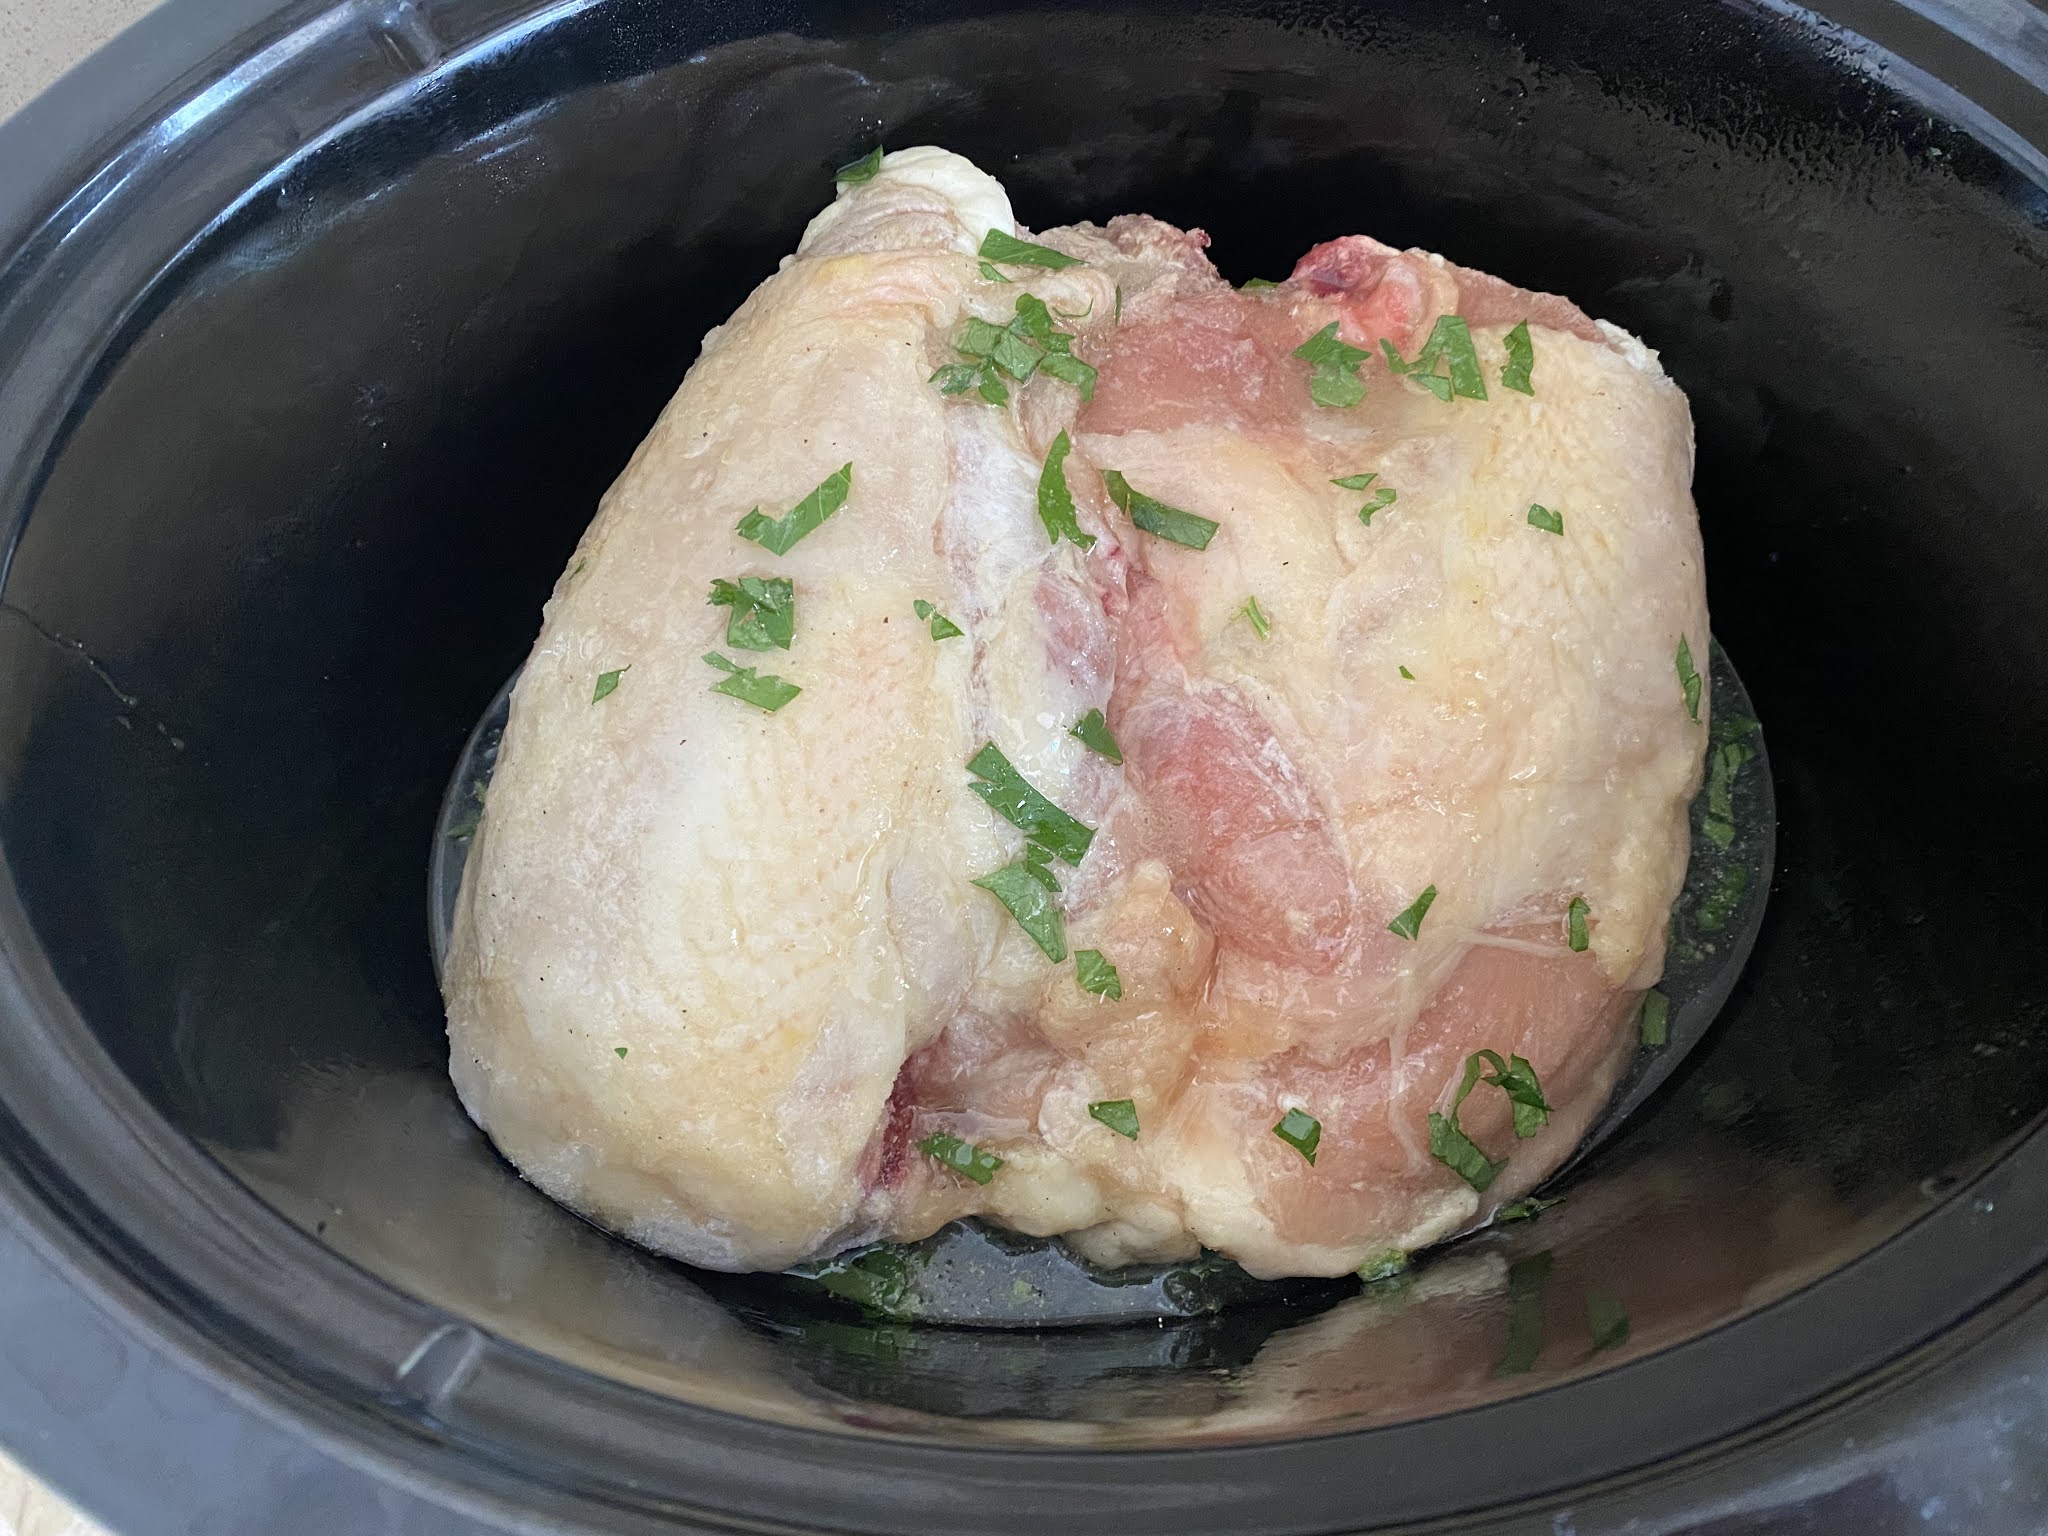
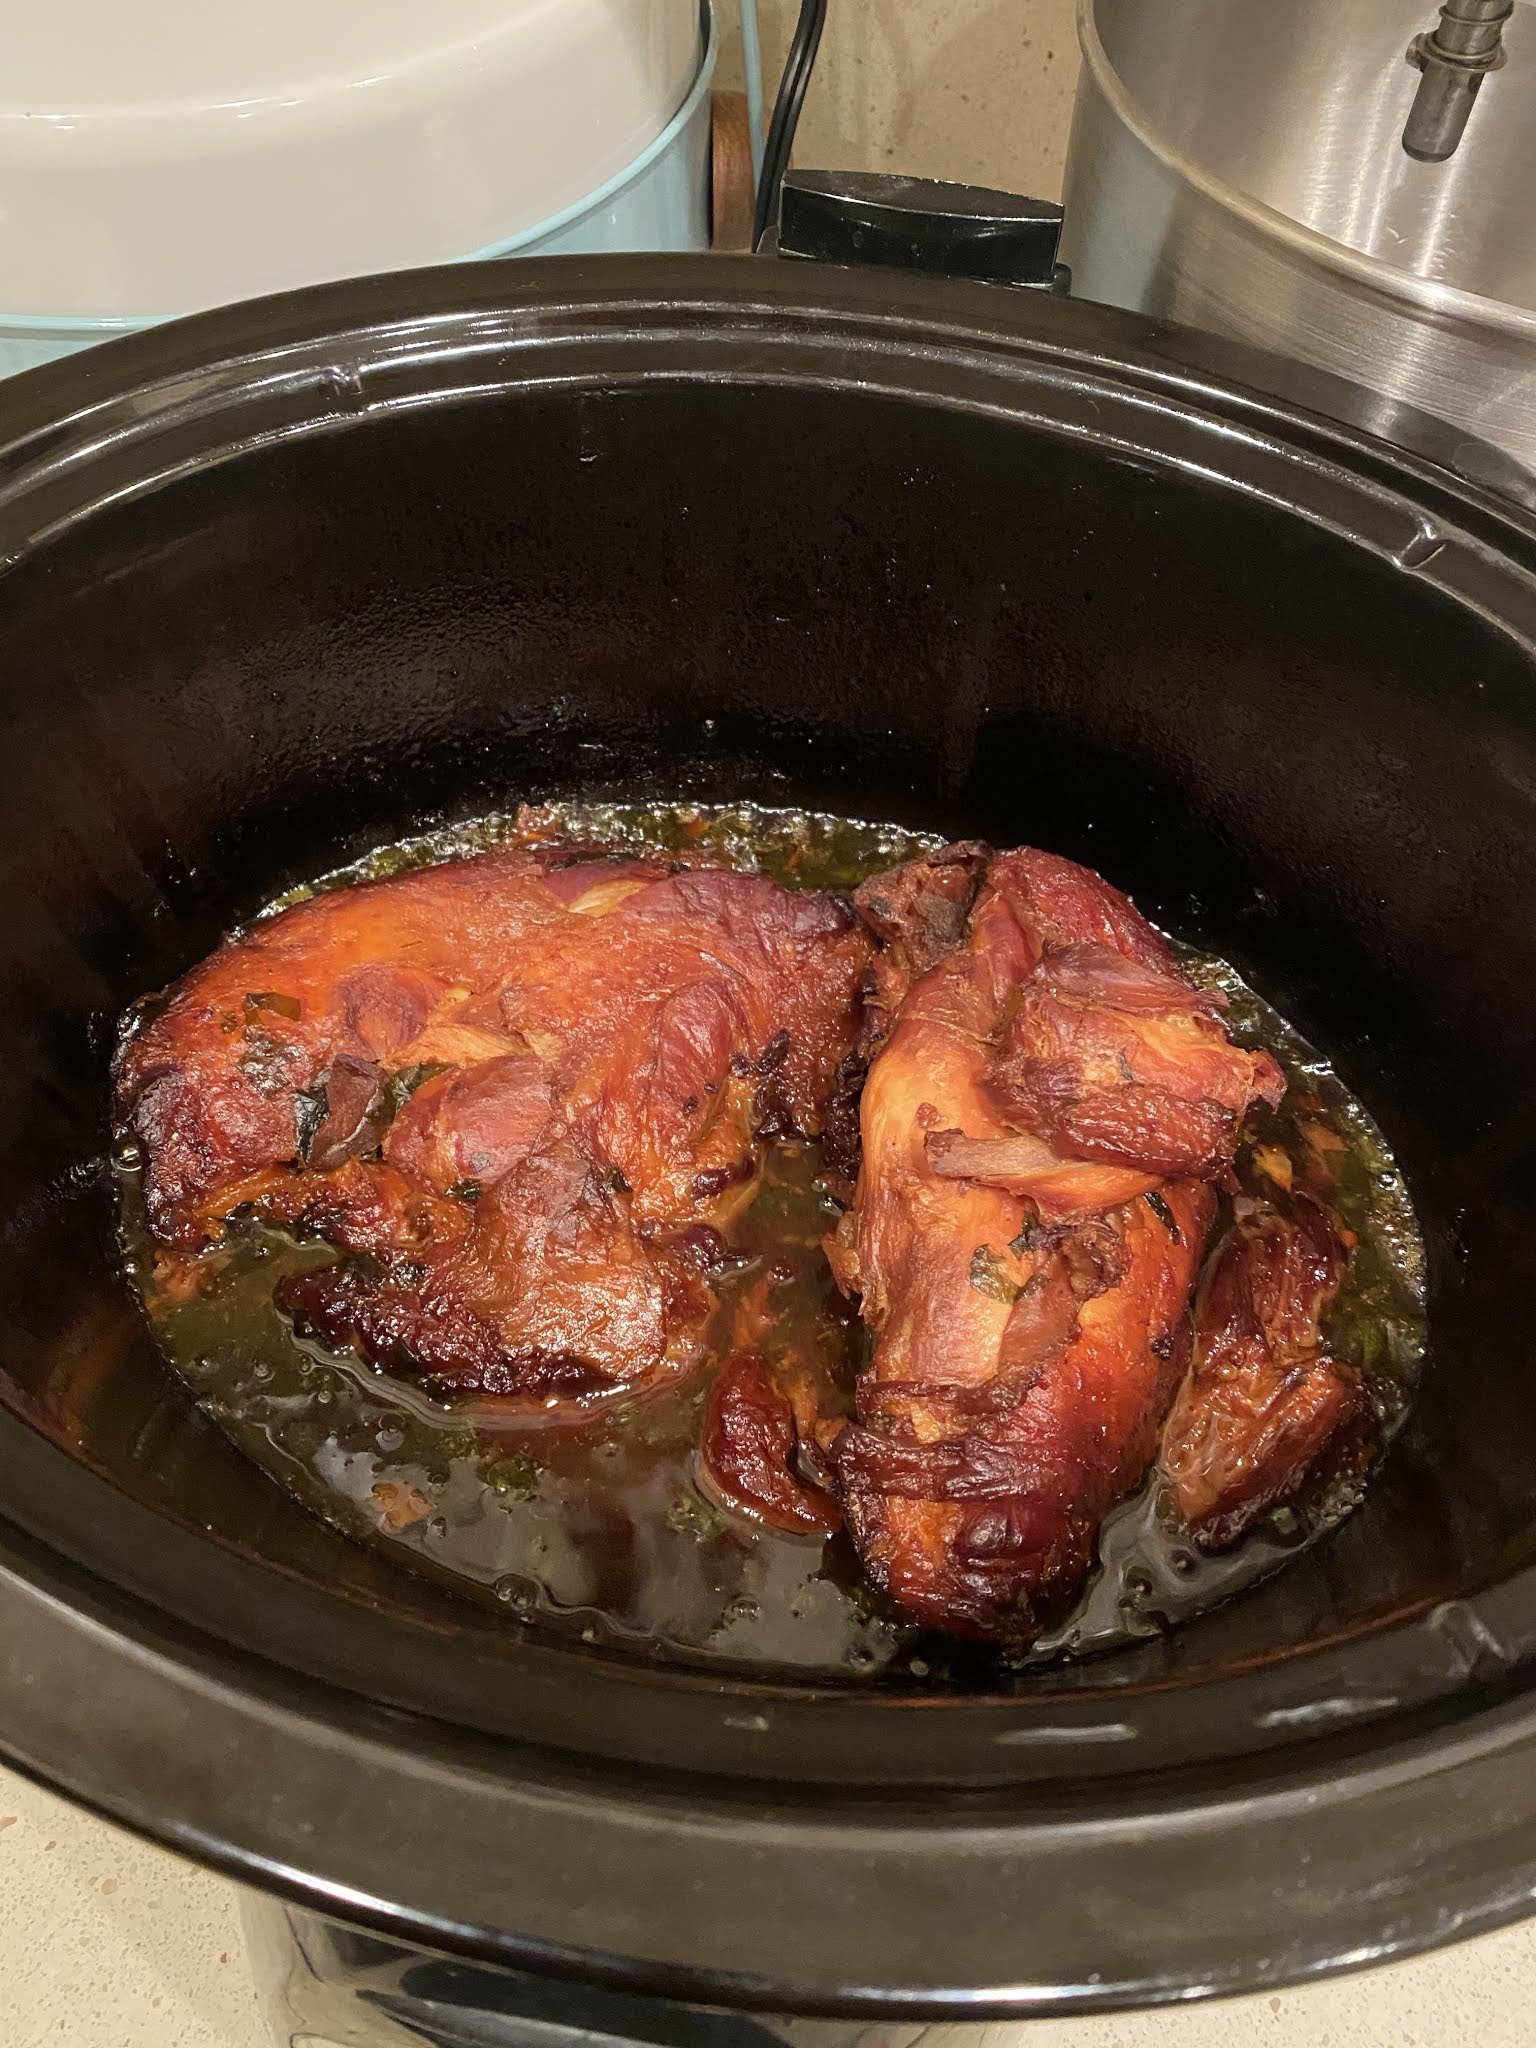
from 'Coconut Layer Cake Murder' by Joanne Fluke. note she serves this with the lemon glazed chicken breast crockpot recipe I posted yesterday (click for that post). I served it with lemon-glazed pork roast made using the same recipe. 


Thursday, April 29, 2021

Lemon Glazed Chicken Breasts


Here's another recipe from the 'Coconut Layer Cake Murder' book by Joanne Fluke, I made a bunch of her recipes this time. FYI I hate how she writes her recipes so I change that quite a bit, if you read one you'll see what I mean - but the recipe is the same without all her filler notes.

This is a crockpot recipe, but I don't see why it wouldn't work in the oven - I have no idea how long it would take tho, you'll have to figure that part out yourself if you don't want to make it in the crockpot.

Prepare a 4-quart crockpot by spraying the inside of the crock with non-stick cooking spray (or use a liner). If you use a bigger crockpot you'll need to increase the amounts to fill it up better.

Ingredients:

  • 6-oz can frozen lemonade concentrate, undiluted
  • 1/2 t. ground ginger
  • 1/4 t. ground pepper
  • 1 t. dried parsley
  • 6 6-oz. boneless, skinless chicken breast halves
  • 1/4 cup water
  • 2 T. cornstarch
Open the can of frozen lemonade concentrate and put the contents in a shallow bowl that's large enough to hold one of the chicken breast halves. When the lemonade concentrate has thawed, stir in the ginger, pepper, and parsley. 

Dip each piece of chicken breast in the shallow bowl, coating both sides with the mixture. Place the coated chicken in the bottom of the crock. Give the dipping mixture another stir and then pour it over the chicken breast halves in the crock. Cover and cook on LOW for 7 to 9 hours, or on HIGH for 4-5 hours.

After the chicken is cooked, lift it out of the glaze with a slotted spoon and remove it from the crock. Place it in a baking dish and cover tightly with foil. Turn your oven on the lowest possible temperature and keep the chicken warm while you thicken the glaze in the crockpot.

Turn the crockpot with the glaze inside to HIGH and cover. Mix the water and cornstarch together in a small bowl. Add the water/cornstarch mixture to the crock, stir to mix well. Replace the cover, but leave it slightly ajar (note: leaving the cover ajar allows the steam to escape and cause the glaze to thicken faster). Cook the glaze on HIGH for 15-30 minutes or until bubbly and thickened like gravy.

Serve the chicken over cooked rice or any kind of cooked pasta you wish to use. 

Jill's note: so she doesn't say what you're supposed to do with the glaze, I'm assuming you put the chicken back in it before serving over the rice or pasta, or maybe put the chicken on the rice and then pour the glaze over. Her recipes literally cover 8 book pages because she uses so many words haha, but then leaves out how to finish this one. Whatever, it's still a great dish!

PS: am I the only person who hears "lemonade concentrate" and thinks of the blond joke (you know, why did the blond stare at the frozen lemonade can? because it says 'concentrate')?


same recipe using a frozen 3 pound pork roast:


Wednesday, April 28, 2021

Tortilla Pizza

This idea came from Cathy and it's genius. I have made this SO many times since she told me about about it - easy, quick, and healthy...it's the perfect lunch! A pizza made on a tortilla. The ultimate in thin-crust pizza. Why didn't I think of this?

I make these in the air-fryer, you can definitely bake them instead, you'll just need to change the cooking time. I preheat the air-fryer for a couple minutes on 350', pop the tortilla in and let it bake for a couple of minutes. Remove from oven, lightly spread with sauce (see note below) and whatever toppings you like. I've been doing canadian bacon or turkey pepperoni and fresh tomatoes, sprinkle with cheese. Put back in the oven and bake until the cheese is melted and the tortilla is crispy. The edges get really brown and crispy but I like that. 

Oh man this is so good, I'm hungry just writing about it hahah. Try it - it's a great thing!


Cathy recommends using doctored tomato paste instead of pizza sauce because the sauce makes the pizza not as crispy. So I put some paste in a little bowl, added a bit of olive oil to loosen it up a bit, then season with Italian seasoning. 

I like to use low-carb flour tortillas to save a few grams of carbs and you cannot tell the difference.

4.28.20: TT: baking powder

4.28.19: ðŸ”¥

4.28.18: cucumber cooler


4.28.17: Brooke made slime


4.28.16: sample sale photography


Tuesday, April 27, 2021

Tip-sy Tuesday: stovetop splatter tip

I don't fry very many things but occasionally I will make something that splatters - and I hate cleaning the stove afterwards (wonder how many people actually like to clean up greasy splatters haha!). This is my trick for helping to keep the cleanup to a minimum - lay down pieces of foil over the areas of the stovetop around the burner you are using. I usually have clean, used foil that I save for just this purpose - easy fix!


4.27.20: t-shirt face mask

4.27.19: Brooke made a bubble maker - hey, that'd be a fun boredom buster for the kiddos!

4.27.18: Mickey's beersbee - an adult boredom buster!

4.27.17: accessories closet - organizing, now that's my kind of boredom busting ;)

4.27.16: decadent chocolate cake - not sure I can call cake a boredom buster LOL

Monday, April 26, 2021

Crockpot Golden Mushroom Pork Chops

The grocery store was selling packages of pork chops 'buy one get one free' - so of course I bought two...we grilled the first package and they were terrible, tough and chewy (bleck), we obviously weren't excited about eating the 2nd package! I thought maybe cooking them in the crockpot with some kind of sauce would help break them down and tenderize the chops. It worked - this turned out great! 

  • boneless pork chops
  • lemon pepper seasoning
  • salt 
  • potatoes cut into quarters
  • 1 can golden mushroom soup
  • 1 package onion and mushroom soup mix
  • 1/2 can water
  • 8 oz. sliced fresh mushrooms

    1. Spray the inside of crock with non-stick cooking spray. Put the potatoes in the bottom of the crock. 
    2. Sprinkle the pork chops with lemon pepper seasoning and a little salt, put on top of the potatoes; add the fresh mushrooms.  
    3. Mix together the soup, soup mix, and water and pour overtop. Cook on LOW for 6 hours. 


    Sunday, April 25, 2021

    🔥Around the Campfire (week 17)

     Dear Campers ~

    Here's a quick recap in case you missed anything at camp last week:

    Posts ~

    4/18: 🔥week 16

    4/19: ribbon flower

    4/20: tip-sy tuesday: hummingbird food

    4/21: fluffy fruit salad

    4/22: hasselback caprese salad

    4/23: gift card/cash envelope

    4/24: dance recital

    What's Cooking ~

    • grilled steak, sautéed mushrooms, roasted asparagus, caesar salad
    • panko breaded shrimp (costco), riced cauliflower, roasted green beans
    • marinated pork tenderloin, sautéed kohlrabi, roasted broccoli
    • chicken sausage, beans baked in marinara, kale salad
    • grilled tuna, greek salad
    That's it for this week, nothing miscellaneous happening - when I had free time I was practicing my tap routine (worrying about forgetting the routine is the worst - I'd wake up in the middle of the night going over the steps in my head!). Hope you had a great week - stop back often for more projects, crafts, recipes, whatever else I can think of to make at camp! Bye!

    Sincerely ~


    Jill
    camp counselor 

    Saturday, April 24, 2021

    Dance Recital '21

     Today is the Spirit Expressions dance recital! I'm excited :) Last year they couldn't have their recital (thanks Covid) and that makes this year even more special since - with some precautions of course - they are able to have an in-person recital. Gotta say, it's a little weird to walk into an auditorium where there are quite a few people (masked up) walking around! 

    So for today's post I'm sharing a video from dress rehearsal of our adult tap routine 'We Stand...for the 80's'. My sis took the video and you can tell she isn't in the dance world when she keeps zooming in on my head and not my feet LOL. That's ok, it's still fun to watch and I'm glad she took it (and I appreciate that she had to take time off of work just to come watch me and my silly tutu tap dance! Thanks again Sissy!). Hope you enjoy!

    Well this is a bummer - it won't let me post the video because of copyright issues! Hmmmm....so I'll pivot and just show you some pictures instead (thanks to MaryAnn and Katy for these FB pics):


    I didn't technically 'make' anything at camp for today - unless making myself up in an 80's costume counts?! Check out my 80's eye shadow - I kind of miss wearing this much crazy color hahahha!! And I've never had lipstick that stayed on so good, I literally couldn't wash it off! It didn't even come off wearing my mask or eating dinner afterwards. 


    Friday, April 23, 2021

    Gift Card/Cash Envelope

    I caught this project the other day that Ronda Wade made on her youtube channel - she's inspired me to make quite a few different gc holders in the past and here's another one I like and can imagine making often! It's a quick and easy way to make a gift card or cash gift a little more special. I'm never opposed to receiving a monetary gift hahaha, I do not care at all how it gets to me - but I wouldn't want to give a card to someone if they felt like it was a last minute choke gift 'cuz I couldn't think of anything else, so this envelope idea is a nice extra touch. I took lots of pictures, there's probably more pictures than instructions!

    You'll need a 12"x 6" rectangle of double sided decorative paper, and a second piece of paper 5"x 8", along with scissors, glue (I used glue stick), and a scorer. Ronda's smaller piece of paper is white, I chose another double sided decorative paper that coordinates with the larger rectangle. 

    Score the 12"x 6" paper at 4 inches, and at 8 inches. Then cut 1" off one end and set it aside. Fold along score lines:


    Next we make a smaller envelope that will go inside the folded larger rectangle. Score the 5"x 8" paper at 2 1/4 inches, and at 5 1/4 inches. Fold along score lines. Fold the shorter 2 1/4" side up and glue along the side edges to form a pocket. Fold the other side down over the pocket. Glue the 1" strip of paper (from the 12"x 6" paper) on top meeting the edges (that is just a decorative touch tying the two papers together, you can leave it off if you prefer). There will be about an inch overhang, trim that off. See pictures to see what I'm talking about.


    Add a decorative thing to the top of the 5" x 3" envelope you just made. Ronda made a 2 layer stamped message, I did a double layer paper flower with a gem in the middle. Attach whatever you decide to make with a foam dimensional so it sticks up off the envelope a bit, or stick it down with glue stick. 


    Next glue the small envelope you just made to the center of the 12"x 6" (technically it's now 11"x 6") rectangle. Glue it so the shorter 3" end is at the top. Fold the bottom flap up, and the top flap over it. Tie closed with a piece of ribbon - Ronda tied hers around the corners like you might do for a gift box, I just tied mine around the middle. Whatever you want - a 'bellyband' would work too.


    Lastly, Ronda personalized hers further with a hanging tag and the gift recipients initial - I'm going to leave mine like this because I'm mailing it to someone so they'll already know it's for them hahah. If I was giving as is without putting it into an envelope, for example handing it to a graduate or for a birthday gift, then I'd definitely add a name or initial to the front. 


    It's cute with the ribbon flower I made the other day and is still laying on my desk! 

    4.23.20: beer bread

    Thursday, April 22, 2021

    Hasselback Caprese Tomatoes

    This is my new favorite breakfast, but obviously it'd be suited for any meal (or even a snack). I've done it with just fresh mozzarella and basil, but for breakfast I started adding slices of canadian bacon and love it.

    Simple to make - cut slices in a large tomato, not cutting all the way thru so you can fan the tomato open and insert whatever you like into the spaces. Fresh mozzarella and fresh basil leaves are traditional caprese salad items, add canadian bacon or crispy bacon if you like. Drizzle with a little olive oil and balsamic reduction or vinegar, sprinkle with a coarse salt and pepper. Yum, it's only 10am and I already had this for breakfast but my mouth is watering thinking about it hahaha. SO GOOD!

    I took this picture from eating well with just the mozzarella and basil - plus it's a way better photo then the one I took hahaha:


    4.22.20: garden sign by Mickey

    4.22.19: make a dreamcatcher

    4.22.18: LeDonna's polenta with meatballs

    4.22.17: make a cork wall

    4.22.16: garden statue facelift


    Wednesday, April 21, 2021

    Teri's Fluffy Fruit Salad

     Mix together 1 block of room temperature softened cream cheese and 1 small box of jello. Add 1 cup hot water and mix with a hand mixer to combine (the cream cheese is liquid at this point). Mix in 8 oz. cool whip, cover and refrigerate until firm. Fold in berries or your desired fruit. 

    Teri does blue jello with blueberries, pink or red jello with strawberries, orange jello with mandarin oranges, etc. Don't use fresh pineapple but canned is ok. 


    I asked her if this has a name but she said the family just calls it 'that fruit jello'. I'm sticking with fluffy fruit salad hahahaha. 

    Tuesday, April 20, 2021

    Tip-sy Tuesday: hummingbird food

    It's spring and I'm loving listening to all of the birds chirping around outside. I'm remembering that last year Dave hung a couple hummingbird feeders and we really enjoyed watching them - I'm not sure when they'll show up in Michigan but I'm going to be ready for them!

    Dave took this photo in CA a couple years
    ago - so pretty!

    I usually buy hummingbird nectar for his feeders - then my neighbor Midge said it's just sugar water and I could make it myself. Never thought of that! So I googled and found a bunch of recipes, this is the one we make now:

    Combine one part white granulated sugar with four parts water. For example - 1 cup of sugar, 4 cups of water. Slowly heat the solution for one to two minutes to slow fermentation and help the sugar dissolve. Allow it to cool completely before filling feeders. Change the feeders often. 

    Click here for more info on attracting and feeding hummingbirds. 


    4.20.20: Claudette's paint by number

    4.20.19: kid craft: pompom bugs

    4.20.18: silverware holder (from a beverage carrier carton)

    4.20.17: scrabble tile messages

    4.20.16: giant donut cake

    Monday, April 19, 2021

    Ribbon Flower

    One of my favorite little gift stores is in DeTour Village, MI (in the U.P.) called the 'Timberdoodle'. A funny part of that statement is that I've only actually been in the Timberdoodle a couple of times, usually when I go to visit LeDonna the store is closed. But I've received quite a few things from them, thanks to L., and I've also had her call me a couple times to say there's something in the store that reminds her of me and she wonders if I want to buy it and she'll bring it down next time she comes - hello, I do love a personal shopper hahaha. One of the best is the painted cow skull that I showed you a couple years ago, I still love how different and cool it is. Anyway - on to the point of this post.


    I always know that a gift is from the Timberdoodle because of these ribbon flowers attached to the gift bags. I save them and re-use them they are so pretty and fun - one day L mentioned that she was in the store while one of the employees was making the flowers and I said 'wait, what? someone makes them?'. I figured they were purchased from some supply company. And that got me thinking - how the heck do they make them and can I figure out how to do it? So I took one apart - and took lots of pictures of the process in case I couldn't remember how to get it back together! Check it out:

    To make this purple flower they started with 18" length of purple wired ribbon, and 21" of green shirred ribbon. I forgot to measure the width but I'd say the purple is 2" and the green is maybe 1/2 - 3/4".

    Find the ends of the wire on the top and bottom of the ribbon - you're going to pull one of the wires from either the top or bottom edge, scrunching and gathering up the ribbon. Make sure you aren't pulling the wire out of the ribbon, push the ribbon towards the middle of the length of wire leaving long tails on both sides. This makes the ribbon curl on itself (it sort of looks like a hair scrunchy to me at this point, but maybe that's because I used the word 'scrunching' above!). Tie a loose knot in the center of the green ribbon. See the photos for help:


    Take one of the long wire ends and twist it around the bottom of the knot in the green ribbon. The knot is going to be the center of the flower.


    Hold the wire under the green knot and coil the purple ribbon around it forming the flower. Take the other long wire end from thee other side of the purple ribbon and twist it around the base of the flower holding the purple ribbon in place with the green knot in the center, the green ribbon ends will hang down. You can use the tails to tie it onto a package, or leave them hanging and use some of the wire ends to attach to your gift. 


    After taking apart and re-assembling the Timberdoodle flower, I made one out of my own ribbon just to prove I could do it without a head start of them already making one - and took even more photos:


    I timed myself and it took less than 3 minutes to make! So I made one more to cement the technique in my brain:


    I hope this fun technique wasn't a secret since I've just shared it with y'all!! If you're ever in the U.P. I recommend going into the Timberdoodle, so many fun things and then a cute flower to top it off ❤️

     4.19.20: ðŸ”¥week 16

    4.19.19: sports team paddle

    4.19.18: book challenge


    4.19.16: car trash cup