I caught this project the other day that Ronda Wade made on her youtube channel - she's inspired me to make quite a few different gc holders in the past and here's another one I like and can imagine making often! It's a quick and easy way to make a gift card or cash gift a little more special. I'm never opposed to receiving a monetary gift hahaha, I do not care at all how it gets to me - but I wouldn't want to give a card to someone if they felt like it was a last minute choke gift 'cuz I couldn't think of anything else, so this envelope idea is a nice extra touch. I took lots of pictures, there's probably more pictures than instructions!
You'll need a 12"x 6" rectangle of double sided decorative paper, and a second piece of paper 5"x 8", along with scissors, glue (I used glue stick), and a scorer. Ronda's smaller piece of paper is white, I chose another double sided decorative paper that coordinates with the larger rectangle.
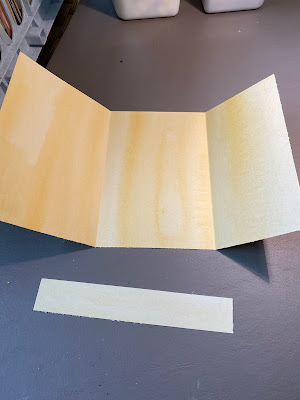
Score the 12"x 6" paper at 4 inches, and at 8 inches. Then cut 1" off one end and set it aside. Fold along score lines:
Add a decorative thing to the top of the 5" x 3" envelope you just made. Ronda made a 2 layer stamped message, I did a double layer paper flower with a gem in the middle. Attach whatever you decide to make with a foam dimensional so it sticks up off the envelope a bit, or stick it down with glue stick.
It's cute with the ribbon flower I made the other day and is still laying on my desk!
4.23.18: hedgehug card
4.23.17: spinach and cheese stuffed mushrooms
4.23.16: perfectly peeled hard boiled eggs


No comments:
Post a Comment