Wednesday, May 31, 2023

Lemon Curd

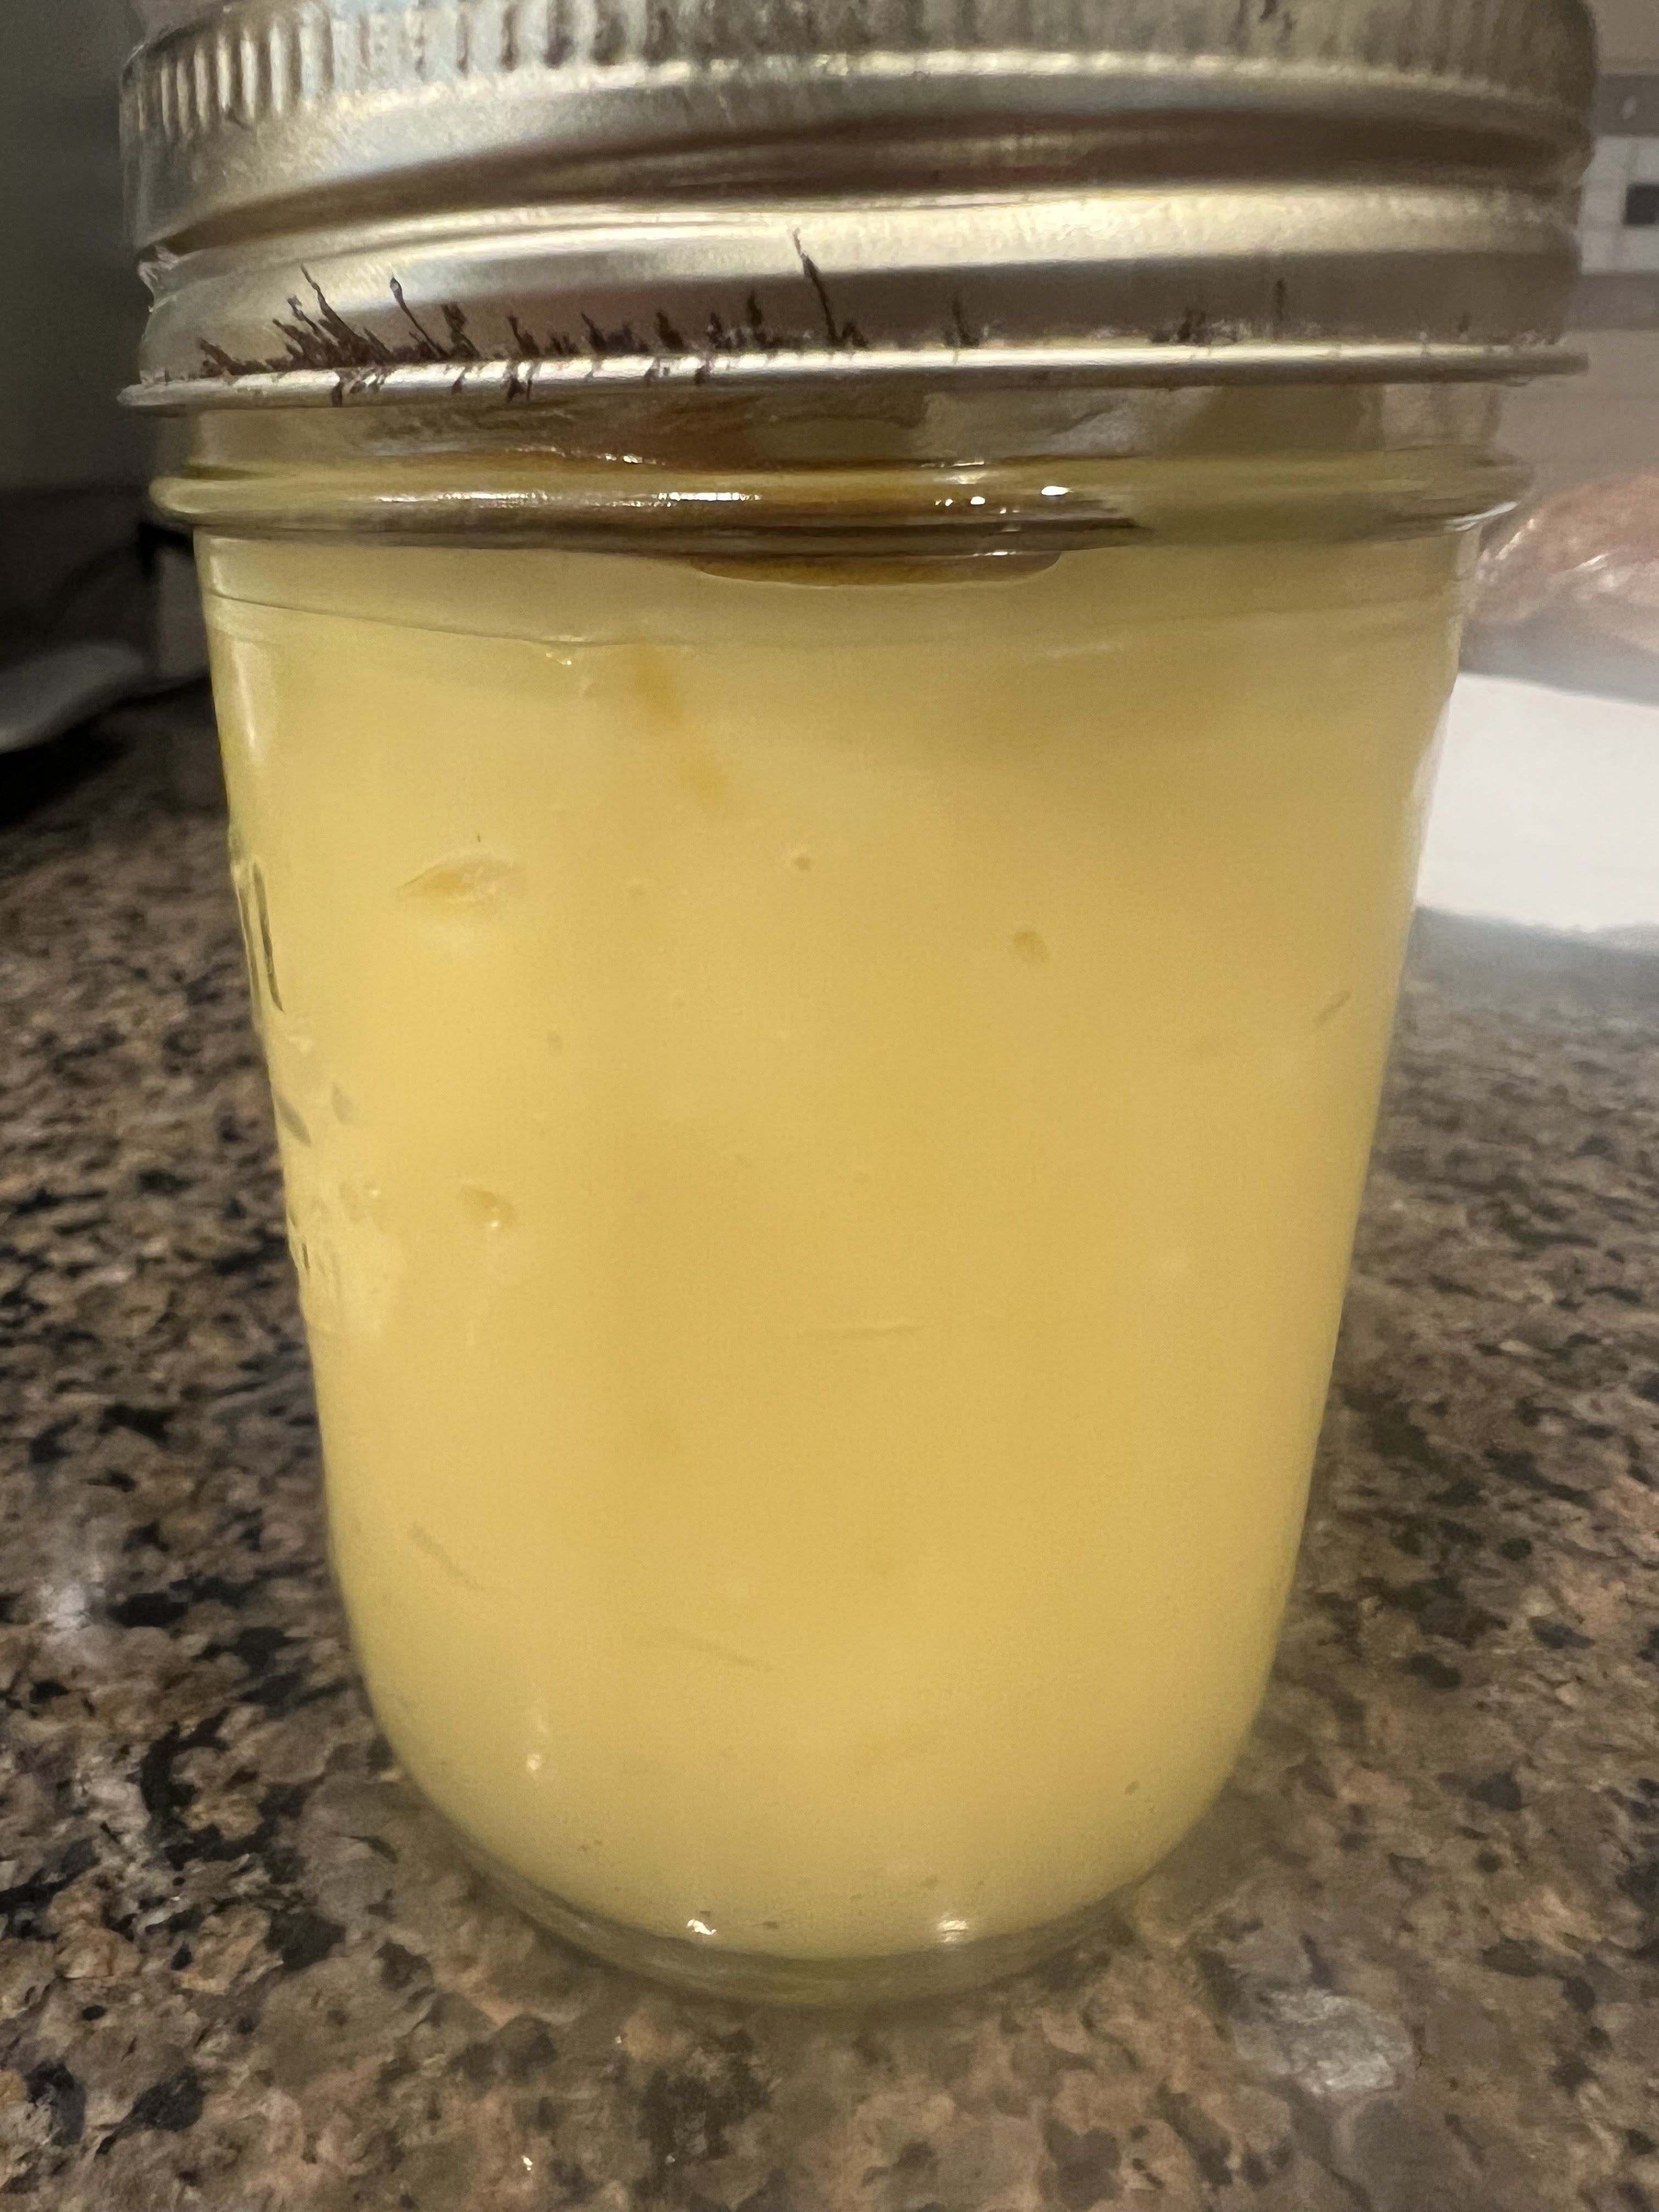
I am really missing all the lemons from Macey's tree - this lemon curd using her fresh lemons was terrific (and a little dangerous, I was just eating this straight from the jar by the spoonfuls!). There are lots of other things you can do with the curd tho (altho I will obviously not judge you scarfing it from the jar LOL) - spooned over pound or angel food cake, with berries, over ice cream, stirred into plain yogurt, as a filling between cake layers, on pancakes, on biscuits or scones...really there are so many choices!

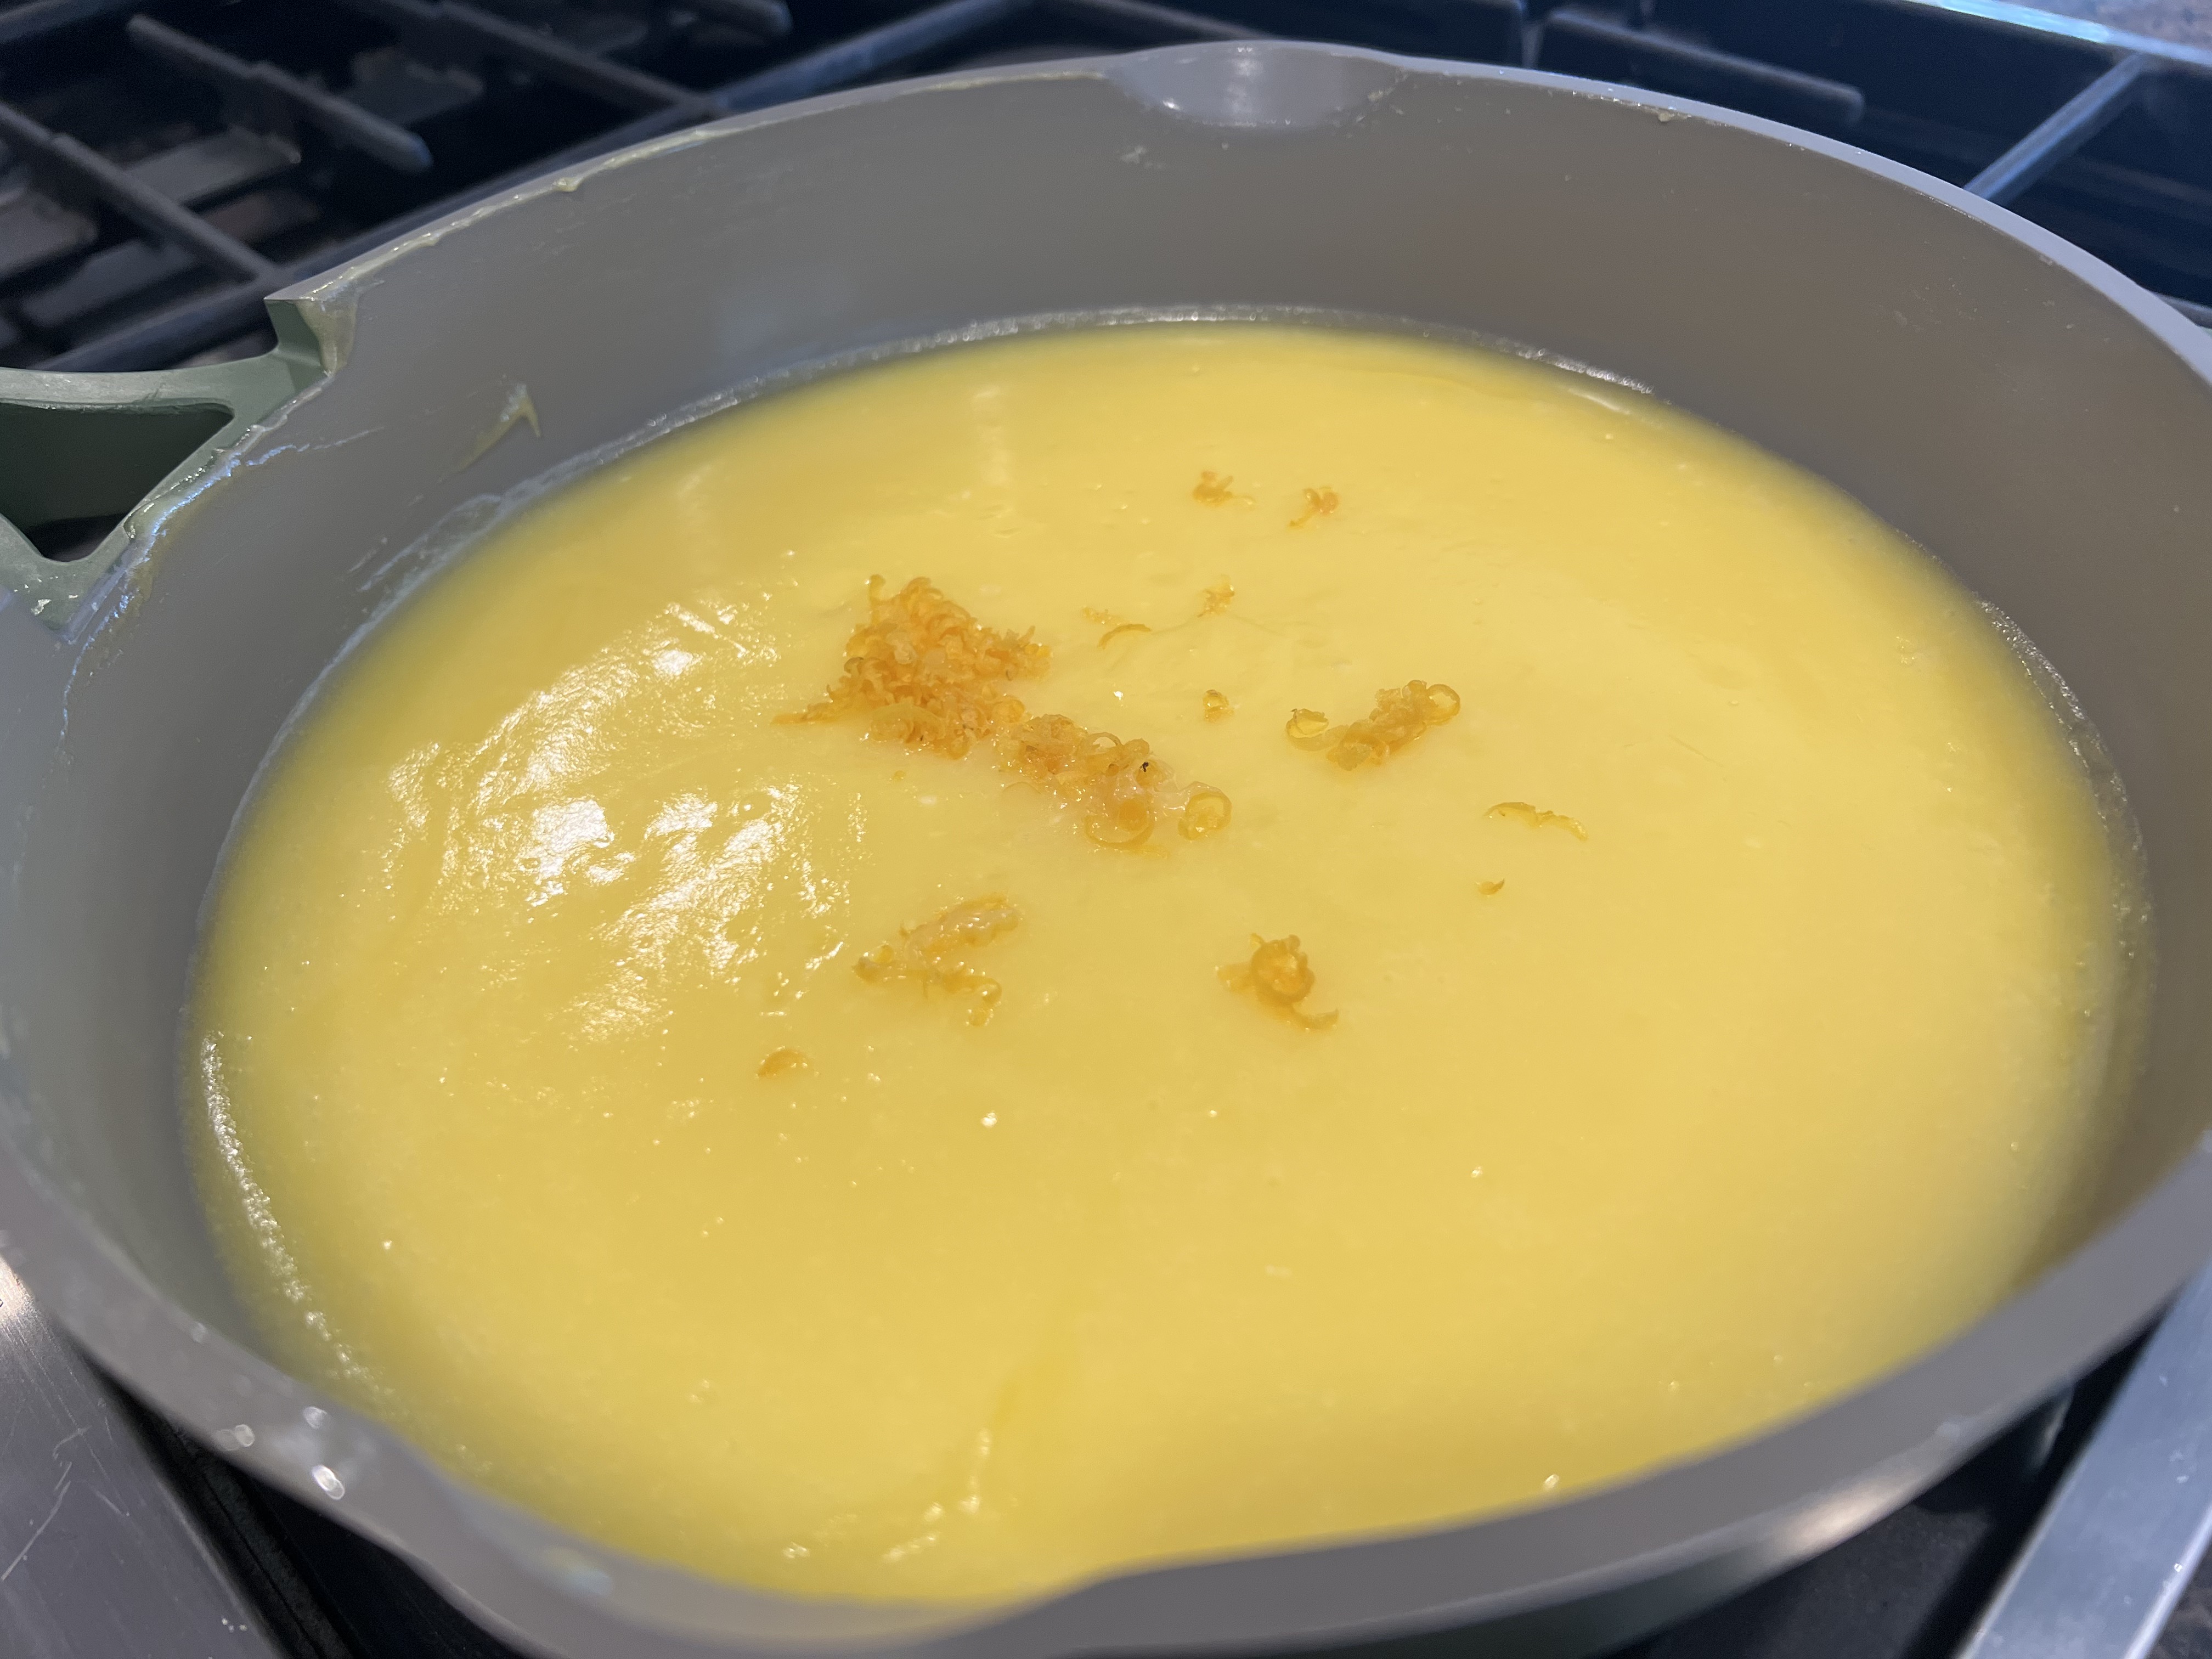
This lemon curd is thick and creamy, similar I guess to custard or sort of like pudding but not really. It is its own special and delicious texture and taste. Mmmm my taste buds are tingly just thinking about this sweet-tart treat. I doubled the recipe and it worked perfectly - here's the recipe for one batch:
  • 3 large eggs
  • zest of 1 medium lemon
  • 1/2 cup strained fresh lemon juice (from about 3 medium lemons)
  • 1/2 cup sugar
  • 6 tablespoons unsalted butter, cut into chunks


1. Set the strainer over a medium bowl. 

2. Whisk the eggs in a small nonreactive saucepan to blend. Whisk in the lemon zest, juice, and sugar. Add the butter. Whisk over medium heat, reaching into the corners and scraping the sides and bottom of thee pan, until the butter is melted and the mixture is thickened and beginning to simmer around the edges, then continue to whisk for about 10 seconds longer. 

3. Remove from the heat and scrape into the strainer, pressing gently on the solids. Scrape any lemon curd clinging to the underside of the strainer into the bowl. 

4. Refrigerate until chilled before using. Lemon curd keeps in a covered container in the refrigerator for up to 1 week. 


recipe found here
click here for a tip on keeping the jar edges clean after filling them


Tuesday, May 30, 2023

Tip-sy Tuesday: Cleaning Up Messy Jars

Quick little tip for when you fill a jar or container and the edges get messy - run a damp paper towel around the edge to clean it up. I also do this when serving food - after filling a bowl or platter with the foods you're serving take a sec to wipe the edges for a prettier presentation. 


Tomorrow I'll share what I put in these jars that was so messy! :) 

update: click here for a delicious lemon curd recipe


5.30.22: memorial day '22

5.30.21: ðŸ”¥ week 22

5.30.20: chicken vesuvio


5.30.18: taco pie

5.30.17: travel log - Ireland

Monday, May 29, 2023

Explosion Box (Part 3.2 - decorating the 3rd and 4th layers)

Ok, final installment of how to make and decorate an explosion box! Whew, no wonder it took me a year to share this project with you hahha! 

In case you missed any of the other posts regarding this gift idea, click below to see it all:


*3rd layer - belly bands around multiple photos and notes

2 squares have an accordion piece of cardstock with photos front and back. To make it  - I cut a piece of cardstock 12" long and folded into 3 inch sections creating a pleated or accordion shape. Attach one square to the layer piece, fold back and forth on itself. Glue a strip of cardstock into a circle to slide over the accordion paper and hold in place. See pics:


The other 2 squares have one photo and then I stacked a couple different notes and cards on top of each other and held in place with belly bands (the cardstock circles). 


*4th and final layer - 4 of my favorite pictures with money behind each one.

This layer is the easiest, I didn't get too detailed after all the other stuff going on in the other layers! Glue photos to cardstock, glue only the sides to the layer creating an opening behind the cardstock to slide in some moolah. I wrapped bills in decorative paper and attached to cardstock rectangles with a decorative paper clip. 


*To finish - I went thru and added little gems and glittery paper shapes here and there, and added a cute note to the top center square. Glue all the layers together using just the center squares of each layer. I also made a tiny graduation cap to sit in the center square, it isn't attached to anything just sitting in the bottom of the box holding a little ring. 


Click here to see how to make the mini graduation hat

I glued glitter letters and silk flowers to the lid and then tied a big ribbon around the whole thing so it wouldn't accidentally 'explode' open before I gave it to her!


5.29.20: flower seed bombs

5.29.19: banana bread

5.29.18: goat cheese mousse

5.29.17: happy memorial day (check out the star cookies!)

5.29.16: smashed red potatoes and summer slaw


Sunday, May 28, 2023

🔥 Around the Campfire (week 22)

Dear Campers ~

Here's a quick recap in case you missed anything at camp last week (note: we are up north camping this weekend, actual camping is not to be confused with blog camp LOL):

Posts ~

5.21: 🔥 week 21

5/22: explosion box part 3.1

5/23: TT: cupcake stands

5/24: greek grilled chicken and salad with pita

5/25: brining chicken by Macey

5/26: MSTI: smart scale

5/27: words

What's Cooking  ~

  • grilled steak, stuffed portobellos, caesar salad
  • grilled chicken, spinach ravioli with olive oil, steamed green beans
  • lamb chops, potato salad
  • pork chops, baked sweet potatoes, roasted asparagus
  • marinated grilled chicken thighs, greek salad and pita

That's it for this week - hope you'll stop by often to see what we make at camp next week, bye!

Sincerely ~

Jill

camp counselor 


5.28.21: red, white, and bleu potato salad

5.28.20: TBT: pigs in a blanket

5.28.19: tip-sy tuesday: jicama


5.28.17: travel blog - Scotland

5.28.16: berry trifle

Saturday, May 27, 2023

5.27 ~ Words

We are up north camping for the weekend and I completely forgot to post earlier today! And I brought this weeks calendar pages with me but I can only find these two - and they aren't great hahaha. Does anyone really know what 'kindness of heart is always happy' means? It's like a fortune cookie or something, one of those that makes you go 'huh?' HAHA. Whatever, here's what I have for this weeks Words:

it got a little wrinkled in my backpack haha, now where did the others go?!


5.27.21: firecracker meatballs


5.27.17: travel blog - Scotland
5.27.16: berry topping


Friday, May 26, 2023

My Sis Tried It ~ Smart Scale

Well this week wasn’t anything odd I tried to “cook” (like the delicious but extremely odd Pickle snack).  This week is related to what happens when you eat too many delicious pickle snacks! 
 
I had been seeing a lot of ads for smart scales.  I had gotten rid of my scale a long long time ago because I find it to be depressing. This ad though showed one that shows your body composition, your fat, your water, bone mass, and many other things that are completely unnecessary to have monitored regularly. 

That of course meant I had to buy it!! The thing was on sale on amazon for less than $30, and could be here by the next day.  How could I NOT try it? 

So.. it arrives, it’s slick, it interfaces to my phone (to view and keep all the stats), super nice for this price.  Very cool.  The downside? The husband and I both have the app and use the scale.  Guess what that means?  If you guessed that he can see ALL my stats you would be correct.  Talk about a self esteem killer. The guy who can eat a bag of chips each night and still stays in shape has a lower BMI than the person who lives on salad and air and works out every day.  DEPRESSING.  The other negative is that it wont read my weight or stats unless i take my socks off.  I like my socks and bending over to take them off is work.  Could this be why my BMI is so high? Because I don’t want to bend over to take off my socks? HAHAHAHAHA

Anyway- I tried it.  If you would like to be humbled and get the strenuous exercise of taking off your socks you should try it too! 


 5.26.22: May 26 thru the years

Thursday, May 25, 2023

Brining Chicken by Macey

Typically on Sundays, I like to slow cook meat (usually it’s a whole chicken, but on occasion will I brine Pork or Roast Beef). The intent of this is so then I can use the meat for various meals throughout the week. Example: Chicken soup, Chicken Enchiladas, Creamy Chicken and Mushroom Pasta… Yes, It’s a lot of chicken 😊 LOL. So I might intersperse a meal with Shrimp or Salmon one night of the week; and maybe if I’m being lazy, will I order take-out for another night. So really… It’s 5 days of chicken. Good news; there’s so many recipes and things that you can make with any type of “whole” meat.. It’s not only very cost savvy (Costco has the best deals) but it allows me to still be creative with meals, and not have to spend hours in the kitchen after working all day. (Who would, right?)


One thing to note: I never cook the chicken the entire way through. This is so that when I cut off pieces for the soup, or pasta dish, etc. It needs at least 7-8 mins before it’s cooked through and that way you don’t end up with overly dry chicken.

Second thing to note: you do not have to brine any of these meats; I like to because 1. Flavor always seems better this way and 2. It makes the meat more tender, and I often have issues trying to digest big hunks of meat. (I’ll shred some for enchiladas, dice some chicken for tacos or salads, cut up into larger pieces for pasta dishes, etc).

To Brine the Chicken:

I usually let it sit for at least 8 hours; you don’t want to ever brine for more than 24hours or the chicken will start to reaallly absorb the salt and then you’ve got some seriously salty chicken that you can’t really fix…

What’s in the Brine?

I will use Bay Leaves, Lemon, Black Ground Pepper, Chicken Stock, Rosemary, Thyme, Garlic (whole cloves), Montreal Chicken Seasoning, and Salt.

(Mind you, I am cooking a whole chicken here, so ensure that the pot you start your brine mixture in is large enough to hold a chicken).

Before putting the chicken into the mixture, I boil the mixture to allow all of the flavors to sort of seap into the stock. Then sit until room temp, and then add my chicken (after I have gut out any yucky things that I don’t wish to eat or see later on 😉 ).

Once the brine is complete (8 hours usually), I will then put the chicken into a big cast iron baking dish, throw some olive oil and salt on the bottom; stuff my chicken with more lemon, garlic, salt and pepper and occasionally add a little honey 😊 Cook at 425 for 30 mins, turn the chicken over, and cook another 30. Watch this baby, some ovens are faster / hotter than others!

For this week, the whole chicken made the following recipes: 

1. Chinese Chicken Corn & Bean  Soup

2. Chicken Enchiladas

3. Chicken Sandwich (for lunch; way better than lunch meat!)

4. Creamy Mushroom Chicken Pasta

5. Chicken Parmesan

Enjoy! 😊


5.25.21: tip-sy tuesday: fluffy iced coffee 

5.25.20: potato salad 

5.25.19: healthy chickpea blondies

5.25.18: spiced chickpeas (garbanzo beans)

5.25.17: travel log - Amsterdam

5.25.16: rolo cupcakes


Wednesday, May 24, 2023

Greek Grilled Chicken and Salad with Pita

I've been making this recipe for years, don't know the original source but I've changed it a bit here and there to our tastes. You could add sliced red onion, fresh chopped parsley, more garlic to suite yourself. The beauty of a recipe like this is all of the ingredients can be eye-balled and don't have to be exact - you can even just wing the oil and vinegar. Omit something, add something, it's up to you! This is how I make it:

  • 1 1/2 pounds boneless chicken breast (or tenders)
  • salt and pepper
  • 1 lemon, zested and juiced
  • 1 T. red wine vinegar
  • 1/2 cup extra-virgin olive oil
  • 2 T. chopped oregano leaves
  • 1 clove garlic, chopped
  • 2 hearts Romaine lettuce, chopped
  • 1/2 cup pitted Kalamata olives, coarsely chopped
  • 8 ounces feta cheese, crumbled
  • 2 tomatoes, seeded and diced (or a handful of halved cherry tomatoes)
  • 1/3 seedless or English cucumber, diced
  • pita bread, warmed (wrap in foil and place in warm oven, or wrap in damp paper towels and microwave until warm)
Place chicken in a large ziplock bag or shallow dish, season with salt and pepper.

Combine lemon zest, juice, and vinegar in a bowl large enough to hold the salad ingredients (to save yourself from dirtying a second bowl) and whisk in oil. Add oregano and garlic, whisk again to combine into dressing. Pour half over the chicken to marinade, leave the rest in the large bowl. 

Grill the chicken until cooked thru.

Place the remaining ingredients in the bowl with the dressing, toss to lightly coat. Season with salt and pepper. Put salad on each plate, top with grilled chicken and serve with warmed pita bread. 


Tuesday, May 23, 2023

Tip-sy Tuesday: Cupcake Holder

I've been on the lookout for cute cupcake ideas for an upcoming baby shower and came across this fun idea - don't know if I'll display my shower cakes this way but I'm sharing this with you so I won't forget it. 

The caption says 'use plastic champagne glasses from the dollar store, fill them with candy to make cupcake stands'. Cute right? Hopefully they don't tip over because they'll be top-heavy, if anyone tries this or has tried it in the past let me know if I should be warned haha! 


5.23.21: ðŸ”¥ week 21

5.23.20: tomato cage hack

5.23.19: shrimp pad thai

5.23.18: chocolate zucchini cake

5.23.17: suitcase divider (still my best invention haha!) 

5.23.16: design a spring combo garden pot


Monday, May 22, 2023

Explosion Box (Part 3.1 - decorating the 1st and 2nd layers)

This post has a lot of pictures, like a LOT of pictures, but I figured it's easier to show you then tell you. To decorate the different layers of the explosion box I made for Brooke's graduation (click here for how to make the base and lid, and here for how to make the layers themselves), I copied old photos of her throughout her childhood along with shrinking and copying some of the drawings and notes she's made me over the years; I also found some inspirational sayings to incorporate in different ways. Finally, I made a few pockets to add gift cards and cash.

I just wrote up how to decorate the first 2 layers and realize this is way way too long and you're going to be overwhelmed. I am not trying to make this seem overly complicated so am now going to break this decorating post into 2. So this is now 'part 3.1' and I'll post 'part 3.2' next time!

*1st layer - each square has a picture on top of a pocket that holds a pull-out card. 

I folded decorative paper into pockets and glued 3 sides to each of the base layer squares, leaving the tops open. Cut cardstock squares to fit into each pocket, glue on notes and attach a piece of ribbon behind each one. Insert into the pocket with the ribbon tab sticking out. Glue a photo on top of each pocket. Note you'll leave the center square blank and all the layers will be glued together in the center space until the top center square. 


*2nd layer - a pull-up gift card sandwiched between a picture and cardstock. 

Cut cardstock squares to fit each square and glue just the sides down leaving a space behind to slide a gift card. For the 2 sides that have the split photo (see next photo) I cut the cardstock square long enough to fold over itself, cut a photo in half and glued to the top flaps and glue one photo under the flaps; poke holes and tie closed with a piece of bakers twine. So when you untie the twine and open the flaps you'll see another photo or note. Add one photo to the other 2 squares (top and bottom in the next photo). Cut thin strips of decorative paper long enough to fold in half around a gift card with enough left over so little paper tabs stick up behind the cardstock.  The photos should help make sense:


5.22.22: ðŸ”¥ week 21 

5.22.21: jam thumbprint molasses cookies


5.22.18: brownie cups

5.22.17: travel packing list (spring in amsterdam, ireland, and scotland)