I've never made seed bombs before, and I have no idea if they'll work - but after seeing lots of ideas for these online I thought I'd give it a try. Because who hasn't wanted to blend up mushy paper in their food processor? Hahahhaha, nothing bad happened to my machine (yep, I was a bit worried), these were fun and easy to make, and turned out so cute! Now let's just hope once planted they will germinate - if it works I'm so making these as gifts in the future, perfect for my non-gardening friends and family!

One thing I read is that once the seeds get wet they germinate, so you want to get the pureed paper as dry as possible as quickly as possible. Dave got me a variety of seed packets, ultimately I went with wildflower mix because I like the shape of the different seed mix and they are pretty hardy so will be fitting for different climates and soils. Also, every article I read about these just says to use paper - but not what kind. I did a bunch of different scraps from my vast (hoarding) scrap folder - cardstock, colored paper, and decorative scrapbooking paper. Other people even used newspaper and toilet paper (in light of the TP scarcity tho I'm not wasting it on crafting hahah). I mixed a bunch of colors and patterns; after pureeing it together it pretty much came out light gray with little flecks of color. If you want a more vibrant color for your bombs I'd recommend using all one color paper.

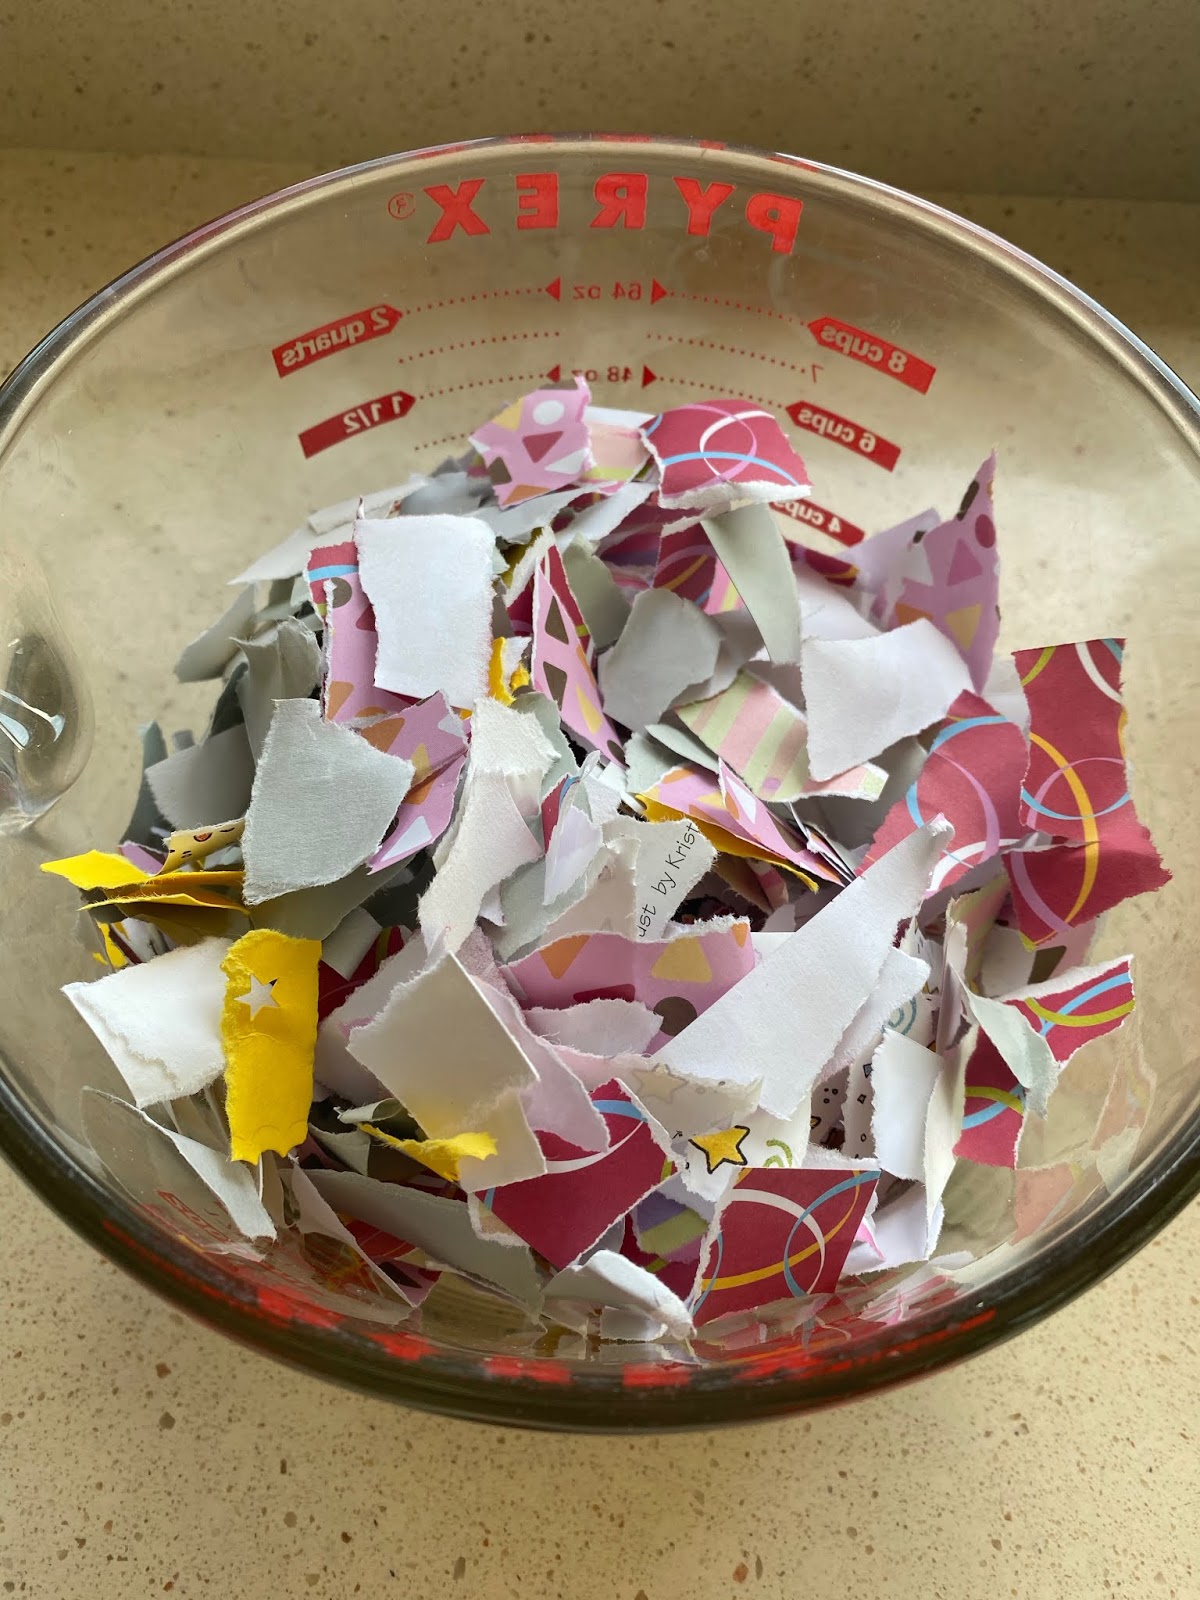
I ripped up paper into small pieces, about 5 cups worth, put in a big glass measuring bowl and added warm water to cover. Let it sit for a few minutes to get the paper soaked.
Put the wet paper in a food processor or blender with enough water to blend it. Initially I drained off most of the water but the processor did not like that and that's when I started to worry I was hurting it - but once I added water back in it worked like a charm. You'll know, the blades stuck in place without enough water to blend the paper.

Once it's mushed up (see the photos, has the texture of dough) put it in a colander and press out as much water as you can. I squeezed balls of it in my fist to get even more water out, then add the seeds and knead them into the paper. Pack the mixture into molds - as you can see in my pics the more detailed molds didn't work as good, they were hard to get out of the molds. I found the small circle molds to work great.

Once you've tightly packed the molds press on the tops with dry paper towels and even more water will be released. Set in the sun for an hour before unmolding.


After removing from the molds, put them on a wire rack and set back outside until they are dry. I left mine out for a couple hours and then just left them on the rack on the kitchen counter until the next day.

Now they're ready to be planted! Can't wait!

found here at onelittleproject.com

DIY Seed Bombs
These adorable little seed bombs are so easy to make and would make a lovely Mother's Day or teacher gift! Kids of all ages will love helping with this DIY garden craft!
Materials
- Seeds
- Colorful Paper
- Silicone Mold
- Blender
Instructions
- Tear the paper in small pieces.
- Soak the paper in water for about 15 minutes.
- Squeeze out the water and place the paper in a blender and blend until it is a pulp consistency.
- Squeeze out any excess water out of the pulp.
- Fill the molds up half way with pulp, pressing down firmly.
- Sprinkle seeds on the pulp and fill the rest of the way.
- Allow the bombs to fully dry, about 2-3 days before removing them from the molds.
No comments:
Post a Comment