Thursday, October 31, 2019

Succulent Garden

What can I say, it made me laugh.


Have a fun, safe time if you're out and about tonight - I'll be hiding with Sarge in the bedroom, he'll be watching TV (for real) and I'll be drinking wine waiting for Dave to get done passing out candy.

Dave loves passing it out, Sarge loves TV, and I love wine... it's a win-win for all 😉


On another note - I crashed a 13-year-olds birthday party last weekend and made this super cute succulent garden. Jordyn hired 'Tipsy Terrarium' as a fun thing to do at her daughter's party (love this idea so much!); they brought tons of baby plants, sands, crushed stones, pebbles, glittery things, lots of seasonal novelty pieces like pumpkins, bats, candy corn, and these cool skulls. I made mine half tan sand, half gray sand; put a line of pebbles where the two colors of sand meet; added baby pinecones and a skull. Friday morning I'll probably pull the skull and then just have a pretty succulent garden (or maybe I'll find a little thanksgiving thing to add...). Cute right? Thanks again to Jordyn and Erin for letting me join them!


Here's some of the other gardens the girls made:


Wednesday, October 30, 2019

Sharpie Art Treat Bags

Here's another last minute Halloween idea, cute for a lunchbox surprise, classroom or friend treats. Or just cuz I'm a doodler and these simple treat bags were fun for me to play with - it's just drawing on a plastic bag with sharpies. Easy and quick - get doodling and you still have time to make some before Halloween is here!


This idea was inspired by the decorated bags I saw here, obviously theirs are waaaaay more decorated but I found the big fat sharpies show up better on the baggies and I only have black (the thinner pen-like ones work good for smaller areas)... I'll get more big ones and keep playing with this fun idea.


A similar idea is Tesha's cute jack o'lantern treat bags I posted last year - she drew a face on a baggie and tied with cute ribbon.

Tuesday, October 29, 2019

Black Cat String Lights

I have an old picture in my files of an idea similar to this and decided to make it as a last minute Halloween decoration. It's very quick and adds a cute little touch.  I downloaded a basic cat head shape, cut a few out of black cardstock, hole punched the eyes and threaded tiny copper-wire lights thru the holes so the eyes glow...pretty cool, right?

I took a picture when it got darker but then it's just the lights, LOL you can't see the black cats in the dark! Duh.


Monday, October 28, 2019

Sunday, October 27, 2019

Around the Campfire 🔥 (week 43)

Dear Campers ~

Here's a quick recap in case you missed anything at MMDC this week:

Posts ~
10/20: 🔥(week 42)
10/21: tissue paper pumpkin
10/22: orange pumpkins
10/23: cupcakes with pretzel frosting
10/24: my sis is hungry: pumpkin pie twists
10/25: mummy calzone
10/26: bell pepper jack o'lantern

What's cooking ~
  • marinated pork tenderloin, peirogi 
  • rice bowls (layered flavored rice, salad, chopped meat)
  • stuffed salmon, cauliflower rice, wilted spinach
  • steak, potato wedges, wedge salad
  • beef stroganoff, tossed salad
Miscellaneous stuff keeping me busy but not worth a whole post (although I had another week like last week where I've spent all kinds of time in a hectic chaotic state!) ~
  • Finished all the outside chores. I love fall but cleaning up the flower pots, etc. while it's sunny hurts me!
  • Read 1/2 of "A Gentleman in Moscow",  took me a while to get into it and by the time I did I had to return it to the library for a couple days. I've checked it back out and will finish it this week. 
  • Braved the Secretary of State to renew my drivers license. Thankfully they don't do the vision test with the big bold E anymore (last time they did and asked which way the E was facing, I replied "what E?"). Don't tell them but with the new vision test I can close my bad eye and squint a bit and read the letters just fine LOL! Also, they ask if you are good with the new picture now (did we have a choice before? I think not), I totally wanted a redo but felt stupid saying so hahahaha...sigh. Whatever. 
That's it - I had a week full of appointments, niece volleyball games, shopping with my sis, and making stuff! Come back next week to see a couple last minute Halloween ideas, and more fun crafts, recipes, whatever I can think of!


                                                         Happy Halloween Week!

Sincerely ~


Jill
camp counselor and bad drivers license photo taker (but hey, I didn't get a "needs to drive with glasses" sticker so there's that...maybe watch out if you see me driving 😉)


Saturday, October 26, 2019

Bell Pepper Jack O'Lantern

Know what's easier than carving a pumpkin? Carving a bell pepper! Waaaaaay less mess, just as cute, super fast, and you can eat the whole thing right after carving it! #winning


Got the idea for this from a Costco magazine - they cut off the top and removed the seeds and then filled with dip (like the red one on the left); I don't have dip and have no reason to make dip today so I carved the orange one on the right straight thru the front without removing the seeds just for the heck of it. Cute, right?
cut a thin slice from the bottom so it stands up

this one I left the seeds in and just cut straight thru the front


the red one I sliced off the top and removed seeds - you can then fill it with dip or
salad or whatever...maybe I'll stuff it with meatloaf and bake!


10.26.18: baby footprint ghosts
10.26.17: mummy cupcakes
10.26.16: 2 ingredient pumpkin spice cookies
10.26.15: no-sew trick or treat backpack

Friday, October 25, 2019

Mummy Calzone

I posted this last year on 10/30, which was almost too late for anyone to make before Halloween - so I'm reposting to give you a few days to pull it together this time! Too cute (and delicious) to not show you again:

Unroll a tube of pizza dough and flatten evenly on a piece of parchment paper (I tried to do this on a baking sheet but until the calzone is formed it's bigger than the baking sheet and was too awkward to handle - so assemble it on the counter and then carefully transfer it to the sheet). Make cuts along the sides of the dough, I used a metal spatula as a guide to make the cuts even, about 3" in towards the center of the dough. Spread pizza sauce and whatever toppings you want - I just did cheese using a 5 blend shredded mix - then fold the cut sides up and over the toppings overlapping the pieces creating a mummy effect; brush with a little beaten egg (that helps it get golden brown when baked). Bake at 350' for 20-25 minutes. Remove to a serving plate, add 2 slices of black olives for "eyes",  cut into slices, serve with a side of pizza sauce if you want to dip (which I do).

Cute, easy, and tastes great!


Click here

Thursday, October 24, 2019

My Sis is Hungry: pumpkin pie twists

Yum. Just Yum. 

Review over. 


HAHAHHAA. Ok, ok.  I can elaborate. 

I saw this recipe on facebook of all places and saved it because I felt it was within my skill set.  Then I rethought it in a fit of laziness and decided to pass it on to my sister in the hopes she would make it for me!
She not only made it but she hand delivered to my work.  First problem- she handed it to me in front of our building manager.  He promptly said he needed to “investigate” before I could take them.  He took one bite and asked if my sister was single.  I then decided not to take the rest inside and took them directly to my car instead.  As I was walking away from my car I decided I was a little hungry and took one with me.  YUM.  So great.  I then very hurriedly stuffed it all in my mouth so no one would see me eating and ask me for another one. 
Suffice it to say I love this.  LOVE.  It was like a little pumpkin pie in my hand.  The dough was flaky (assuming she bought this like the directions called for?), the ratio of pumpkin to dough was great.  Stored them in the fridge and it was just as delicious when chilled.  These would be perfect for any fall dish to pass, dessert, or even just for a snack.

All in all these were amazing… and totally within my skill set.  Even though I still want my sister to make them for me.


Ingredients:
  • 1 (8 oz) can crescent rolls
  • 1/4-1/2 cup pure pumpkin puree
  • 2 T. butter, melted
  • 3 teaspoons pumpkin pie spice
  • 2 T. butter, softened
  • 2 T. cream cheese, softened
  • 1/2 cup powdered sugar
  • dash of vanilla


Directions:

Preheat oven to 375'. Line baking sheet with parchment paper, set aside.

Unroll crescent dough to it's full rectangle size (don't separate into triangles), separate into 4 smaller equal rectangles - pat them out a bit so all 4 rectangles are the same shape.

Spread pumpkin onto 2 of the rectangles. Note * you are going to put the second rectangle on top of the pumpkin, so while you want a generous pumpkin layer you don't want it to gush out either. Use your judgement. 

Place the other 2 rectangles on top of the pumpkin, lightly press edges together.


Brush melted butter on top of rectangles, sprinkle with pumpkin pie spice. Using a pizza cutter, cut both rectangles into 6 long strips.

note my different sized rectangles! 
Twist each strip a few times, lay on the baking sheet and press the ends down a bit. Brush any leftover butter on the twists and sprinkle with additional pumpkin pie spice if desired. Bake for 8-10 minutes. 


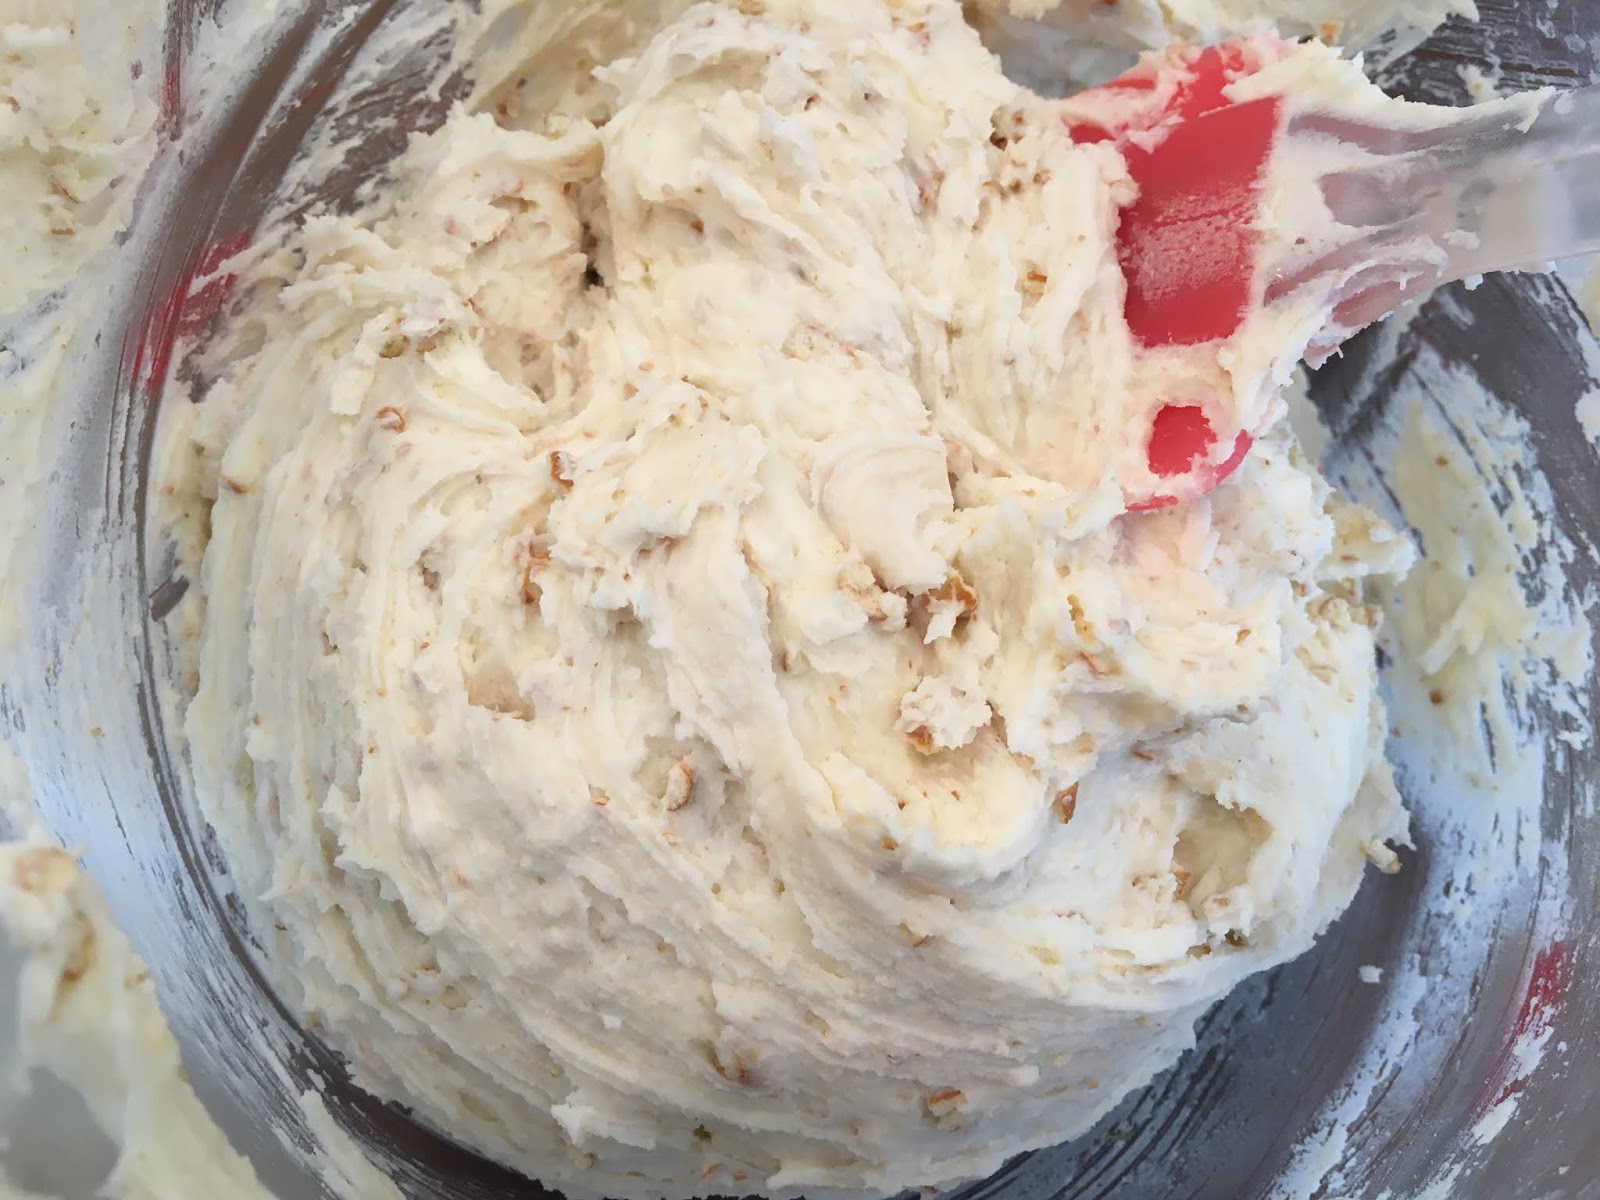
After the twists have cooled, make cream cheese icing by beating together 2 T. softened butter, 
2 T. softened cream cheese, powdered sugar and vanilla until smooth and creamy. Fill a ziplock bag with icing, snip off a corner and drizzle the icing over the twists. 

I was lazy and didn't individually ice them, just laid them next to each other
and squiggled the icing on en masse hahaha. Works just fine!

Jill's notes: I reduced some of the amounts called for in the original recipe I loosely followed, there are lots of recipes online if you want to search for how others make these. I did put the icing in a baggie as directed but whether I'm just super powerful or the baggie was weak the whole side of the baggie popped a hole and there was icing everywhere. Everywhere. Next time I think I'll make the icing a bit runnier and drizzle over the twists with a fork. 

Also, as an aside - if you've been reading my sissy's reviews long enough are you also wondering why she didn't ask if these are healthy? All her reviews say something like "I'll score this one higher if it's healthy" but not this time LOL. 

Wednesday, October 23, 2019

Vanilla Cupcakes with Pretzel Frosting

I made mini cupcakes (yes, yes, from a mix - no time for scratch right now and if you doctor it up a bit it tastes even better...add an extra egg, change the water to milk, replace the oil with melted butter) to take to tap class this week and wanted to do something different.


As a side note - I saw a picture of chocolate covered pretzels that look like pumpkins that I thought I'd make today, before realizing that I was not in the mood nor had the patience for dipping pretzels; after about 6 of them I went rogue and just drizzled a tray of pretzels with the melted chocolate and added sprinkles. And have most of a bag of pretzels laying on the counter when the idea for making cupcakes came to mind.


Back to the cupcakes. I always make buttercream, I love buttercream, it's my go-to frosting and everyone likes it. (Except one of Jenny's co-workers but he's the exception LOL). But I always make buttercream and I was feeling like changing it up a bit...and saw the bag of pretzels...and thought "pretzel frosting? is that a thing?" And voila, cue these cupcakes with pretzel frosting!


All I did was add crushed pretzels to standard vanilla buttercream, which is amazing. Sweet and salty, with a little crunch. Yum! Because I conveniently had all those drizzled pretzels on hand I put one on top of each cupcake - they turned out so good. I'm happy. As happy as sweet and salty pretzel frosting can make a person anyway ;)


click here for the buttercream recipe, which coincidentally happens to be on my mummy cupcakes (perfect for this time of year) - check them out:


Tuesday, October 22, 2019

Orange Pumpkins

Super quick fun little idea I saw in the Costco magazine - stick a piece of celery in the top of a peeled orange and it looks like a cute pumpkin. How easy?


Cleaning out the fridge I found an orange that's obviously been in there way to long and has seen better days, I thought it made a good ugly pumpkin so added the celery stem without peeling the orange first - looks good that way too...cute as a table decoration, at place settings, lined up on the windowsill (wherever you're feeling a orange/slash/pumpkin this time of year!).


Monday, October 21, 2019

Tissue Paper Pumpkin


I have a big tissue paper ball hanging in my craft room and it gave me the idea for this pumpkin ball. I made the black/red/white one by combining a bunch of tissue paper flowers I made years ago to decorate the little football cheerleader parade wagon (I made them out of our team colors and put them on top of posters and around the wagon - too much work to just throw them out!), by putting the flat bottoms together it created a ball that I then tied a length of string to and hung from the ceiling:


I went to a dollar store looking for orange tissue paper to make a pumpkin ball but they didn't have - they did have orange tissue ball garland tho and it's basically exactly what I was going to make by cutting squares of tissue and layering them together so I took the shortcut! If making this out of sheets of tissue paper, you'll need 8 (5.5" x 6.5") squares for each ball - I made 6 small balls and put them all together to make one big one.


(do you remember how to make a tissue paper flower? I've posted them a couple times, click here and here for examples and instructions).


Stack the 8 squares on top of each other and accordion fold back and forth in about 1/2" folds. Tie a length of thin ribbon or cord in the middle. Unfold each layer, leaving the bottom flat instead of making it into a ball. Repeat for a total of 6.


Tie all 6 of them together using the tails from the middle of each one. Add curled pipe cleaners for the stems if desired. Now you can either hang it by a longer piece of ribbon or cord, use it as a table decoration, put on top of a present...whatever.

Oh, and you could just make one small ball and add pipe cleaner stem - that'd be really cute as place settings:
one tissue ball

6 tissue balls tied together