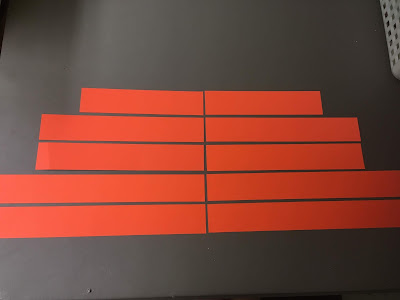
Cut each piece of paper lengthwise into 5 strips (1 and 1/2 inches wide and 11" long), you need 10 strips total.
Cut 2 of the strips 7" long and 4 strips 9" long - leaving 4 strips 11" long
Join 2 same-size strips together with hot glue. You now have 1 strip about 14", 2 strips about 18", and 2 strips about 22" long. Accordion fold each strip in about 1/2" folds and join the ends together with hot glue to form a circle, see the photo below.
Push down on the top of the circle to form a pinwheel - I had a little trouble at first pushing it into the pinwheel shape, but keep trying and you'll get it. Once I realized I had to push pretty hard the rest of them came together quickly. Hot glue the center of the pinwheel to hold the shape.
Note: I decided to only use 4 pinwheels instead of 5 like the original directions. I just liked it better that way because the cardstock is so thick it made the pumpkin too tall in my opinion. Next time I think I'll try lighter weight scrapbooking paper and then probably use 5.
click here for original source and more pictures/instructions.
10.14.18: around the campfire recap
10.14.17: paper sunflower wreath
10.14.16: Brooke's curly hair tip


No comments:
Post a Comment