I made this explosion box last year for Brooke's graduation present - yes I made it a year ago and am just now posting! It's just that it's a bit of work (but not hard, just time consuming) and there's so much I added to it that I just kept putting off writing it up for you. But it's time!
An explosion box is folded pieces of paper layered on top of each other creating the base of the box that you decorate as you like, with another piece of paper folded to make a top. After adding however many layers you want to the base and decorate/fill it, you fold up the box and put the top on. When the recipient lifts the top off, the box falls open to reveal all the surprising layers and gifts.

 |
| my explosion box is 4 layers with pockets, pull outs, accordion folds...there's a lot going on here! |
You can make it much simpler than I did, I kept adding layers and went a little extra because I was having so much fun making it! I searched for different ideas online, there's a lot of inspiration out there if you want to make your own explosion box - everything from very detailed and layered, to a simple one-layer thing. Up to you!
There's too much to my final product to show you all at once so I'll space it out over a couple-three posts. Today I'm going to show you how to make the base layer and lid without any decorations. For the finished product I combined a whole bunch of ideas, but for the base layer and lid I followed the directions found at 'it's always autumn'.
Here is her instructions, and she made a video that you can watch if you click on the above link. I took pictures of the process that follow her printed directions:
Explosion Box
Ingredients
- 12x12 inch Solid Colored Card Stock 1 per layer you'd like to include
- 1 sheet Printed Card Stock
- Adhesive
- Paper Trimmer with Scoring Blade see note
- Photos
- Embellishments
Instructions
- Print the cutting decide and decide how many layers you would like to make your box. My box has three layers and uses the dimensions that are highlighted in light yellow. Cut your solid card stock to the dimensions listed on the cutting guide.
- Find the scoring measurement for the largest piece of cardstock. Measure in from one edge of the cardstock and score (for example, 4 inches in on a 12 inch piece of card stock). Rotate the paper 90 degrees and repeat. Repeat twice more until the card stock has been scored 4 times. This will divide the sheet of paper into 9 equal size boxes. Repeat with the other layers of cardstock.
- Fold in the card stock along all scored lines. Again, you should see 9 equal size boxes on each sheet of card stock.
- On the largest piece of card stock, make a diagonal fold through each of the corner boxes. The diagonal fold should fold "down" while the other folds fold "up". Watch the video for a good explanation of this step.
- On the largest piece of cardstock, trace the heart from the cutting guide and cut it out as shown.
- One the other pieces of card stock, cut away the corner boxes. Layer the largest piece of cardstock on the bottom, then center the next piece over it and adhere on the center box only. Repeat with any other layers.
- Print the lid template on the back of the printed card stock (trim it to fit in your printer if needed). Cut along the solid lines, then score and fold along the dashed lines. At each corner, cut up to where the dotted lines meet from one side only. You are not removing the corners; you are making a flap so you can glue the lid together.
- Fold over the flat at each corner and add adhesive, then press to adhere the flap to the side next to it, creating a box lid.
- Decorate the box as desired, adding pictures, notes, embellishments, etc. When finished, gather up the sides of the box, folding the hearts in toward the center, and place the lid on top.
Notes
 |
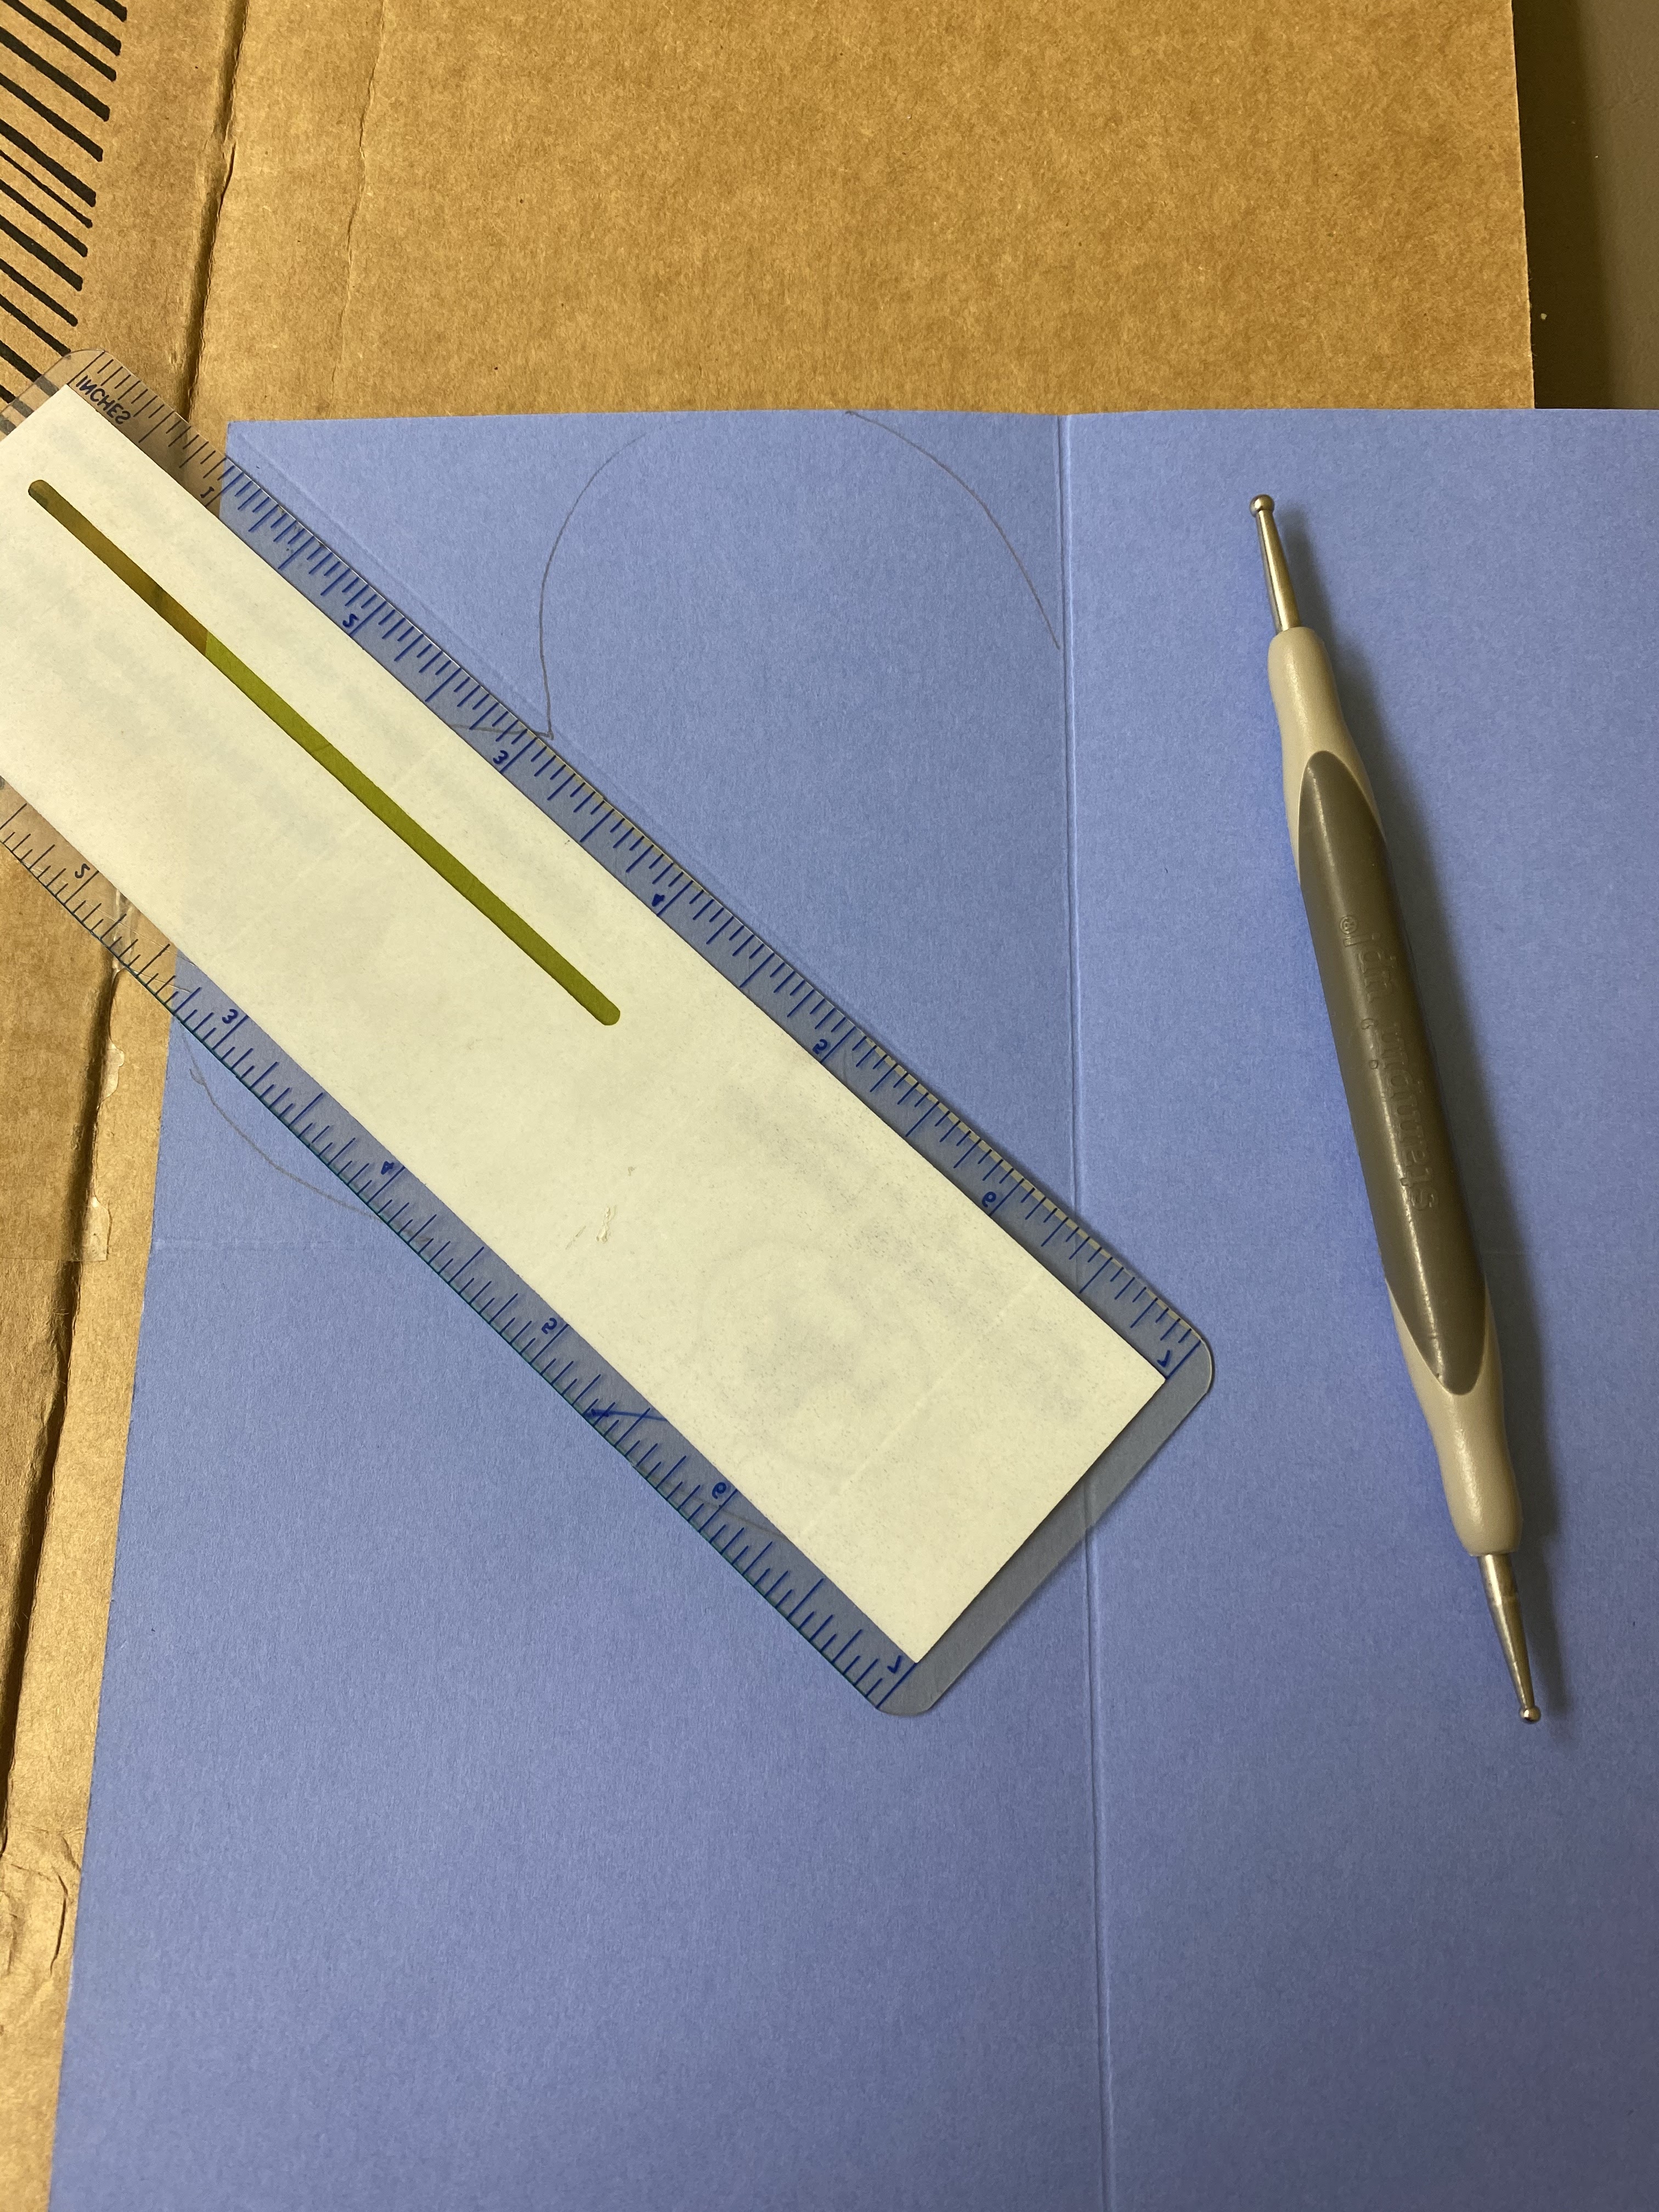
| starting with a 12" square piece of cardstock, score and fold every 4 inches for a total of 9 (4") squares. |
 |
| her site gives you a heart template to shape the 4 corners. Turn the paper over and trace around or freehand a heart shape as seen above. Please note this photo is wrong, I traced on the paper before turning it over. |
 |
| with the paper turned over, score a fold line thru half of the heart as seen above and below, you want the score line thru the heart the opposite of the score lines on the squares. This will help when folding the box. The diagonal line thru the heart will fold 'down' while the other score lines will fold 'up'. See the next pictures: |
 |
 |
hopefully the pictures above and below help you see what I was talking about with the folds! |


Fold the box up and keep closed with the lid:


5.8.22: 🔥 week 19
5.8.21: eggplant lasagna
5.8.20: making soap
5.8.19: Jen's beef enchiladas
5.8.18: watch battery tip
No comments:
Post a Comment