Friday, September 10, 2021

Flower Seed Wedding Favors

We made little packets of perennial wildflower seeds to give as wedding favors at Mickey and Kyle's wedding last weekend - they're very easy to do other than it took me a while to figure how many seeds we would need to fill 120 packets...Googling didn't help much so today's post is to help clear that up if anyone else is looking for this info! 


A lot of the bulk seeds I found have 'filler' added to help spread the seeds when sowing over a large area, but we only wanted seeds in our little packets - fortunately I found some on Amazon that are just seeds so ordered a 1/4 pound bag not knowing how many packets that would fill. We played around with different amounts of seeds in each packet, how much seemed like enough - we settled on a generous 1/2 teaspoon per packet. I know that doesn't sound like much, but it is!

1/4 pound bag of seeds filled about 70 packets so I needed another bag but had quite a lot left over (I planted the leftover in the ground and they're sprouting already - there isn't going to be time for them to flower before Fall, but I'm hoping the seeds will establish themselves and make it thru the winter!). It's so fun to watch them coming up and knowing they're from the wedding. 

We folded the envelope tops and held them closed with a sticker that says the name of Kyle's family farm, that's where they held the wedding, how cool to have a little favor/gift from the farm to remember the wedding; Mickey made a sign that said 'Let Love Grow' and we put the packets in a pretty basket with the sign. 


Thursday, September 9, 2021

Window Signs

 Mickey got a bunch of old windows from someone on FB that was getting rid of them for free with the agreement you had to take all 15 of them - some were broken but she ended up with quite a few in good shape. The frames are old and 'distressed' from original use, not because we did any kind of trendy distressing technique hahaha. Macey painted directly on the glass to make signs for the food stations and seating arrangements - look how great they turned out! I love this idea. 


For the stations she painted the words on the front and then did a wash of blue paint mixed with a little water all over the back of the glass so the words would stand out better. Cool, right? 

Wednesday, September 8, 2021

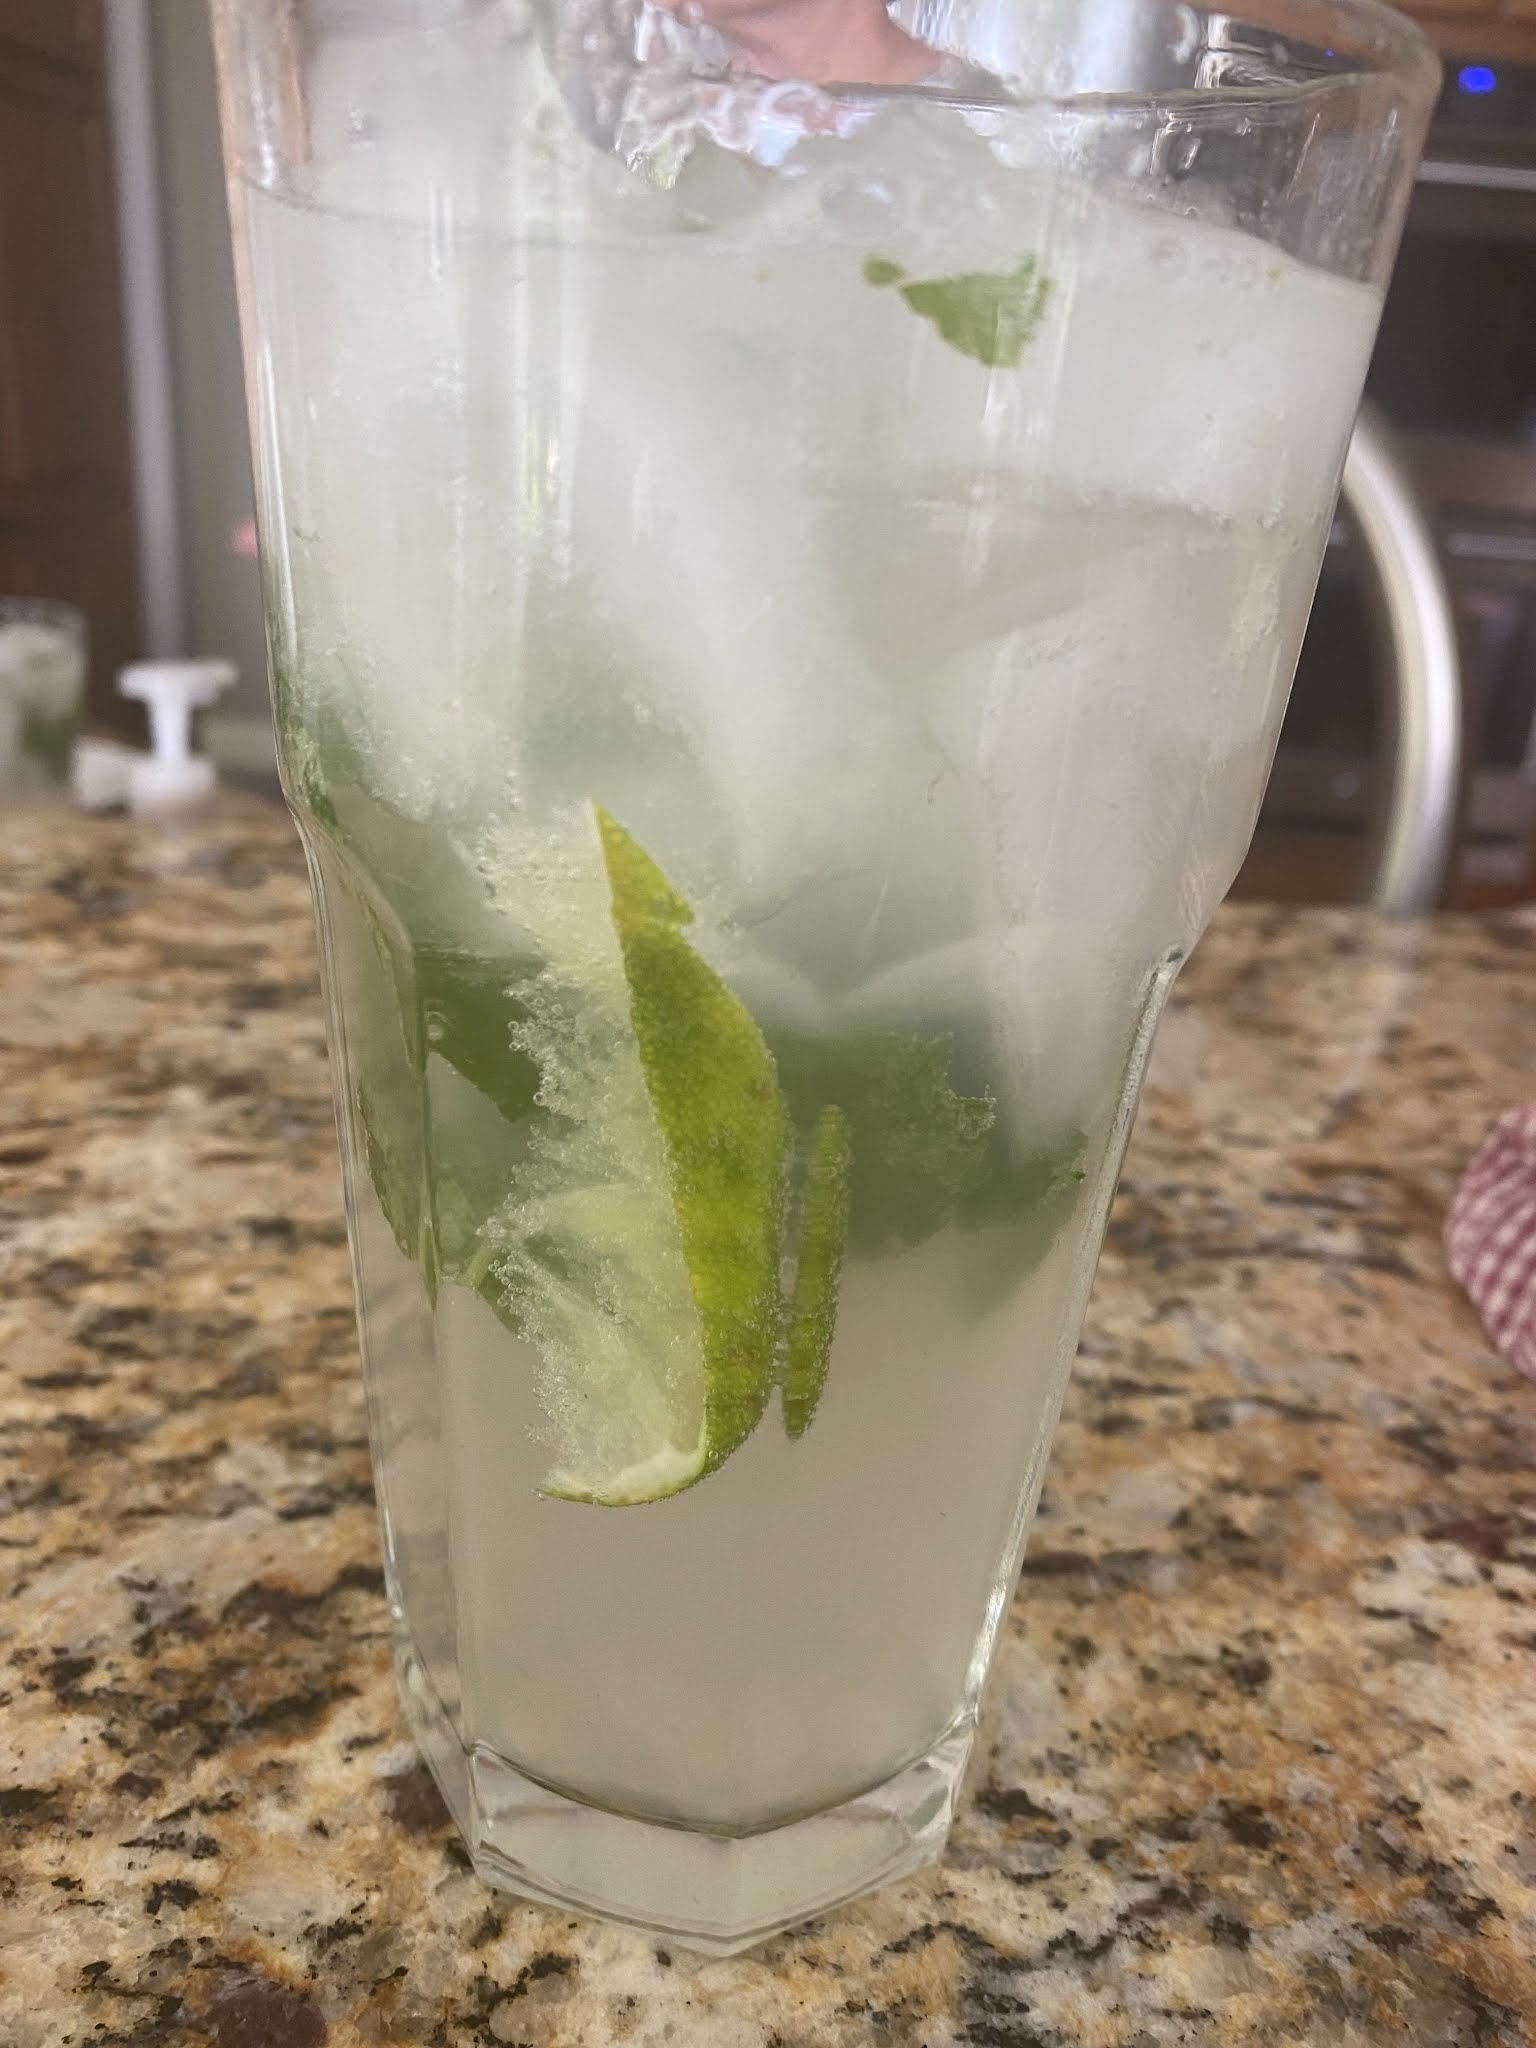
Mojitos

Al made us mojitos using mint leaves from 'mojito mint' plants that Cathy and I bought at a nursery at the beginning of summer - and they are so refreshing and delicious! Do you like mojitos? I'm a fan of the sour notes of lime and mint, you can make them as sweet as you like depending how much simple syrup you add - I prefer it on the tart side. 

Simple syrup is simply equal parts sugar and water; heat them in a saucepan for a couple minutes until the sugar is dissolved. 

Muddle a few mint leaves in the bottom of a cocktail shaker or glass (muddling is just gently smushing the leaves to release their juice and fragrance, you don't want the leaves smashed into pulp tho). Add a couple tablespoons of the simple syrup, couple tablespoons of lime juice, rum to taste (I'd do equal amount of rum as syrup and lime juice - in this case about 4 tablespoons of rum, more or less to taste). Shake and pour over ice. Garnish with additional mint leaves and lime wedges. 

Tuesday, September 7, 2021

Tip-sy Tuesday: solo cup

Well here's something I didn't know about Solo cups - not that I've spent much time thinking about what the lines actually mean, but it's an interesting tip...although I kinda wish I didn't know that I've been drinking way more than 5 ounces of wine hahahahah! 


Monday, September 6, 2021

Welcome to the Wedding Sign

Kyle gave me a big hunk o' tree (39"x21") that he planed smooth on one side so I could make a welcome to the wedding sign for them, the thought was they'd prop it up somewhere near the entrance. It's sooooo heavy that I had no idea how I was going to work on it; first I tried leaving it flat on the ground, then propped up against the garage wall thinking I'd sit on the floor to do it but that was really difficult - so I wrestled it to my truck's open tailgate where I could work on it while standing, much easier. It's way too heavy to have carried into the house so I could work at a table! Next I laid out blue painters tape roughly where I th

ought the words would go so I knew how much space I had to fill and how big the letters needed to be. 


Second small hurdle was that it isn't square so I wasn't sure how to make the words straight - I finally settled on where I wanted the middle of the wood to be (the bottom is wider than the top so I found middle using the top) and then measured from the ground up and put a piece of blue painter tape indicating where the line was parallel to the ground (not parallel to the bottom of the wood). After marking it with tape I ran a level along the tape edge to make sure it was level before sticking on the vinyl Cricut letters I cut out.

 I love how this turned out! 


If you're curious, the fonts I used are Noelan, PT Sans Narrow, and Pingfang HK


Sunday, September 5, 2021

🔥 Around the Campfire (week 36)

 Dear Campers ~

Here's a quick recap in case you missed anything at camp last week (it was pretty much an all-cake week leading up to Mickey and Kyle's wedding yesterday!):

Posts ~

8/29: 🔥week 35

8/30: layered birthday cake

8/31: tip-sy tuesday: making cake layers

9/1: swiss meringue buttercream frosting

9/2: naked cake

9/3: tiny wedding cake

9/4: beer tap pull handles

What's Cooking ~

  • grilled pork chops, gnocchi, chopped salad
  • grilled chicken, caesar salad
  • tacos, chips with salsa and queso
  • grilled salmon, parmesan couscous, green beans
It was a busy week with the wedding rehearsal night, Brooke's 18th birthday, and the wedding so not much else got done. It was busy but it was also a ton of fun! The wedding was beautiful and perfect (even with some rain, everything turned out great), and my feet are tired today from dancing - the sign of a great party, right? hahah!  Hope everyone had a great week - stop by often to see more crafts, projects, recipes, tips, etc. Bye!

Sincerely ~


Jill 

Saturday, September 4, 2021

Beer Tap Pull Handles

Quick little last minute thing for the wedding - added some labels to plain wood pull handles to identify what is what in the beer cart. As we were setting up Mickey asked how hard it would be to cut some Cricut words to stick on the handles and I ran home to make them - for real this was like a 20 minute craft and they turned out so good!


The font is 'Saginaw' if you're interested...


Friday, September 3, 2021

Tiny Wedding Cake

I had a little left over batter from making Mickey and Kyle's naked cake for their wedding tomorrow - so I made them a tiny baby wedding cake. I'm thinking they can freeze it and do that tradition of eating it a year from now on their anniversary - if they don't want to do that then they can just eat it now, I don't career hahahah. 


Ignore the winter decorations, this photo is from the first time I practiced the naked cake back around Christmastime! 


Thursday, September 2, 2021

Naked Cake

There's a new trend in cake decorating - the 'naked' cake. Well, I should say it's new to me - maybe it's been around and I just hadn't noticed haha. So the naked cake is just a cake that you frost and then scrape most of it back off - hence the 'naked' part of the cake! Basically it's like a cake that has been crumb coated, but the top is frosted so it's prettier - a crumb coat is a base layer of frosting that you put all over the cake and then chill for a bit, before adding a top layer of frosting. The crumb coat helps keep the cake crumbs out of the finished frosting layer, and gives you a smoother base for adding the outer frosting.

Mickey asked me to make a naked cake for her and Kyle's upcoming wedding; they are having a dessert table with cupcakes but she wanted a small cake on a pedestal so they have a cake to cut at the reception (and also she thinks some people might be looking for an actual piece of wedding cake instead of one of the flavored cupcakes - side note: can't wait to show you the amazing cupcakes she has hired a professional to make! Yes she asked if I wanted to do it, but with all the other wedding things I'm helping with I didn't think I could also swing a couple hundred cupcakes...). So I watched a few youtube videos on how to frost a naked cake and that's when I realized it's basically just frosting the cake and scraping it back off hahah!

So, directions to do this - not much to it but I'll tell you anyway:

  • make the frosting you are using - I did swiss meringue buttercream but any frosting will work.
  • prepare the cake layers, however many you are using. I did 3 so baked it in one tall pan and cut the layers into 3 even slices. click here to see how I cut them. If you have a cake decorating turntable it is handy when you are rotating the cake scraping the sides, helps in making the sides smooth if you can hold the scraper or spatula along the side of the cake while rotating.  
  • place one layer on a plate or cake circle, top with frosting (you want all the layers to have the same amount of frosting, I do approx. 1/2 cup in each layer), add next layer and frosting, continue with all your layers. 
  • next frost the entire cake like you usually would except it doesn't have to be perfect. Just put frosting all over the cake including the top. 
  • Run a bench scraper or a frosting spatula all around the sides of the cake, removing frosting. I remove small sections at a time, scrape the frosting off into a bowl, then continue scraping the cake. You want to be able to see the cake in some spots. Think of it like distressing the cake just like if you distressed furniture haha! Once you have the frosting pretty much how you want it, hold the scraper or spatula against the entire side of the cake and do a final smooth scraping/smoothing. Smooth the top of the cake  without removing frosting, the top stays frosted as usual. 
  • decorate the top as desired. I don't have a picture until after the wedding Saturday, we are putting fresh flowers and/or greenery on the top and around the base - I'll share the pic Sunday!
That's it - basically frost the cake and the scrape the sides! It's different and some people (ahem, my sis) don't think the cake looks 'finished' this way, but I like it - hopefully Mickey and Kyle do too! 


Wednesday, September 1, 2021

Swiss Meringue Buttercream

I make a lot of frosting. Like a lot, a lot of frosting - my go to is standard buttercream and I've recently learned it's actually called 'American Buttercream' or ABC frosting. For Mickey and Kyle's wedding she asked me to make a small layered naked cake for the dessert table and even tho I was super scared to mess it up I agreed. And for some reason decided to go out on a limb and attempt Swiss Meringue Buttercream even tho I've never made it (or even tasted it!) after reading about how great it is, it's stable at room temperature (even tho it's a lot of butter and will of course melt if it gets too warm out just like regular buttercream), silky and smooth, and easy to work with. I have been practicing the cake of course and every time this frosting has worked and is delicious! And I was sooooo afraid of it because you have to make meringue first and then add butter - just seems harder than my usual but it's actually totally worth making! I've tried a couple different versions and although they both are good I have the best luck following Martha Stewart's recipe - and there's lots of info on Google if you have any problems with it not turning out perfect; pretty much you can fix any problem that might occur! This is amazing frosting - very heavy on the butter but not as sweet as my traditional buttercream. 

I read lots of tips on making it, getting the temps right and all that but Martha doesn't really worry about being so careful and if I just do what her recipe says it is perfect. There's tips like wiping all the pans and utensils with vinegar beforehand, the exact temp you want the butter, etc. but it didn't turn out any better when I did all that. So I say just do what Martha does hahaha!

Click here for her recipe, and I'll print it below along with a couple pictures I took of the steps:


Ingredients:

  • 5 large egg whites
  • 1 cup plus 2 T. white granulated sugar
  • pinch of salt
  • 1 pound (4 sticks) unsalted butter, cut into tablespoons, room temperature
  • 1 1/2 t. vanilla