Tuesday, December 29, 2020

Recycled Christmas Card Projects (rerun)

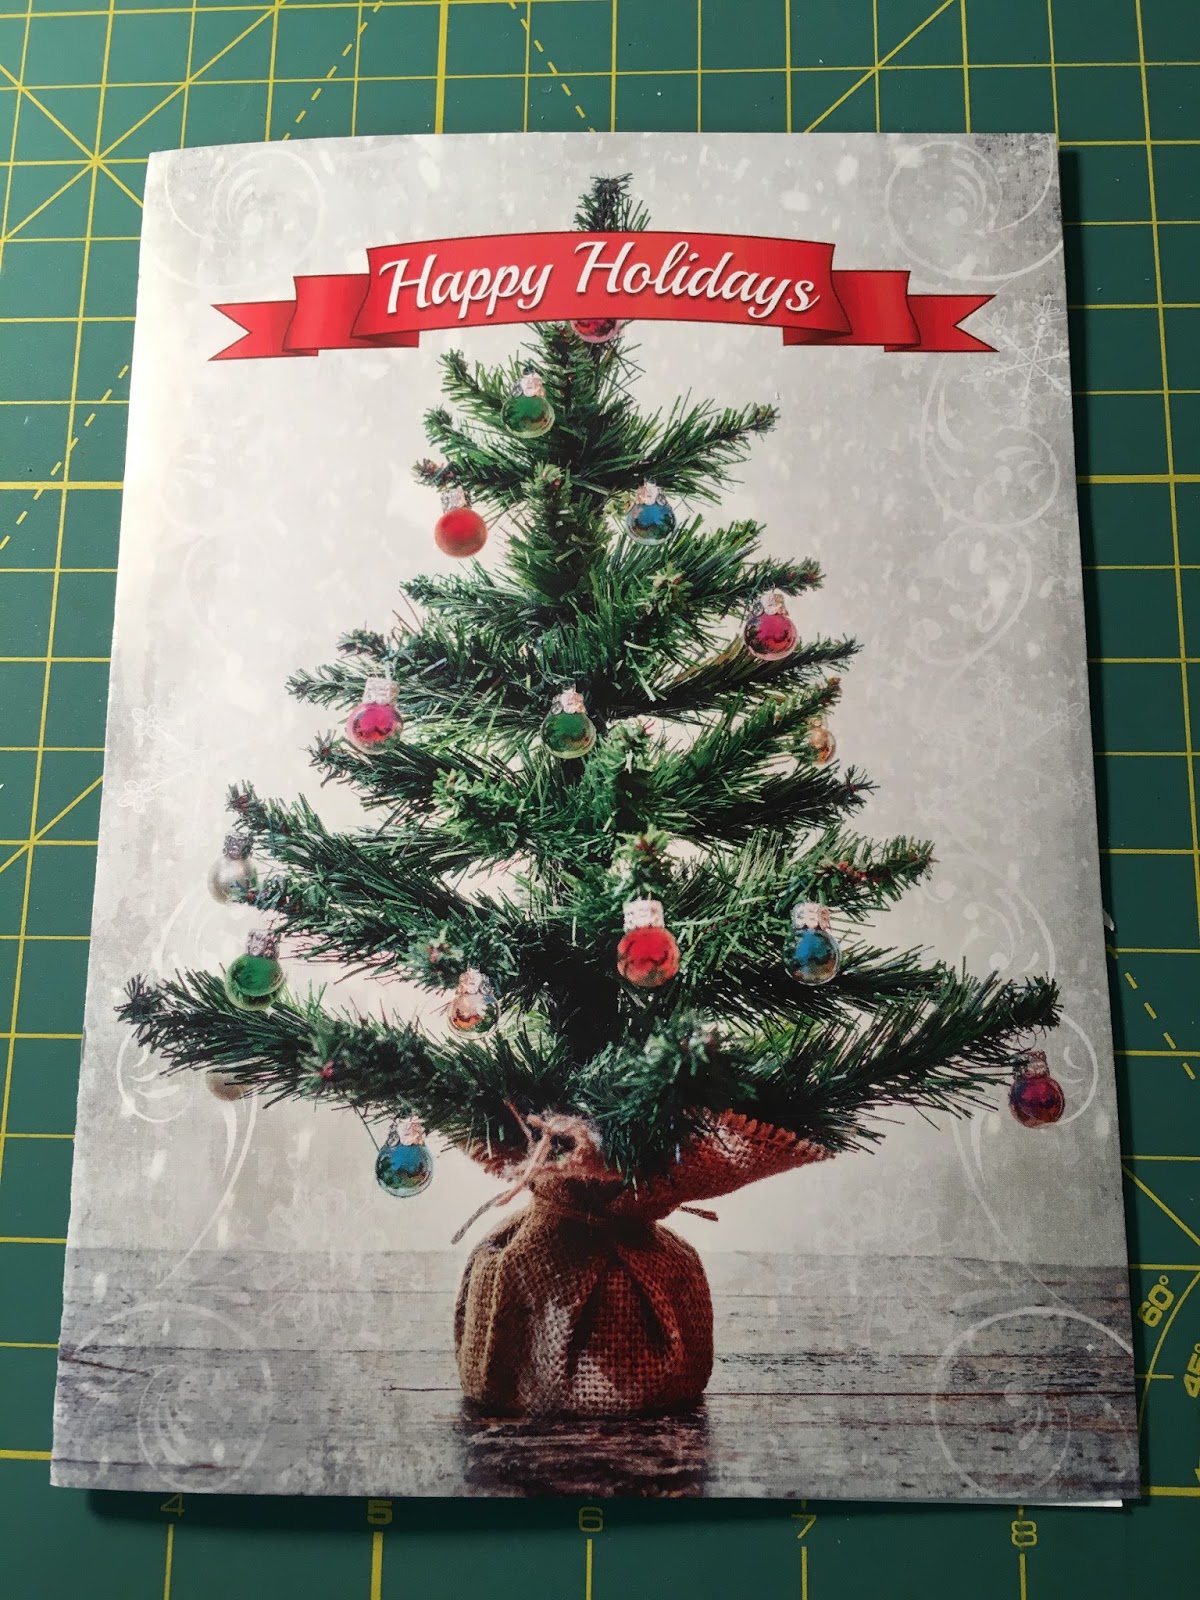
I posted these ideas to turn your Christmas cards into other things on 12/29/15 - they're cute and easy projects that I still like so I'm showing them to you again!

* gift tags: simply cut out the image you like and punch a hole in the corner, add a ribbon or cord.


* bird hanging: download a bird silhouette, trace onto the card and cut out. I cut the wing out of a different part of the card for contrast and glued it on. poke a hole in the top and bottom, string a few beads onto 2 short pieces of thin wire, then attach thru the holes you poked. I made a loop in the top wire for hanging, and to keep the beads on the bottom wire, loop the wire back thru the beads (see the picture).


* initial tag or tree ornament: use a stencil of the letter you want (I played with fonts and sizes on my computer and then printed out the one I liked), trace it onto the backside of the card and cut out. hole punch the corner and tie on a ribbon.


*small notebook: using the whole card including fold, cut the card into the size of the book you want. this one is 4.5"x 4". fold the inside of card up 1/2" (I made a score line first to get a sharp crease but you can just fold it) and trim the front of card up about 1/2" (the front of card tucks into the fold of the inside card - adjust how long the front of the card is to fit into the inside fold). cut a few pieces of scrap paper a little smaller than the card, I did them 4"x 3.5", put the pages into the folded up part of card and staple. close the book by fitting the front cover under the fold.


fold one edge of the inside of card 1/2", then trim the other side to fit into the fold 
(I drew a line where I will cut to fit)


*gift box: this snowman card only needed an inch off the bottom to fit exactly on this box. find an image or whole card that fits on your small boxes and trim, then glue onto the box top.


Monday, December 28, 2020

Stuffed Pizza Crust

Quick non-recipe for dinner tonight if you're in the mood for pizza (I'm craving cast iron skillet pizza but not sure if this technique would work in the skillet, if you try it let me know how it goes!). This idea is from LeDonna, she made it for us and it's genius - cheese stick stuffed pizza crust. Funny, I don't like pizza crust but stick cheese in it and we're talking an entirely different thing!


She used store-bought pizza dough, rolled it out to fit her pan, cut string cheese in half lengthwise, laid them along the edge and rolled dough up and over to encase the cheese. Brush with melted butter or oil, sprinkle with seasoning if you want. Add toppings and bake according to the dough package directions. Melty-cheesy pizza crust, yum.


Sunday, December 27, 2020

🔥 Around the Campfire (week 52)

 Dear Campers ~

Here's a quick recap of what happened at camp last week:

Posts ~

12/20: 🔥week 51

12/21: tube gift wrapper by B

12/22: circle gift card enclosure 

12/23: candy cane danish

12/24: snowman place setting

12/25: Christmas break/oops - no post!

12/26: Christmas break/oops - no post!

That's it for this week - I'm actually doing some blog clean up work (it's 6/2021 and I see I forgot to do 3 'around the campfire' recaps at the end of 2020! Just catching things up, apparently time got away from me hahahah ;) 


Christmas Break

I disappeared for a couple days there - I'm calling it a Christmas break hahaha. Things got so hectic I didn't even take the time to post anything. Hope you had a good Christmas - let's kiss 2020 goodbye and hope 2021 can pull it together! 

Don't throw out those Christmas cards just yet, we can make some fun things out of them. We didn't get as many this year, once again thanks to Covid, but what we have are beautiful and I love changing them into something else. So watch for some ideas in the next few days. In the meantime, here are some things that I posted the last few December 27ths. 

2019: baked brie

2018: sweet and tangy crockpot meatballs

2017: chocolate caramel tart

2016: peppermint sugar scrub

2015: butter and bread pudding with salted caramel whiskey sauce

Now I'm off to shop for wedding dresses with my niece and sister - the last time I went wedding dress shopping with my friends there was a flask involved. So I've packed my purse appropriately ;) Wish us luck!

celebrating after finding the perfect dress! 


Thursday, December 24, 2020

Snowman Place Setting

I've posted this before but it's so cute and easy I'm showing you again! Your Christmas dinner might look a little different this year (thanks Covid) but you can still set a table that is festive and makes you smile - and how can you not smile at this snowman place setting? 


It's 2 white plates, silverware, a paper dinner napkin for the scarf (I folded it back and forth accordion style and put between the plates to hold it), a paper cocktail napkin for the hat, a hershey kiss for the nose and 2 m&ms for the eyes. I love this setting, made me laugh while taking the picture - adorable! 
 

Or you could do this simple napkin folding if you don't want the whole snowman scene hahah - see how to do it here.


Wednesday, December 23, 2020

Candy Cane Danish (rerun)

This was originally posted 12/23/17,  since I'm beyond busy right now (I know I'm not the only one, I hear you!) and don't have time to make anything I wanted to share it again - and coincidentally it's 12/23! 

My sister made this candy cane danish and sent pics, but no recipe...so I googled and found what looks exactly like hers at pillsbury.com. This looks so pretty, festive, and quite impressive (especially from my not-quite-susie-homemaker sister!) and I had to share. What a fun idea! Way to go Sissy!

Ingredients:
  • 1 can (8 oz) refrigerated crescent dinner rolls
  • 4 oz cream cheese, softened
  • 2 Tablespoons plus 1 teaspoon granulated sugar
  • 2 Tablespoons raspberry preserves
  • 1 Tablespoon butter, melted
Glaze:
  • 1/4 cup powdered sugar
  • 1/2 to 1 teaspoon milk
Directions:
  1. Heat oven to 375'. Line large cookie sheet with parchment paper; spray generously with cooking spray. Unroll dough; separate into 8 triangles. Cut each triangle in half lengthwise. On cookie sheet, place crescent triangles lengthwise in long row, point in the same direction, with edges overlapping slightly on the cookie sheet. Press overlapping edges together to help seal, but leave triangle points free.

  1. Beat cream cheese and 2 Tablespoons of sugar with a spoon until well blended. Spread cream cheese mixture in 2 1/2" wide strip lengthwise on widest part of dough, leaving 1/2" edge. Place the preserves on top of cream cheese layer.

  1. Fold over tips of dough to enclose filling; pinch ends of the dough on the edge to attach. Gently picking up top end of dough, curve one end of strip to form the top of the cane. Brush dough with melted butter; sprinkle remaining 1 teaspoon sugar over the top.

  1. Bake 16-20 minutes or until golden brown. Cool 5 minutes on the cookie sheet. Use spatula to carefully help slide the Danish from cookie sheet to a serving platter, loosening the edges first with a spatula if needed. In a small bowl, mix powdered sugar and 1/2 teaspoon of milk until well blended. If too thick to drizzle add a few drops of milk to get the right consistency. Drizzle with a fork over the top. Serve warm. 

originally posted here


Tuesday, December 22, 2020

Gift Card Circle Enclosure

Last minute frantic gift card buying because you're out of time and needed a present hahaha? Not saying that's what's going on over here (*cough cough*), but if it were to happen I thought making a quick gift enclosure at least dresses it up and makes it look like I did at least put a little thought into the gift giving! 

Trace 4 circles onto the backside of decorative paper (I used 2 different patterns, so trace 2 on each paper in that case for a total of 4). Cut them out. Fold each in half with the pattern on the outside. Layer the 4 together so the fold lines make a square and glue in place. Measure how big the square is and cut a solid piece of paper to fit - write your message, stick on the card, close up the same way by layering the 4 circles. See the pics! You'll need a ribbon to hold it together, then attach a bow. 


Monday, December 21, 2020

Tube Gift Wrapper by Brooke

Here's a quick way to wrap a small gift that Brooke came up with - no one will be able to guess what's inside! Originally I showed her a pinterest thing to fold down the ends of a toilet paper tube to create a little pillow box but that didn't work very well and looked like a 5 year old did it LOL so she changed it into this which is actually very cute and I will definitely be doing this to wrap some small things. 

She didn't write any words like usual but the pictures are self-explaining. I know she would have said something like 

"Hey Guys! I made this fun little gift wrapper out of a toilet paper tube! Then I rolled it up in tissue paper! Then I tied both ends with ribbon! And added a tag! I think it's so cute!"

hahah - don't tell her I'm making fun of her post style, I'm happy with whatever she writes ðŸ˜‚


Sunday, December 20, 2020

🔥 Around the Campfire (week 51)

 Dear Campers ~

Here's a quick recap of what happened at camp last week:

Posts ~

12/13: 🔥week 50

12/14: plant pot bells by B

12/15: Tip-sy Tuesday: holiday phone case by B

12/16: peanut butter kiss cookies by B

12/17: cork gingerbread man ornament by B

12/18: candy cane bows by B

12/19: candy cane bag closure by B

That's it for this week - I'm actually doing some blog clean up work (it's 6/2021 and I see I forgot to do 3 'around the campfire' recaps at the end of 2020! Just catching things up, apparently time got away from me hahahah ;) 


Saturday, December 19, 2020

Candy Cane Bag Closure by Brooke

Hey guys! Today I made this super cute Christmas bag. It was unfortunately broken and didn’t have any handles and I needed someway for it to stay closed! I cut two holes in the top and stuck a candy cane through it!


Jill here - I love this idea! It's the perfect way to close a wrapping paper bag - I immediately made one to show you how cute it looks (click here to see how to make your own gift bag, seriously it takes me like one minute - easy!).  Good job B!