Wednesday, May 29, 2019

Grandma Leonard's Banana Bread

I love old hand-written recipes, especially if they are all stained up and the paper is so thin I'm almost afraid it's going to disintegrate...why is that? Not sure, sense of history maybe. The fact that someone was making this recipe years and years ago makes it special to me. I've been making Grandma Leonard's banana bread recipe for years, if you don't already have a favorite recipe then give this oldie-but-goodie standard recipe a try! We love it.


In her words:

Melt and put aside to cool
1/4 cup shortening
Sift together into a bowl
2 cups sifted flour
3/4 cup sugar
1 tablespoon baking powder
1/2 teaspoon baking soda
1/2 teaspoon salt
mix in and set aside
1 cup chopped nuts
peel and mash enough bananas to make 1 1/2 cups (3 to 4)
Mix until well blended
2 eggs well beaten
1/4 cup sour milk
1 teaspoon vanilla
Blend in melted shortening and bananas
Make a well in center of dry ingredients, and add liquid mixture all at one time.
Stir only enough to moisten dry ingredients. Turn into pan and spread to corners.
Bake at 350' about 1 hour or until a wooden pick combs out clean when inserted in
center. Prepare 2 small loaf pans.


My notes:
- I don't add the nuts and we don't miss them
- I assume sour milk is buttermilk, or add a little vinegar to milk and let it stand for a couple minutes until it curdles.
-this time I made 7 little 3x5 mini loaves (adjust the baking time), there isn't enough batter for 2 regular loaf pans. 

Tuesday, May 28, 2019

Tip-sy Tuesday: Jicama

Do you know Jicama? I love it but it's a gnarly odd looking veggie that might seem intimidating if you've never bought one before - it sort of looks like a potato, all white on the inside, tastes a little sweet like an apple but the texture is starchier than an apple. Peel off the outer skin, then chop, dice, shred, slice, wedge - whatever you want. It's a great crunchy addition to a salad, a veggie tray with dip, or just eat as is for a snack. I've never cooked with it so not sure if that's an option - one of my favorite salads is to combine chopped jicama with tomatoes, corn kernels, fresh cilantro, mixed lettuces tossed with a honey lime dressing (click here for the recipe). 


PS: just FYI if you want to say it or need to ask the grocer where it is, it's pronounced "he-ka-ma"

Monday, May 27, 2019

Red, White, & Blue Berry Trifle

I've posted this recipe a couple of times - if you're looking for a last minute dish for your Memorial Day Cookout I can promise this is a winner!


from 5/28/16:
Here's a quick, easy, yummy, low calorie dessert that's perfect for any patriotic holidays or summer party - it's a weight watchers recipe that I found here and it's SO good. I make this quite often and everyone loves it. I'm taking this trifle to my sisters for her Memorial Day party along with mini cherry and blueberry pies (I haven't made them yet, will post when I do!). Here is the original recipe, followed by a couple of my notes.


RED, WHITE, AND BLUEBERRY TRIFLE
14 (1cup) servings, 169 calories per serving

ingredients:
- 10 oz angel food cake, cut into 1-inch cubes
-2 pints strawberries, sliced
- 2 pints blueberries

for the cream filling:
-6 tablespoons fat-free sweetened condensed milk
-1 1/2 cups cold water
1 package sugar-free white chocolate instant pudding mix
-12 oz fat free frozen whipped topping, thawed

directions:
Whisk the condensed milk and water in a bowl. Whisk in the pudding mix for 2 minutes. Let stand for 2 minutes or until soft set; fold in the whipped topping.

Arrange half of the cake in the bottom of a 14 cup trifle dish. Sprinkle evenly with a layer of blueberries. Spread half of the cream mixture over the blueberries and gently spread. Top with a layer of strawberries. Layer the remaining cake cubes on top of the strawberries, then add more blueberries and top with the remaining cream mixture. Finish with the remaining strawberries and blueberries, arranging them in a pretty pattern. Cover and refrigerate at least one hour.

*notes: I sometimes use low-fat milk instead of the condensed milk/water mixture; and you can change the pudding flavor to whatever you like. Sometimes I get in too big of a hurry and don't cut the angel food cake into small enough bites, you do want them fairly small. I save out a little whipped topping and spread it on the top before adding the top layer of berries in a pattern. One more thing - I put down a little of the pudding first then layer with cake and berries (and sometimes I add raspberries).  Enjoy!

Sunday, May 26, 2019

Around the Campfire 🔥 (week 21)

Dear Campers ~

Here's a quick recap if you missed any posts this week:

Posts ~
5/19: 🔥 (week 20)
5/20: how to make bias tape
5/21: Tip-sy Tuesday: pineapple
5/22: pineapple flowers
5/23: My Sister is Hungry: shrimp pad thai
5/24: stir fry/teriyaki sauce
5/25: healthy chickpea blondies

I hurt my arm and hand moving furniture around at the beginning of the week and am now in a brace for a few days - which is making typing very difficult! So this weekly recap is short and sweet. Hopefully I'll be able to function better very soon and get back to long rambling posts haha! Have a great week, come back and visit me at camp to see more recipes, crafts, and whatever else I can do one-handed for the next few days!


Sincerely ~


Jill
camp counselor and over-zealous furniture mover

Saturday, May 25, 2019

Healthy Chickpea Blondies

Our neighborhood puts out a monthly magazine with local happenings, articles, neighborhood pet bios, etc. This month they included a recipe for "healthy chickpea blondies" by one of the residents that shares heathy eating tips (check her out on Instagram @callascleaneats) and I figured what the heck, I like chickpeas and I like blondies so I'll bite. (Literally).

Ingredients:

  • 1 15 oz. can of chickpeas, rinsed and drained
  • 1/3 cup + 2 T. maple syrup
  • 1/2 cup almond butter
  • 1/4 cup oat flour (you can just blend rolled oats in a high-speed blender)
  • 1/4 teaspoon baking soda
  • 1/4 teaspoon baking powder
  • 1/4 teaspoon salt
  • 1 teaspoon cinnamon
  • 1/2 cup chocolate chips
Directions:
  1. Add all ingredients except chocolate chips to food processor and blend.
  2. Stir in the chocolate chips.
  3. Spread batter evenly in a parchment lined 8x8" dish.
  4. Bake at 350' for 20-22 minutes.
My notes:
*I made oat flour by putting oatmeal in the food processor and grinding it up before adding the other ingredients. 
*didn't have almond butter so substituted peanut butter
*at 22 minutes these were still really soft, and I couldn't cut them. Put back in the oven for a few more minutes and they were still soft. I found that after they cooled down tho they were much easier to cut. Even if yours end up too soft you can totally eat them with a spoon and they taste really good - presentation isn't as pretty hahaha but flavor is there! 

Friday, May 24, 2019

Stir-Fry/Teriyaki Sauce

This is from Rocco Dispirito's "Now Eat This" cookbook; it's a healthier version of store-bought teriyaki or stir fry sauce with no added sugar and way less fat. Use it in the Shrimp Pad Thai recipe I made for my sister, click here for that post.


1 tablespoon toasted sesame oil
1/4 cup chopped fresh ginger
6 garlic cloves, minced
1/2 bunch scallions (white and green parts), chopped fine
1 tablespoon cornstarch
6 tablespoons soy sauce
3/4 cup low-fat, low-sodium chicken broth
3 tablespoons rice vinegar
1/2 cup reduced-sugar ketchup
salt and pepper to taste

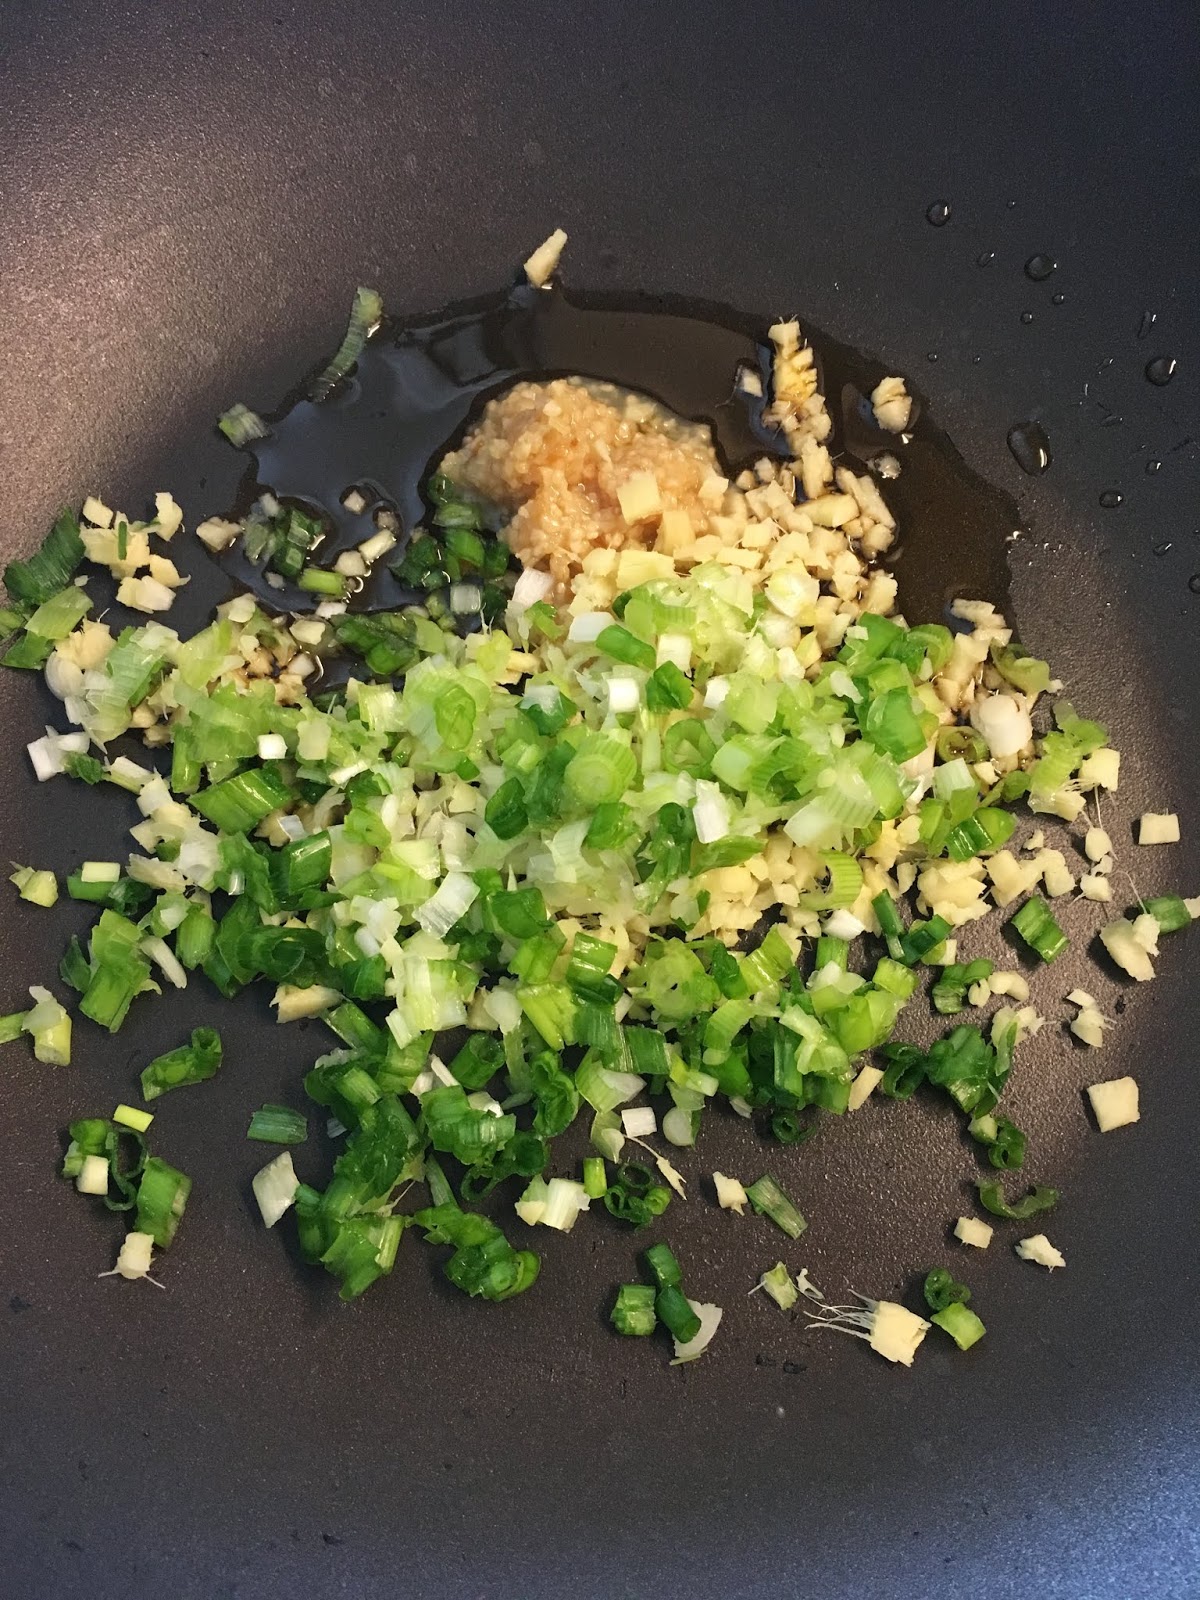
1. Heat a large nonstick sauté pan over high heat. When the pan is hot, add the sesame oil. Add the ginger, garlic, and scallions, and sauté, stirring often, until very fragrant, about 2 minutes.

2. Meanwhile, place the cornstarch in a medium bowl. Add the soy sauce, chicken broth, rice vinegar, and ketchup, and whisk to blend.

3. Whisk the cornstarch mixture into the sauté pan and bring the sauce to a simmer. Reduce the heat to medium and simmer, whisking constantly, until the sauce has thickened, about 2 minted. Season with salt and pepper to taste, if desired.

4. Makes 1 3/4 cups. Store the sauce in a covered container in refrigerator for up to 1 week.

peel the outer skin off the ginger with
a vegetable peeler or small paring knife


Thursday, May 23, 2019

My Sister is Hungry: shrimp pad thai

This post is from my sis - click here for the explanation of my new series "My Sister is Hungry", in a nutshell it's because (a) she is always hungry, (b) it's a fun new way for me to experiment with recipes, and (c) who else is tired of her whining about not liking to cook?


OH MY GOSH.  Has anyone heard the news?  I WON THE LOTTERY!!
Finally after all the years of whining about being hungry my sister has made me a meal!! All I have to agree to is to review it.  Easy Peasy!! Opinions?? I’ve got ‘em!!
For todays meal she made us Shrimp Pad Thai.  Now let me be clear, I have high expectations for this one.  I LOVE Pad Thai.  LOVE IT. 

First I laid it out pretty to make it look nice so my sister would approve of my presentation.  Then I presented it to husband.  No I didn’t pretend that I cooked it.  That would be dishonest even by my standards.  Plus one look at it and he wouldn’t believe me anyway. 
My sister also gave me a side of sauce, peanuts, limes and some kind of chopped green stuff.  I didn’t start with putting any of that on there. I just served it up as it was.

First impressions- I gave it a “yum”.  Husband gave it a “hmmmm”..  not a great start from him, Sister.  He asks if he tastes lime.  Yes, I do taste lime.  He says “I don’t love lime”.  LOL.
So that said, yes there is a hint of lime.  So if you don’t love lime then this one might not be for you.  It wasn’t over powering, just a hint of lime.  Husband says “if you don’t like lime in your beer, you probably wont like it in here”.  A poet.  Cute. 
I then tried it with the side of sauce, and that was great.  He liked it much better with more sauce, so did I.  That sauce was delicious- I could eat it with a spoon. I then tried it with the peanuts.  That was fine also, didn’t change the flavor much but made it crunchy.  Really wasn’t necessary, was just as good without it.

The flavor of the noodles was fantastic.  Especially with extra of the sauce.  So great.  LOVED the noodles.

Bottom line, I liked it, the Husband thought it was “ok”.  He said if it was Hello Fresh he might not order that one again.  Oh also, he said it tasted to him like Mountain Dew.  No, No it did not.  He also wanted to give it a number rating.  He gave it a 6.  If we are number rating I would give it a solid 7. The sauce though was at least a 9.

So in summary, we have established after today’s meal that he doesn’t love lime and that I LOVE my sister cooking for me.


*Jill here ~ here's the recipe I followed to make a much healthier version of shrimp pad thai then you'll get in a restaurant, apparently the original can tip the scales at 2,000 calories per serving - yikes! I found it in Rocco Dispirito's cookbook "Now eat this!". The inspiration picture doesn't look like mine, mostly because I added red bell pepper for color and didn't put limes on the plate - which is a good thing after reading the comments my B-I-L made about lime! See my notes after the recipe for a couple things I did a tiny bit differently.

inspiration photo from the cookbook
the ingredients 
I found both white and brown rice noodles at the store

4 ounces brown rice noodles
12 ounces medium shrimp, peeled and deveined
3 cups fresh bean sprouts
8 ounces sugar snap peas, strings removed
3/8 cup Rockin' Asian Stir-Fry Sauce (click here for the recipe that will post tomorrow) or store-bought sugar-free teriyaki sauce, such a Seal Sama
2 tablespoons reduced-fat peanut butter
2 tablespoons fresh lime juice
2 tablespoons fish sauce
4 scallions (white and green parts), sliced thin on the diagonal
1/2 cup chopped fresh cilantro

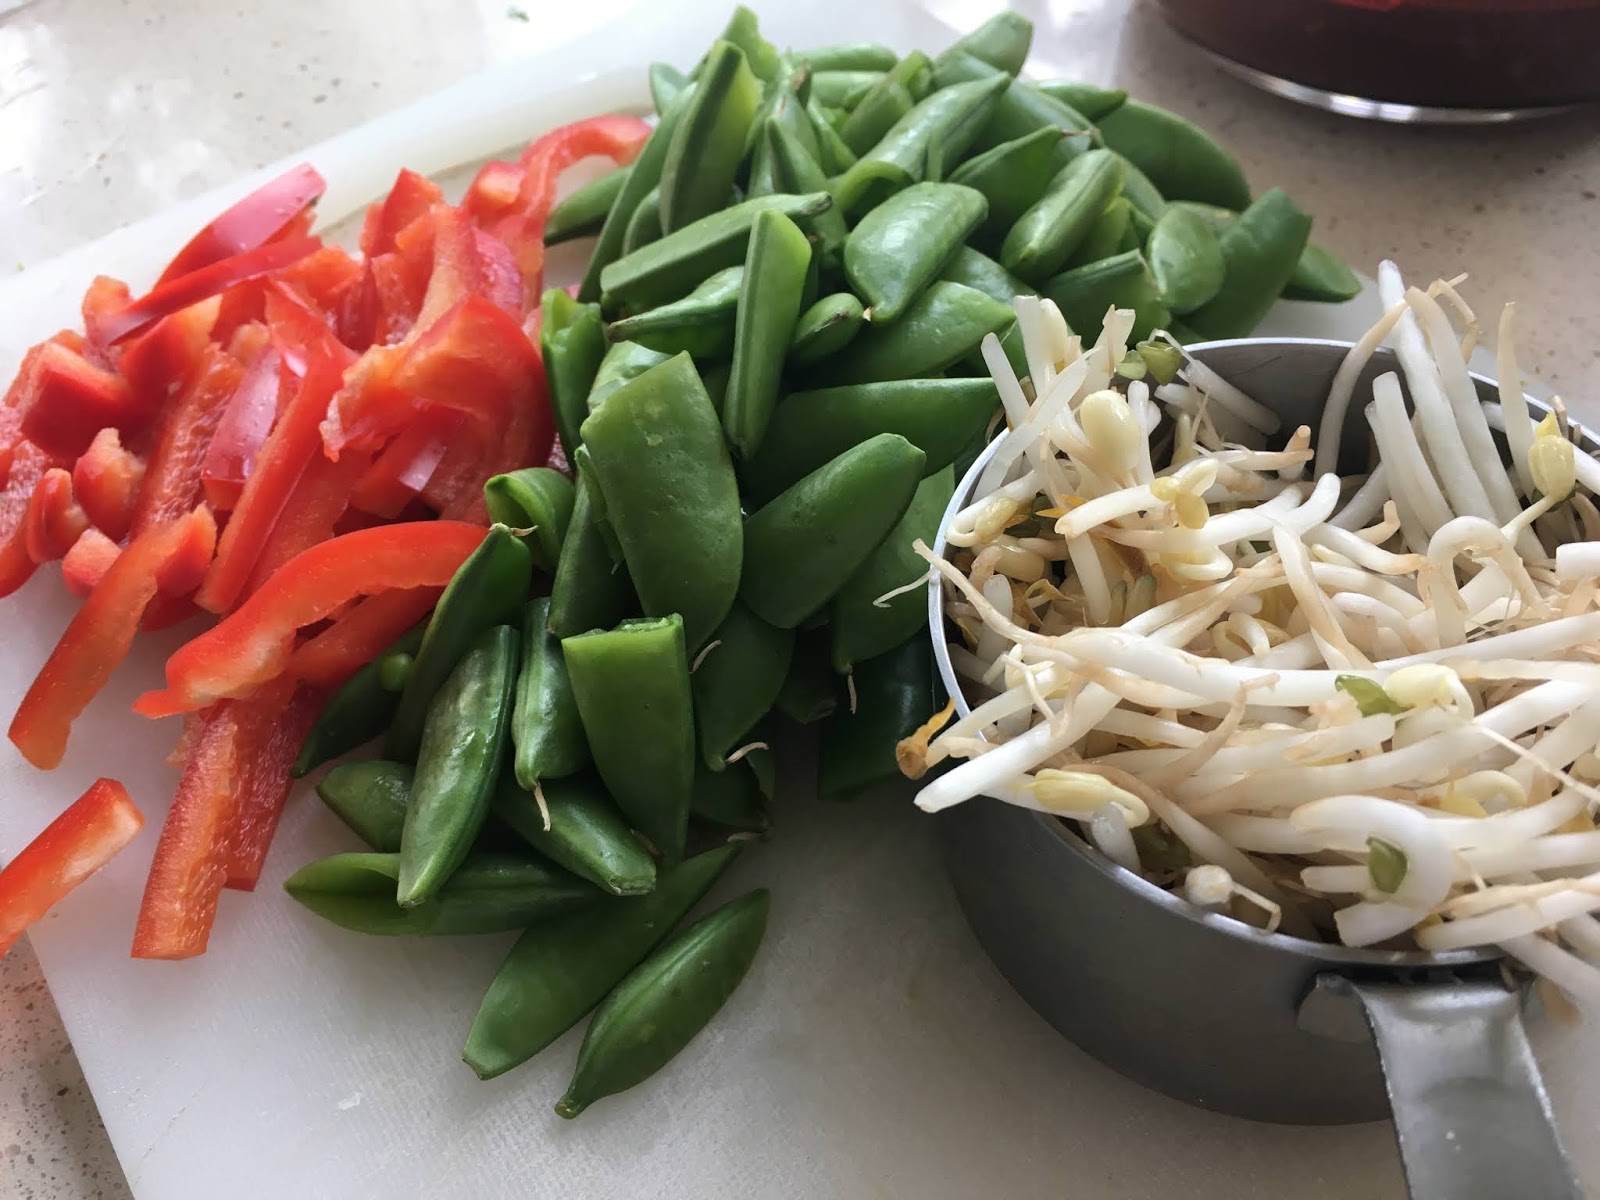
1. Bring a large pot of water to a boil, and cook the noodles according to the package directions. During the last 2 minutes of cooking, add the shrimp, 2 cups of the bean sprouts, and the sugar snap peas. Stir to distribute the ingredients evenly, and continue to cook until the vegetables are tender and the shrimp are cooked through about 2 minutes. Drain in a colander and set aside.


2. While the shrimp are cooking, heat the teriyaki sauce in a medium saucepan over high heat. When sauce comes to a boil, whisk in the peanut butter, lime juice, fish sauce, and scallions until the mixture is smooth. Pour the sauce into a large bowl.


3. Add the cooked noodle mixture and the cilantro to the sauce, and toss until everything is completely coated. Top with the remaining 1 cup bean sprouts, and serve.


Makes 4 servings. Calories per serving - 291, fat 5.5g, pro 26g, carb 35g

my notes:
1. the directions on my brown rice noodles say to boil a large pot of water, add the noodles, cover, and remove from heat. Let stand for 5 minutes or until the noodles are done. That isn't how this recipe directions read so my solution was to boil a large pot of water, add the shrimp, 2 cups bean sprouts, sugar snap peas, and 1/2 thinly sliced red pepper, cook for a couple minutes. Add the noodles, cover, remove from heat and let stand until the noodles are done - it took about 6 minutes. This made the peas not as crunchy as I wanted so after draining the noodles and veggies I added a handful of fresh chopped peas along with the remaining bean sprouts.
2. I sent this home to my sis with toppings on the side - extra sauce (the sauce really is delicious!), cut limes (obviously they didn't want them haha), peanuts because I thought it might need additional crunch, chopped cilantro for presentation.
3. I reserved a small portion for my lunch the next day and ate it cold - I especially love the noodles with extra teriyaki sauce, I could give or take the veggies. All-in-all I think this is a pretty good recipe - agree with my sister and her "7".

Wednesday, May 22, 2019

Pineapple Flowers

I saw this idea in an old Good Housekeeping post from 2015 - they made these pretty pineapple flowers to set on top of frosted cupcakes, I love the idea and gave it a try. I had a hard time getting them dry without them turning too brown, and they didn't hold their cupped shape but I think they are still really pretty, and different, and I will definitely make more of these in the future. I didn't have cupcakes on hand so I laid them on mini banana bread - aren't they cute?!
Peel and scoop eyes from 1 ripe pineapple. Blot dry with paper towel, then pale on towel on cutting board. With serrated knife, thinly slice into 1/16" rounds; blot again. Place on parchment-paper lined cookie sheets. Bake in 225' oven for 30 minutes; carefully turn slices over. Bake 30 to 40 minutes more or until very dry. Place in cups of muffin pan; gently press down centers to form shallow cups. Let stand until stiff. Press gently into frosting. 


I think I didn't cut them into thin enough slices and that's why I struggled getting them oven-dried - but I couldn't slice them any thinner with them shredding. Next time I'll try slicing the pineapple with my mandolin and see if I can get thinner slices.

Tuesday, May 21, 2019

Tip-sy Tuesday: pineapple

I bought a pineapple to make pineapple flowers (posting them tomorrow) - thought I might as well take pics and show you how I peel and core a whole pineapple in case you're curious:


little trick to tell if a pineapple is ripe - gently tug one of the middle
leaves from the top, if it easily comes out you should be good to go. 

Monday, May 20, 2019

DIY Bias Tape

Last month I showed you how I made mug rugs (click here for that post) using bias tape that I made myself - you can purchase bias tape in different widths and lots of colors (click here for one example of using store-bought bias tape), but it's simple to make and especially handy if you want the bias tape edging to be the same pattern as the main body of your work.

Bias tape is a strip of fabric that has been cut on the bias of the fabric - the bias is the 45-degree angle across the weave of the fabric, sewing it that way makes the bias tape stretchy and more elastic. Bias tape is used to cover raw edges of fabric, essentially enclosing the edges, it's used around quilts (and mug rugs), placemats, etc. to finish the piece. 
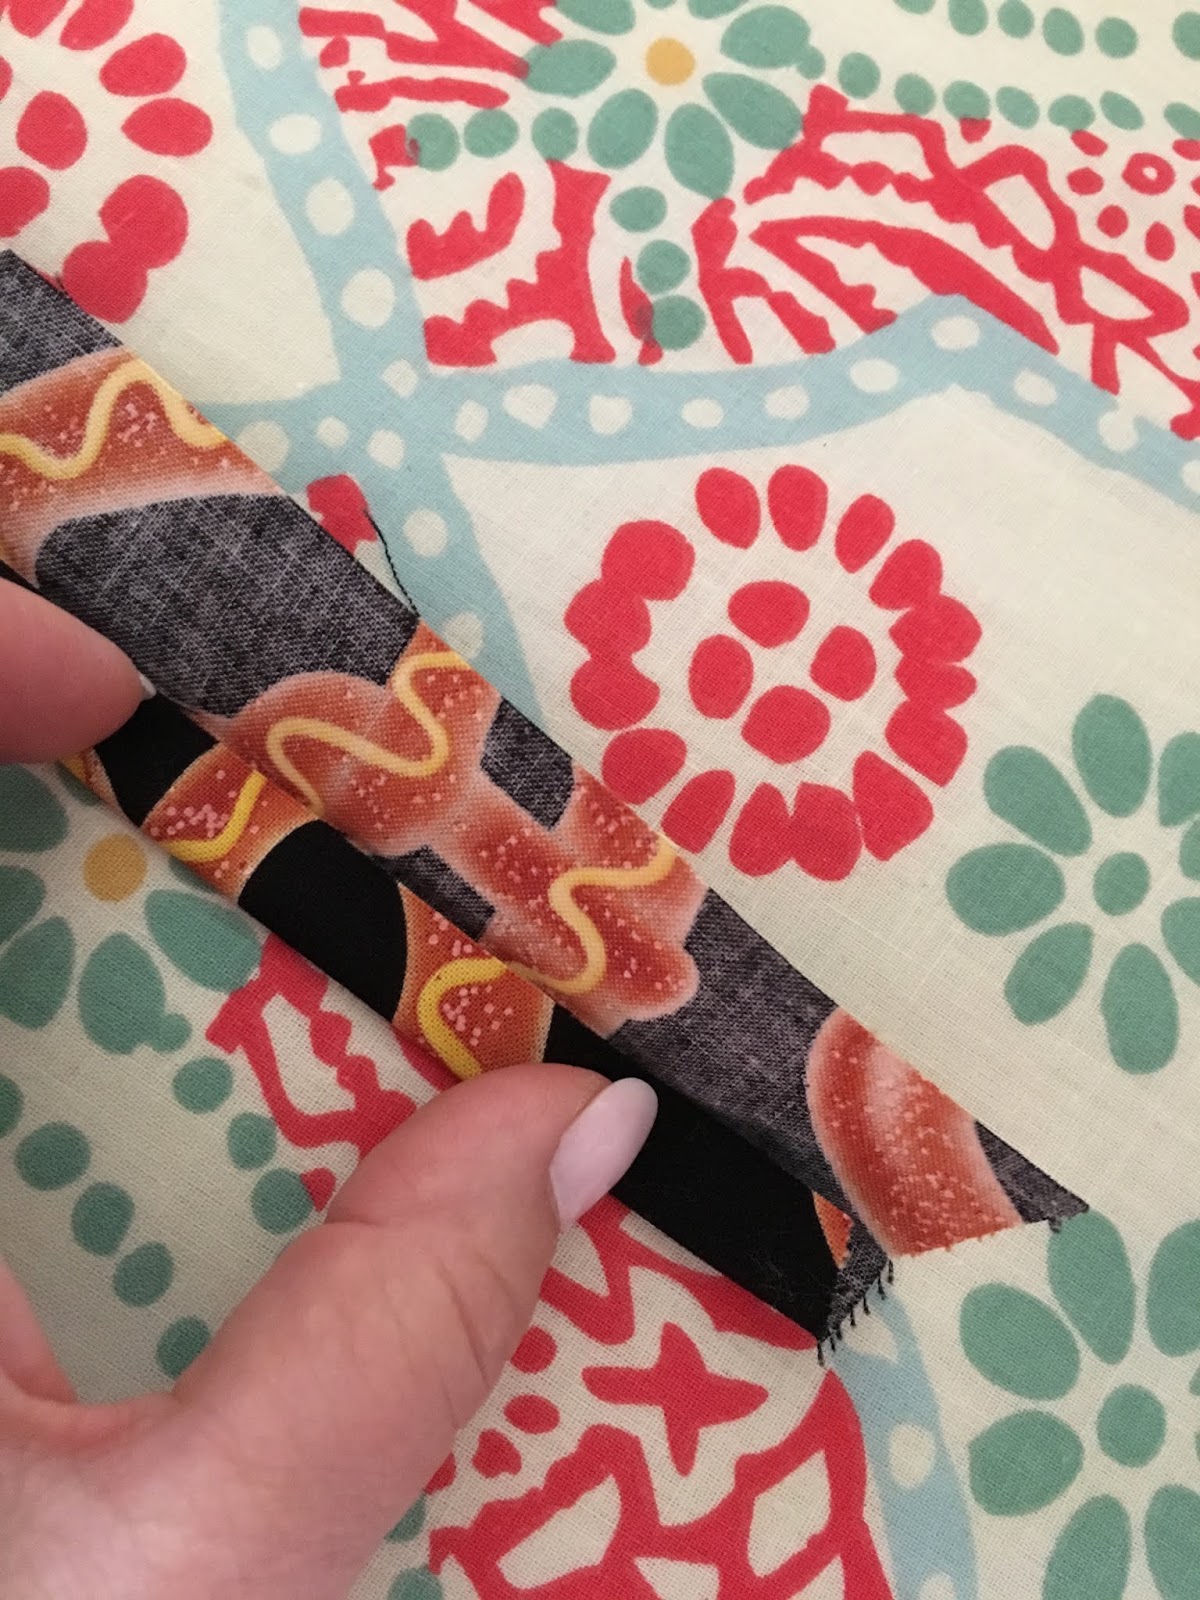
There are lots of tutorials online on how to make bias tape - basically you cut strips of fabric on a diagonal instead of with the grain. How wide your strips are depends on how wide you want the finished bias tape to be - to make this 1/2" wide double fold bias tape I cut 2" strips and sewed them together creating one long strip. Fold the strip in half and iron getting a nice crisp fold line. Open the strip back up, fold the right side in 1/2" to meet the middle fold line and iron; then fold in the left side 1/2" to meet the middle fold line and iron. With the two sides folded to the middle, fold the tape along the middle fold line and iron again. That's it!

The material I used for this bias tape is black with giant pretzels and because I took pictures while it was on my very colorful and patterned ironing board I think it might be hard to see what I'm doing - I took some additional pictures folding a strip of white paper hoping that it helps...

starting with a 2" strip to make 1/2" double folded bias tape

1. Fold the strip in half, iron
2. open strip back up, fold one side to the middle fold line, iron in place
3. fold the other side to the middle fold line, iron in place
4. fold back in half along the first middle fold line, iron again creating a nice crisp very flat  double folded bias tape