Showing posts with label tip. Show all posts

Tuesday, October 27, 2020

Tip-sy Tuesday: storing seeds

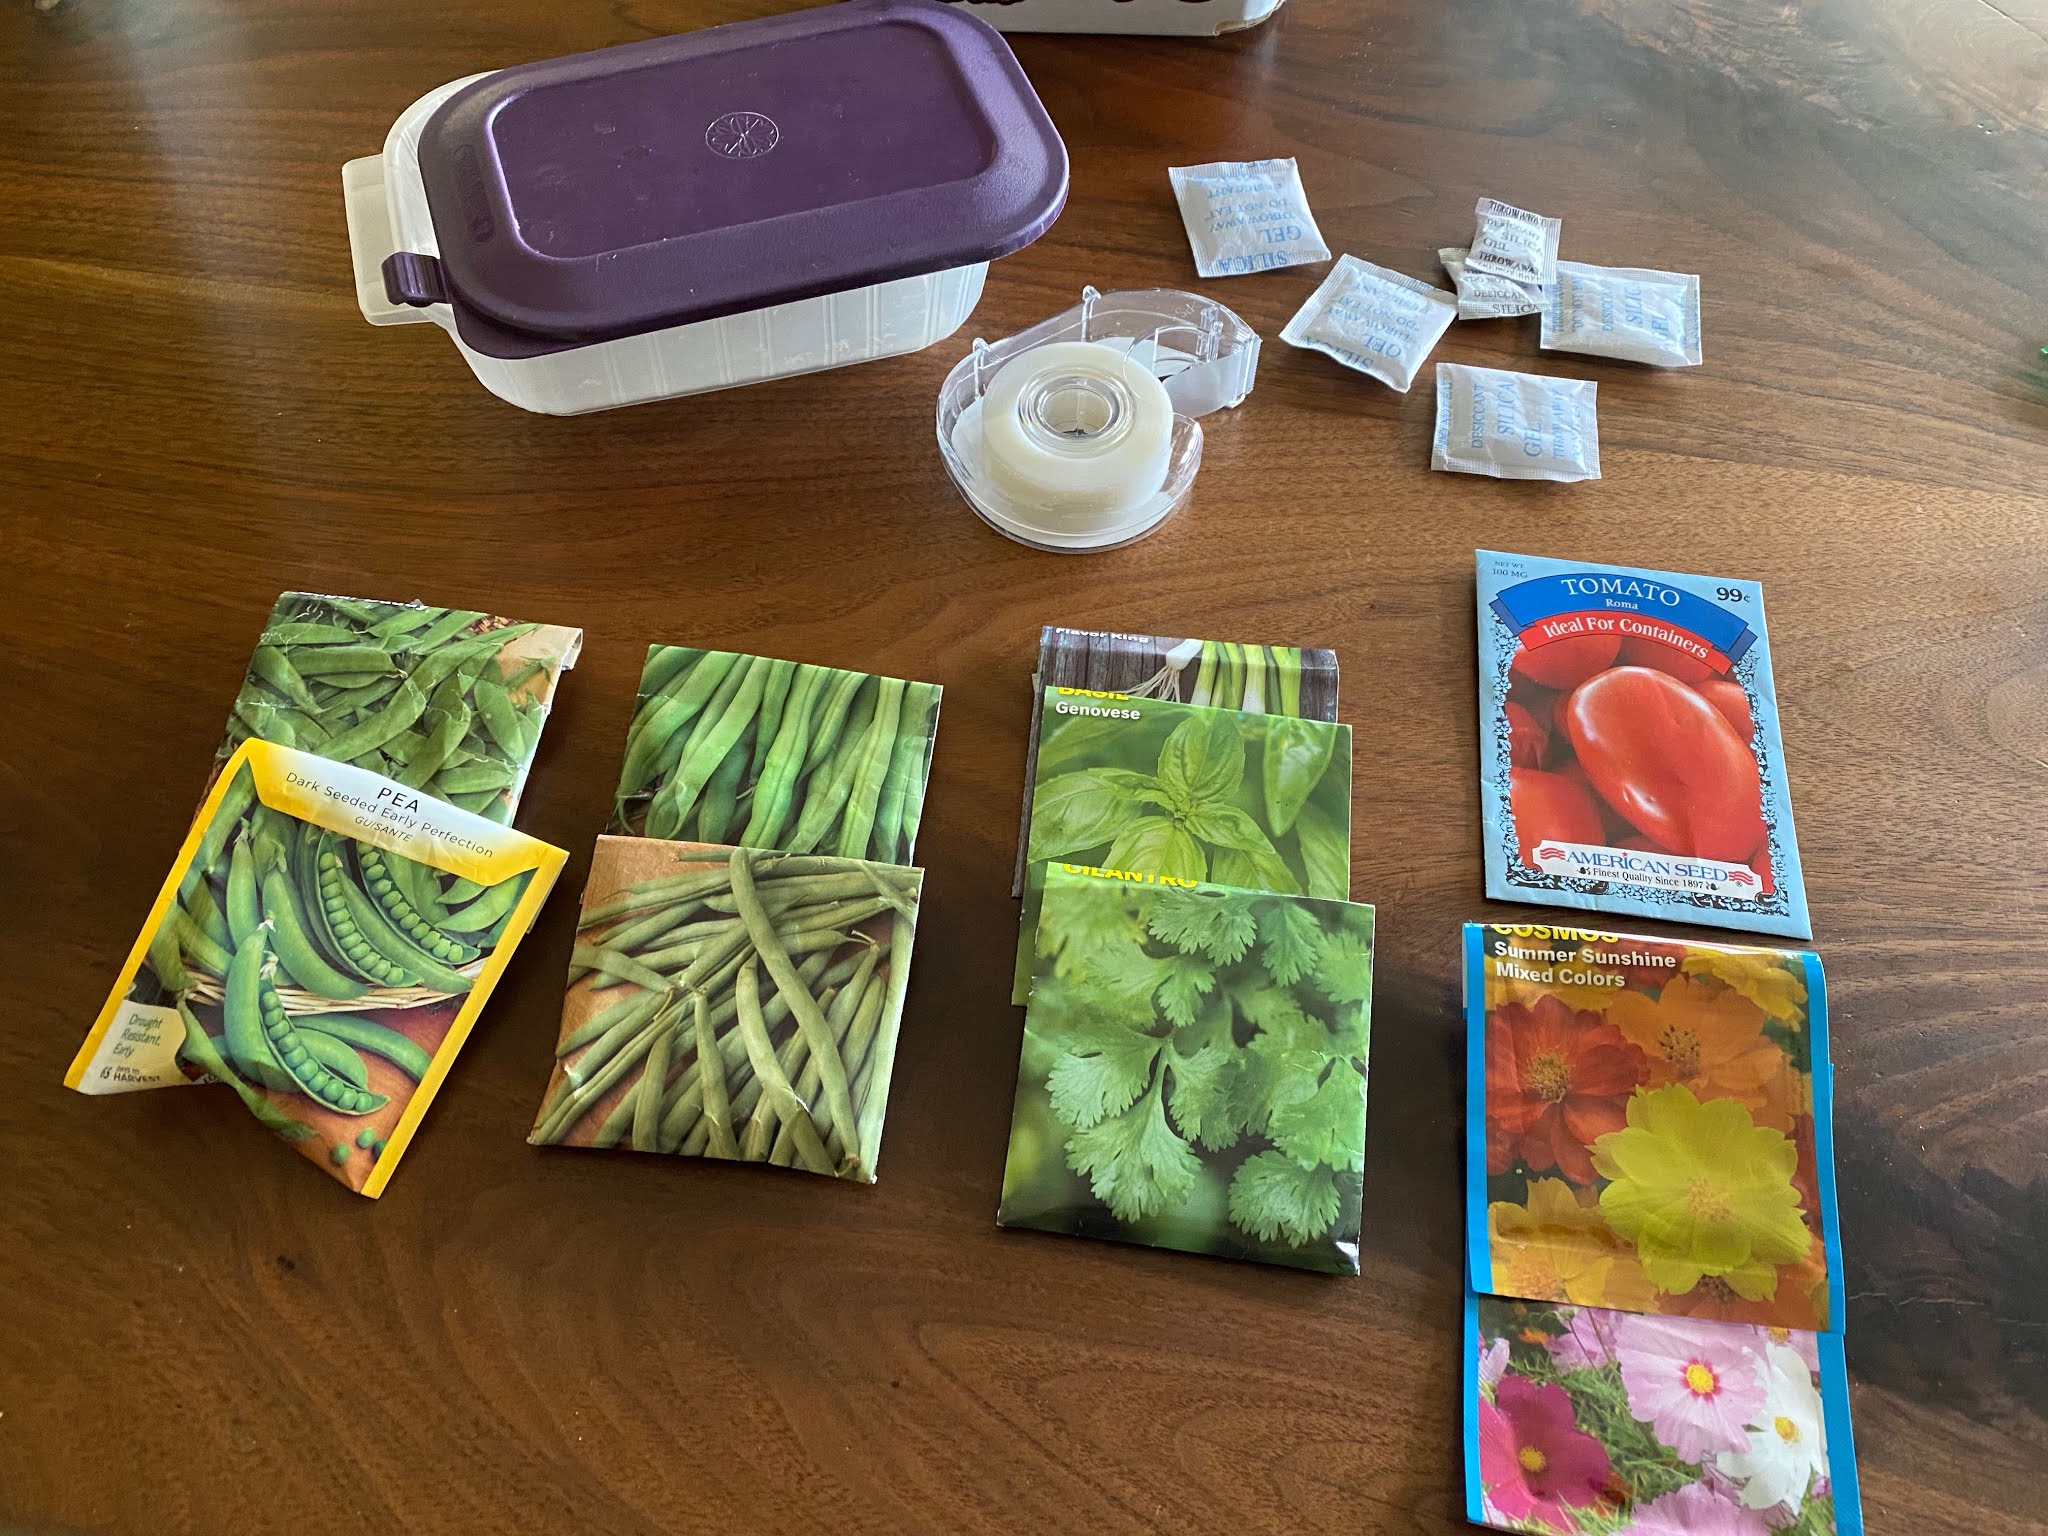
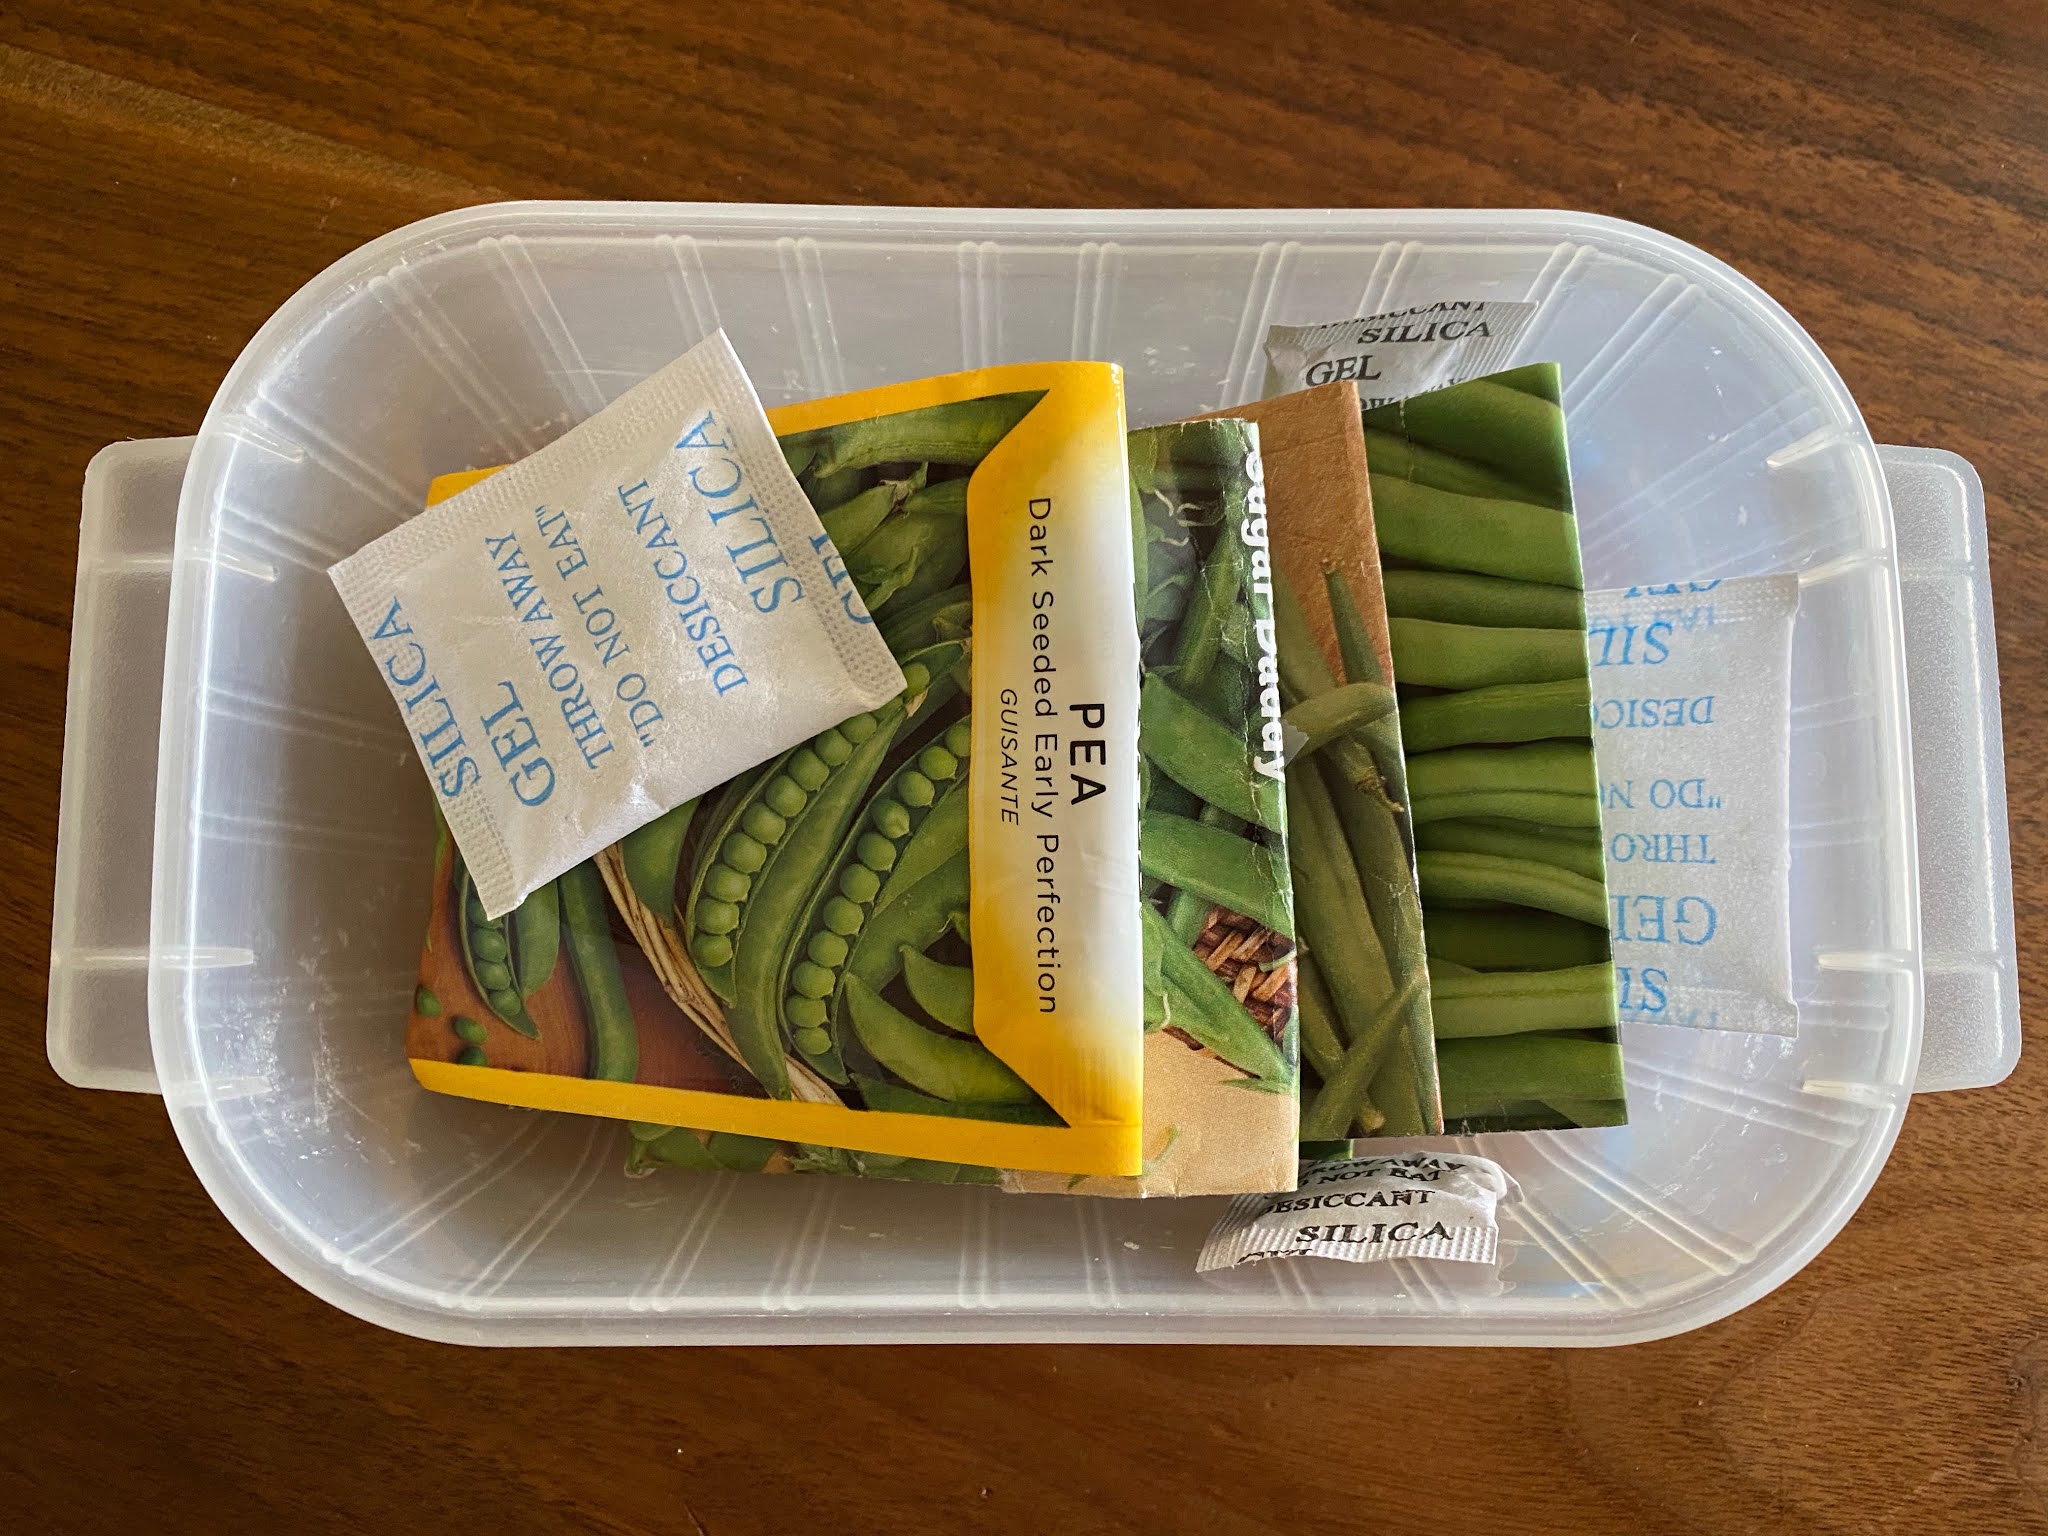
The garden is put away for the winter and while organizing my garden cabinet I remembered a tip I saw somewhere about storing leftover seeds -  after the whole 'not being able to find seeds because people were hoarding them' situation last spring I'm certainly not throwing my leftovers away! Hopefully storing them this way will help keep them fresh and viable for next year.


I taped up the individual open packets, then put them in an airtight container along with a couple silica gel packs to help keep them dry. Store in a cold dark spot - I have a cabinet with doors in our unheated garage so that should be perfect. I'll do a germination test in the spring and hopefully they'll all be viable, fingers crossed!


Tuesday, October 20, 2020

Tipsy-Tuesday: organizing fabric

So, let's be clear here. I am usually organized and neat, I like things to have a home so I know exactly where they go, and I don't like clutter. But...when I'm working on a project things tend to spread out and get out of hand and the next thing I know my house is a disaster. And then I get a wee bit cranky because I am usually organized and neat, I like things to have a home, and I don't like clutter. It's a problem.


Today's tip is how to organize fabric because I literally had a pile of fabric on the floor in the middle of my craft room from making masks - I'm not talking about a neatly folded pile of fabrics, nay, I'm talking a mountain of wadded up fabric that was so big I couldn't even step over it - and I knew I had to reign it in somehow. Which naturally led me to googling solutions instead of just folding the fabric, because it was much easier to play on the computer then get up and actually get shizzle done. My favorite idea is wrapping the fabric around comic boards and standing them up on a shelf - organized, I can easily see what I have, and it looks beautiful. 


And then my project was delayed a couple more days because I had to order comic boards from Amazon, and then a couple more days because I couldn't figure out how to fold the fabric around the boards which led to more googling of solutions. In case you're still reading and you want to know, fold the fabric in half with the selvage edges together, then fold in half again. That should give you a rectangle about 10" tall. Put a comic board (btw, I had to research what a comic board is - thin paper boards that are meant to support collectable comic books that are then placed in protective bags) on top and wrap the fabric neatly around. Some people use plastic clips to keep the fabric from unwrapping, don't use pins or metal clips because in time they might rust and ruin the fabric; I didn't clip them and so far just being wedged together is keeping the fabric in place. 


Finally I got the technique down, wrapped all the fabric, and found a basket big enough to file them in. Ahhhhhhh, I can't even tell you how happy this makes me - I keep going into the craft room just so I can look at them. And it'll be so easy now for people to pick their mask pattern, love that too!


Tuesday, September 29, 2020

Tip-sy Tuesday: accessory organizing

 Here's a couple ideas to organize jewelry and purses - I did an overhaul of my accessories closet a few days ago and so far these ideas are working great!

1. For my large tote bags I'm using a plate (or maybe it's a lid?) stand to hold them up. A standing file holder would work too. I used another one to hold my smaller purse/wallets - so much easier to see what I have this way. 


2. I removed the top of a 24-count egg holder and put bracelets in the bottom tray egg spaces. It sits on top of more jewelry in a drawer in the closet, I can easily pick it up and move it to access what is underneath. Cheap and practical - can't beat that!


Tuesday, May 17, 2016

Duvet Cover Tip

Putting a duvet or comforter into the cover is SUCH a pain! I dread trying to stuff it in there neatly without working up a sweat - not fun. I've heard about this little trick before and have even tried to figure it out with no luck...until now. I was determined to do it, googled a few different sites and watched a couple videos - and almost gave up again but I stuck with it and IT WORKS! I can't believe it, this is so much easier than my old way of fighting the duvet and cover. I'm not going to try to explain it, I took a couple pictures but since my duvet and cover are the same color the pics aren't very helpful. Watch this video, and stick with it - once you got it you'll never go back. A couple hints: Lay the cover (inside out) down on the bed with the closed end towards you, then lay the duvet on top. I have little ties on the inside of the cover to help keep the duvet in place, if yours doesn't have them I pin them with strong safety pins. After rolling the two up together turn the roll around so the open end of the cover is facing you. When you reach into the cover it says to grab the ends of the roll and pull thru, that is where it got a little tricky for me - I wasn't sure which part of the end to pull. You grab the entire end, the whole roll and pull it thru. Once you start unrolling you'll just keep adjusting the edges to keep the whole thing rolling out. It's amazing, and quick - try it!

roll up towards the open end of the cover 

unrolling the "burrito"

Click here for the link to the video - if it doesn't work for some reason just google "duvet cover trick" and click on the lifehacker.com site. They explained and showed this trick really well I think.


Tuesday, April 19, 2016

Trash Cup

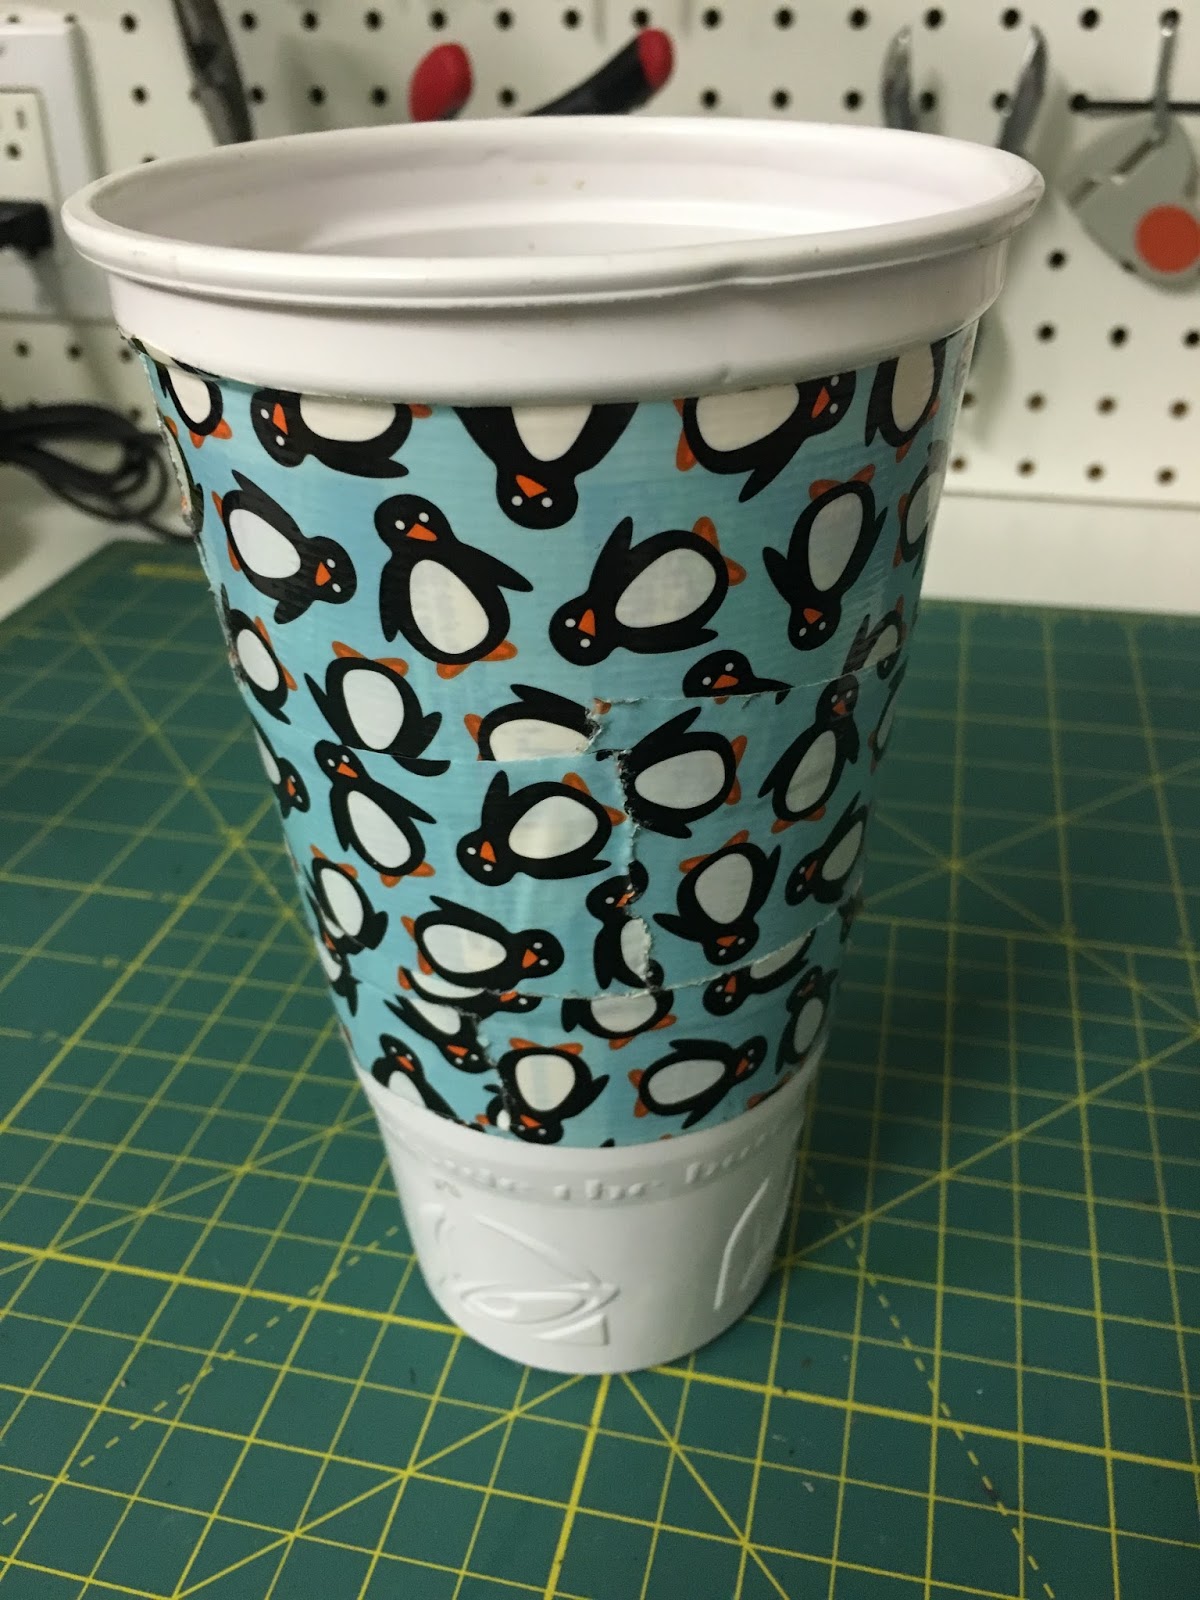
Here's a quick 5-minute 'craft' that anyone can do and everyone can use! I have been making these for years (and all my family members have received them as "presents" haha) - it's a decorated disposable drink cup that fits in your car drink holder for all the little bits of trash you accumulate in the car (gum wrappers, used gum, ticket stubs, etc.). Love this easy idea :)

use with or without a liner. I prefer a liner
 so gum doesn't get stuck to the cup!

Start with a clean plastic fast food drink cup, you could use styrofoam I guess but the flimsy paper cups aren't going to work as good or last very long. Whatever size you want that will fit in your cup holder.  Either cover the words that are on it with colored or patterned duct tape, or wrap scrapbooking paper around it and hold in place with double sided tape. I line it with a (clean, haha) doggie poop pickup bag (we have tons of them with Sarge around, you don't have to line yours but it'll last longer if you do) and hold it in place with a rubber band.

I covered the words on a Taco Bell cup with cute penguin duct tape...

another option is to cover it with patterned paper. trace the shape of the cup onto the back side of a piece of paper (hold a pencil where you want the paper to cover and roll the cup on the paper to get the correct line and arch). cut out and doublestick tape it in place.