Showing posts with label gardening. Show all posts

Tuesday, October 27, 2020

Tip-sy Tuesday: storing seeds

The garden is put away for the winter and while organizing my garden cabinet I remembered a tip I saw somewhere about storing leftover seeds -  after the whole 'not being able to find seeds because people were hoarding them' situation last spring I'm certainly not throwing my leftovers away! Hopefully storing them this way will help keep them fresh and viable for next year.


I taped up the individual open packets, then put them in an airtight container along with a couple silica gel packs to help keep them dry. Store in a cold dark spot - I have a cabinet with doors in our unheated garage so that should be perfect. I'll do a germination test in the spring and hopefully they'll all be viable, fingers crossed!


Thursday, October 13, 2016

Making Babies

Hello, everyone...I'm Jill's friend, Candy.  And her guest blogger, for today, while she is out taking a break and having some fun!  I'm not really crafty, but I do love gardening and decorating! So here we go: A couple of winters ago, we lost our huge boxwoods along the side of the garage. What to do with that space? Then, I remembered my  Hydrangea shrub, that loves having babies!! She gave me 3 babies a few years back, and I'll bet she can do it again! 


this is the mama

 This is her big baby on the other side of our house -
You just take a branch that is growing low, on the shrub, and just pin it to the ground, with a piece of a hanger:


So you let it root. Then in the fall, you can cut it from the mother plant. 
But leave it there, until spring,  then dig it up, and plant it, where it can get lots of water (which makes alot of sense, since hydra is in it's name), and give it shade and/or sun - they like either. 


 Here are her 6 last year's offspring: Easy peasy! (Their mama is in the background, of this row)        
  Happy Gardening!

Tuesday, August 30, 2016

A Tip For Repotting Plants

I have a gerbera daisy that a friend gave me a couple years ago, and it's still been in it's little 4 inch pot this whole time - how sad and it really wants to live so I finally got around to repotting it! Poor thing. Watch it'll now die cuz I messed with it haha...

When repotting plants because they need more space, don't use a much bigger pot. I can't remember why but you are "supposed" to just go up a little bit in size, and as they grow out of that one then go up another size. It's better for them and besides, if you put a little plant in a giant pot the proportions will be wrong and it'll look stupid.

A little tip for repotting plants - I put a coffee filter in the bottom of the pot (if it has a hole in the bottom) before adding soil, it keeps the dirt from running out when you water it. You can put a stone or pebble over the opening instead, that works pretty good too but I'm too lazy to go hunt for a stone when I have a stack of filters in the garage for this very reason!


if the plants roots are all bound together like this one,
gently separate if you can so the roots will
now be able to grow down into the fresh soil. 

Saturday, August 6, 2016

Accidental Gardener

There's the Accidental Tourist, Accidental Chef, Accidental Ranch Wife, and me - the Accidental Gardener.  I've been gardening for a long time but it's always hit and miss - I have no idea what I'm doing really...I plant stuff, water, weed and stake when I remember, then it either grows or it doesn't. Funny accidental gardener story - When I first started gardening I had a super tall plant that I thought was pretty and was quite proud of myself for growing, I'd weed around it and thought I was all that...Dave's mom was over one day and I showed her my accomplishment, told her I "didn't know what the plant was but look how good I was doing with it" and she basically rolled her eyes at me and said "yeah, that's a weed". I was crushed and a bit embarrassed haha! Anyway...this year my garden has been growing really good without much care, but it sort of got away from me and when I finally got around to weeding and sprucing things up I realized I've been pretty neglectful! Look at what a mess it was:


I can't tell what is wrong with the tomato leaves - insects or disease or if it's just been super hot lately and that's causing the leaves to turn brown. I got out a clean spray bottle, added a little dish soap and water, then sprayed everything in the garden - a natural insect repellant if that's what is causing the problem.


I started pulling out the pea plants because they're brown and appeared to be dying out, but then I see that there is new growth and even a couple peas (Lucy the bird was thrilled when I gave them to her!) so I trimmed lots of the dead parts off and left the rest to see if they'll continue growing. Peas are a cool weather plant and it's been so hot here that I assumed they were done for - glad I noticed the new growth before I ripped them all out!


Sarge helps me check the garden and look for "maters" - I'll usually roll one for him to chase, he grabs it and throws it up in the air before eating it...so cute. Of course he also did that with a toad he found in the grass yesterday so I guess that's his hunting technique - nice (not). Did you know when dogs bite toads something happens that makes the dog instantly have foam in their mouth? Sarge was running around shaking his head and spitting out nasty foam (and freaking me out), I'da worried more if this was the first time but it wasn't - you'd think he'd learn!

Lucy helped herself to fresh tomato,
I've never seen her do that! 

I had a big harvest yesterday of tomatoes, lettuce, and a couple sweet peppers - thankfully the garden is growing in spite of me.


Thursday, June 16, 2016

Planting a Scottie Topiary - Fail.

So I've had this spaghnum moss filled Scottie topiary thing for years, I decided to try planting it to change it up a bit. The moss has compacted down and is super hard - we are having a garage sale this weekend and I contemplated putting this in but then decided to give it a chance at new life haha.


Dave went to the nursery with me and picked out this scotch moss because he thought it would look like a chia pet :). I did not think this idea thru very well - how was I going to get the plants into the moss thru the small openings in the wire frame? I poked holes in it with a screwdriver and then broke the plants apart into small pieces and stuck them in...I did that for 4 plants until I threw in the towel realizing this is looking like a "fail" for sure and I should stop torturing the plants! I'll water it and see what happens but do not have high hopes - I'll keep you posted if anything happens (other than the plants dying!).


looks like it's wearing a grass hula skirt!
Apparently Sarge has had enough of
this project and is resting while I finish...

With the left over plants I made this cute little hanging basket - much better use of the scotch moss!

at first I decorated the hanging basket with
these cute little flamingo and fence picks but then...

...it turned into an Avengers super hero garden instead :). 


Thursday, June 9, 2016

Square Foot Container Garden and Pallet Update

Remember when I said that it's ok to use old seeds but you are supposed to proof them first to see if they'll sprout but I wasn't spending time doing that? Well here's what happens if the seeds won't sprout - nothing, that's what haha! Oh well, so I wasted a couple weeks. I bought fresh cilantro and parsley seeds, they should sprout shortly now. The rest of the pallet garden is filling in nicely.

replanted the bottom with fresh parsley
and cilantro seeds. 

My square foot container garden (click here for the original post) is booming - it's obviously loving the hot weather we've been having. Look at how much it's grown in less than 3 weeks! I'm going to get a salad out of here very soon, yay! Now if I can just keep the squirrel out of it, he's been digging (and eating the wild bird seed) and generally being a nuisance - Sarge has been quite helpful chasing him off. Unfortunately he thinks he's supposed to chase the birds away from the feeder too...um, thanks Sarge.


And here's how the tomato garden is doing after only a week. Click here to see how it looked last week when I planted it! I'm so excited :)

Thursday, June 2, 2016

Tomato Container Garden


I love love love tomatoes - especially small cherry tomatoes. So even though I planted my garden a couple weeks ago and have 6 tomato plants crammed in there, I decided that I would try to do more in this long rectangle container that I have. Yeah yeah yeah, when I complain about having too many tomatoes later this summer you can remind me that the initial 6 was probably more than enough! Whatever. I love them.


I planted 2 Sunsugar (my favorite, they are orange and sweet) along with 3 Sweet Chelsea (I haven't grown that kind before, says it's a small red cherry tomato - taking a chance). I added a row of marigolds - I've heard that marigolds help keep the bugs away, don't know if it's true but I'll take any help I can get. And it's pretty. I planted the extra marigolds that didn't fit in the tomato garden in a watering can, cute!


A tip for when you plant an empty container - I put coffee filters over the holes in the bottom of the container so the water can run out but the soil won't. It works ;).


Monday, May 23, 2016

Pillar, Filler, Spiller - Design a Spring Combo Pot

Candy and I took another Wine and Design class from our local nursery, the last one we did in November (click here to see that post) was so much fun but I failed at making my centerpiece look like the instructors haha...I'm happy to report I did much better this time. Candy's of course looked great, she makes it look easy!


For this class we designed a "spring combination pot"; after getting some instruction and advice from the girl leading the class we were sent out into the huge nursery to pick out 7 (4") plants of our choosing - that was hard for me! Normally when I'm going to the nursery I've done planning and research and have a list of exactly what I'm going to get - being sent out to design my pot with no prior planning was stressful. Do I want a pot for the shade? For the sun? Should it be pinks and purples? Red and orange? What was the big center plant going to be - large leaves? Shootie grasses? Oh man I was on the struggle bus - it took me the longest to pick my materials of anyone in class cuz I kept changing my mind. I looked over at Candy and she had a tray full of beautiful plants before I even decided if I was doing shade or sun!

I've taken gardening and flower arranging classes before but I've never heard this "tip" or formula for designing your pot, I even wrote it down so I wouldn't forget and could share it with you. There are 3 types of plants you want to structure your pot correctly - a "pillar" (or "thriller"), a "filler", and a "spiller". For this pot we needed to pick one pillar/thriller, that's the tall or showy plant that goes in the middle of the pot; 4 fillers, those go around the center plant to obviously fill in the pot; and 2 spillers, they are trailing plants to add some interest and dimension to the pot.

For my 14" sun pot I chose a bright green 'Colorblaze Lime Time' Coleus (big leaf plant, not flowering) for my pillar, it will get 18+" tall so will be a nice anchor for the center of the pot once it grows in; 2 bright orange Gerberas will get 10-12" tall, 2 trailing white petunias will get 10" tall and also spill over the sides; one variegated soft leafed plant and one dark green tiny leafed plant for spillers (trailers).

Candy did a shade pot with a very large leaf variegated Coleus as her pillar; begonia and fuchsia for filler; I'm not sure what she used for spiller, looks like an ivy and something else. Pretty!


When choosing plants for container gardening keep in mind you want to use different shapes and textures for leaves and flowers, and also use different colored greens to add interest. You probably don't want the whole pot to be similar leaf shapes and colors, and the same sized flowers - vary it up to add the most interest.

Pillar, Filler, Spiller - this formula is "killer" hahaha!!


Friday, May 20, 2016

Square Foot Gardening

It's sunny and warm! Time to plant my little garden - hopefully I'm not doing it too early but I can't wait any longer, it's very nice out today and I'm itching to get going :). A couple years ago I discovered square foot gardening in large containers on my deck and have had great success - the idea is to plant in one foot squares instead of in rows, eliminating a lot of wasted space between rows and being able to cram a lot of things in a very small space. Oh, and it certainly makes weeding and picking easier!

 I made grids out of 3' bamboo garden stakes held together with twist ties, you can make it out of whatever you want or don't use a grid at all - I like how organized and orderly it looks with the grid. After preparing the soil (weed and rake smooth) lay one grid in each of your containers - change how many squares you have depending on how big your area is, I have 9 (1' each) squares in each of mine (so I guess they are roughly 3' square containers). That gives me a total of 18 squares to plant in.
both containers ready to be planted with the grids in place

 I made a list of what I wanted to grow and then made a plan of how I wanted to lay them out. I drew it out on paper first before buying plants and seeds to see how much I needed to get - instead of showing you my hand drawn chart though I went online and found a free square foot garden planner so you would see a much prettier garden design - it was fun playing around with the interactive designer playing around with what plants to put where. Click here for the site I used. Anyway...after knowing where I was putting everything I planted it today and it's already so cute!

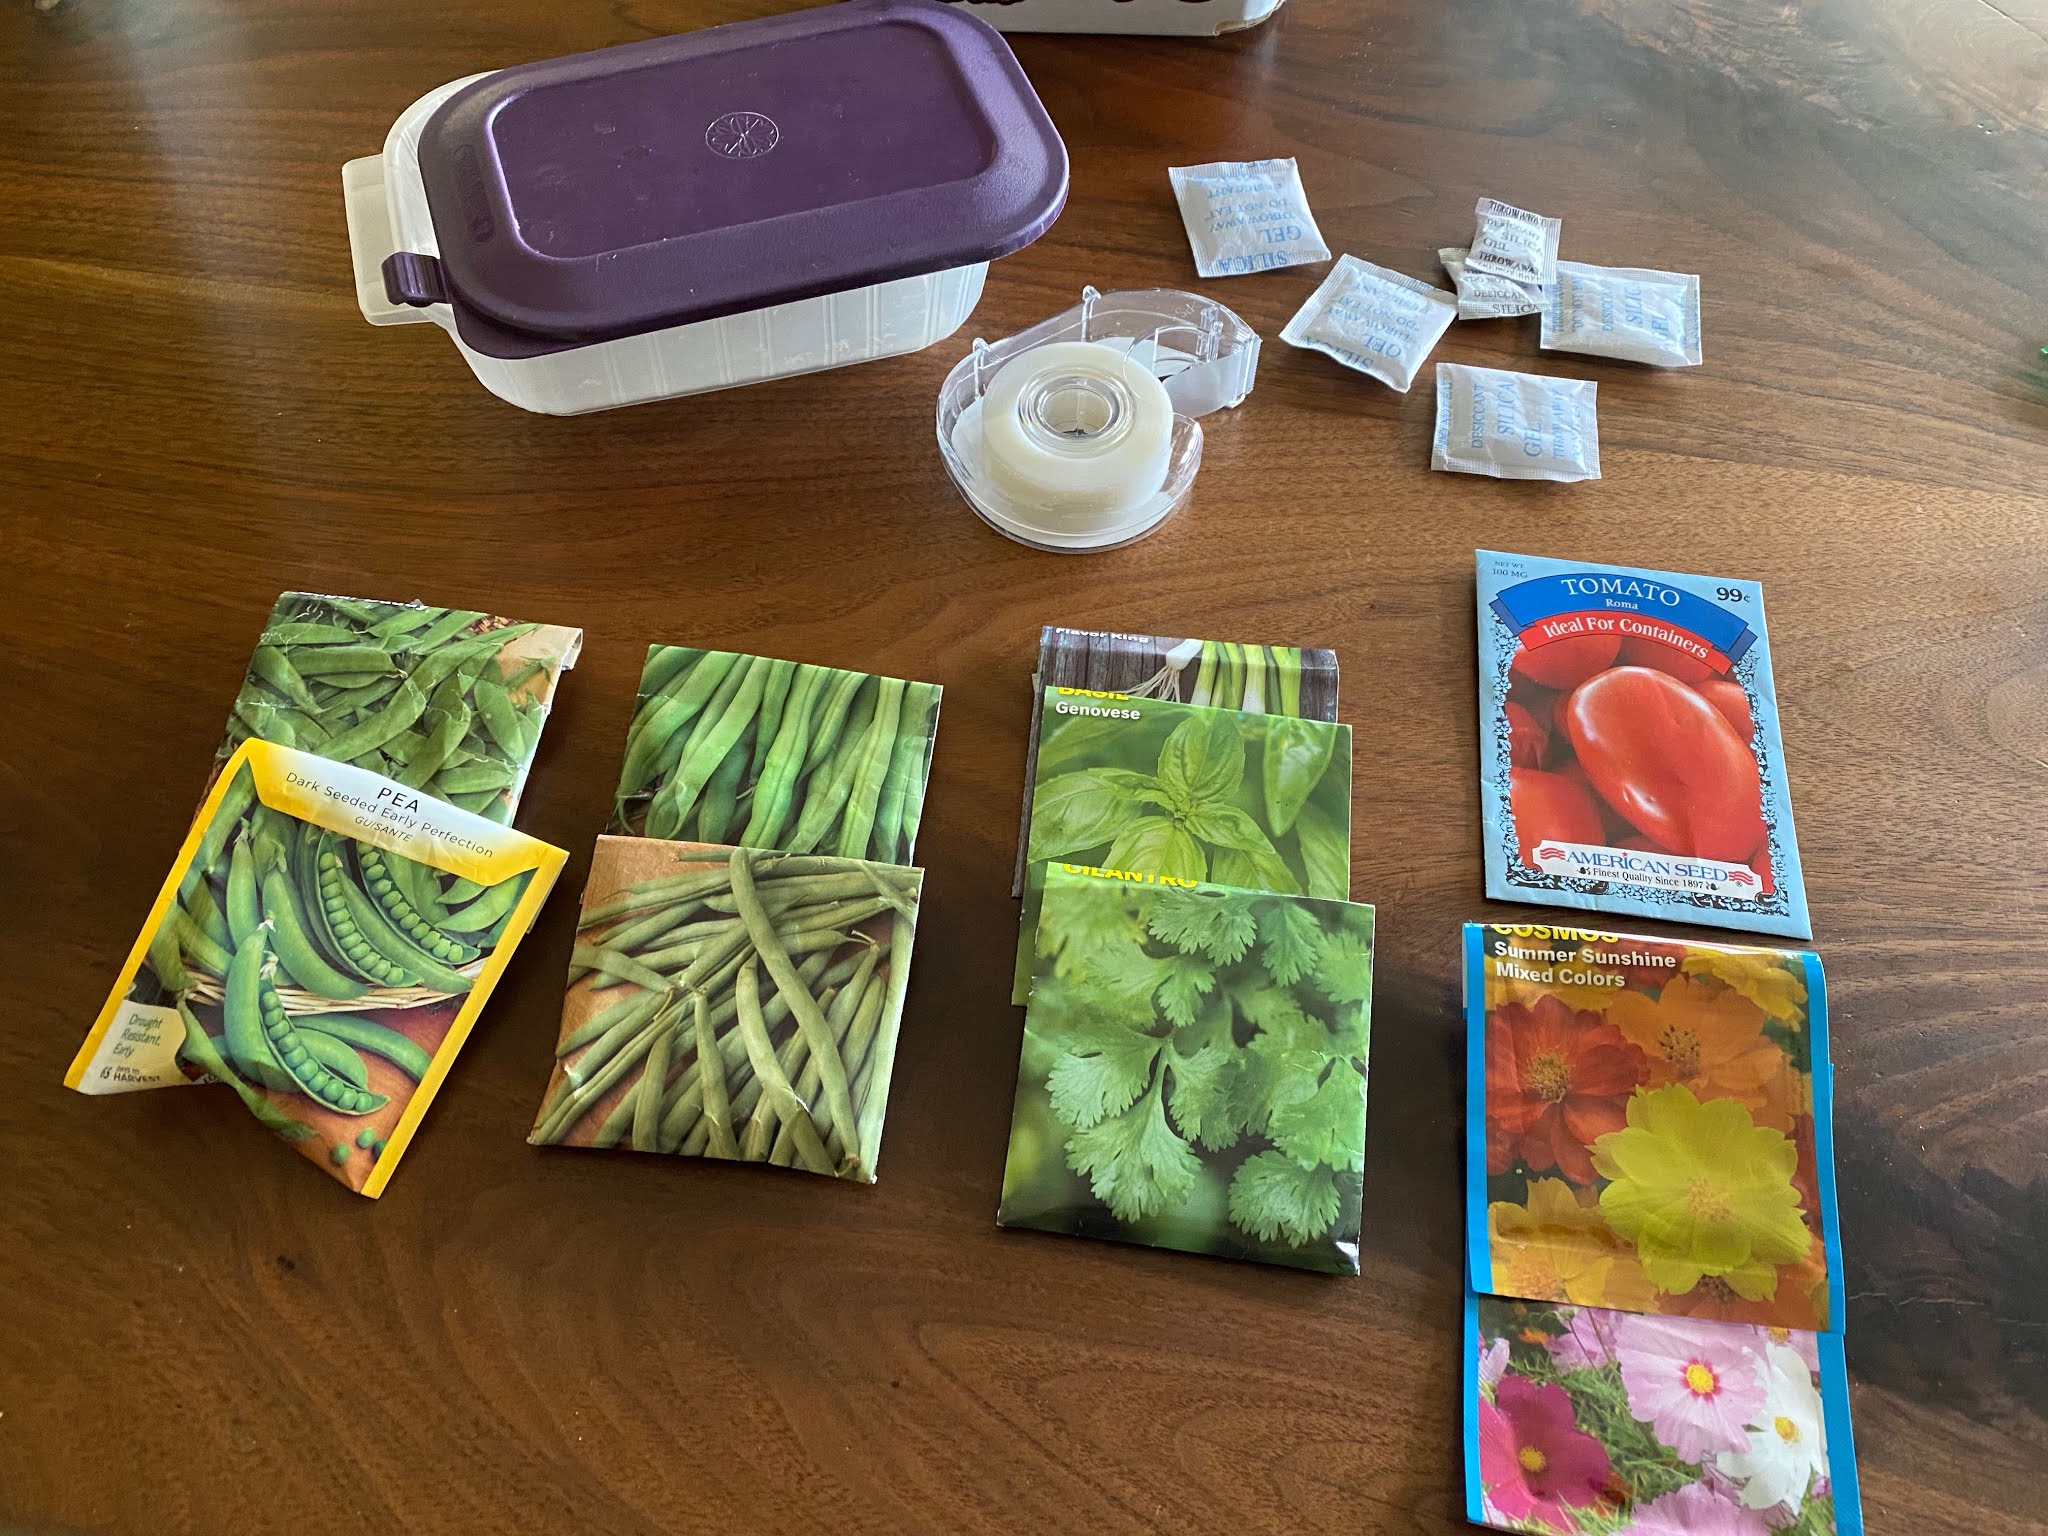
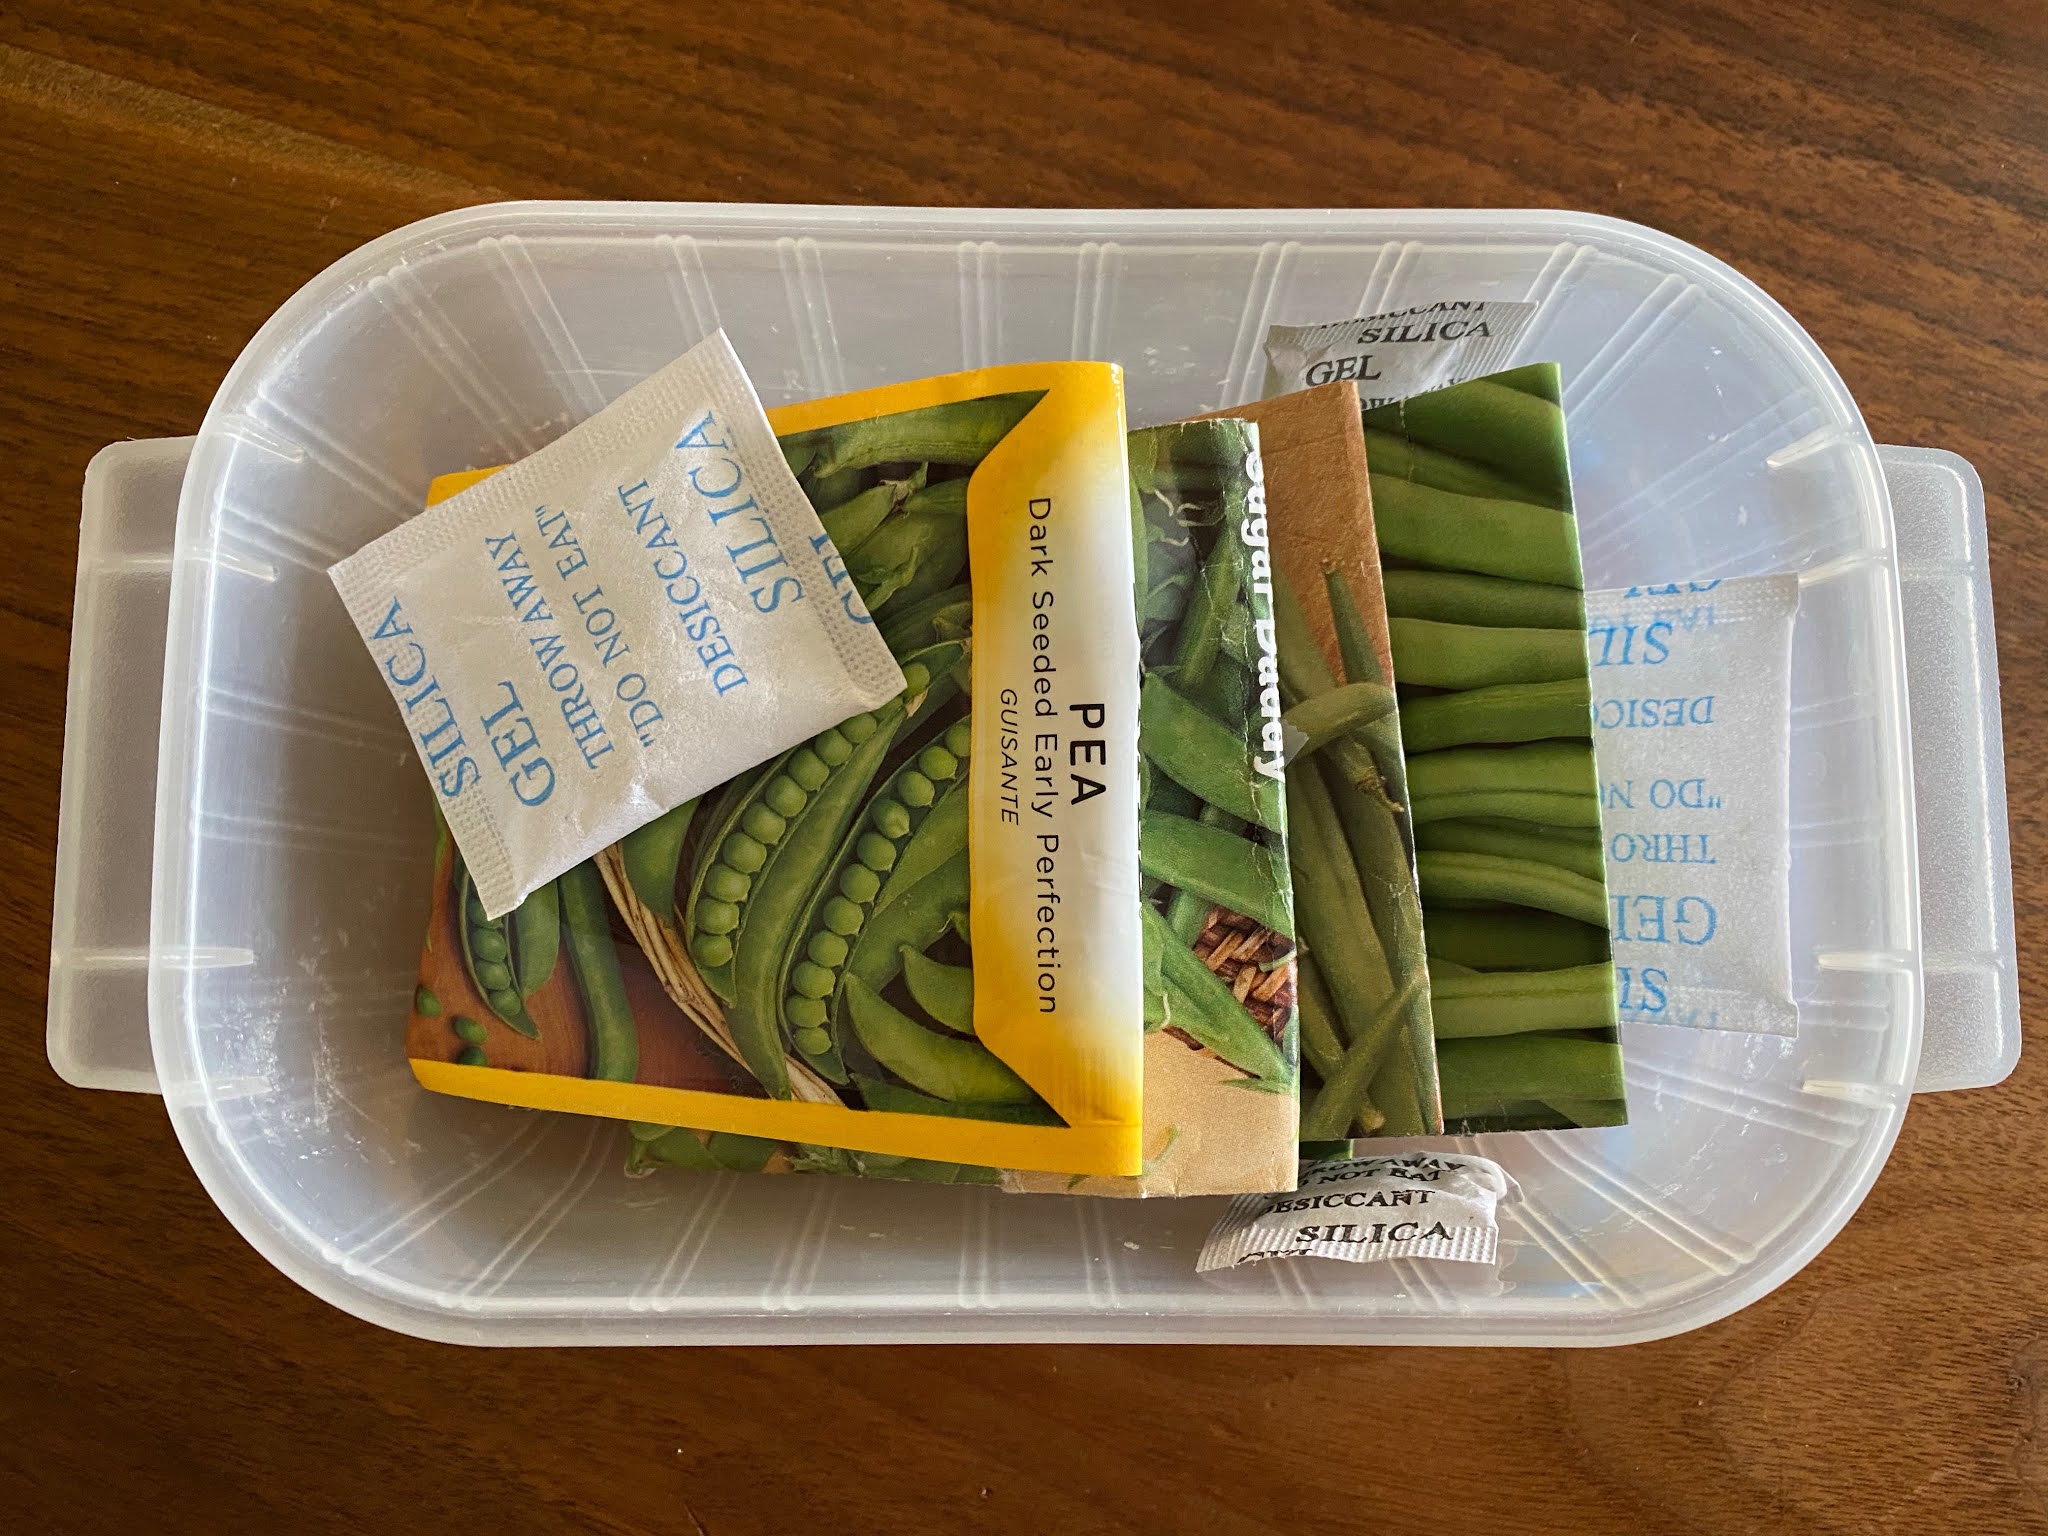
I bought some fresh seed packets but also used a couple left over from last year - you are supposed to test the old seeds first by seeing if they will germinate before planting in the garden but it takes a few days to do and I have no time or patience for that...I stuck them in the ground and it is what it is, they'll come up or they won't.

can you see how I did the trellis? It's the 2 red
tall tomato cages in the back with sticks
running between them.
I like to make my own trellising for beans and peas using whatever materials I have, it changes every year - this time I used tall tomato cages and ran sticks thru them (attach the sticks to the cage with twist ties) to give the plants climbing support. Sometimes I make teepees out of 3 tall stakes tied together at the top, or put a bunch of sticks in a row and wind twine between them for support...or just buy some trellis's and save yourself the trouble :).

I also LOVE silly garden crap - gnomes, scarecrows, signs, wind chimes, whatever. This is an easy place to put all that tchotchke stuff, no one really sees the garden and it makes me happy.


If you don't have the space, time, or the inclination to put in a big ol' garden maybe give square foot container gardening a try - I love it and in a very small space I am growing a lot! I have beans, peas, carrots, beets, 6 tomato plants, cukes, summer squash, sweet peppers, lettuces, and some marigolds. Will keep you posted on how it all goes thru the summer - can't wait for harvest time!


PS: farmer Jill says don't forget to water after planting :)