Friday, December 4, 2015

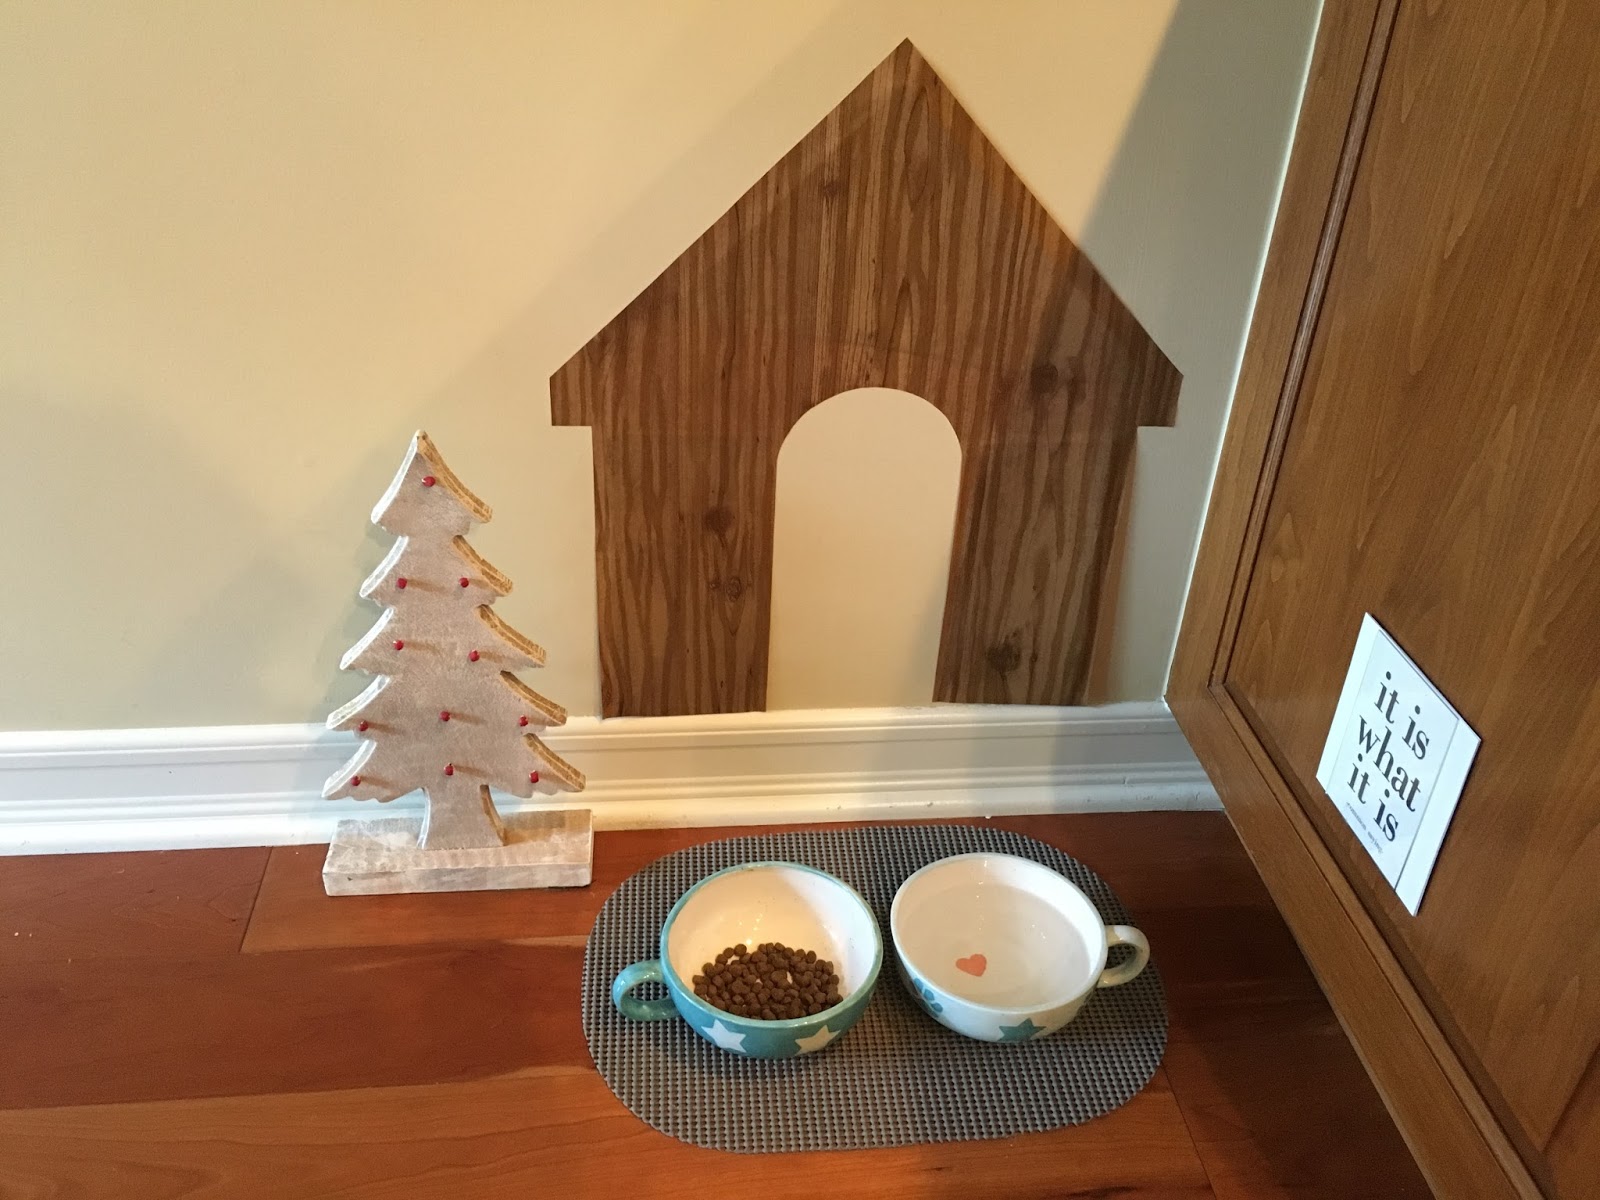
Contact Paper Dog House

Had an idea to decorate the area in the kitchen around Sarge's food and water bowls by making him a "dog house" out of wood patterned contact paper stuck to the wall - just trace the shape you want on the back of the paper and cut it out, piecing it together where you need to. I hung a plastic frame on the side of the cabinet using a removable command strip so he has a picture or words to think about while eating haha :),  and then since it's December he got his own little Christmas tree...


Sure this is silly, but it makes me laugh and Sarge doesn't mind - so why not?!

Thursday, December 3, 2015

Wine Cork Trivet

Looking for a quick/cute/fun/practical gift for a wine lover or cook (or wine loving cook) on your Christmas list? I made this cork trivet today and it turned out great - you should make one!


I was walking thru Home Depot with a friend and spotted this 4" duct clamp -  I remembered seeing a wine cork trivet in a catalog somewhere made with one of these and thought I'd give it a try. The clamp cost less than 2 bucks so figured I wasn't out much if it didn't work...I just so happen to have a bag or two of wine corks on hand (ok, ok, I have like 5 bags of wine corks - whatever...ha!) - if you don't have any you can buy them at a craft store (or maybe a kitchen store?), hit up a friend who collects corks, or ask a restaurant if they have any to give you. 


I cut out two circles, one from cardstock paper (as the base of the trivet under the corks) and one from felt (just so the bottom looked more finished) the same dimension as the clamp.

Arrange wine corks in the clamp, fitting in as many as possible. 


After you have the clamp filled, tighten the screw on the side of the clamp until the corks are very tightly wedged together and don't fall out when you pick the trivet up.


 Turn the corks over and glue first the cardstock and then the felt to the bottom.

There you go - cute wine cork trivet! Easy :)

Wednesday, December 2, 2015

DIY Bell Bottom Jeans

Not exactly sure why, but I decided I needed to make myself some super flare bell bottom jeans - did a little research online to see if anyone had good suggestions on how to do this and ended up combining a few ideas to come up with these.


Starting with a pair of straight leg jeans, I ripped out the outside seams up to the knee and took out the hem.


Next I cut a triangle out of leftover fabric scraps to fit into the opening I just made in the jeans - I made my triangle pretty wide since I was going for a super flare, it could be much narrower if you don't want them quite so flared.


Pin the triangle in place and sew from the top of triangle down to the hem on both sides. I sewed the hem of the jeans where I wanted the length to be but left the fabric un-hemmed with a little fray on the bottom.


Wore these to dinner and had a funky bald motorcycle-looking dude come up and say how much he liked my jeans, asked if I made them myself and said "right on, I have a few pairs I made for myself too"....hahahaha, well at least there's 2 of us out there that enjoy this look!! Get your groove on and give it a try (please. please make some so it's not just me and the bald guy rocking these).


Tuesday, December 1, 2015

Snowman Ornament


December 1st! Time to start thinking Christmas decorations :) My niece Mickey and I made these adorable snowman ornaments out of a few simple supplies, easy and inexpensive.

All you need are plain clear ornaments (easy to find right now at the craft store), white paper, craft paint for face, and maybe some pretty ribbon to tie on the top if you want.

We painted black eyes, dark red dots for mouth, and an orange glittery "carrot" nose. Cut the paper into long thin strips (ours are 3/4" x 11" but you can do any size you want), roll the strips up into tight coils and insert into the top of the ornament (remove the hanger part first obviously). Shake the ornament around a bit to loosen the strips if they don't on their own, keep adding strips until it looks good to you. Put the hanger back on and tie a big pretty ribbon thru the hanger loop (or just hang up as is!). So cute!

Monday, November 30, 2015

Pill Box Travel Organizer


I saw this on a camping blog and thought it was a very good idea. We just went on a road trip and I tried it out - much more compact and easier to use than other ways I've tried to organize meds in the past (especially when I would just put them all randomly together in a small baggie haha!).  Each day of the week is holding a different pill (aspirin, tylenol, benedryl, etc.) or vitamin, to remember what's what I put a piece of paper in the bottom of each compartment and wrote the name of the med on the underside. When packing for a short trip I don't need the whole bottle, this way I just have a few in case I need them and they are all organized together in one place. A little mini medicine chest!


2021 update - just fyi I still use this exact pill organizer, I take it everywhere in my backpack - it's so handy!

Sunday, November 29, 2015

Mini Pineapple Upside Down Cake

I have made individual pineapple upside down cakes before using a regular sized muffin pan, this time I decided to try making them in my mini muffin pan - they turned out exactly as I hoped and since they are so little you can eat a couple and not feel too guilty (or save room for other dessert if you make these for a dessert buffet)! 


Preheat oven 350'. Spray the muffin pan with non stick spray, put a little butter in each cup and stick in the oven until it melts, remove from oven and mix a little brown sugar in with melted butter (I didn't measure, just wing that part). Top that with a maraschino cherry and 1Tablespoon drained crushed pineapple. (The picture below is me putting the pineapple over the cherry). For the cake batter I used a small Jiffy cake mix (follow directions on the box for mixing into a batter) and poured over the pineapple, bake for 10 - 12 minutes until cake is done. Let the cake cool for a couple minutes before removing from pan, but don't let it set too long or the sugar hardens onto the pan. Run a knife around the edge of cakes, put a sheet pan over the muffin pan and invert onto the sheet pan. Any pineapple/brown sugar that stuck to the pan I just spooned out and filled in any cupcakes that needed it. 


Saturday, November 28, 2015

Purse Charm


I have a long pompom bag charm that has been on my backpack for years - I've recently been seeing shorter purse charms in the stores and wanted to try making one for my new purse...cuz why leave anything alone if you can decorate it?


I made two small pompoms from yarn - wrap 3 colors of yarn around a 2 inch card 50 times each. Tie off one end, remove from card and cut the other end to create a wild crazy pompom. Then start trimming the pompom until you get the size you want, the shorter you trim it the fuller the pompom will be. I tied the pompoms to a long cord.


On a key ring I added the pompom on cord, additional leather cords, and a ribbon. Look around for charms, buttons, beads - whatever you can find - and add those to the cords and ribbon. I wrapped a short piece of cord around the entire bundle at the base of the ring to keep everything in place and hooked it to my purse.


Friday, November 27, 2015

Black Friday

just thinking about black friday crowds gives me anxiety...


...this is much more me :)


Wednesday, November 25, 2015

Turkey Napkin Folding

Last minute idea for setting your Thanksgiving table. For our Thanksmas dinner I folded some napkins into turkey shapes - I just googled how to do it and found easy to follow instructions from Chinet.

I can't figure out how to post the actual instructions here, if you click above on Chinet it will you take you the written instructions with diagrams, and a video.

Each one took 2 dinner size paper napkins and were very easy to do, doesn't take long at all - super cute addition to your table!


file:///Users/jmpasant/Downloads/Turkey_Napkin_Fold_Diagram1.pdf