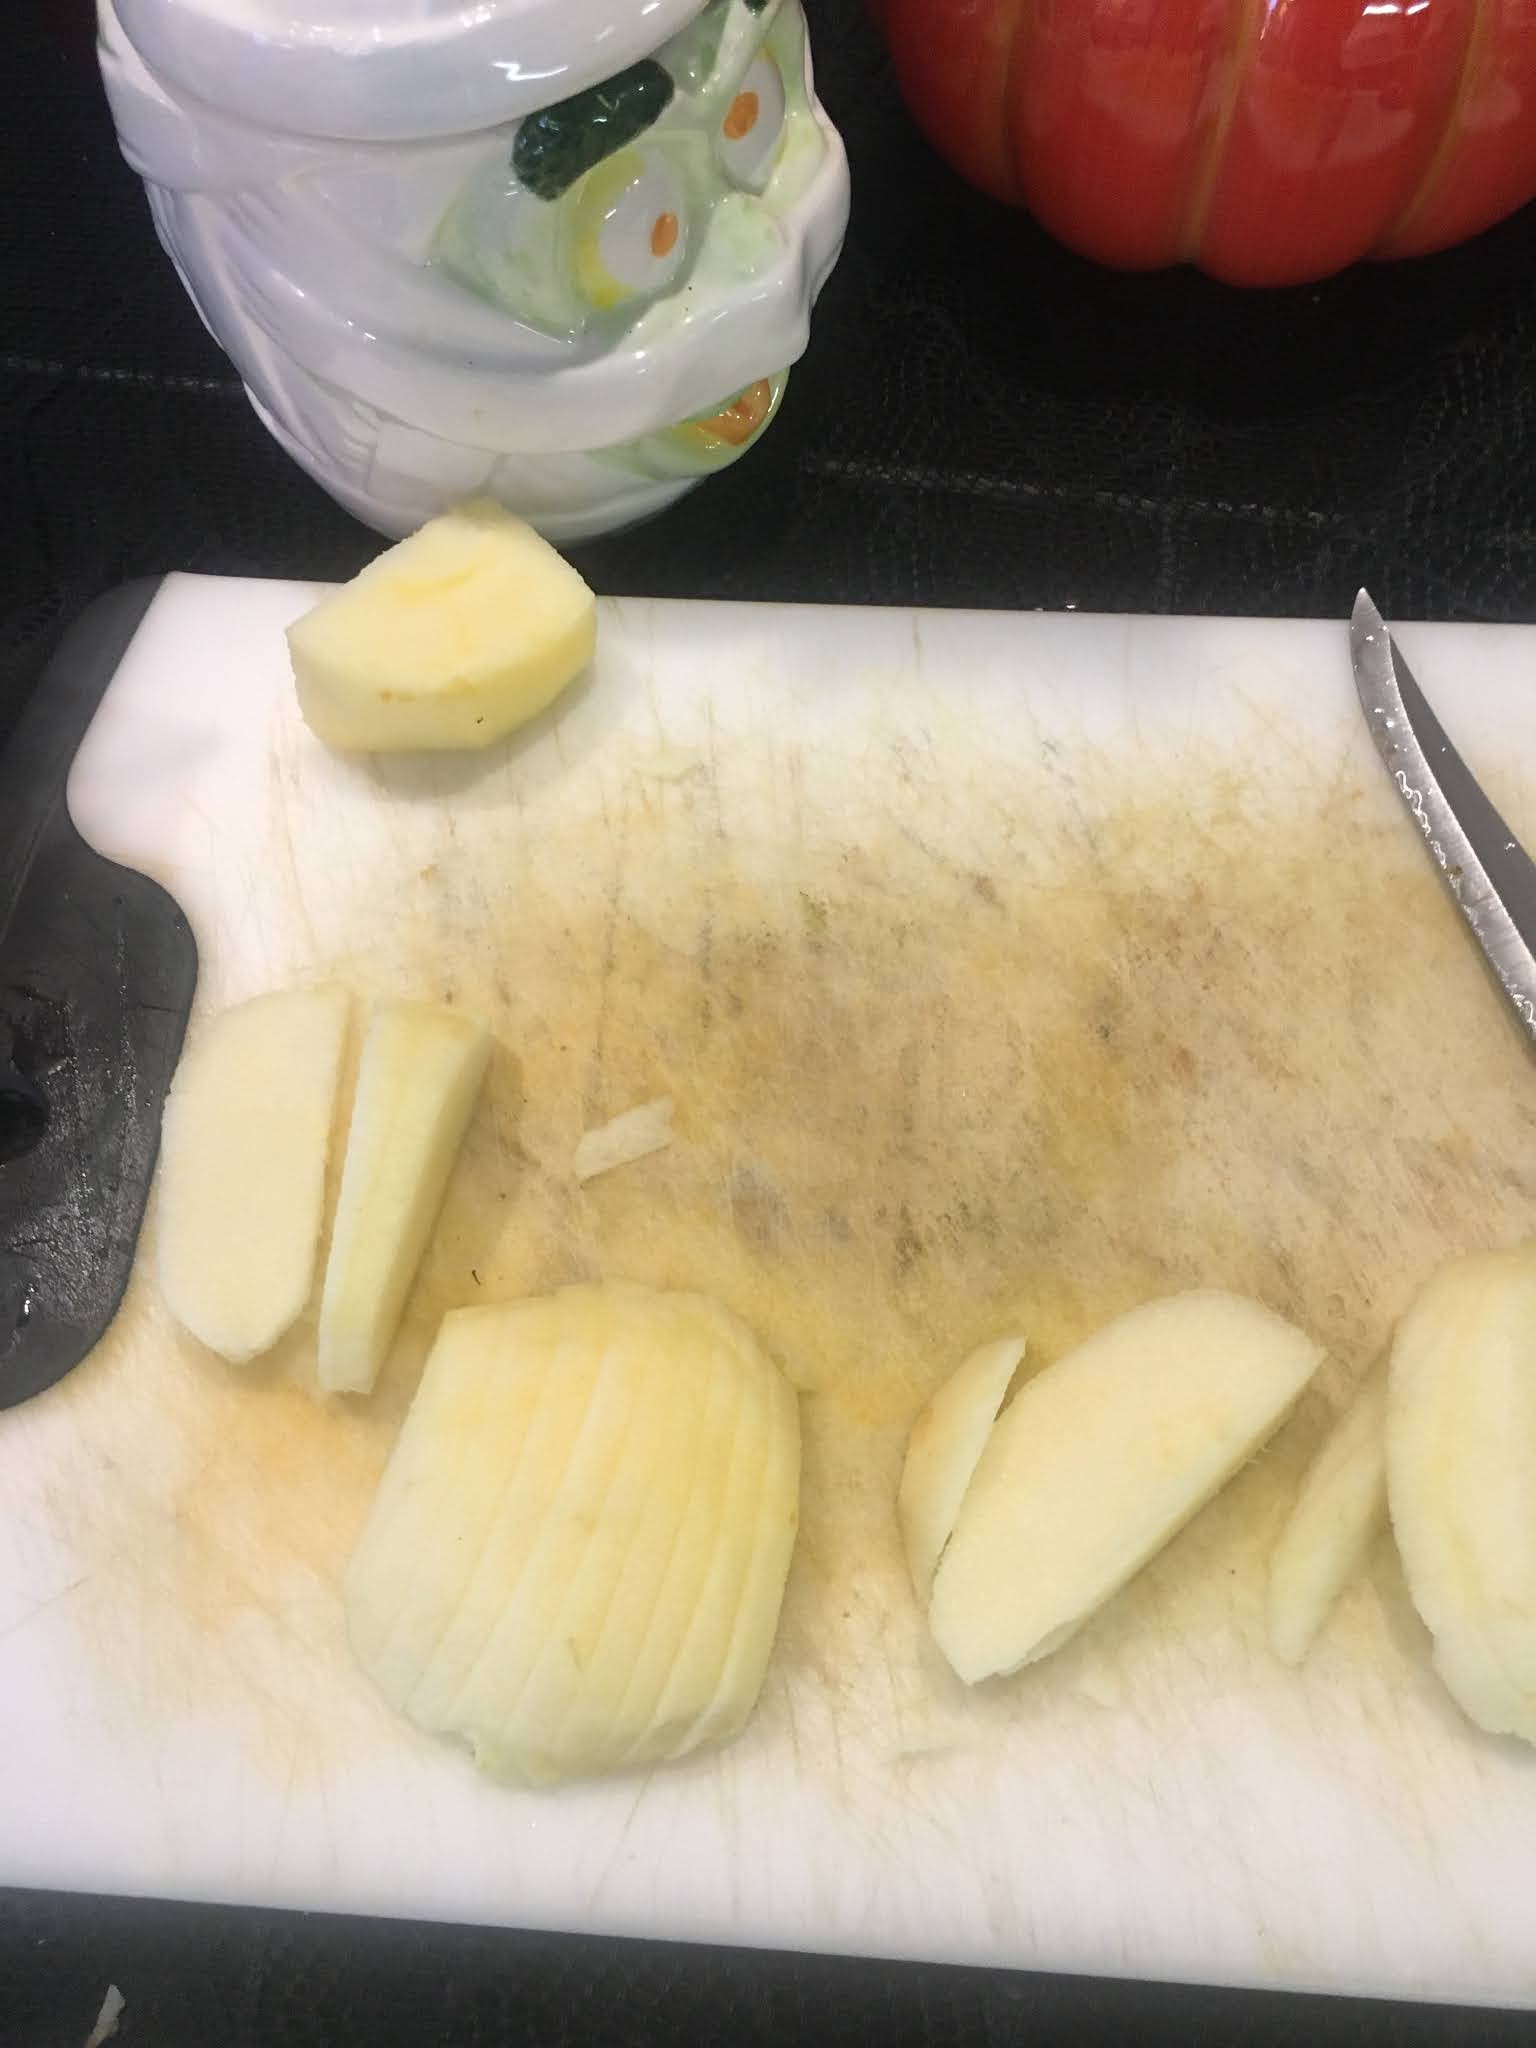
Hi everyone it’s brooke!! so yesterday after dinner i really wanted apple pie and ice cream but we didn’t have any pie. so i decided to make my own apple pie filling/ cobbler to put with ice cream! it was sooooo simple! all i did was cut up an apple into strips and coated them in a brown sugar and cinnamon sugar mixture and put them in a baking dish and cooked them in the oven at 350° for 20 minutes! and then i let them chill for another 15 minutes and then i put them in a bowl with ice cream on top!! hope you try this and enjoy it as much as i did
Welcome to day camp - it's either a place for you to get inspired and want to make stuff, or a place where I can show off the cute things I've made since my family is tired of my texting them pictures every day! Just like camp I do all kinds of fun projects - crafts, DIY, bake, cook, garden and more - and can't wait to share them with anyone looking for ideas.
Friday, November 20, 2020
Thursday, November 19, 2020
Loaded Brownies
Here's a quick follow up to yesterday's 'loaded cream cheese brownie' post - I liked the topping idea of these brownies so much I made them again 2 days later but skipped the cream cheese layer and just frosted baked brownies with chocolate frosting and then piled on the toppings. I should probably call these 'lazy girl loaded brownies' because they are SO easy and yet look great.
Side note: I make fantastic buttercream frosting from scratch but I was in a hurry and bought a can of frosting at the grocery store (see, I wasn't lying when I said these are lazy girl brownies hahah!!). My sis gave me the tip a long time ago to whip store-bought frosting with a hand mixture for a few seconds and it gives it a way better consistency, and because even tho I'm lazy I still want things to taste as good as possible so I did take the few extra minutes to fluff up the canned frosting LOL.
After the brownies are frosted, add whatever toppings you can think of - I really don't think you can go wrong here. Any mixture of chocolate chips, broken cookies, sprinkles, m&m's, reeses, chopped rolos, or broken pretzels are going to be delicious - and it looks amazing. Yes maybe a little amazingly crazy, but whatever - I think they look great.
I did the same for serving as yesterday's brownie post (and still didn't take a photo!), cut in small bite-sized squares and put each one in a cupcake/muffin liner cup. Spreading brownie love not Covid.
Wednesday, November 18, 2020
Loaded Cream Cheese Brownies
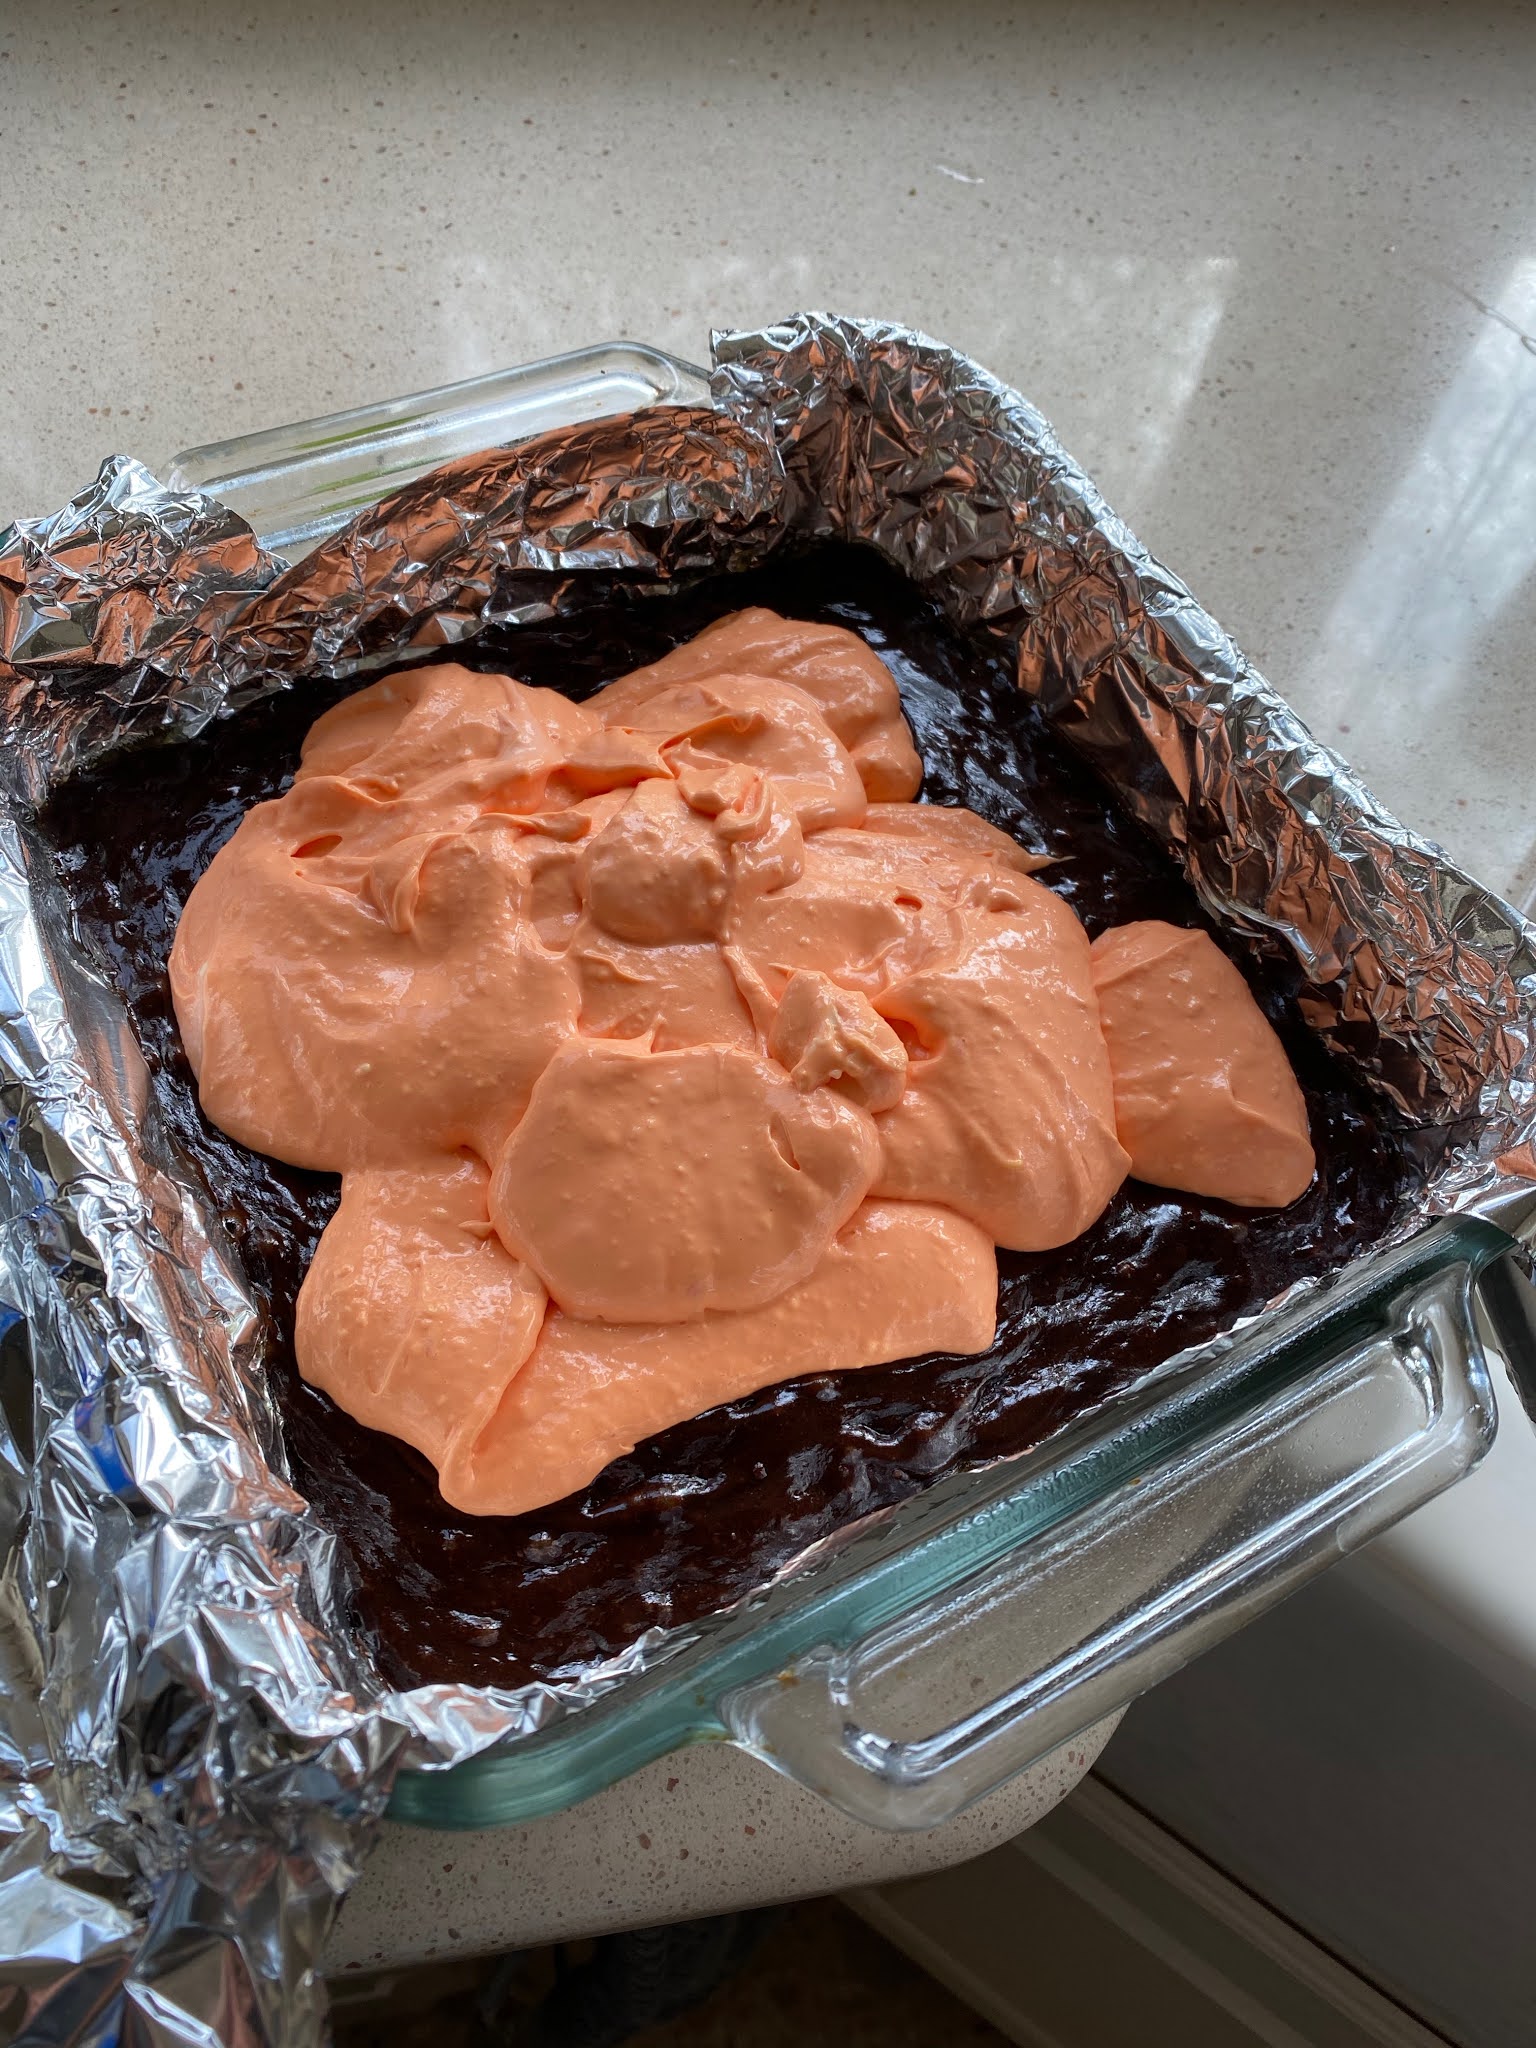
I made these for Halloween with an orange cream cheese layer (based on a recipe found here) but you could use any color you want or even just leave it white and they'll still be pretty! Love this idea, my only concern is how long they took to bake - recipe says 43-45 but it look much longer. I lost track of how long I left them in but I'd say 55 minutes and even then they looked extremely underdone. As they cooled they did set up a bit more, and if you like your brownies to be on the fudgey side you'll probably find these the perfect texture. The inspiration recipe used broken oreos and chocolate chips on top, I added more things including snow caps, mini oreos, thin chocolate wafer cookies, white chips, orange m&m's, candy eyes, and halloween sprinkles.
- 8 oz. brick style cream cheese, softened
- 1 large egg
- 1/4 cup sugar

Tuesday, November 17, 2020
Tip-sy Tuesday: cast iron pan info
Yesterday I showed you how to make pizza in a cast iron skillet - the most delicious pizza by the way - so thought I'd share a couple tips to use and care for this (previously scary to me) pan:
Heat the dry skillet on medium heat for a couple minutes before adding a small amount of canola oil, then heat the oil until it shimmers and sizzles when you put a drop of water in the hot pan. If it sizzles you know it's ready to add ingredients.
Wash the pan with water, you can use a little soap but that might remove the seasoning; so far plain water has done it for me. Use a rubber scrapper or a brush meant for cast iron (not steel wool) if you have any bits stuck to the pan, I let water sit in the skillet for a couple minutes while doing other dishes but don't soak it too long or immersed in a sink of water - you don't want it to rust. You can rub in a little oil after the pan is clean, then buff it off. Dry it thoroughly before storing - moisture is not good for cast iron, the lady at the store told me she puts paper towel under and over her pans to help keep them dry while being stored (once again, they tend to rust if left wet too long).
That's all I know so far - I'm going to experiment with other recipes for sure now that I know how much I like this new pan...I'll keep you posted!
Monday, November 16, 2020
Cast Iron Pizza
My mom bought me a 12" cast iron pan for my birthday, nice right? Except cast iron pans have always intimidated me and I've never wanted one hahaha!! But between my sister gushing about how fantastic her cast iron blackened salmon is, and my mom gushing about how her cast iron pizza tastes just like take-out pizza, I slowly warmed to the idea of owning a scary pan. (Although still secretly wondering if I could find a place to store said scary pan when I never use it LOL.) Cue this first attempt at making pizza and call me a convert!
Preheat oven super hot - recipes say 500-550' but that scared me so I chickened out and turned it to 475'.
Have the dough shaped and ready to go (I used store-bought, mom makes her own dough), I used the kind in the tube which makes a rectangle shaped crust so I just stretched it into a rough circle. Also have whatever toppings you are going to use on standby - I did pizza sauce, pepperoni, canned (drained) mushrooms, and mozzarella cheese.
Put the skillet on the stovetop over medium heat for a couple minutes, then add some canola oil and let it heat up. Turn off the burner and carefully add the crust, pat it down and press out the best you can without burning yourself (use a spoon if you want). Add the toppings. The heat of the cast iron should get a good crust on the bottom, lift it up a bit to check and if it's still doughy on the bottom turn on the burner for just a minute or two to get it a little golden brown.
Transfer skillet to oven and bake pizza until crust is golden brown around the edges and cheese is browned and bubbling, about 10-14 minutes. Carefully remove from oven (remember the handle will be hot too!).
Sunday, November 15, 2020
🔥Around the Campfire (week 46)
Dear Campers ~
Here's a quick recap of what happened at camp in case you missed anything:
Posts ~
11/8: 🔥week 45
11/9: troll costume
11/10: tip-sy tuesday: storage wrap tip
11/11: chessman banana pudding
11/12: pine nut pilaf
11/13: Brooke's coin jar
11/14: picked red onions
What's Cooking ~
Saturday, November 14, 2020
Pickled Red Onions
While on my pickling kick (along with cucumbers and green beans) I decided I'd like to try pickled red onions - very easy to do and I love them! You can add to sandwiches, chop up in chicken or tuna salad, put on salads or tacos, or just eat straight out of the jar hahahaha. Since I've never done it, and because Dave will not eat them, I didn't want to make too many jars for my first time - I found a small batch recipe and just made 2 small 8 ounce jars of them and I'm wishing I would have made more! Who cares if I have to eat them all by myself - I'm up for that challenge ;)
- 1 large red onion, thinly sliced
- 1/2 cup apple cider vinegar
- 1/2 cup distilled white vinegar
- 2/3 cup sugar
- 1 T. pickling salt
- 1 T. pickling spices (you can omit this, or add peppercorns or other spices)

Friday, November 13, 2020
Coin Jar by Brooke
Hey guys! Today I was counting my coins in my big glass jar. And I thought it was so ugly and boring. So I decided to dress it up a little bit!! All I used was paper, hot glue, and glitter!! The first thing I did was pick out my paper and cut it to my Desired size to be a little bit lower than half on the jar. Then I put hot glue on the end and glued it to the jar. Then I went around the jar with the glue following it with the paper so I could get it as even as possible. Then I let that dry. After it dried I took the hot glue gun and used it around the top of the paper. After I did that I poured glitter on that glue on the top. Then I let it dry again! Then once it was fully dry I poured all my coins back in it and now it’s so pretty! This was so easy and it looks 10x cuter than it did!
Thursday, November 12, 2020
Pine nut Pilaf
This recipe is on the inside cover of a pine nut clamshell container from great lakes international trading co (click here), I had all the ingredients on hand so made it as a side with grilled pork chops last night and it is great! I shouldn't be surprised since they bothered to put it on the cover hahaha, but I was surprised none-the-less. Pinenuts are expensive but sooooo worth it in this recipe - click here to see how to toast pine nuts to bring out even more fragrant nutty flavor.
- 1 medium Onion, chopped
- 2 Tablespoons Olive Oil
- 1 cup Long Grain or Basmati Rice
- ½ teaspoon Salt
- 1 14oz can Chicken Broth
- ¼ cup Water
- ½ cup Great Lakes’ Dried Apricots, diced
- ⅓ cup Great Lakes’ Pinenuts, toasted
- 1 Tablespoon Basil
- ½ teaspoon ground Cumin
- pepper
- Cook onion in olive oil over low heat.
- Add rice, salt, broth and water. Bring to a boil. Cover, turn the heat down to simmer for 15 to 18 minutes (until rice is tender and liquid is absorbed).
- Add apricots, cover and let stand for 5 minutes.
- Stir in the pinenuts, basil and cumin.
- Pepper to taste and serve.
Wednesday, November 11, 2020
Chessman Banana Pudding Dessert
- 1 (12-oz) container frozen whipped topping, thawed, or equal amount sweetened whipped cream
- 1 (14-oz) can sweetened condensed milk
- 1 (8-oz) package cream cheese, softened
- 2 cups milk
- 1 (5-oz) box instant French vanilla pudding mix
- 6 to 8 bananas, sliced
- 2 bags chessmen cookies
Line the bottom of a 13x9x2-inch dish with 1 bag of cookies and layer bananas on top.
In a bowl, combine the milk and pudding mix and blend well using a handheld electric mixer. Using another bowl, combine the cream cheese and condensed milk together and mix until smooth. Fold the whipped topping into the cream cheese mixture. Add the cream cheese mixture to the pudding mixture and stir until well blended.
Pour the mixture over the cookies and bananas and cover with the remaining cookies. Refrigerate until ready to serve.