Thursday, December 14, 2017

Bacon Jam

Bacon. Jam.

(mic drop. really, do I need to say more?)

And if anyone's first thought is "why",  I'm not sure we can be friends. 'Cause c'mon - bacon jam!

Ingredients:
  • 2 pounds bacon, diced
  • 4 medium onions, thinly sliced
  • 3 cloves garlic, smashed and peeled
  • 1 1/2 tablespoons fresh thyme leaves
  • 1/2 cup cider vinegar
  • 1 cup packed brown sugar
  • 3/4 cup brewed coffee
Directions:
  1. In a large skillet over medium-high heat, cook bacon in 2 batches, stirring occasionally, until crisp, 10 to 12 minutes per batch. With a slotted spoon, transfer bacon to paper towel-lined plate to drain. Pour off all but 2 tablespoons fat from skillet. Add onions and garlic; cook, stirring, until onions are translucent, about 10 minutes. Transfer mixture to a 6-quart slow cooker.
  2. Add thyme, vinegar, brown sugar and coffee to slow cooker. Chop bacon into small crumbles, add to slow cooker and stir. Cover and cook on hight for 2 1/2 hours. Uncover and cook until onions are caramelized, about 1 hour more. Jam will thicken as it cools. 
  3. Let cool. Refrigerate until ready to jar. The jam will keep in the fridge up to 4 weeks.
Note: if gifting - portion the jam into 4 1-cup jars. You could cut scraps of fabric with pinking shears and tie over lid with twine, or just wrap the jar with some ribbon. Attach a tag (include that it needs to be kept in the fridge and will last 4 weeks), and you could also tie on a pretty spreader if you want to add to the gift!

Serve on crackers and sandwiches (try it on grilled cheese). 

Hands-on time: 1 hour
Total time: 4 1/2 hours
Yield: about 4 cups

found this recipe here.

PS: I cannot stop nibbling on this. A teaspoon at a time. Sweet and salty...bacon-y...sigh.


Wednesday, December 13, 2017

Wood Reindeer and Snowman

Here's another project that I haven't made (yet), but love and want to share. My friend and neighbor Missy (remember her? She's the one with those wicked Nana's Pralines you really should make, heaven!!) just saw both of these at a friends house and sent me the photo (yay, another friend who sends me crafting ideas without my begging! Thanks Missy!!) thinking I would like them...and I do!


The reindeer is made from a painted 4x4" piece of wood, google eyes, a wood oval for the nose, 2 clothespins for antlers, and some sparkly ribbon.


The snowman is 3 painted cubes of 4x4x4" wood, painted on face, burlap and ribbon, and 3 mismatched buttons.


How cute and creative are these?!!

Tuesday, December 12, 2017

Handmade Snowman Pillow

Mary made me this pillow a while ago - I love it, it makes me happy to get it out every year and think of her, and it's so creative that I want to share it with you. I keep thinking I'm going to copy her idea and make another one ... some day I def will. Isn't it cute?!


I didn't ask her how she made it, but I can take a guess...

It looks like she cut all the snowman pieces out of fleece and whipstitched them onto a big square of plaid fleece with (my guess is) embroidery thread, and add buttons/beads for eyes, mouth, and body. My favorite part is the little twig broom (you could also use a stick) she slid between the body and mitten. So cute. Hand stitch "let it snow" using the photo as a guide - it's a little thicker and might be yarn. After the front is done sew to another big square of plaid fleece to make a pillow cover, then stuff with either batting or make the pillow the size of a standard pillow you can use as an insert. She sewed the front and back together with cord trim (you can buy that by the yard at fabric stores), it's a nice extra touch.

Thanks again for my adorable pillow Mary!!


one year ago: Marquee Letters

two years ago: Fireball Hot Toddy

Monday, December 11, 2017

Tinsel Wreath

I just made the easiest wreath ever. I'm feeling a little guilty for even saying I "made" this, but it turned out so pretty that I'm sharing it anyway :). I got all the materials at a dollar store so this literally cost me all of $6 total and took less than 10 minutes to assemble.

All I did was wrap 4 (9') strands of tinsel garland around a 14" wire wreath, just tie one end on and wrap! That's it! Seriously, you agree I should feel a little shame for using basically no creativity at all to make this - right? HAHAHA. Whatever. I like it.

Oh, and I tied on a silver bow to finish it - they had all kinds of other things (snowflakes, stars, bells, ornaments...) that would look good attached to the wreath, and there was lots of different colors and types of tinsel so you can be as "creative" as you want with this simple project!


one year ago: chicken marsala
two years ago: Scott showed me how to make a Christmas tree using pine garland and 2 tomato cages. genius.


Sunday, December 10, 2017

Sweetly Spiced Pork Tenderloin with butternut and pears

Saw this recipe in a magazine (all recipes) and it looked good...we really liked it although it is a little too sweet so next time I will change it a little and only use one pear and less brown sugar. I also made a couple short-cuts: Dave grilled the pork instead of the whole browning and roasting step; I bought cubed squash in a microwavable bag, cooked in the micro and then added to the skillet with the pears and other ingredients. Omitted the onion and walnuts for Dave. This is definitely a winner! Perfect fall Sunday dinner.


1 pound pork tenderloin
1/2 teaspoon salt
1/2 teaspoon black pepper
1/4 teaspoon cinnamon
1 Tablespoon olive oil
1/4 cup water
1 cup (1/2") cubed butternut squash
2 ripe pears, peeled, cored, and cut into pieces
1 onion, cut into thin wedges
1 cup dried cranberries
1/2 cup pear nectar or apple juice
1/2 cup chopped walnuts, toasted
2 Tablespoons packed brown sugar
1/8 teaspoon ground cloves
fresh sage, for garnish


  1. Preheat oven to 375'. Line a shallow baking pan with foil.
  2. Sprinkle pork all over with 1/4 teaspoon salt, 1/4 teaspoon pepper, and cinnamon. Heat oil in a large skillet over medium-high heat. Brown pork on all sides, about 2 minutes total, then transfer to prepared baking pan. Roast pork until an instant-read thermometer inserted into center registers 145', about 15 minutes. Remove from oven, cover with foil, and let stand 5 minutes.
  3. Meanwhile, bring water with squash to a boil in skillet. Reduce heat to medium-low and simmer, covered, 10 minutes. Increase heat to medium-high; add pears and onion and cook, stirring, 8 minutes. Stir in cranberries, pear nectar, walnuts, brown sugar, cloves, and remaining 1/4 teaspoon each salt and pepper; cook to heat through, 1 to 2 minutes.
  4. Slice pork and serve with squash mixture. Garnish with sage.
Serves 4. per serving: 446 cal, 13.5g fat, 57g carb

Saturday, December 9, 2017

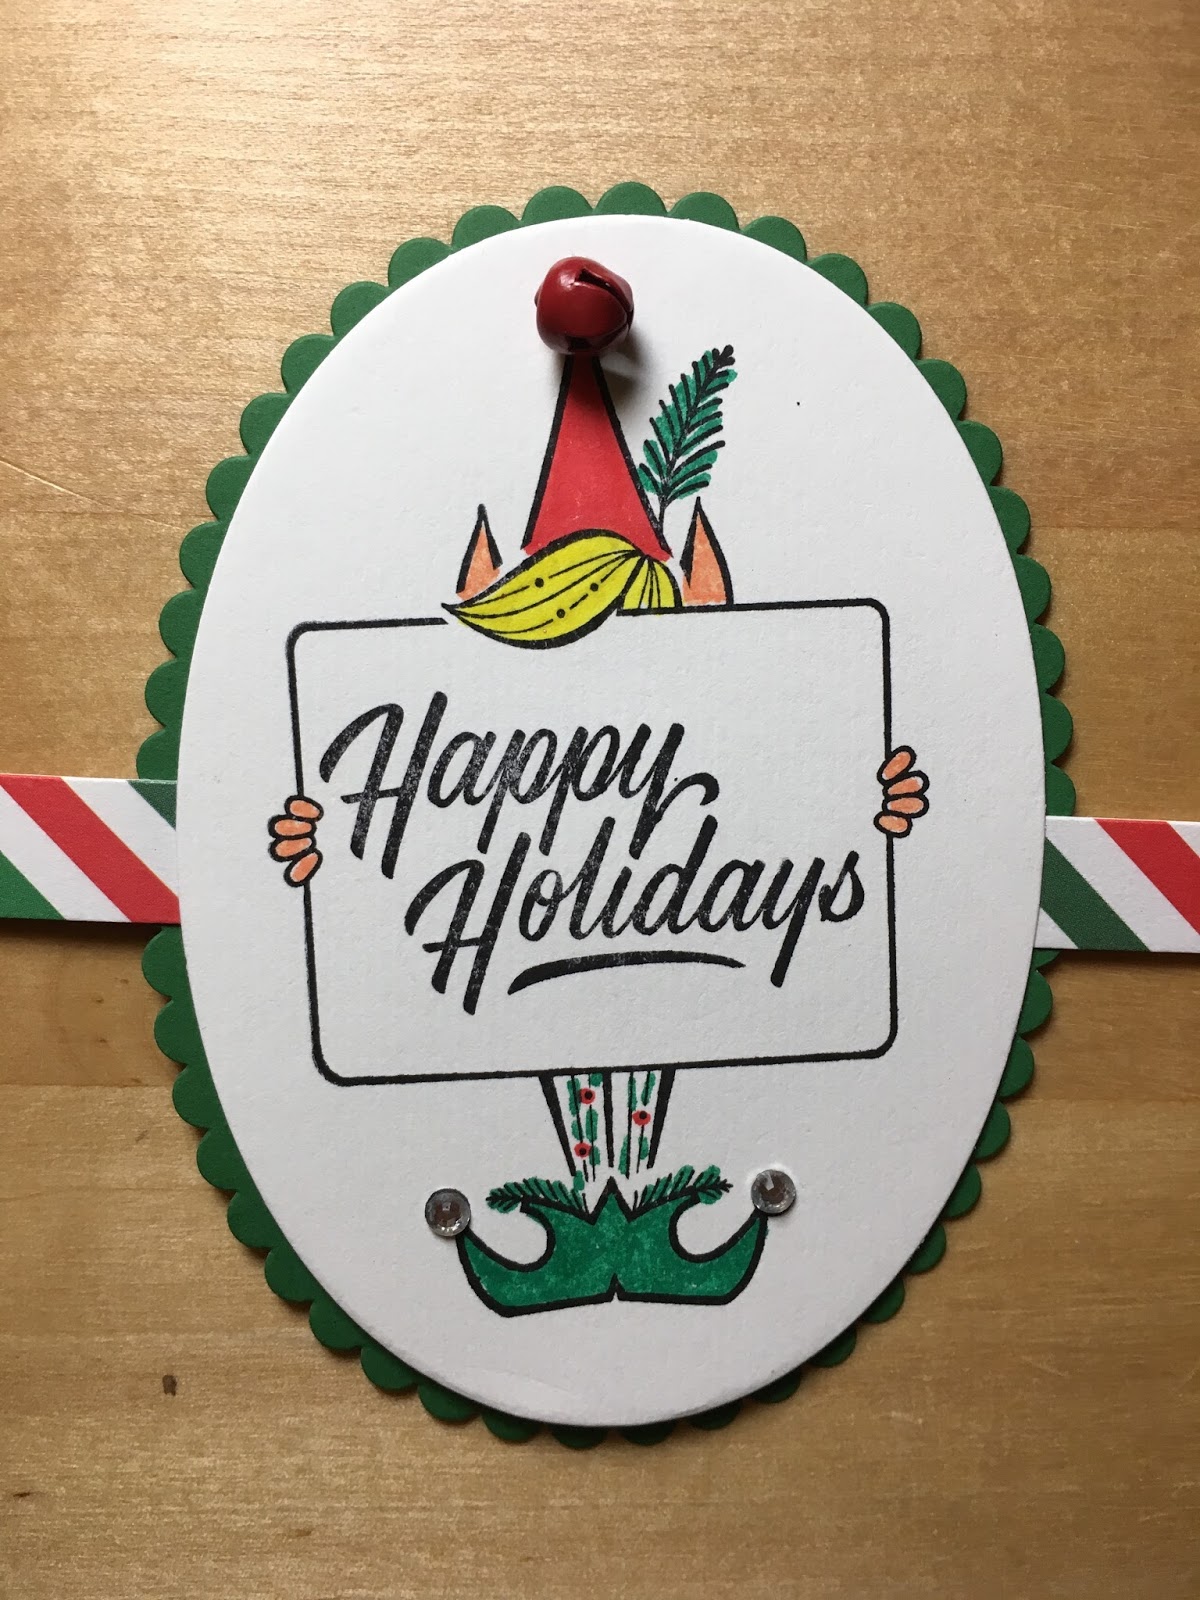
Elf Gift Tags

Janis and I had craft day and made these super cute gift tags (along with some more wine cork Christmas trees - told you I was a little obsessed with making them! click here to see more on that) and had so much fun. I love crafting alone but it's even better having a craft buddy!

I got this cute elf stamp from Stampin' Up, and raided my stash for different papers, inks, markers, gems, tiny bells, and foam dimensionals. First we stamped the image onto white paper and colored the little guy in, then cut him out using an oval die cut thingy.  Then play around with how to finish the tags - apply gems and bells, attach to different backings with the foam dimensionals, whatever looked good to us.

We made a big ol' mess and decided instead of cleaning it up let's leave it all on the kitchen table and come back to make more tomorrow! There is glitter EVERYWHERE!!! Dave is gonna freak. ;)


Friday, December 8, 2017

Crocheted Cactus

Yep, you read the title right...I crocheted a cactus. The reason is because of a funny story my friend Kelly told me a long time ago about someone she knows receiving a homemade felt cactus that Kelly thought was horrific but her friend loved - Kelly couldn't stop laughing at this ridiculous felt cactus. So of course I said "you know I'm going to crochet you a cactus now, right?" and it's been a running joke since...driving across country with time on my hands and some green yarn in the van, I finally got around to making it for her. And for how stupid I expected this to be it actually turned out really cute!


I made two different ones because they didn't take much time at all to crochet,  I like the prickly pear one the best so gave that one to Kelly - and now I need to make another one for myself haha!! I found the directions here if you want to make someone a cactus ;)

I wrapped it in a pretty bag and when I gave it to her I asked "can you guess what this is?" and she immediately said "is it a cactus?". Then she laughed hard, which was the point.

 
To assemble the cactus I bought a dollar store mini pot with a fake plant in it, pulled out all of the flowers but kept one of the wires. Put the "soil" over the wire to hold it in place, and then sew the cactus pieces together using yarn and a big needle. 


SaveSave

Thursday, December 7, 2017

Paper Doily Wreath

This one had me a little worried while I was making it, I couldn't quite see how it was going to come together - a bunch of doilies smushed together had the potential of looking like an old lady mess hahahah - and I really didn't want to waste all these Stampin' Up doilies Ronda gave me! Once it was done though I'm loving it,  and even though I made it for Ronda's display table I'm having a hard time letting it go :)


To make the wreath backing, I cut out a 7" circle from a piece of white cardboard, then cut out a circle from the middle leaving about a 1 1/2" ring. For each doily I sort of pinched in the middle and made little bundles, adding a dot of hot glue to the center to hold it together. Then hot glue them onto the wreath base - I pretty much added one to the outer side, then one on the inner, then add in between where there were spaces. Continue doing this for about 3/4 of the wreath. To finish I removed the flowers from a dollar store bunch of white poinsettias, cut the backs down so they were as flush as possible and hot glued in the empty space where there were no doilies. Tie a piece of lace ribbon on to hang. Done!

I used 36 Stampin' Up paper doilies, 3 fake poinsettia flowers, 9" of lace ribbon (also Stampin' Up), about 4 mini glue sticks, and some white cardboard.

Isn't this pretty?

I initially thought I was going to apply the doilies to a dollar store evergreen wreath but didn't like how that looked...

...so I made a ring using white cardboard as the base.  The most difficult part of this whole thing
was separating the doilies from each other - those little buggers are really stuck together!

form little scrunched bundles with each doily and hot glue to the base. 


Wednesday, December 6, 2017

Grandma Jean's Pecan Pie


I have such nice friends. Out of the blue (which means without my nagging her LOL) Natalie sent me pictures of this beautiful pecan pie - she even took lots of pictures and walks us thru her Grandma's recipe with detailed instructions! YAY! Thank you so much for sharing Nat :).


PS to Natalie: I'm not nagging but if you want to share the recipe for the pretty latticed-top apple tarts you guys made I'm sure everyone would love it, wink wink!!!

Feel free to leave comments for Natalie and I'll make sure she sees them...ok, on to her post:


Here’s the recipe a baker can actually follow:

1/2 c. Sugar
1/4 c. unsalted butter, softened
1 c. Light corn syrup
1/2 tsp. Salt
3 eggs beaten
1 tsp. Vanilla
1.5 c. Broken and/or half pecans

Melt sugar, butter and salt over low heat, add corn syrup and stir thoroughly.

Heat to medium and continue to stir until mixture goes from white to more translucent and you can’t feel sugar granules on the bottom. Pull off heat and let cool for two minutes, then whisk in eggs quickly to avoid scrambling them.


Return pan to medium heat and continue stirring for 1 minute; whisk in vanilla, then stir in pecans and continue stirring over heat for 1 minute. Pull off heat and pour into uncooked 9” pie crust. Bake in 
preheated 350 oven for 60-70 minutes—until it doesn’t jiggle when shaken/knife comes out clean. 


Best 9” simple crust (can be doubled)
1 c. Flour
1/2 c. Chilled Crisco
3/4 tsp. Salt

1/8-1/4 c. Ice cold water
Whisk flour and salt together, add crisco and cut together until flour is incorporated into pea size pieces. Add 1/8 cup water and stir gently with a fork. Only add more water if the dough isn’t sticking together in a ball. Dump dough into plastic wrap—pat into a ball using the wrap—and wrap and chill for 30 minutes. Remove from fridge onto well floured surface—pat down to a 6 inch circle—then lift it—reflour surface and flip over. Flour rolling pin and roll out to an 11 inch or 12 inch circle. 

Fold in half (I use my metal scraper as pictured above to lift dough!) and place on 9” pie plate.
Unfold and create an edge.

I always fold 1/4” of the edge under to make it thicker and prevent burning before making a pinch or wavy edge.


Poke holes with fork for a precooked crust and add pie weights before baking,
 OR use as is for a raw crust like with pecan or pumpkin pie. 


Tuesday, December 5, 2017

Gift Wrap Idea - add a pocket.

I saw this idea somewhere and thought I'd remember how they did it, but of course I don't and I can't find it again! So I sort of winged it - there might be a better way to do this but here's what I came up with...it's a fun idea if you have a small little gift you can tuck into a bigger one.

1. Using reversible paper - cut enough to wrap around the entire box plus enough extra to cover the top twice.
2. Lay the extra paper over top, fold in the long edge so it meets the edge of the box top and tape 1/2 down to hold in place. Fold the untaped part back on itself and make a sharp crease (creating a pocket), then tape the reverse side down along the other edge. (see photo - this is harder to explain than it needs to be!). Then finish wrapping the ends like normal (fold in and tape closed).


step one - cut enough paper to wrap around the box plus extra to create the pocket on the top of the gift

step two - in this example I've taped the snowman print down on the top right edge then folded a big triangle of plaid print back onto the snowman print and taped the plaid edge down (which in this picture is the bottom left corner). Then complete wrapping the ends like you normally would. There is now a pocket on the top of this gift between the plaid and the snowman print.