Showing posts with label paper crafts. Show all posts

Tuesday, September 19, 2017

Paper Mugs

Oh my gosh these paper mugs turned out so cute! And they are quite easy to make, which is a bonus...I'm thinking of so many uses for them - they'll make adorable table decorations and gift holders for sure.

I made 2 of them for Ronda's seasonal display table out of coordinating Stampin' Up papers and attached them to Stampin' Up paper doilies - LOVE - but they were just as cute on their own without the doily if you prefer.

They aren't difficult but my describing it might be - I took lots of pictures though and there's youtube videos you can google if you want to watch how its done. For demonstration purposes I made one out of plain paper so you can see the scoring and cuts easier, the finished ones out of decorative papers  are way cuter :)

All you need is a sheet of cardstock or scrapbook paper, scissors, adhesive (I used glue stick), and a scoring board helps but you could do it with a ruler and something pointy but not sharp (I used a crochet hook until I got this scoring board from Ronda).

1. Cut the paper into a 8.5" x 4.5" rectangle for the mug, and another piece 4.5" x 3/4" for the handle. Note for the plain example mug I made the handle 1" wide but later decided 3/4" looked better. Up to you!


2. Score 1.5" from one edge vertically (the long way) as shown below.


3. Turn the paper and score every inch 8 times (so make a score line at 1", 2", 3", 4", 5", 6", 7", and 8"). There will be a little 1/2" inch end flap left over that you'll use to glue the mug together. Fold along all of the lines so you can see them better.


4. Remove the bottom corner of the 1/2" strip just up to the 1.5" vertical score you made in step 1. Then make cuts on each of the other 7 score lines you made in step 3, stopping at the 1.5" initial vertical score line. See the picture below.

5. Fold up the paper making a circle/mug shape with the cut pieces at the top as shown. Glue the 1/2" end flap to the beginning of the rectangle so it keeps its shape.


6. Fold each cut piece out so it's easier to work with the little tabs.


7. Fold in the tabs that are directly across from each other and glue to connect. Be careful to not pull or force the tabs and get the mug all out of shape and wonky. Continue folding in and gluing the tabs across from each other all around the circle for a total of 4 connections.


8. Once all the folds are connected this is what it looks like (below) and forms the bottom of the mug.


9. Turn the cup right side up and glue the 4.5" x 3/4" strip to the edge of one of the panels as shown. Note for this example mug I used 1" for the handle but decided it looks better 3/4" for the others I made. Do whatever looks good to you!

10. Bend the strip down so it curls into a handle shape and attach at the bottom.


The finished project made out of pretty papers and attached to a paper doily - cute, right?


one year ago today: beaded bracelets with words
two years ago today: make a dog crate cover

Monday, March 13, 2017

Die-Cut Paper Garland

I'm making some things for Ronda's seasonal (Spring is coming!) display table - first up is this easy die-cut paper garland. Using a Stampin' Up die (from the Swirly Scribble thinlits)  I cut out a bunch of different colored swirly circles, saving the center piece that popped out after cutting them. Then I just arranged them how I wanted, including the center pieces, and stapled them together. This is over 3' in length for Ronda to drape wherever on her table she wants - simple and a nice little touch to add some color, texture, and dimension to her display. More projects coming soon!

Wednesday, November 16, 2016

Fall Circle Garland


For Ronda's Fall seasonal display table I made a circle garland (the last one I made was for my niece's graduation in the spring, click here for that post and see more on how to make these) - this is so simple but makes a big impact. Punch or cut out multiple circles in different sizes and colors, I used a few different ones from Stampin' Up's fall seasonal papers, then sew them together. Unlike last time I didn't make any kind of pattern or use any thought - just tried to not put two of the same color or pattern paper together. This is really easy and quick to make up - then hang it wherever you want! For her table I draped a long chain of the sewn circles around some sticks (the same ones from the Halloween table, click here for that post).

Friday, October 7, 2016

Funky Pumpkin Decorating...starring Brooke

Lisa sent me inspiration pictures for this project, she found cute crazy funky decorated pumpkins in a store and thought of me - love that, thanks Lisa! She sent a few examples and Brooke loved the idea so much she wanted to make one - watch the cutie show you how she did it:


I have been helping out my friend Ronda at her Stampin' Up studio (lots of punching, using the Big Shot die cut maker thingy, stamping, etc.)  - she has the idea for me to work on setting up a "seasonal display" area in her shop so I've been busy thinking about fun crafts to use in the display. This pumpkin turned out so cute I want to include it but Brooke used old paper that I've had forever to make her pumpkin and since this will be in the Stampin' Up studio I wanted to use current scrapbook papers so quickly remade the pumpkin...also full disclosure, the tape Brooke used didn't hold the buttons on the pumpkin and they fell off! You can still make it using her directions but use a different form of glue for any heavier things. This is my finished product:

I bought a standing flat wood pumpkin at the craft store for about $3. Trace the pumpkin shape onto whatever paper you want the base to be, and glue it to the pumpkin form. I randomly cut a triangle for the nose and a jaggedy mouth, make whatever shapes you want. I reused the stacked buttons held together with twine that Brooke made, and for the right eye I glued a large flat bottomed marble over a different piece of paper. Burlap ribbon is tied on the top to finish. Super fast and easy - maybe took 10 minutes top. Gotta like that :)


Friday, August 19, 2016

Decorating Notebooks by Brooke

School is about to start for Brooke, watch her get all crafty decorating her composition notebooks in anticipation - especially watch the "outtake" part at the end when she calls washi tape "washing tape", it's cute. Enjoy!


2022 update - why do my old videos keep disappearing?!

Tuesday, December 29, 2015

Recycled Christmas Card Crafts

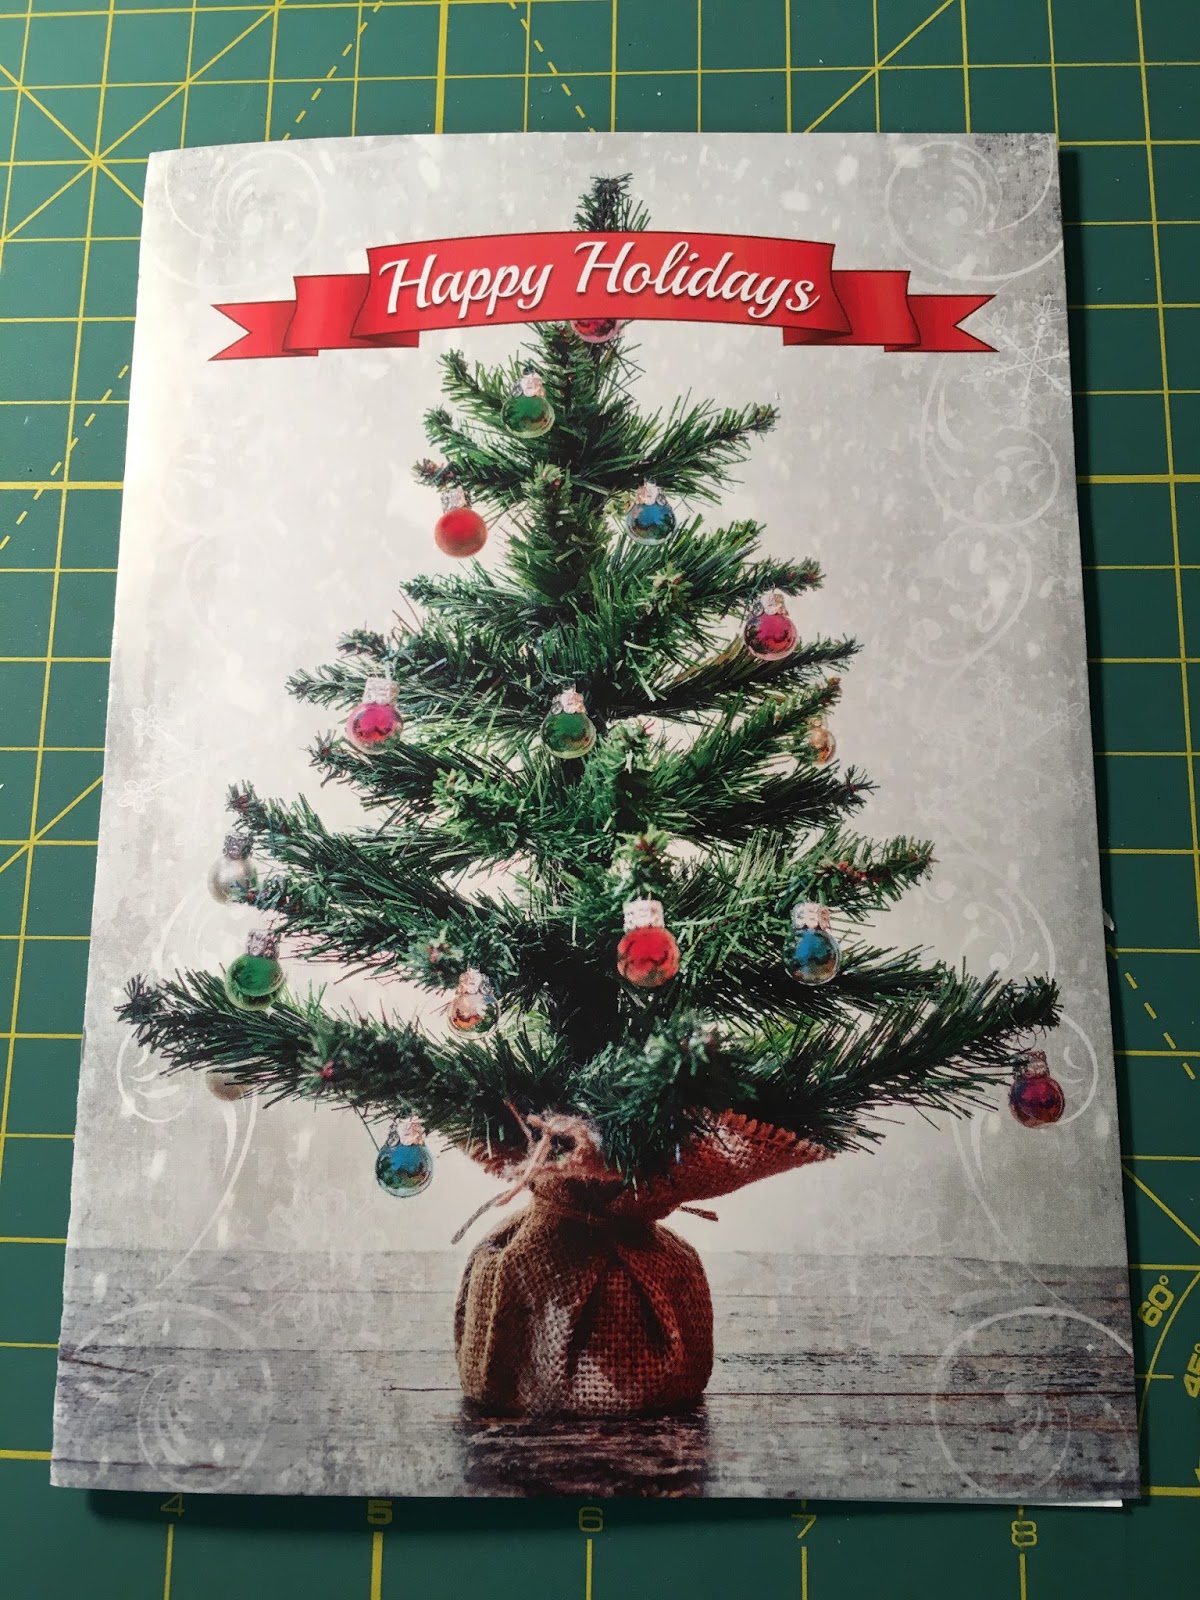
Here's some fun things to make out of the Christmas cards you received this year - I hate throwing out all the pretty cards and love that they can be used again:

* gift tags: simply cut out the image you like and punch a hole in the corner, add a ribbon or cord.


* bird hanging: download a bird silhouette, trace onto the card and cut out. I cut the wing out of a different part of the card for contrast and glued it on. poke a hole in the top and bottom, string a few beads onto 2 short pieces of thin wire, then attach thru the holes you poked. I made a loop in the top wire for hanging, and to keep the beads on the bottom wire, loop the wire back thru the beads (see the picture).


* initial tag or tree ornament: use a stencil of the letter you want (I played with fonts and sizes on my computer and then printed out the one I liked), trace it onto the backside of the card and cut out. hole punch the corner and tie on a ribbon.


*small notebook: using the whole card including fold, cut the card into the size of the book you want. this one is 4.5"x 4". fold the inside of card up 1/2" (I made a score line first to get a sharp crease but you can just fold it) and trim the front of card up about 1/2" (the front of card tucks into the fold of the inside card - adjust how long the front of the card is to fit into the inside fold). cut a few pieces of scrap paper a little smaller than the card, I did them 4"x 3.5", put the pages into the folded up part of card and staple. close the book by fitting the front cover under the fold.


fold one edge of the inside of card 1/2", then trim the other side to fit into the fold
(I drew a line where I will cut to fit)


*gift box: this snowman card only needed an inch off the bottom to fit exactly on this box. find an image or whole card that fits on your small boxes and trim, then glue onto the box top.