These are a fun and inexpensive gift idea for Christmas or anytime - have you ever decoupaged glass plates? When asked what I wanted to do for my birthday I said I'd like everyone to do a craft of my choosing (mostly just to annoy my non-craft loving sister LOL) and since I've never decoupaged a plate I thought we could try it - of course I had no idea what I was actually doing but didn't tell them that, I just winged it on the fly and fortunately the project was easy and turned out great.


I hit the dollar store and the craft store, and also used supplies I have on hand.
Supplies:
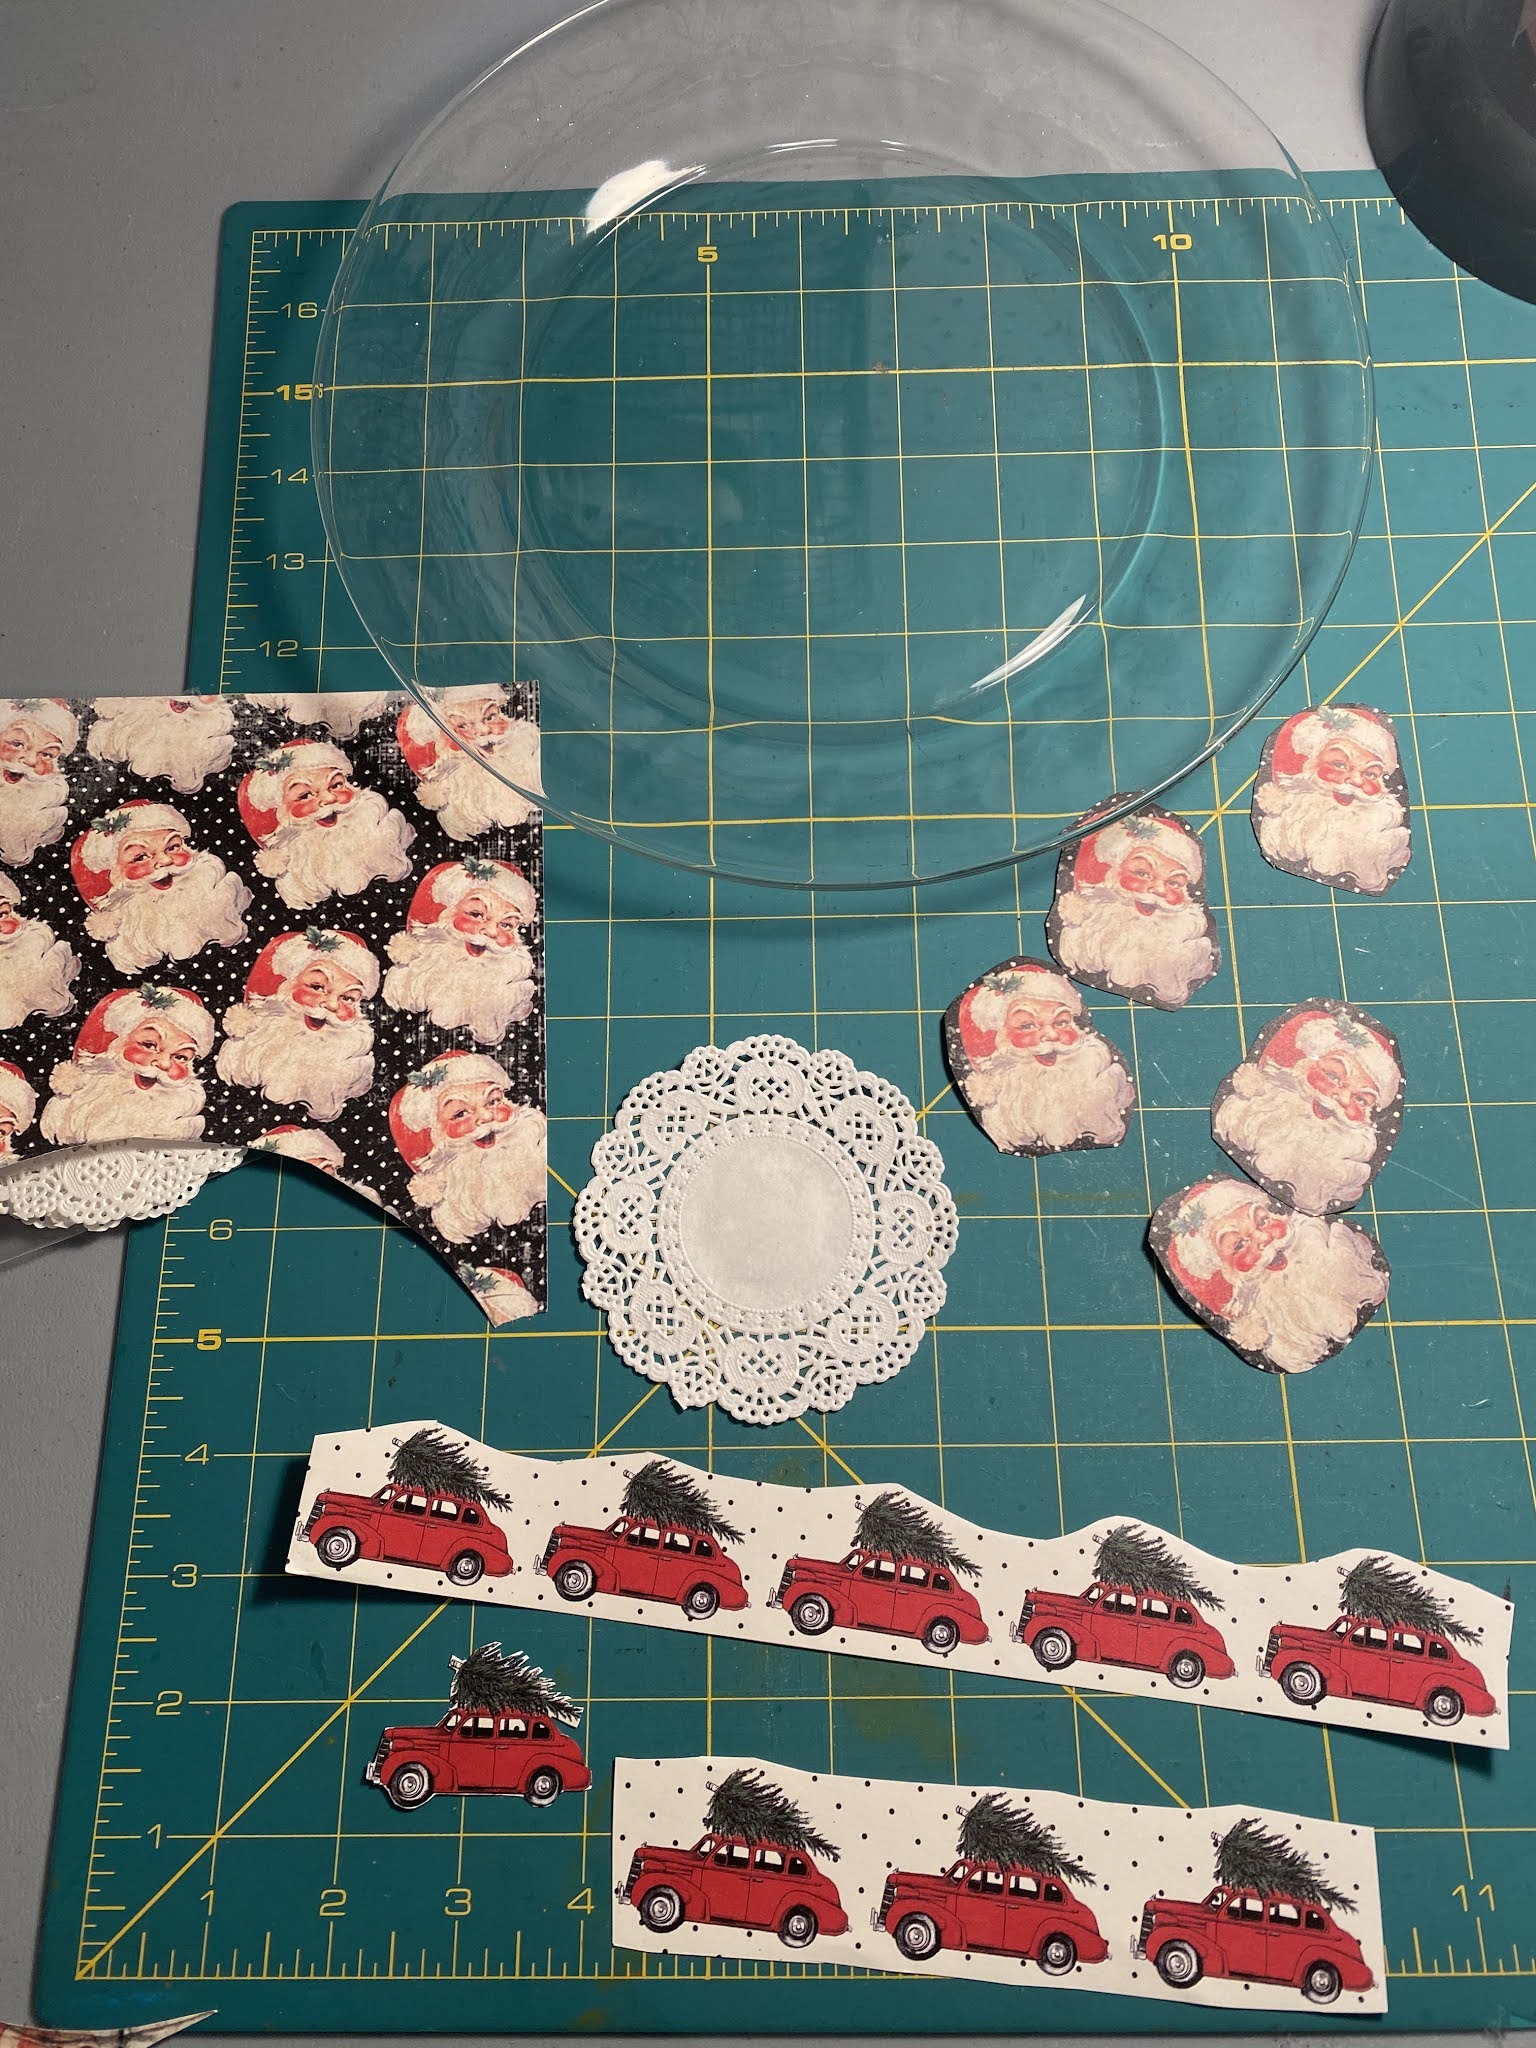
- glass plates, try to find ones that don't have too much of a curve or deep rim. The dollar store had plates that were pretty smooth on the bottom (note: you'll be decoupaging the back of the plate)
- assorted papers. We used decorative scrapbooking papers (I think cardstock would be too thick), you could also use wrapping paper, tissue paper, doilies - think thin paper.
- glitter, if desired
- mod podge - note I wanted to find the dishwasher safe kind but wasn't able to, so I got the hard coat formula that says it's for furniture.
- foam brushes and scissors


1. My plates have a slight ridge between the bottom and the rim so we decided to cut out a circle of paper for just the bottom portion of the plate instead of trying to fit paper over the ridge; you could do all small torn or cut pieces and layer them all over if you don't want a solid center. So for our plates we started by tracing the bottom circle of the plate onto scrapbook paper, cut it out and hold it up to plate to make sure it's the right size. 

2. Before gluing it in place, decide if you want to have glitter on your plate. If so, brush mod podge where you want the glitter on the clean glass plate (remember, glue on the backside of plate not the top), sprinkle glitter on top of the glue. Once that dries, add a thin coat of mod podge to the entire back of plate where the big piece of paper will go, lay down the paper in place and smooth to get rid of bubbles. Top with another layer of mod podge.

3. Next decorate the rim of the (underside) of the plate, add glue to the rim and also to your decorations, then glue in place - some of us glued on cut out images from scrapbook paper, some added more stripes of glitter, you could also copy and print images from the computer if you don't have what you want on hand - let your imagination fly!

Little side story - I had a couple friends and my sister making these with me and it took forever to think of what we wanted to do...looking the papers over and over, changing our minds, talking it thru, goodness knows we didn't want to mess up LOL. In fact, I couldn't decide and ended up not even finishing my plate! So then Brooke and a girlfriend stop by and want to make a plate - they are back in literally 20 minutes having just sat down and designed their plates with no second- and over-thinking at all and their plates turned out great! There's a lesson here - it's a dollar store plate, paper and glue. Just do it already hahahaha.


This would be fun to do on other glass things too - coffee cups or glasses, vases, small plates or larger platters. Also it's a great kid craft - they could just rip up papers and stick them on willy-nilly!


No comments:
Post a Comment