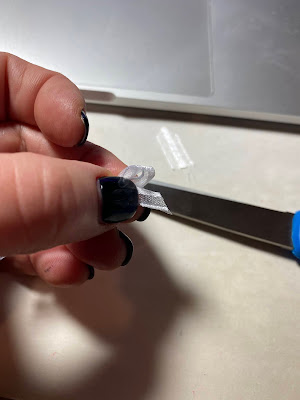
Oh my gosh I love this little trick to make tiny bows! I have had this in my file since 10/14, I just came across it again and immediately made one to see how hard it'd be (gotta say the original instructions found on Pinterest were a little confusing) and it isn't difficult at all! I took lots of one-handed pictures to break down the steps but I promise this is easy to do, and way easier than trying to tie 1" bows by hand. It seems like many steps but stay with me and you'll see how simple it is to make a little bow using a fork.
1. Cut a piece of ribbon about 6" long. At first I used curly ribbon which worked ok but once the bow was made it came undone, I think the ribbon is too slippery. So I used thin fabric ribbon and it worked beautifully. I'm not sure how wide your ribbon could be for this to work, mine is 3/8" and I'm sure 1/4" would be good too. I'll have to experiment with wider and see what happens.
2. Lay your fork in the center of the ribbon:
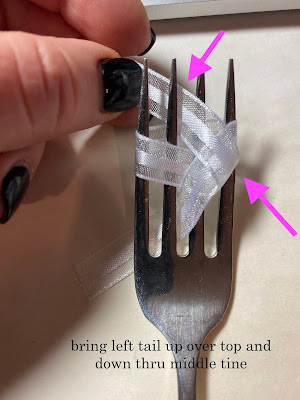
3. cross the left side over the front of the fork, then cross the right side tail over top of the left tail and feed it down thru the middle tine of the fork:
7. Here's what it looks from the front of the fork after tying the tails:

I guess you could change the size of the bow depending how wide your fork is! My regular dinner fork created a 1" bow.
FYI I just made one with 5/8" grosgrain ribbon and while it worked it's not as cute in my opinion. Maybe if I left the tails longer it'd look better. You can only use ribbon that is thin enough to weave thru the tines of your fork, if you have long forks you'll be able to use wider ribbon.


No comments:
Post a Comment