Thursday, August 15, 2019

My Sis is Hungry: Cheeseburger Shepherds Pie

So the description from Jill was “Cheeseburger Shepherd’s Pie”.  Not sure what that means really but I’m still all in for free food (and not cooked by me) so willing to have an open mind.


First of all, I make a Shepard’s Pie.  Mine the kids affectionately call “Slop”.  The base is cream of mushroom soup though so it comes out messy. .. which is why they call it slop.  That however is NOT what this is. 
As I describe it though I’m afraid I won’t make it sound as good as it is.  So good that I ate it for breakfast again this morning.  Hope it’s healthy so I don’t have to go for a run before I eat it again at noon for lunch.

First bite almost gave off a spaghetti sauce flavor, but then no.. the pickles kick in.  Pickles?  In Shepherds Pie?  I think the name really should have been something like Cheeseburger Casserole because that would have been more accurate.  It actually tastes like a delicious cheeseburger with ketchup and pickles.. eaten with a spoon.  Oh and with delicious mashed potato’s on top.  See, I told you my description wasn’t going to help sell it.  WAY better than my description and WAY better than her name.  

Husband was gone so didn’t try it yet but I loved it and give it a 8.  Yum.  I could absolutely make this one.. when she is done being my personal chef and making my meals maybe I will.


CHEESEBURGER SHEPHERDS PIE

  • 1 1/2 lbs. russet potatoes, peeled and cut up into chunks
  • 1/2 cup light sour cream
  • 1/4 cup milk
  • 1 cup (4 oz.) shredded cheddar cheese, divided
  • 1 1/2 lbs. lean ground beef
  • 1 medium red sweet pepper, chopped
  • 1 medium onion, chopped (1/2 cup)
  • 2 cloves minced garlic
  • 6 oz. frozen corn (1 1/2 cups)
  • 1 cup water
  • 1 (6 oz) can tomato paste
  • 1/2 cup coarsely chopped dill pickles
  • 1/4 cup yellow mustard
  • 1 teaspoon dried oregano, crushed


1. Preheat oven to 350'. In a large saucepan cook potatoes in enough lightly salted water to cover for 15 to 20 minutes or until tender; drain. Mash with a potato masher or beat with an electric mixer on low speed. Gradually add sour cream, milk, 1/2 teaspoon salt, mashing or beating until potato mixture is light and fluffy. Stir in 1/2 cup of the cheese. 

2. Meanwhile, in a large skillet cook beef, sweet pepper, onion, and garlic over medium heat until brown, stirring to break up meat. Drain off any fat. Stir in corn, water, tomato paste, pickles, mustard, and oregano. Bring to boiling; reduce heat. Simmer, uncovered, 5 minutes to blend flavors. Stir in remaining 1/2 cup cheese. 


3. Spoon beef mixture into a 2 1/2 quart baking dish. Spoon mashed potatoes in mounds over beef mixture. Sprinkle with additional cheddar cheese. Bake 20 minutes or until heated through and cheese melts. 


Makes 6 servings. 

found this recipe at BHG.com

Jill's note: my sis is totally right, do not expect this to taste like traditional shepherds pie - it really is like a deconstructed cheeseburger with mashed potatoes; the couple bites I tried was delicious and I will definitely make it again! I'll leave out the red pepper for Dave, don't think the recipe will suffer for it. 


Wednesday, August 14, 2019

Chocolate Chip Cookie Ice Cream Cake

I made dessert for Jeff's birthday - I know he loves when I make chocolate chip cookie ice cream sandwiches but it's been hectic around here and those take a while to make, and it's super hot and humid out so the ice cream melts really fast so you have to work quickly or it gets messy (ok, ok, let's just say it - I was being lazy). So I had the idea that I should just try to make an ice cream cake version of the sandwiches; did a little looking around to see if anyone had a great recipe and ended up just winging this one up - and, not to pat my own back or anything, this is SO good and looks really pretty! And as an added bonus it's also quick and easy so my laziness stays intact...


One thing I saw while googling around is this recipe for "no-churn ice cream" that was promised to taste just like the real thing, no one could supposedly tell the different, but it's creamier and won't melt before assembling the cake - so I bit and made it. Nope, not like real ice cream and nope, doesn't taste like real ice cream but guess what? Totally didn't matter because it's super good anyway! It's like fluffy frozen cheesecake and fantastic. Try it!

Lightly spray a 9" springform pan with non-stick spray, line the bottom with a 9" parchment circle (not sure if this is necessary but I didn't want the cake to stick). Press chocolate chip cookie dough evenly into the bottom of the pan - I used about 1/2 tub of Tollhouse cookie dough (note the above comment regarding my laziness, I did not make homemade dough). Bake until dough is done according to package instructions. I also baked 6 cookies using the same tub of dough for topping the cake.

Once the cookie base is completely cool spread with chocolate sauce. Top with the "ice cream" layer and freeze until solid - I let it freeze overnight. Once frozen I spread a little cool whip on top and piped cool whip frosting swirls around the top edge. Chop up the 6 cookies and pile in the center. Throw on a handful of mini chocolate chips and drizzle with chocolate sauce. Remove from springform pan and let thaw a few minute before serving.

Is your mouth watering yet?


"Ice Cream":
  • 8 oz. cream cheese, softened
  • 1/2 cup brown sugar
  • 1/8 cup milk
  • 2 teaspoons vanilla
  • 8 oz. cool whip
Combine cream cheese and sugar together until completely combined and fluffy. Add the milk and vanilla and mix well. Fold in the cool whip. 

Cool Whip Frosting:

  • 8 oz cool whip
  • 1 box vanilla pudding
  • 1 cup milk
  • 1 teaspoon vanilla

Whisk the pudding, milk, and vanilla in a bowl until smooth. Fold in the cool whip.


Tuesday, August 13, 2019

Tip-sy Tuesday: Opening a Can (?)

Geez, I have no idea what to call this tip! I'm going with the lame "how to open a can" which is pretty dumb but that is sort of what the tip is LOL and maybe everyone already knows it but it's pretty handy and I do it when opening a can of anything that doesn't pour out on it's own...my example today is if a recipe calls for a can of tomato paste. Instead of just opening the top and scooping the paste out with a spoon or spatula, simply remove both ends of the can and then push the bottom lid until all the tomato paste is out of the can and into your recipe. Make sense? Here's some play-by-play photo instructions:


PS: happy birthday shout out to my Sissy! See her review on Thursday of "cheeseburger shepherds pie"  that I made while opening this can of tomato paste :)

Monday, August 12, 2019

Zucchini-Chickpea Patties

This recipe comes from Helena - she spent a year with my sister thru the schools foreign exchange program, I think it's been 10 years (! that's crazy, time flies)  since she moved back to Finland, thank goodness we can keep up with her life thru Facebook! She posted this on FB and I asked for the recipe, I don't love zucchini so anytime I see a different way to use it I'm interested! These patties look and sound so good I can't wait to make them for myself - I'm sharing her recipe in her words:


So, it's easy recipe. You just have to smash one can of chickpeas (with blender or whatever else u have) , then grate one medium zucchini ( its better if you squeeze the water a bit out of them with your hands so they wont be watery) and add 2-3 eggs. Mix all together. Then just salt,pepper, chili.. whatever u feel like and mix again and make them and fry on a pan. Really fast and easy 🙂 Yesterday I did with zucchini, halloumi cheese and eggs, that was good too. There u just have to grate zucchini and halloumi both.


Yum! Thanks for sharing,  Helena :)

Sunday, August 11, 2019

Around the Campfire 🔥 (week 32)

Dear Campers ~

Hope everyone had a great week! If you missed anything at MMDC here's a quick recap:

Posts ~

8/4: 🔥 (week 31)
8/5: friendship string bracelets
8/6: Tip-sy Tuesday: Brooke makes a chocolate chip bag holder
8/7: sweet potato cornbread
8/8: 'my sis is hungry': french onion soup with cauliflower
8/9: paper straw easels
8/10: Greek roasted vegetables

Miscellaneous stuff keeping me busy but not worth a whole post ~
  • read #3 in the Clan of the Cave Bear series (actually it's the "earths children series" but who's ever heard of that?) The Mammoth Hunters - I didn't like it as much but that's only because I'm tired of reading how every single thing ever was made. Like every tool, clothing, lodging...and how they hunted animals...I skimmed a bunch of that, not gonna lie. Still happy I finished it but I need a break before reading #4 ⭐️⭐️⭐️. Also read "Neon Prey" by John Sandford and couldn't put it down. Kind of the opposite of "The Mammoth Hunters" LOL. Super creepy suspense thriller. ⭐️⭐️⭐️⭐️ and 1/2 (I need a 1/2 star hahaha). 
  • garden is crackin' - get ready for a soon to follow "tomato week" I'm sure - they are really starting to come in and pretty soon I'll need to find other things to do with them except just pop them in my mouth and roll them on the floor to Sarge!
  • also super super busy working on some things that I can't share yet! You'll see soon...

That's it here - stop back often next week for lots more fun projects, recipes, another 'my sis is hungry' review, and who knows what else I'll think of to make!!

Sincerely ~


Jill
camp counselor and John Sandford fan


Saturday, August 10, 2019

Briam (Greek Roasted Vegetables)

This is such a good, easy, pretty recipe - sliced potatoes and zucchini layered with tomatoes and feta roasted in the oven...yum. I served it as a side with grilled chicken and roasted garbanzo beans (I could just eat it by itself tho it's so good) and we loved it. This is a keeper!

  • 1 1/4 lb. gold potatoes, peeled and thinly sliced into rounds about 1/8" thick
  • 1 1/4 lb. zucchini squash, thinly sliced into rounds about 1/4" thick
  • set and pepper
  • 2 teaspoons oregano
  • 1/2 cup chopped Italian parsley
  • 2 teaspoons minced garlic
  • extra virgin olive oil
  • 1 (28 oz.) can diced tomatoes with juice
  • 1/2 cup crumbled feta cheese
Preheat oven to 400' with a rack in the middle position.

Place sliced potatoes and zucchini in a large mixing bowl. Season with salt, pepper, oregano. Add fresh parsley, garlic, and a generous drizzle of olive oil. Toss to make sure the vegetables are well coated.


Pour 1/2 of the canned tomatoes into a baking dish, spread to cover the bottom of the pan. Arrange the seasoned vegetables on top of the tomatoes (you can line them up in rows or just leave all mixed together). Pour any olive oil left over from the mixing bowl over the veggies, then top with the remaining tomatoes. 


Cover the pan with foil, tenting a bit so it doesn't touch the vegetables. Bake at 400' for 45 minutes. Take the pan out of the oven to remove the foil, then place back in oven, uncovered, and roast for another 30-40 minutes or until the veggies are soft and charred and most of the liquid has evaporated. 

Remove from oven. Sprinkle the feta crumbles overtop and serve warm or at room temp.


adapted from a recipe found at themediterraneandish.com


Friday, August 9, 2019

Paper Straw Easels

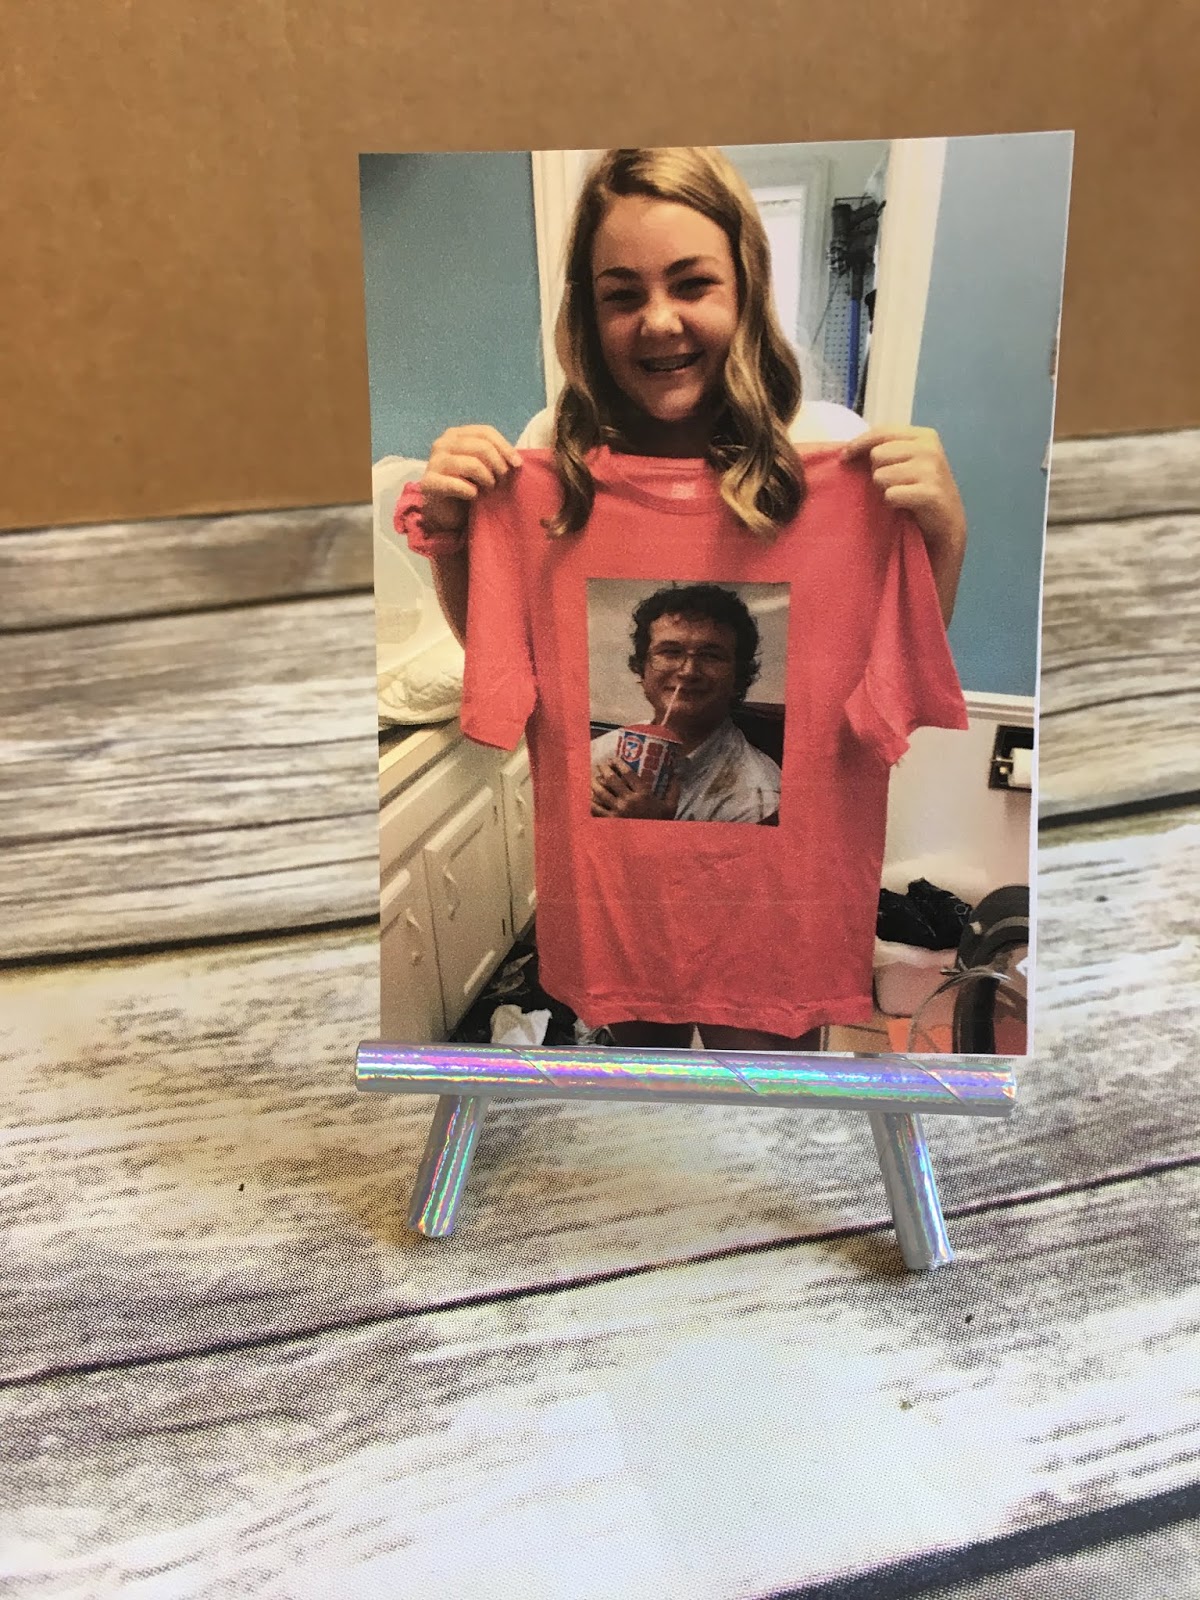
How cute are these little paper straw easels? And they're super quick, inexpensive, and easy to make - win, win! I think I'll use them on a buffet or dessert table labeling different dishes, or as place card holders - I think it'd be fun to print out a photo of your guest and stand it on this easel in front of their place at the table (not that I do place cards very often but this is a cute idea just for something different). 

To make this small easel you need 3 paper straws - cut into 2 pieces that are 11 centimeters (a little over 4"), 1 piece 9.5 centimeters (a little over 3.5"), and 1 piece 7.5 centimeters (3"). Note: I do not use metric numbers very often but the instructions gave both cm and inches and it was just easier to use my ruler and cut in centimeters!


Glue the 2 longest pieces together at the top with a drop of hot glue; then glue the 7.5 cm (3") across the bottom of the front for the shelf; finally add the middle size 9.5 cm at the back for the anchor leg.


I'm not crazy how the top of the 3 straws coming together looks, if it's going to be covered with a picture or something then it's fine but if the top is going to show I like it better with a short piece of ribbon glued around the top of the straws. 


I made these out of silver paper straws from the dollar store, they'd also be cute with colorful, patterned, or striped straws (which I see everywhere - grocery store, craft store, dollar store...you could easily make stands that match your party or dinner decorations).

You can vary the sizes of easels by cutting the straws longer or shorter, play around with what looks right for your purpose. 

click here for source 

Thursday, August 8, 2019

My Sis is Hungry: French Onion Soup with Cauliflower

This recipe was in a Costco magazine from 10/18; it caught my eye because I hate the traditional mushy wet bread floating in french onion soup and if I'm ordering it at a restaurant I always ask them to leave it out (I know, I know, can't tell you how many times I've heard "but that's the best part"!) - this recipe replaces the bread with cauliflower (side note: what starch can't they replace with cauliflower? It's definitely a thing!) so I thought I'd give it a try for this week's "my sis is hungry" meal. Here's what she thinks about it:


Who makes soup when its 95 degree’s out?  Oh that’s right, my sister does – who coincidentally keeps her house at a brisk 60 degree’s in the summer.  As a side note- I can almost see my breath in there.  You can splash the warm soup up onto your face to get warm. 
Anyway..I digress.  So soup at the end of July.  Shockingly delicious.  The husband did not enjoy her tampering with a thing as perfect as French Onion Soup with what appeared to be cauliflower,  one bite confirmed it.. yep cauliflower.  So weird!!  Let me say though that this soup was AMAZING.  The broth was just slightly creamy, not salty like some FO soup can get, just the right amount of onions.  If you removed the cauliflower this would be the perfect French O soup.  So good it could be served in a restaurant.. minus the weird cauliflower… which sadly still tasted ok in it.  Not sure in a soup that tastes this great just “ok” is appropriate tho.  I’d leave the cauliflower out and just eat the amazing rest of the soup.  And if you are eating it at my sisters in July maybe splash some up on your face for warmth. 


*Jill here - for the record my house isn't 60, she's being dramatic. And also for the record, I cannot advise you to splash soup in your face for warmth (insert eyeroll)! I followed the record except for a couple small changes that really really adds so much to french onion soup - I substitute some of the traditional beef stock with chicken stock. Seriously, it makes a big difference. If you don't want to do the whole 'cauliflower low-carb' thing just put the bread on top and skip the cauliflower step. The other thing I do is to chop up some of the onion in small pieces instead of leaving it all sliced - adds a lot to the texture.

1 T. unsalted butter
1 T. olive oil
2 lb. onions (recipe calls for Vidalia, I used sweet yellow), halved lengthwise, then cut at least 1 lb. in thin slices and chop the rest
1 t. salt, divided
black pepper to taste
1/3 cup white wine
2 t. dry sherry
2 T. flour
4 cups beef stock
1 cup chicken stock
3 sprigs fresh thyme
1 bay leaf
5 cups small cauliflower florets (about 1 lb)
2 cups (5 1/2 oz.) coarsely shredded gruyere or swiss cheese


In a dutch oven or large pot, melt the butter with the oil over medium-low heat. Add the onions and cook, stirring occasionally, until they are soft, about 15 minutes. Add 1/4 t. salt and pepper to taste and continue cooking, stirring occasionally, until the onions are golden brown and caramelized, 30 to 35 minutes.


Add the wine and sherry, increase the heat to high and cook until the liquid evaporates, about 3 minutes. Add the flour and cook, stirring, for 2 to 3 minutes to cook the flour. Add the stock, thyme, bay leaf, and remaining 3/4 t. salt. Bring to a boil. Cover, reduce the heat to low and simmer for 20 minutes to meld thee flavors. Discard the thyme and bay leaf. Add the cauliflower florets and simmer until crisp-tender, 12 to 15 minutes.


When ready to serve, adjust an oven rack about 6 inches from the heating element. Ladle 1 1/2 cups of soup into each of 6 ovenproof bowls. Top each with 1/3 cup cheese, place on a sheet pan and broil until golden and bubbling, 3-4 minutes. Serve hot. Makes 6 servings. (note: we didn't put these in the oven to melt the cheese!)


Wednesday, August 7, 2019

Sweet Potato Corn Bread

I made the slow-cooker bbq chicken (click for the recipe) the other day and this was suggested to serve with it - I've never made corn bread with sweet potato in it so figured what the heck I'd try it. It really changes the flavor and texture (as you can imagine) but we all liked it and it did go perfectly with the BBQ chicken. One note tho is I'd store leftovers in the fridge, I left it out for a couple days it got weirdly soggy - otherwise this is good option if you're looking to change up your stand-by cornbread recipe.

  • 2 cups self-rising cornmeal mix
  • 3 T. sugar
  • 1/4 teaspoon pumpkin pie spice
  • 5 large eggs
  • 2 cups mashed, cooked sweet potatoes
  • 8 ounces sour cream
  • 1 stick (1/2 cup) butter, melted
Directions:

Preheat oven to 425'. Stir together first 3 ingredients in a large bowl; make a well in center of mixture. Whisk together eggs and next 3 ingredients; add to cornmeal mixture, stirring just until moistened. Spoon batter into a lightly greased 9-inch square pan and bake for 35 minutes or until golden brown.

recipe found at myrecipes.com


Tuesday, August 6, 2019

Tip-sy Tuesday: Chocolate Chip Bag Hack

Here's one from Brooke - I had an open bag of chocolate chips on the counter and she asked if I have a water bottle. She then proceeded to cut the top off the bottle, feed the open end of the bag thru the cut bottle, folded the bag down around the top and screwed the bottle lid back on. Voilá, bag is sealed and when I need chips I can now pour them out thru the bottle top.

I said that this is a fine tip, but why wouldn't I just put the chips in a ziplock baggie? She said "you should put that in the post, 'cuz you're right" LOL!

I'm still posting because it's a creative idea and if you have open bags of chocolate chips, excess water bottles, and time on your hands, this might be right up your alley.