Thursday, May 13, 2021

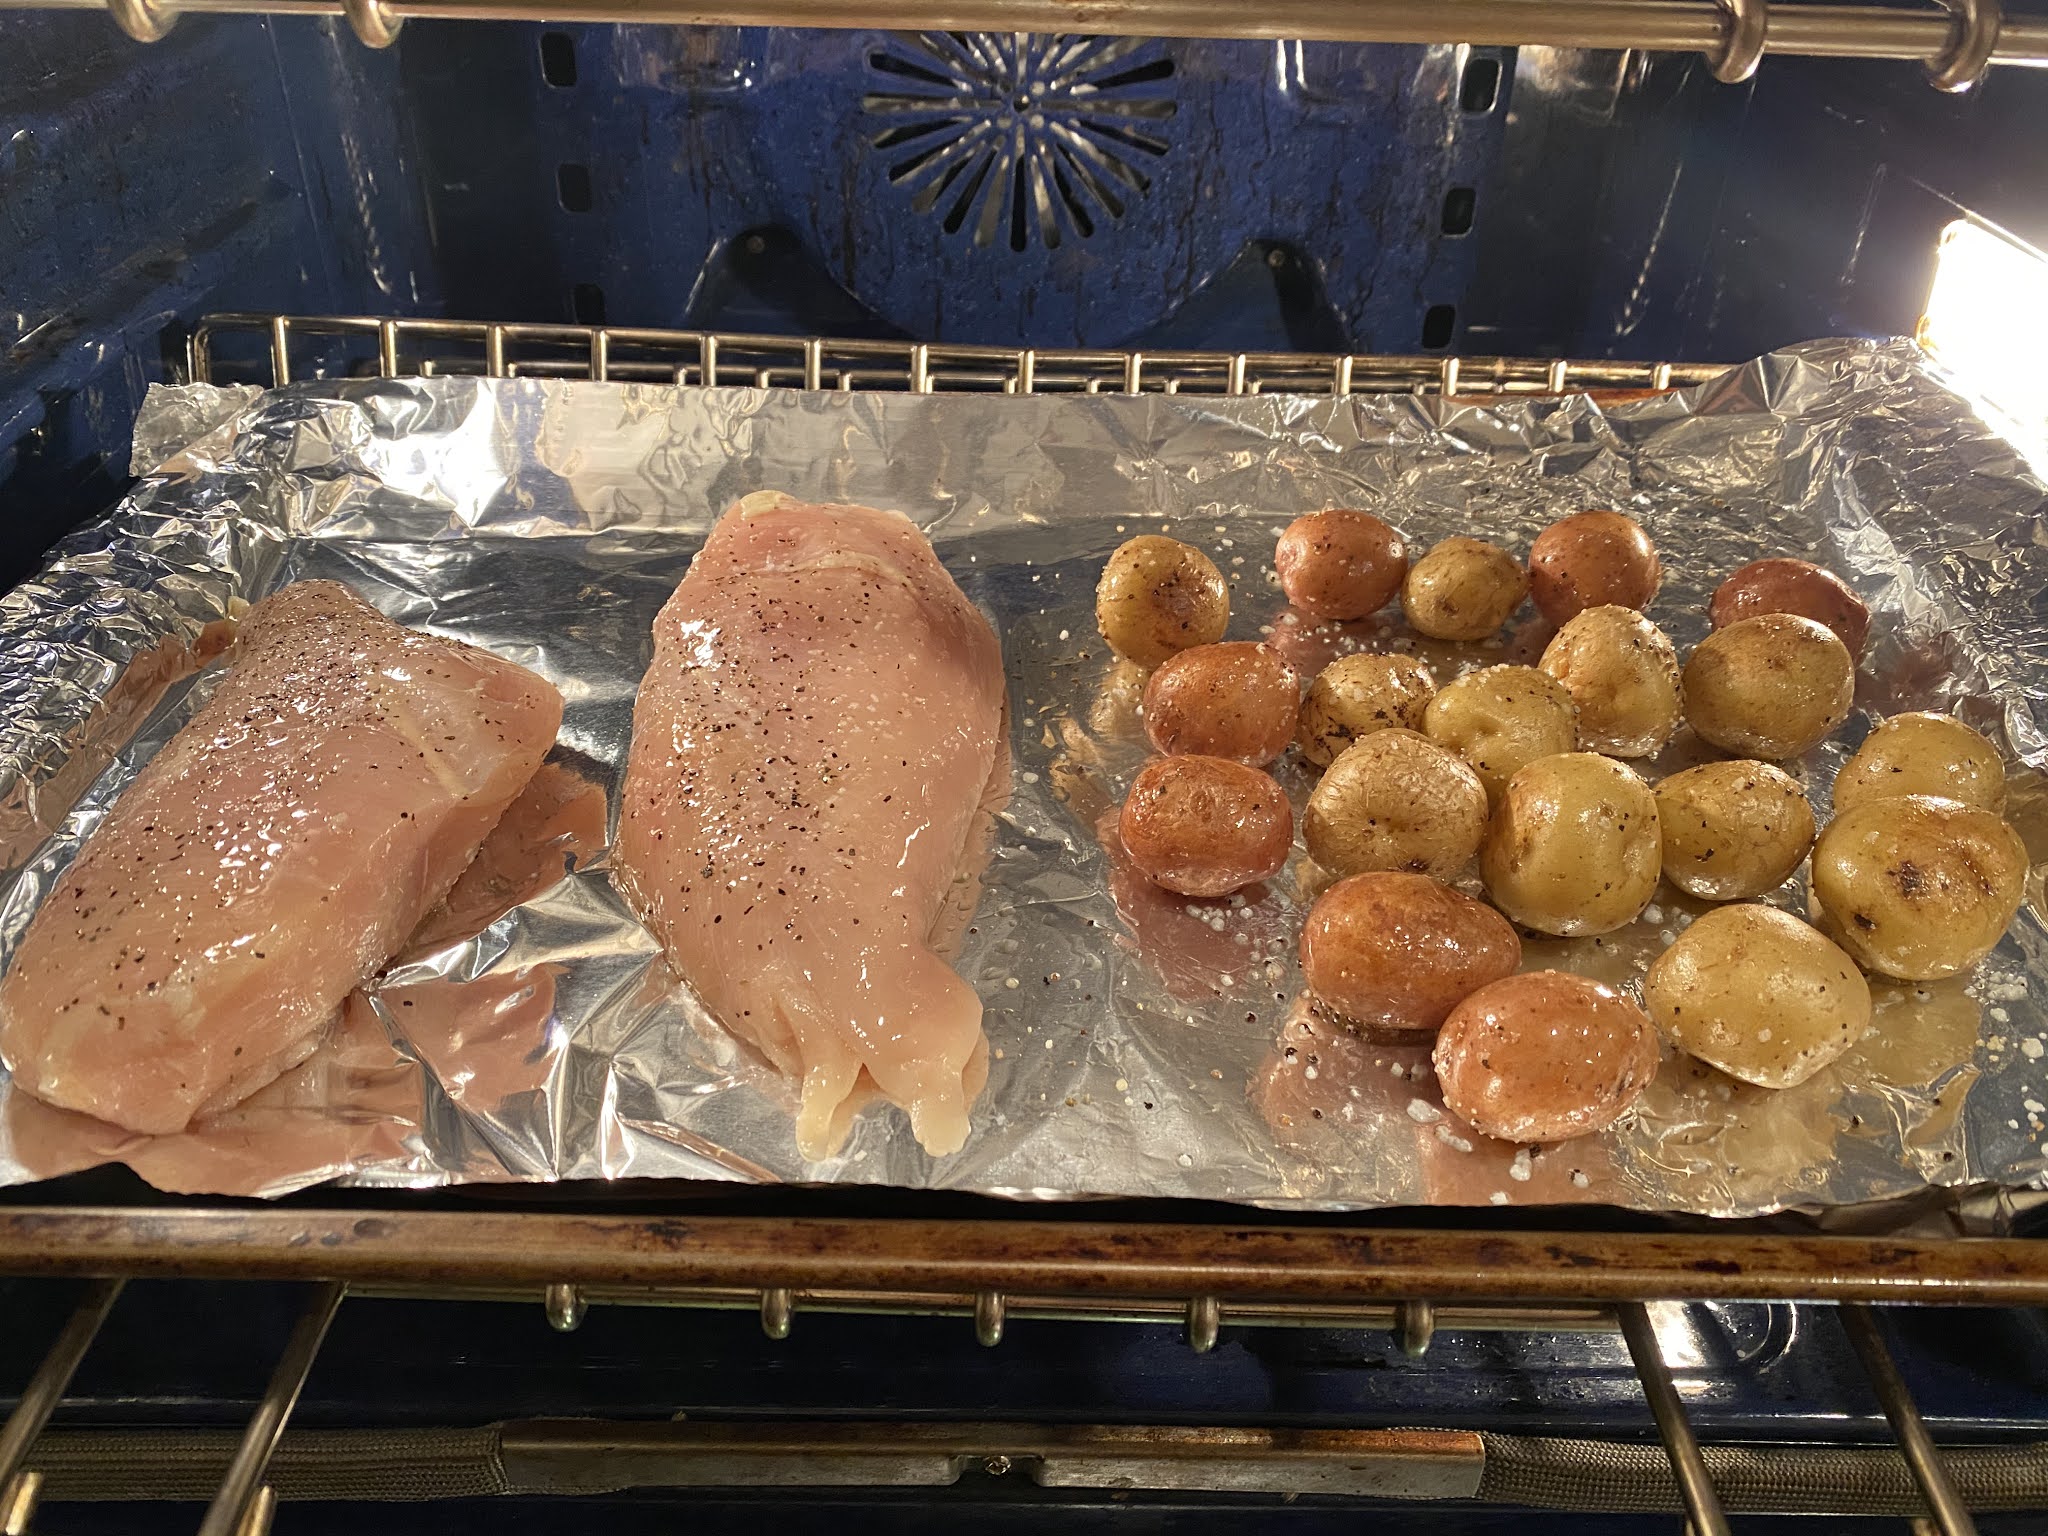
Baked BBQ Chicken and Smashed Baby Potatoes

My sister gave me a stack of Hello Fresh recipe cards and I thought it'd be fun to take their ideas and make 'em my own - they have lots of prepared sauces and spice blends that I might try to recreate or I'll just wing my own seasoning/sauces. For example, this bbq chicken recipe originally called for skin-on, bone-in thighs and legs and the potatoes are topped with 'smoky red pepper crema' - I changed it to boneless chicken breasts and served the potatoes with sour cream on the side. Same idea, different execution. Here's what I did:


  • 2 large boneless skinless chicken breasts (or 4 smaller ones, adjust the baking time as needed)
  • baby potatoes (18-20 or however many you want and can fit in the pan)
  • shredded Monterey Jack cheese
  • olive oil
  • bbq sauce
  • salt and pepper

Adjust oven rack to the top position, and preheat oven to 425'. Line a baking sheet with foil. 

Pat chicken dry with paper towels; drizzle with a little olive oil and rub to coat. Season both sides with salt and pepper. Place on one side of the prepared baking sheet.

Put the potatoes on the other side of the baking sheet, drizzle with olive oil and season with salt and pepper, toss to coat. 

Roast for 20 minutes. 

Remove baking sheet from the oven. Carefully flatten the potatoes with a spatula or fork, season with salt and pepper, sprinkle the shredded cheese over top. Brush bbq sauce on the chicken. Return to the oven and continue cooking until the chicken is done and the potatoes are slightly crispy and the cheese is melted. 


5.13.20: Natalie's churros

5.13.19: macrame owl (I have him hanging from my rear view mirror, so cute!)

5.13.18: coriander crusted pork tenderloin

5.13.17: parachute cord dog collar

5.13.16: Brooke's emoji cookies

Wednesday, May 12, 2021

Paper Gift Box

Clicking thru a bunch of Ronda Wade's youtube videos showing all kinds of fun paper crafts the other day, I found this one from a couple years ago showing how to make a cute little paper gift box - it comes together so quickly and turned out so good that I will definitely be keeping this idea in my arsenal of gift enclosures (she's given me SO many great ideas, I can't believe that she keeps coming up with different ones!). I didn't decorate mine like she did, I love this cute decorative paper so much I didn't want to cover it up - she makes beautiful multi-layered designs but I'm way lazier and decided to just let this paper stand alone... I might add some gems or sequins for a little sparkle, we'll see. I think it'll be perfect for a baby shower gift - I'm thinking I'll put a gift card and maybe some little kisses or something inside. So cute! 

Obviously you can decorate yours however you like :) Click here to see Ronda make hers, I took lots of photos while making the actual box, and you can watch her if you can't follow my words and also to see how pretty she decorates hers. 

This is quite easy to make, and it only takes one sheet of 8.5" x 11" cardstock and some ribbon to make the box, plus whatever papers and embellishments you want for decorating the top. The finished box is     3 1/2" square and 3/4" high.

Score the paper and fold along all the lines:

on the long side - score at 3 1/2", 4 1/4", 7 3/4", and 8 1/2"

on the short side - score at 1 3/4", 2 1/2", 6", and 6 3/4"


scores on the long side

all the score lines made, now fold along every line

Remove the 2 rectangles on the right side, same for the left side except leave one little square so you'll have tabs - see the next picture:


Apply glue to the flap on the right - Ronda used tear tape but I don't have any so I applied glue stick. Fold in the 2 side flaps and then fold the glued flap up over the side flaps. See the next picture:


Fold the little square tabs in, and then close the 'lid':


Wrap a length of ribbon around the box to hold it shut. Place the bow at the side of the box where the cover will open when you untie the bow:


Now that your box is made it's time to decorate. I cut a piece of white paper 3 1/4" square, and the cute decorative paper 3" square. Glue the pretty paper on top of the white paper:


Add 4 foam dimentionals and attach the paper to the box over the ribbon - the dimensionals make the paper stand off the box a bit so the ribbon can slide out, if you stick the paper directly to the box with glue you'll fix the ribbon in place and that's fine too:


That's it! This comes together very quickly - as usual it took me way longer to type this then to actually make the box! Cute idea, right?

5.12.20: MSIH: pasties

5.12.19: 🔥

5.12.18: Amsterdam tulips

5.12.17: summer vegetable bake

5.12.16: makeup remover wipes tip


Tuesday, May 11, 2021

Tip-sy Tuesday: stamp ink hack

I haven't been stamping much lately so when I went to make the trifold card I posted a few days ago and wanted to stamp a cute image in the center naturally my ink pads are all dried up! Ugh. I remembered this hack from years ago to color the stamp using markers. This is really fun to do when you want the stamp outlines to be different colors - say if you wanted parts of this stamp to not have black outlines, you could use a colored marker for the flowers, a different color for the container, and the black for the words, etc. You only color the raised portion and you need to move fairly quickly or the marker ink will dry on the stamp before you have time to stamp it - if that happens tho I just blow on the stamped ink (like if you are cleaning your glasses) to moisten the ink.

 If this is a huge no-no in the stamping world I'm sorry, my bad - but it works!


In the photo above the right side is the first time I inked the stamp, it turned out very light because it dried too fast - left side is after I huffed on it hahaha!

5.11.20: pasties
5.11.17: travel folder

Monday, May 10, 2021

Cheese Tulips

Not sure where I saw this cute idea for these edible 'tulips' so don't know who to credit - but they turned out great so am sharing even tho I stole borrowed the concept LOL. Easy, pretty, and taste great!


Combine softened cream cheese, Italian seasoning, salt and pepper. Put in a small baggie and snip off a little corner the bag. 

To assemble: cut an x in one end of a cherry tomato, scoop out a bit of the seeds and pulp to form a hole, then squeeze in some of the seasoned cream cheese. Lay the filled tomatoes on a bed of green onions (remove the white onion part, just use the light and dark green parts to resemble stalks and leaves of the tulip). 


5.10.20: 🔥week 19


Sunday, May 9, 2021

🔥Around the Campfire (week 19)

 Dear Campers ~

Here's a quick recap in case you missed anything at camp last week:

Posts ~

5/2: 🔥week 18

5/3: melting potatoes

5/4: cinco de mayo recipes

5/5: chocolate cluster cookies

5/6: flower box

5/7: pineapple whip

5/8: eggplant lasagna

What's Cooking ~

  • chicken tamale casserole
  • pork chops, kale salad, veggie tots
  • steak, mozzarella stuffed portobellos, caesar salad
  • chicken enchilada suizas, side salad
  • grilled tuna, orzo salad
  • meatloaf, green salad
I've never seen this before - a redwing blackbird shooed a 
Great Blue Heron away, the Heron flew across the way and landed in 
a neighbors tree, then stayed there for hours. What you can't
tell from this picture is that if he was standing on the ground
he's like 4 feet tall! 


Happy Mother's Day to all the mom's reading this! Hope you're having a wonderful day :)

Stop back often to see more projects, recipes, crafts, pictures, and whatever else I can think of to make at camp! Bye!

Sincerely ~


Jill
camp counselor

5.9.18: how to clean shrimp
5.9.17: scrambling eggs


Saturday, May 8, 2021

Eggplant Lasagna

This recipe is from meikepeters.com (which I somehow stumbled on when on the rabbit hole that is Google!) originally named 'Parmigiana di Melanzane' - layers of fried eggplant, mozzarella, and passata di pomodoro (which I had to Google what that even is, appears to be like tomato puree with no seeds or skins); sounds great, right? The pictures that accompanied the recipe sold it for me and I couldn't wait to make it - and you've heard me say before that I don't love eggplant but this is amazing. I now have a couple eggplant recipes that I love! 

His recipe has lots of Italian words and ingredients, and some measurements that I had a hard time figuring out so I did what I do and adapted the recipe. I feel like this is one of those things, just like traditional lasagna, just wing the amounts! Click on the above link if you want to see the original recipe and beautiful pics, here is what I did:

  • 2 eggplants, cut lengthwise into 1/4" slices
  • sea salt
  • 1 fresh mozzarella ball, chopped into small cubes
  • olive oil
  • 1 garlic clove, minced
  • 3 1/4 cups tomato sauce (called 'passata' in his recipe, see below for more info)
  • large handful of basil, chopped
  • pepper and salt
  • vegetable oil for frying
  • parmesan
1. Spread the eggplant slices on racks, generously sprinkle with salt and gently rub in, then flip and sprinkle the other side with salt. Let the eggplants sit for about 1 hour then rinse with cold water and pat dry with paper towels. 

2. In a large pot, heat a splash of olive oil over medium heat, add the garlic and cook for about 2 minutes or until golden. Add the tomato puree and bring to a boil. Stir in the basil and season to taste with salt and pepper. Remove the sauce from the heat and set aside. 

3. Preheat the oven to 400'F and grease a 12 x 8" baking dish with a little olive oil.

 4. In a large heavy pan over high heat, heat enough vegetable oil to come up the side of the pan about 1/2". When the oil is sizzling hot, fry the eggplant slices in batches, arranging them side by side and turning them once, for about 30-60 seconds or until golden but not dark. Spread and drain the fried eggplant on paper towels and continue frying the remaining eggplant slices. 

5. Arrange a layer of eggplant slices in the prepared baking dish, spreading them side by side, then season with a little salt and pepper, sprinkle with some of the mozzarella and parmesan, and drizzle with some of the sauce. Repeat to make more layers, about 4 total, finishing the last layer with cheese and sauce. Bake for about 40 minutes or until bubbly. Turn off the oven, tilt or open the oven door and let the lasagna sit in the oven for 10 minutes or longer to let it soak the juices (you can let it sit for an hour or two - longer is better). Enjoy it warm, room temperature, or even cold for breakfast. 


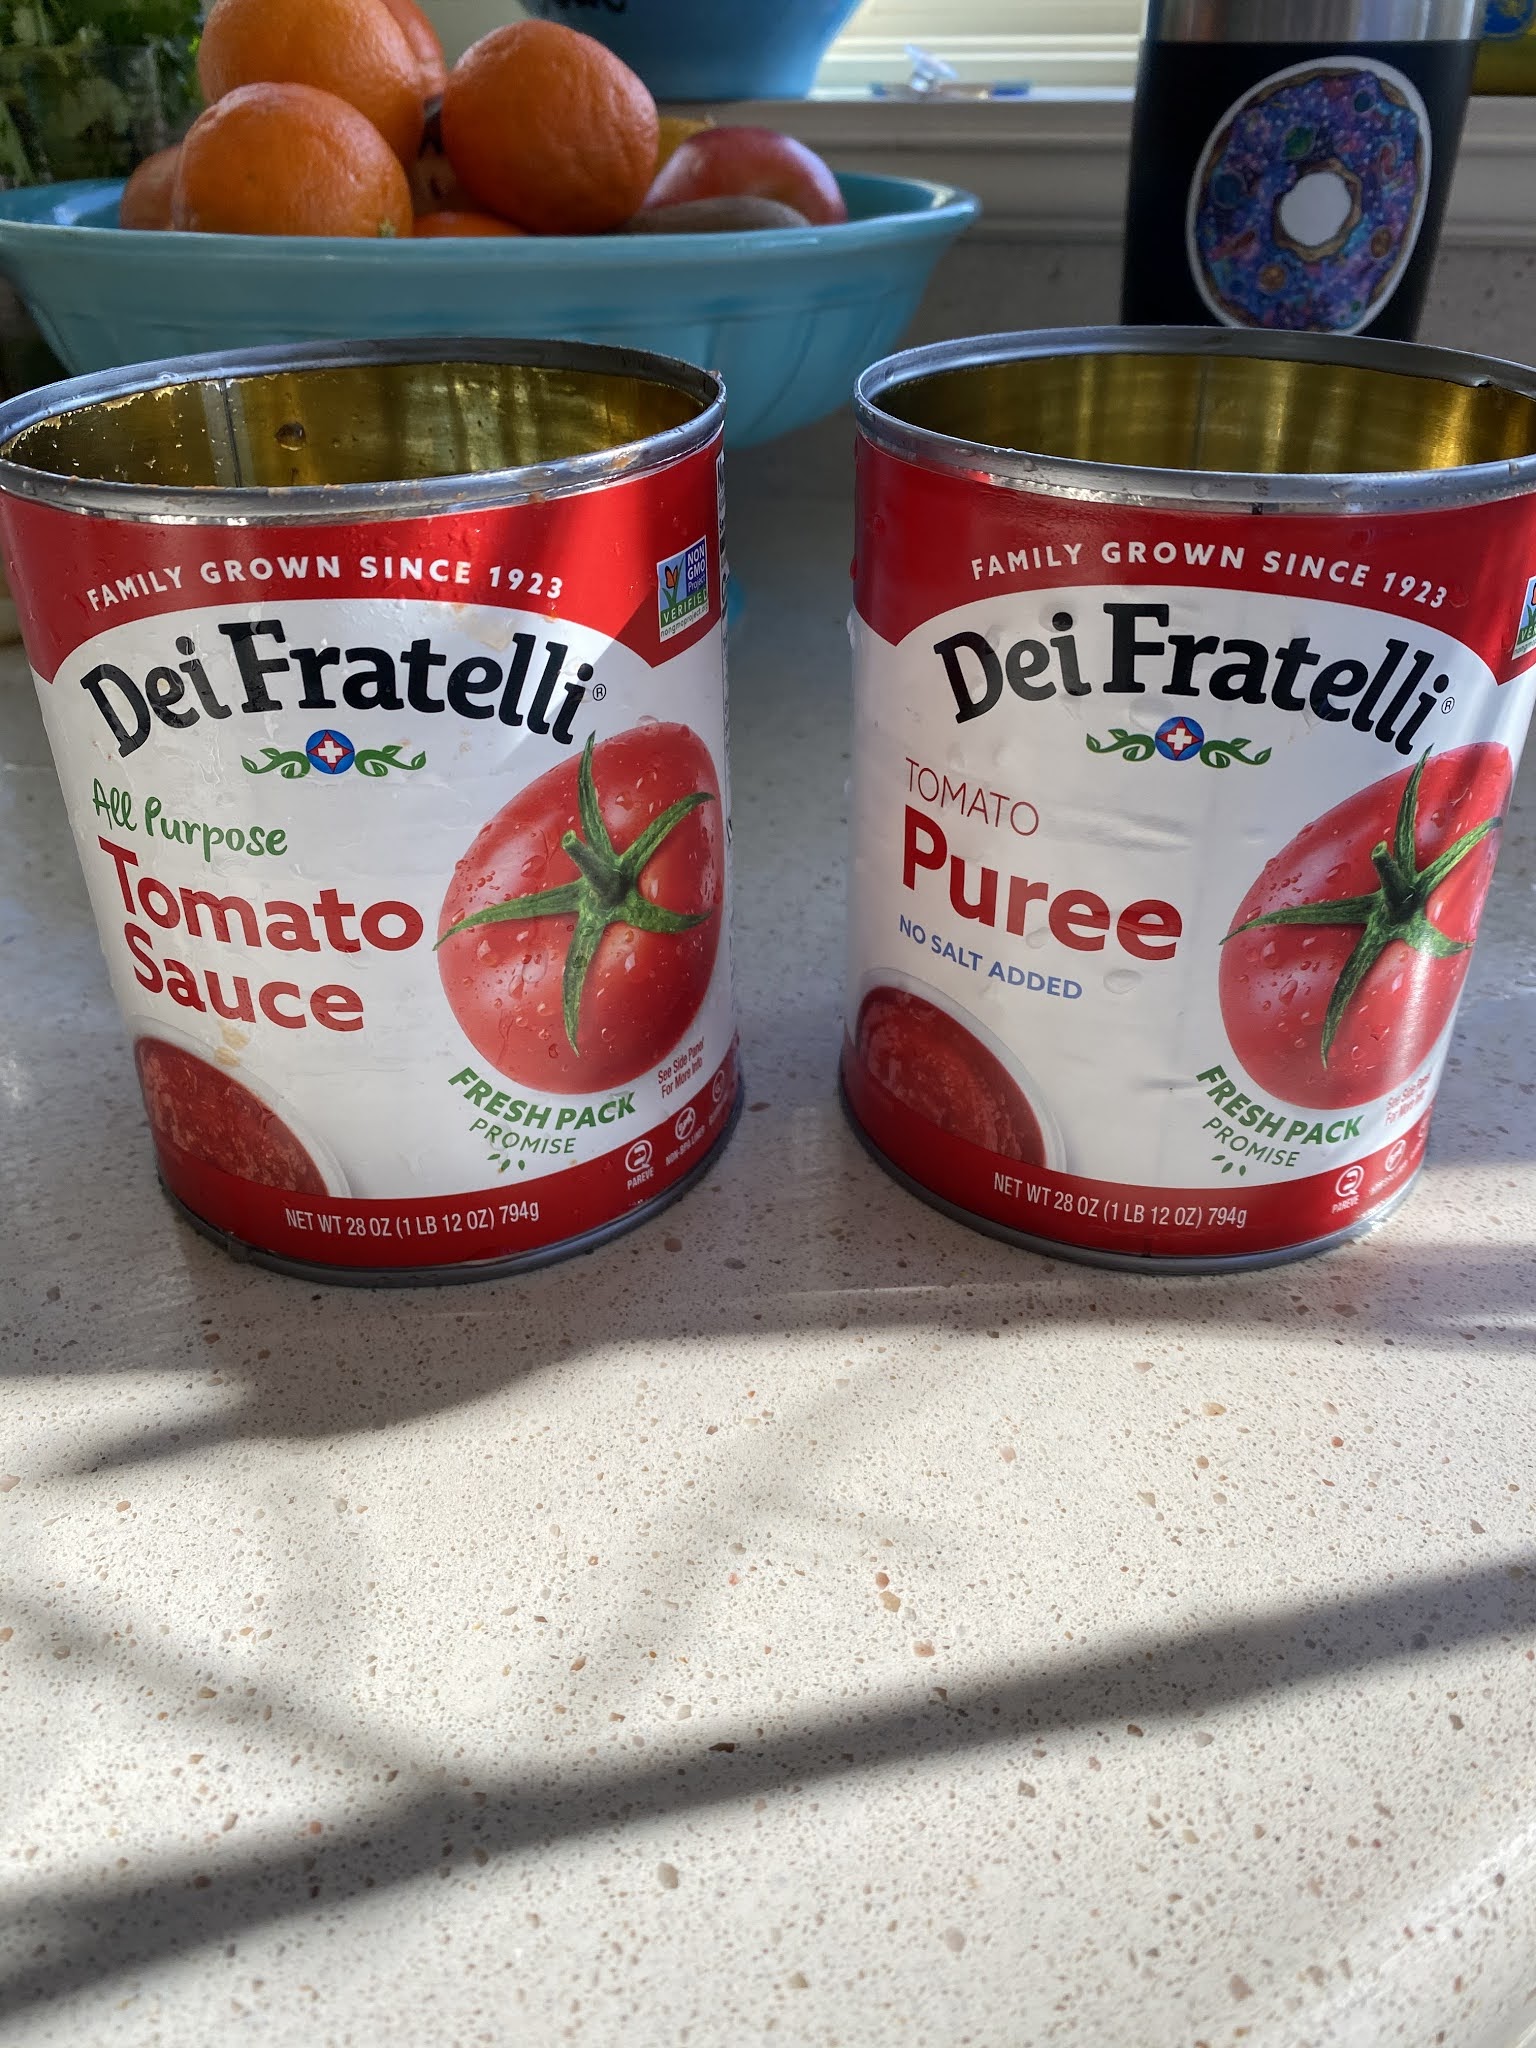
Notes: I only let the salted eggplant stand for 30 minutes in step 1. I started out frying the eggplant slices as directed, but then decided it was too much oil for me so for about half of the slices I just dry browned them in the pan - when assembling the lasagna I mixed up the oil and not oiled ones together. I did some research (googled) about passata - it is different from spaghetti sauce or marinara, more like tomato puree or thinner tomato sauce with the seeds removed so I mixed together one can of tomato sauce (28oz)  and one can of Italian sauce (28oz) - since I've never had passata I can't say if my concoction is even close but we loved it so do what you want with that info hahaha. 


Friday, May 7, 2021

Pineapple Whip

I was feeling like a little sweet treat and saw this recipe for pineapple whip on bhg.com - what's not to like about pineapple whip? So I made it to the point of pouring pineapple juice over top of the frozen concoction, there's a ton of sugar in pineapple juice and I wasn't feeling it. I also used pineapple in it's own juice instead of heavy syrup - this is super easy and a nice, light dessert. 

  • 1 (20 oz.) can crushed pineapple, don't drain (original recipe calls for pineapple in heavy syrup, I used the kind in it's own juice)
  • 1 1/2 T. lime juice
  • 1 T. lemon juice
  • 1/2 of an 8 oz. container cool whip, thawed (I used light)
  • pineapple juice, if desired
Put the pineapple, lime and lemon juices in a blender and process until smooth. Fold in the cool whip and put in freezer until solid. Scoop into a glass and top with pineapple juice (or just scoop it into a dish and eat it without the juice). 


5.7.20: Janis's risotto with vegetables
5.7.19: tt: vanilla
5.7.18: adorable hedgehug cards
5.7.17: coconut curry sauce


Thursday, May 6, 2021

Flower Box

I had some leftover flowers from making the spring-y wreaths I posted here, and after looking thru a very expensive catalog selling fresh flower arrangements using boxes for the container I was inspired to make this:

Normally I would fill the box with a styrofoam cube cut to fit, to keep the artificial plants in place - but I don't have any on hand and I'm an instant-gratification kind of crafter so I just stood them up in the box on their own. I'm putting this on a shelf in our bathroom where it won't get knocked so the flowers should stay put. 


Even tho these green flowers don't look veery 'natural' hahaha, I think it's pretty and looks nice in the bathroom - and when I get tired of it I'll just change it out for other flowers, or maybe some cacti. 

Wednesday, May 5, 2021

Chocolate Cluster Cookies

I do love when my friends and family send me something for the blog! Tesha texted this to me (thanks again, Teesh) - the idea of adding ingredients to store-bought cookie dough is genius, I'll definitely be stealing this tip hahha! Just think of all the add-in possibilities...

From Tesha: 

Thought you might want to blog these cookies - I found this old Pampered Chef recipe so decided to try.  It's super easy and they smell very good . Gave them to the grandkids and they loved them!

  • 1 package (18 oz) refrigerated sugar cookie dough
  • 1/3 cup creamy peanut butter
  • 1/2 cup semi-sweet chocolate morsels
  • 1/2 cup quick or old-fashioned oats
  • 1/2 cup mini m&m's
  • 1/2 cup chopped nuts, optional

1. Preheat oven to 375'. Place cookie dough in large bowl. Add peanut butter and mix well. Add chocolate chips, oats, m&m's, and nuts if desired; mix well.

2. Using medium scoop, drop dough 1" apart onto cookie sheet or baking stone. Bake 16-18 minutes or until cookies are light golden brown. Cool 1 minute, remove to cooling rack.

Makes about 2 dozen cookies (each cookie 170 cal, 9g fat, 21g carb


5.5.20: TT: germinating seeds

5.5.19: 🔥

5.5.18: 21st birthday 'cake'

5.5.16: squeaky hinges

Tuesday, May 4, 2021

Cinco de Mayo Recipes

Doing anything for Cinco de Mayo tomorrow? We don't have any plans other than I'll make some kind of dinner with a Mexican twist - maybe chicken enchilada suizas or fish tacos*; while thinking about what to make I remembered this mexican street corn salad (click for the recipe) that I posted a couple years ago and forgot about, how did I forget about this terrific dish? Shame on me, I am positively making it for dinner tomorrow and I don't even care what else we have - it's all about this corn hahaha!! 


Hmmm, maybe I'll also have a skinny margarita - the corn salad and lime juice are making my mouth water, and it's another day before I'll have them hahahah! 🐷😉
*our fish tacos are super simple and easy to make: Dave grills swordfish, basting with lemon butter (melted butter mixed with lemon juice). Serve in warmed corn tortillas topped with coleslaw. 
5.4.20: Miss Lori's gossamer tree5.4.19: college survival kit
5.4.18: 40 minute workout by Mickey
5.4.16: raspberry and cream filled cake