Saturday, May 8, 2021

Eggplant Lasagna

This recipe is from meikepeters.com (which I somehow stumbled on when on the rabbit hole that is Google!) originally named 'Parmigiana di Melanzane' - layers of fried eggplant, mozzarella, and passata di pomodoro (which I had to Google what that even is, appears to be like tomato puree with no seeds or skins); sounds great, right? The pictures that accompanied the recipe sold it for me and I couldn't wait to make it - and you've heard me say before that I don't love eggplant but this is amazing. I now have a couple eggplant recipes that I love! 

His recipe has lots of Italian words and ingredients, and some measurements that I had a hard time figuring out so I did what I do and adapted the recipe. I feel like this is one of those things, just like traditional lasagna, just wing the amounts! Click on the above link if you want to see the original recipe and beautiful pics, here is what I did:

  • 2 eggplants, cut lengthwise into 1/4" slices
  • sea salt
  • 1 fresh mozzarella ball, chopped into small cubes
  • olive oil
  • 1 garlic clove, minced
  • 3 1/4 cups tomato sauce (called 'passata' in his recipe, see below for more info)
  • large handful of basil, chopped
  • pepper and salt
  • vegetable oil for frying
  • parmesan
1. Spread the eggplant slices on racks, generously sprinkle with salt and gently rub in, then flip and sprinkle the other side with salt. Let the eggplants sit for about 1 hour then rinse with cold water and pat dry with paper towels. 

2. In a large pot, heat a splash of olive oil over medium heat, add the garlic and cook for about 2 minutes or until golden. Add the tomato puree and bring to a boil. Stir in the basil and season to taste with salt and pepper. Remove the sauce from the heat and set aside. 

3. Preheat the oven to 400'F and grease a 12 x 8" baking dish with a little olive oil.

 4. In a large heavy pan over high heat, heat enough vegetable oil to come up the side of the pan about 1/2". When the oil is sizzling hot, fry the eggplant slices in batches, arranging them side by side and turning them once, for about 30-60 seconds or until golden but not dark. Spread and drain the fried eggplant on paper towels and continue frying the remaining eggplant slices. 

5. Arrange a layer of eggplant slices in the prepared baking dish, spreading them side by side, then season with a little salt and pepper, sprinkle with some of the mozzarella and parmesan, and drizzle with some of the sauce. Repeat to make more layers, about 4 total, finishing the last layer with cheese and sauce. Bake for about 40 minutes or until bubbly. Turn off the oven, tilt or open the oven door and let the lasagna sit in the oven for 10 minutes or longer to let it soak the juices (you can let it sit for an hour or two - longer is better). Enjoy it warm, room temperature, or even cold for breakfast. 


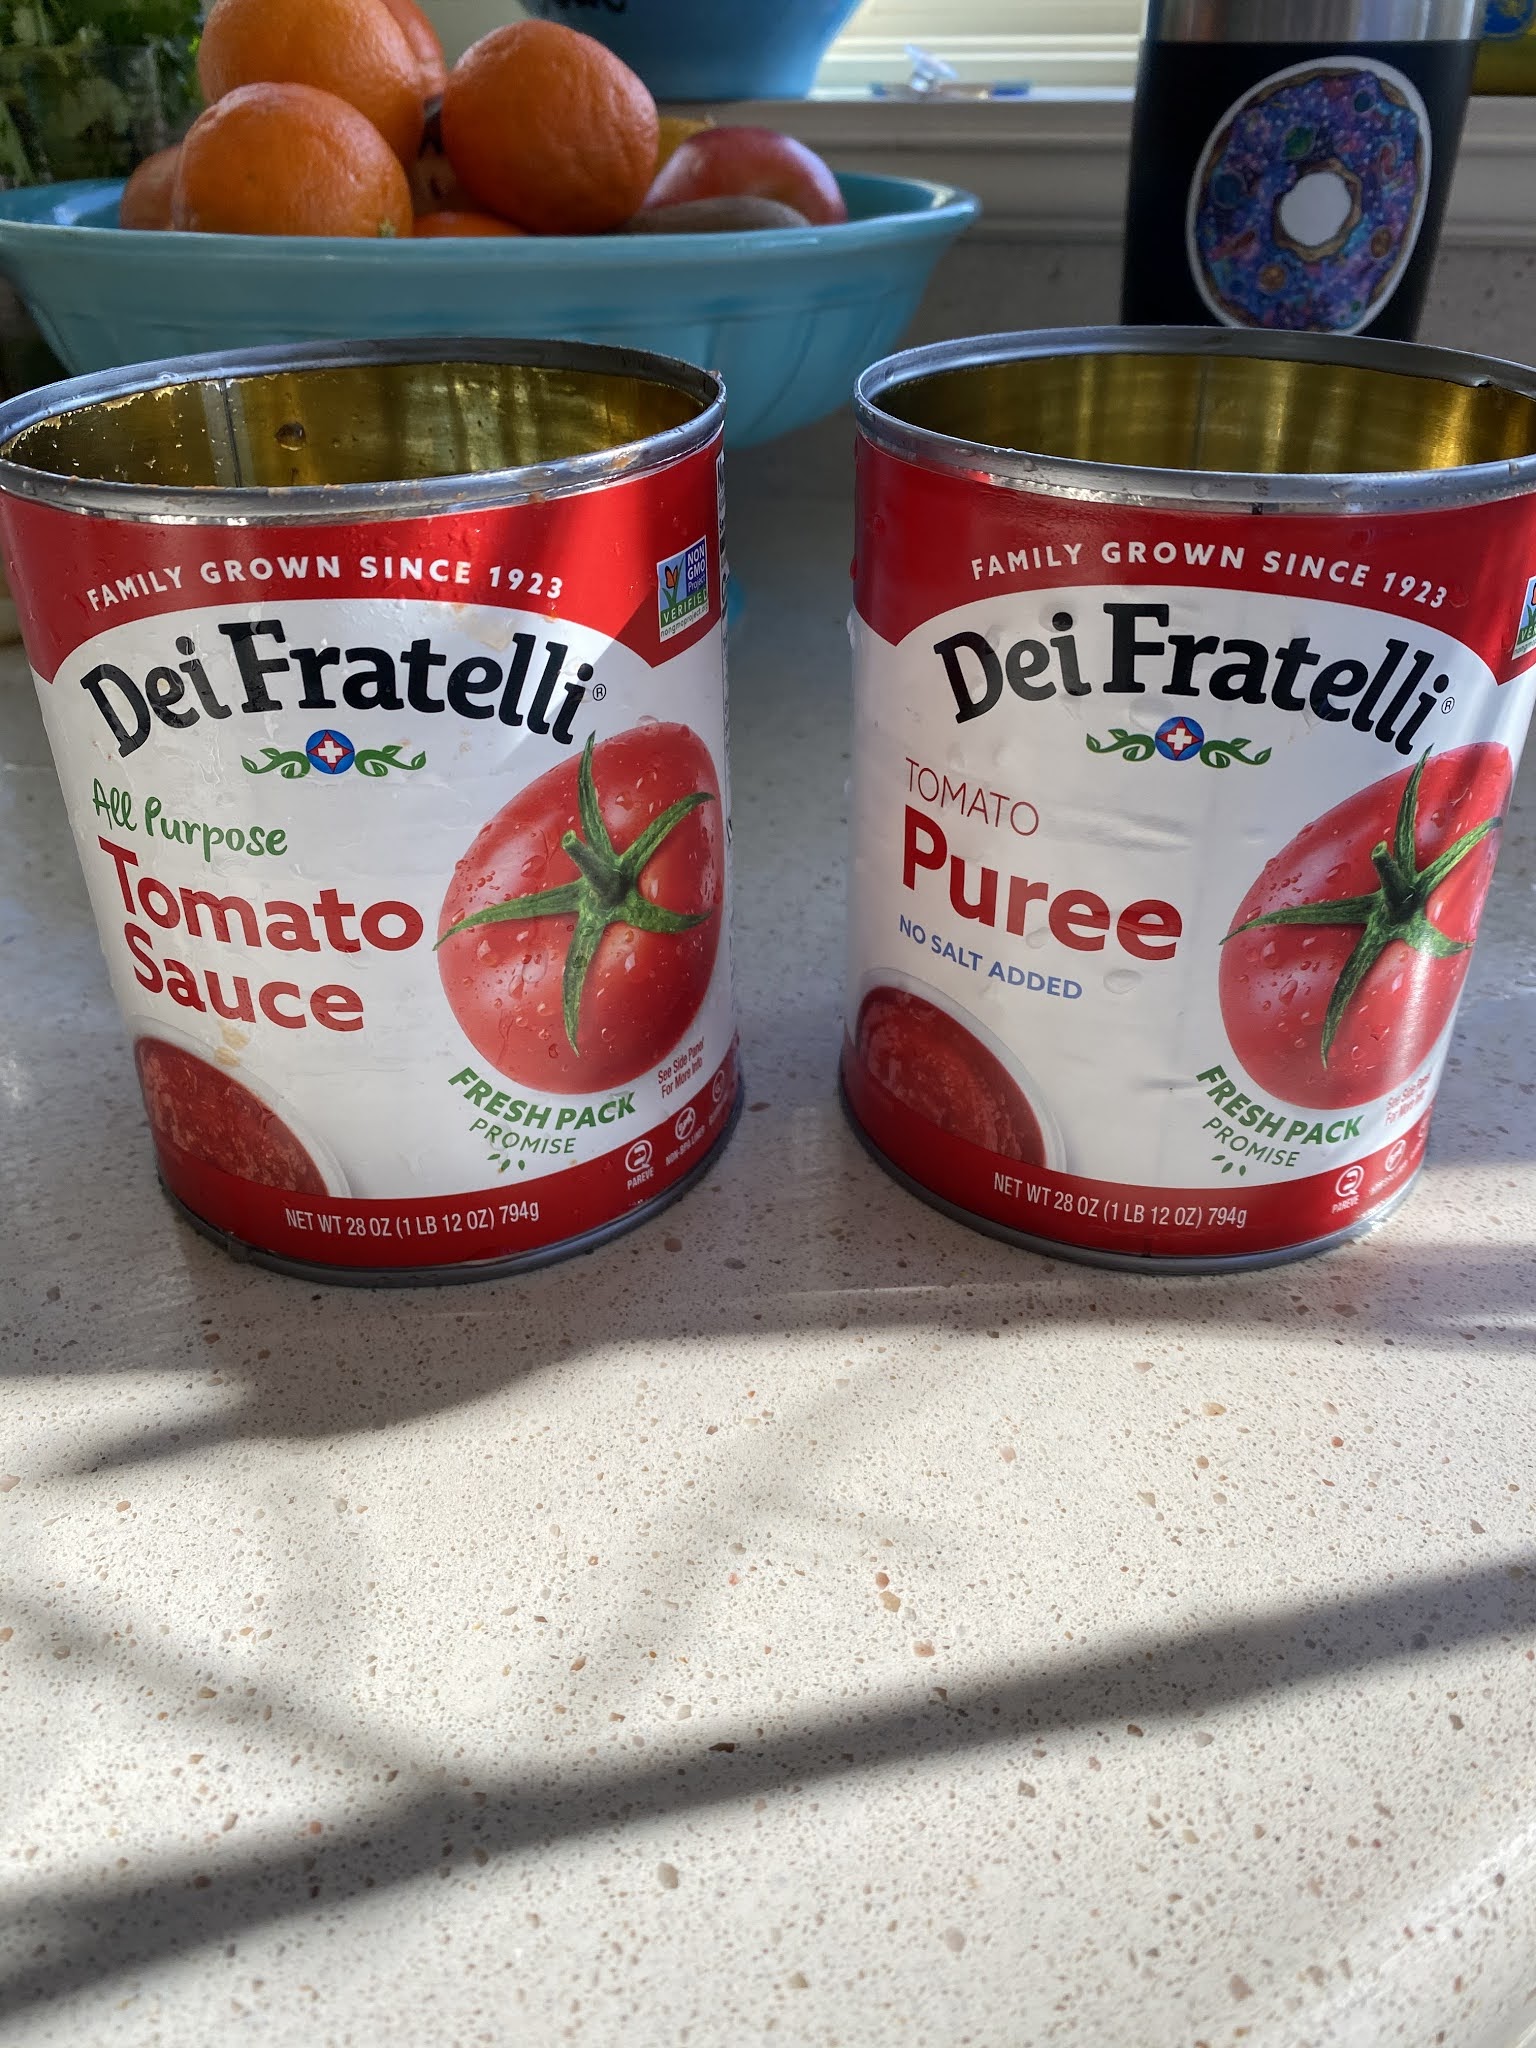
Notes: I only let the salted eggplant stand for 30 minutes in step 1. I started out frying the eggplant slices as directed, but then decided it was too much oil for me so for about half of the slices I just dry browned them in the pan - when assembling the lasagna I mixed up the oil and not oiled ones together. I did some research (googled) about passata - it is different from spaghetti sauce or marinara, more like tomato puree or thinner tomato sauce with the seeds removed so I mixed together one can of tomato sauce (28oz)  and one can of Italian sauce (28oz) - since I've never had passata I can't say if my concoction is even close but we loved it so do what you want with that info hahaha. 


Friday, May 7, 2021

Pineapple Whip

I was feeling like a little sweet treat and saw this recipe for pineapple whip on bhg.com - what's not to like about pineapple whip? So I made it to the point of pouring pineapple juice over top of the frozen concoction, there's a ton of sugar in pineapple juice and I wasn't feeling it. I also used pineapple in it's own juice instead of heavy syrup - this is super easy and a nice, light dessert. 

  • 1 (20 oz.) can crushed pineapple, don't drain (original recipe calls for pineapple in heavy syrup, I used the kind in it's own juice)
  • 1 1/2 T. lime juice
  • 1 T. lemon juice
  • 1/2 of an 8 oz. container cool whip, thawed (I used light)
  • pineapple juice, if desired
Put the pineapple, lime and lemon juices in a blender and process until smooth. Fold in the cool whip and put in freezer until solid. Scoop into a glass and top with pineapple juice (or just scoop it into a dish and eat it without the juice). 


5.7.20: Janis's risotto with vegetables
5.7.19: tt: vanilla
5.7.18: adorable hedgehug cards
5.7.17: coconut curry sauce


Thursday, May 6, 2021

Flower Box

I had some leftover flowers from making the spring-y wreaths I posted here, and after looking thru a very expensive catalog selling fresh flower arrangements using boxes for the container I was inspired to make this:

Normally I would fill the box with a styrofoam cube cut to fit, to keep the artificial plants in place - but I don't have any on hand and I'm an instant-gratification kind of crafter so I just stood them up in the box on their own. I'm putting this on a shelf in our bathroom where it won't get knocked so the flowers should stay put. 


Even tho these green flowers don't look veery 'natural' hahaha, I think it's pretty and looks nice in the bathroom - and when I get tired of it I'll just change it out for other flowers, or maybe some cacti. 

Wednesday, May 5, 2021

Chocolate Cluster Cookies

I do love when my friends and family send me something for the blog! Tesha texted this to me (thanks again, Teesh) - the idea of adding ingredients to store-bought cookie dough is genius, I'll definitely be stealing this tip hahha! Just think of all the add-in possibilities...

From Tesha: 

Thought you might want to blog these cookies - I found this old Pampered Chef recipe so decided to try.  It's super easy and they smell very good . Gave them to the grandkids and they loved them!

  • 1 package (18 oz) refrigerated sugar cookie dough
  • 1/3 cup creamy peanut butter
  • 1/2 cup semi-sweet chocolate morsels
  • 1/2 cup quick or old-fashioned oats
  • 1/2 cup mini m&m's
  • 1/2 cup chopped nuts, optional

1. Preheat oven to 375'. Place cookie dough in large bowl. Add peanut butter and mix well. Add chocolate chips, oats, m&m's, and nuts if desired; mix well.

2. Using medium scoop, drop dough 1" apart onto cookie sheet or baking stone. Bake 16-18 minutes or until cookies are light golden brown. Cool 1 minute, remove to cooling rack.

Makes about 2 dozen cookies (each cookie 170 cal, 9g fat, 21g carb


5.5.20: TT: germinating seeds

5.5.19: 🔥

5.5.18: 21st birthday 'cake'

5.5.16: squeaky hinges

Tuesday, May 4, 2021

Cinco de Mayo Recipes

Doing anything for Cinco de Mayo tomorrow? We don't have any plans other than I'll make some kind of dinner with a Mexican twist - maybe chicken enchilada suizas or fish tacos*; while thinking about what to make I remembered this mexican street corn salad (click for the recipe) that I posted a couple years ago and forgot about, how did I forget about this terrific dish? Shame on me, I am positively making it for dinner tomorrow and I don't even care what else we have - it's all about this corn hahaha!! 


Hmmm, maybe I'll also have a skinny margarita - the corn salad and lime juice are making my mouth water, and it's another day before I'll have them hahahah! 🐷😉
*our fish tacos are super simple and easy to make: Dave grills swordfish, basting with lemon butter (melted butter mixed with lemon juice). Serve in warmed corn tortillas topped with coleslaw. 
5.4.20: Miss Lori's gossamer tree5.4.19: college survival kit
5.4.18: 40 minute workout by Mickey
5.4.16: raspberry and cream filled cake

Monday, May 3, 2021

Melting Potatoes

Melting potatoes, where have you been all my life? 

There are lots of recipes for this technique, I followed one I found here and they turned out great - new favorite way to make potatoes! Only thing I did different is omitting the garlic and adding about 1/2 teaspoon garlic salt along with the rosemary.


2 lbs. Yukon Gold potatoes, peeled
2 Tablespoons butter, melted
2 Tablespoons olive oil
2 Tablespoons fresh rosemary
3/4 teaspoon salt
1/4 teaspoon pepper
1 cup low-sodium chicken broth
2 garlic cloves, finely minced

Directions:

1. Preheat oven to 500' F.
2. Cut potatoes into 3/4"-1" thick slices, and place them in a bowl. Pour in the olive oil, melted butter, and rosemary. Season with salt and pepper and toss until evenly combined.
3. Lay the potatoes flat in a single layer, in a 13x9" metal baking dish - note* do not use a glass baking dish because it could crack. Use two metal dishes if necessary to hold the potatoes in a single layer.
4. Bake until the bottom of each potato is golden brown, about 15 minutes. Remove the dish from the oven and flip each potato. Bake for another 15 minutes, until the other side of the potato is golden brown.
5. Remove dish from oven, pour in chicken broth and sprinkle with garlic. Return to oven to bake until the potatoes are tender and the stock reduces slightly, about another 15 minutes. Serve warm with extra sauce drizzled on top.

Oops, I forgot to take a picture of the finished product - so I
borrowed this one from the delish.com site...they look just like this!

makes 4 servings.

5.3.20: 🔥week 18

Sunday, May 2, 2021

🔥Around the Campfire (week 18)

Dear Campers ~

Here's a quick recap in case you missed anything at MMDC this past week:

Posts ~

4/25: 🔥week 17 

4/26: crockpot golden mushroom pork chops

4/27: tip-sy tuesday: stovetop splatter tip

4/28: tortilla pizza

4/29: lemon glazed chicken breasts

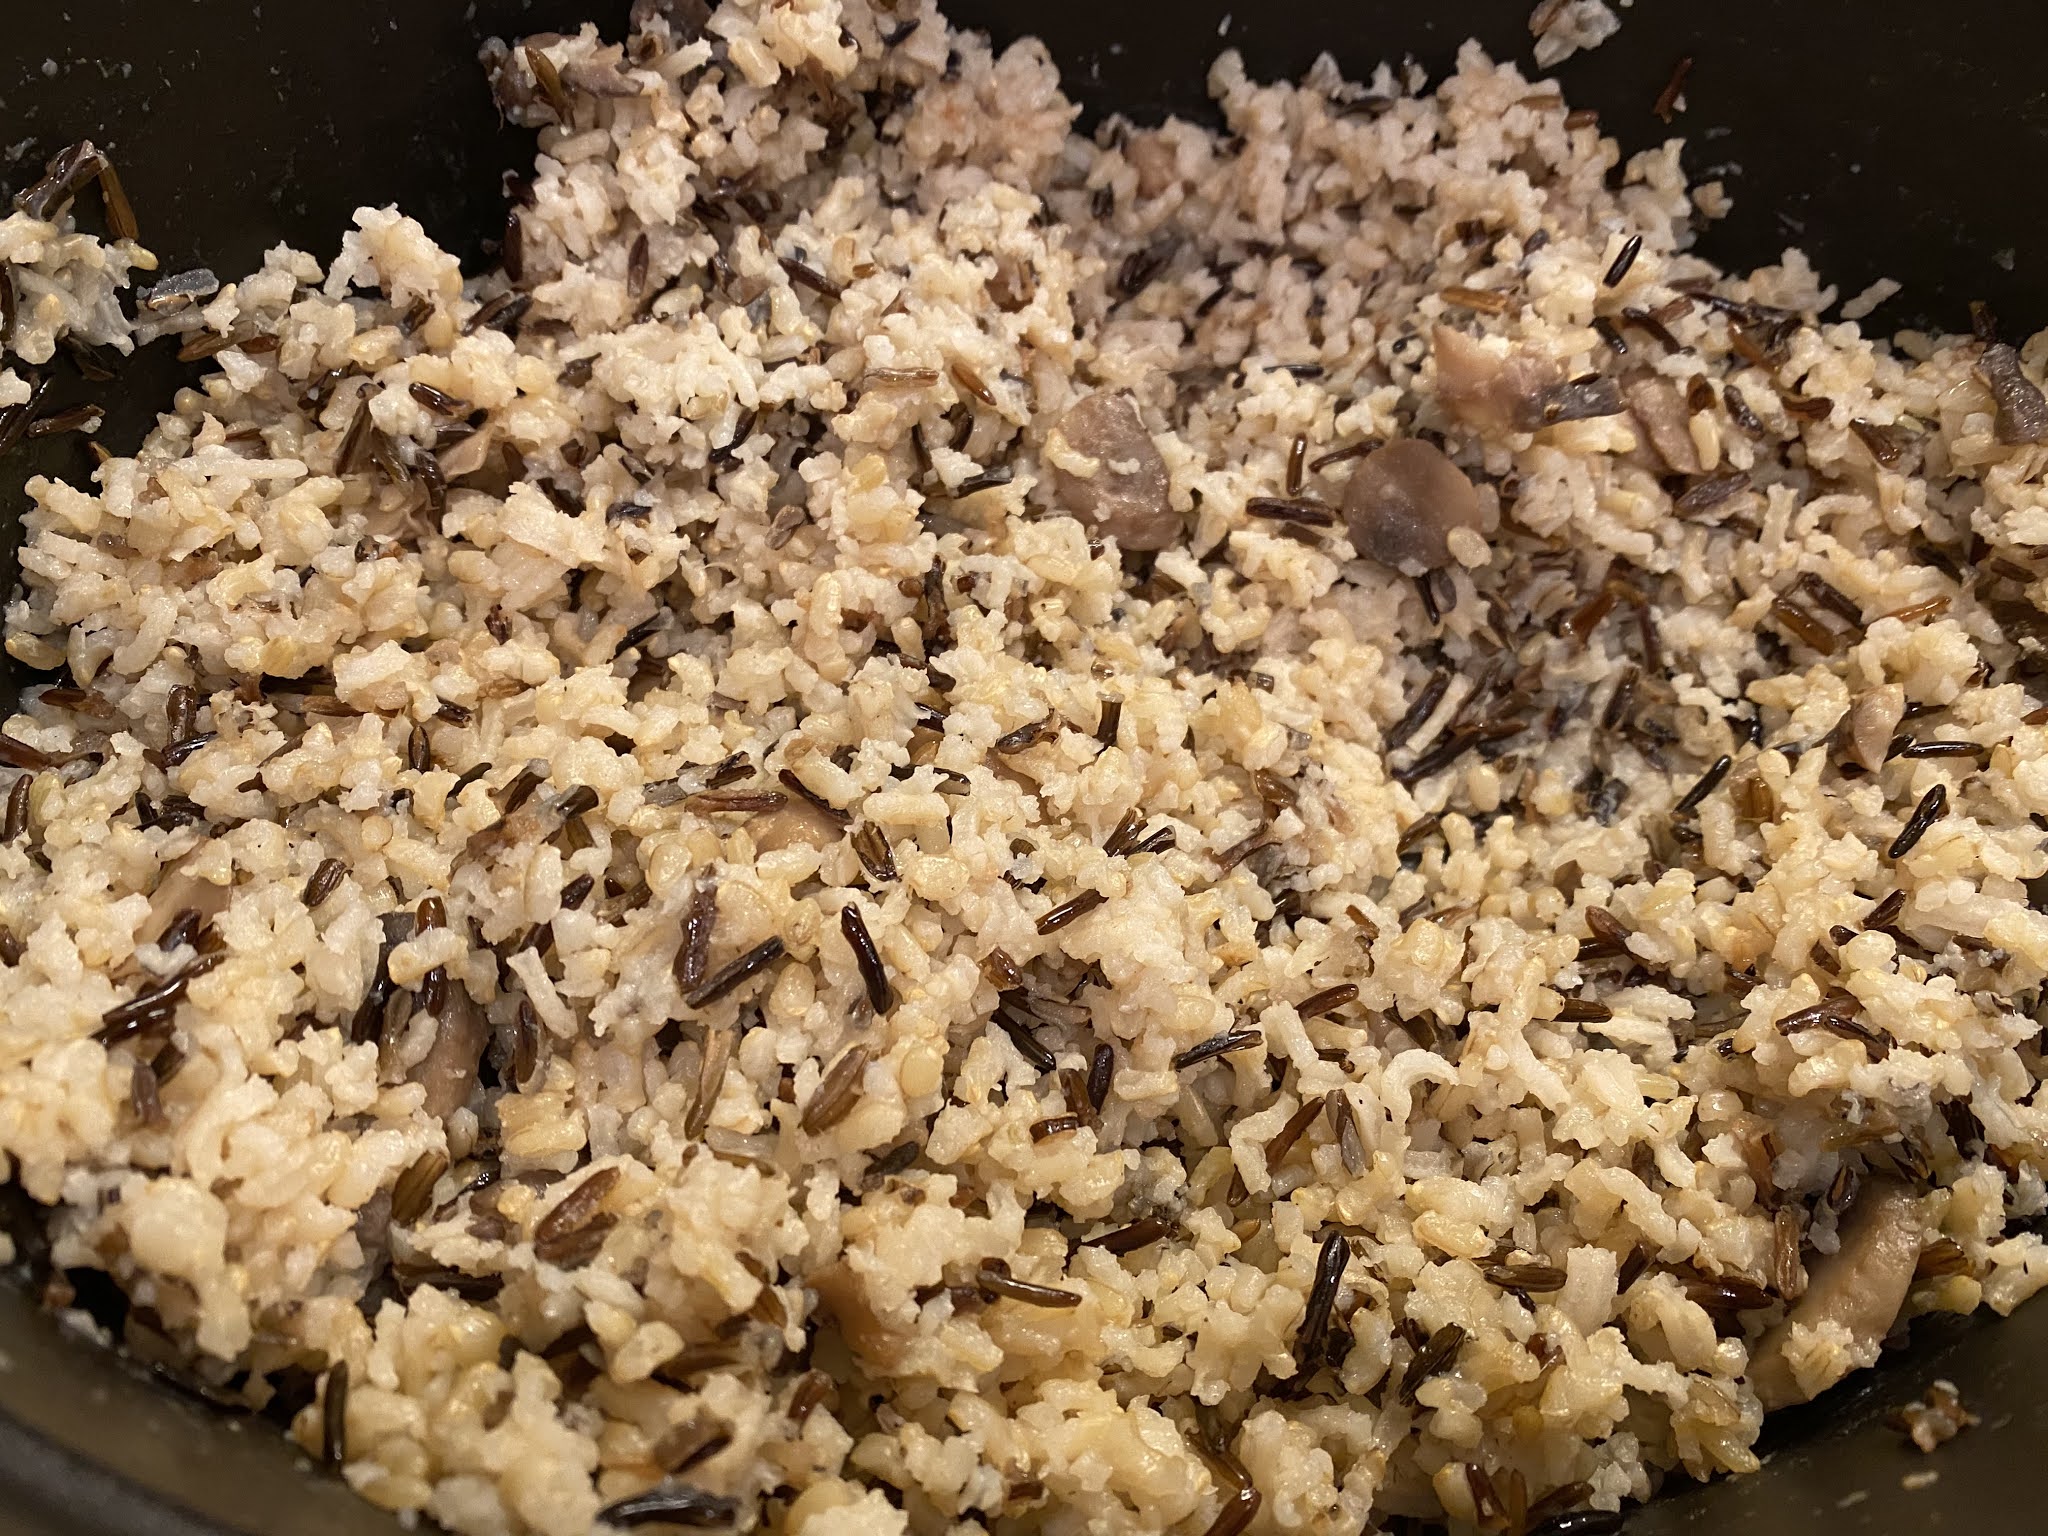
4/30: mushy roomy rice

5/1: tri-fold card

What's Cooking ~

  • steak, cheesy baked portobellos, caesar
  • fajitas (onion, red pepper, mushroom, zucchini)
  • turkey burger patty (seasoned with Italian spices, salt and pepper), loaded hash browns
  • tortilla pizza, caesar salad
  • grilled chicken, green salad, greek broccoli gratin
Awwww we have a wren on her nest under the deck, I love watching the process - except we've had problems in the past with scaring the babies out when we walk on top of the deck so this year I'm putting down a rug over top of the nest to hopefully reduce their nervousness! Can you imagine how frightening it would be to have godzilla walking around over top of you hahahahah?! 


Hope you had a great week! Stop by often to see more projects, recipes, crafts, and whatever else I can think of to make at camp! Bye!

Sincerely ~


Jill
camp counselor

Saturday, May 1, 2021

Tri-Fold Card

I saw another one of Ronda Wade's projects the other day on her youtube channel - I love love love this fun idea for a card and immediately went in my craft room and made one for a birthday dinner I was going to that night! I didn't decorate it like she did, but the tri-fold idea is the same. Thanks for the inspo, Ronda!


I changed the dimensions of some of the pieces because I don't have the same tools she used (the die cut templates for one thing), added a gift card so this is a card and gift in one, used different paper and stamps, etc. I'll show you what I did, and you can see her make the original card here. 

I used 2 coordinating decorative papers - one coral with little black and white flowers, the other white with black circles,  along with basic black and white cardstock. To make my card you'll need:

  • black 1" x 11" strip
  • black 4 1/4" x 5 1/2"
  • white with black circles 4" x 5 1/4" 
  • black 2 3/4" x 3 3/4"
  • coral with flowers 2 1/2" x 3 1/2"
  • coral with flowers 2 1/2" x 3"
  • white 2 1/4" x 2 3/4"
  • white 1 7/8" x 2 7/8"
  • small decorative piece of solid coral coordinating cardstock for the tag front
  • 2 small pieces of matching decorative paper to cover inside the flaps (1 1/2" high)
  • birthday stamp and ink, paper letter (or whatever you want to decorate the front), matching ribbon

This is going to sound way more confusing then it is! Following the pictures will probably be easier than trying to figure out my instructions hahah! Read all the way to the end for a couple tips before you start:

First, glue the largest white piece (4x 5 1/4) to the largest black piece (4 1/4 x 5 1/2). This is your card base. Then glue it to the black strip making sure the ends will fold over each other like this (note, I didn't center the card in the center of the strip, hedge it over just a bit to the left - you can't tell yet but the larger right side folds in first, topped with the smaller left side, so the left side strip can be a little shorter): 


Fold the strips up and sharply crease them so the edge is nice and crisp:


Next, glue the coral (2 1/2 x 3 1/2) piece to the slightly larger black piece (2 3/4 x 3 3/4). Glue it behind the right side strip (after folding the strip over the card - when you attach this coral piece the strip will be in front of it):


For the flap on the left side I punched out a white label shape (1 7/8 x 2 7/8), and a small tag shape from solid coral. Hole punch both of them and attach them together with small piece of ribbon. Glue on the paper letter or whatever you are using to decorate. Then attach the white piece to the left side strip (once again, glue it to the back of the strip, see photo):
 

Right now the card should look something like this when open:


Stamp whatever message or image you want on the solid white 2 1/4 x 2 3/4" piece, color it in if you wish. Glue that to the slightly larger coral piece (2 1/2 x 3), then glue to the base card making sure it will be covered by the cards attached to the strip. 


To finish - Cover the inside of the black strips with decorative paper to make it look more finished. I attached a gift card behind the right coral side of the card with some ribbon, when you open the tri-fold card you see the gift card to the right, see picture. 


Last note, hopefully you're still reading and didn't start making the card yet - I had to play with where to glue the black strip to the base card so that the larger right side would fold over the center of the base card, and then that the small left side white card with the letter would end up on top in the center of the right side flap. Does that make sense? Without gluing anything, lay the message card on the base card, then stack the other cards on top of it making sure it will be covered and both flaps will cover it and be centered, then glue to the strip. I really hope the pictures are helping - watch Ronda's video on YouTube if you need additional instructions, she walks you thru how she made the card (although her dimensions are different than mine). 

I really enjoy how this card turned out and will totally be making these again in the future!

Friday, April 30, 2021

Mushy Roomy Rice

The title of this is supposed to be "Tracey's Mushy Roomy Room Rice" but I'm changing it to the shorter 'mushy roomy rice'. Because I can. Don't tell Joanne Fluke tho.

  • 1 cup long-grain brown rice
  • 1 cup wild rice
  • 2/3 cup brown Basmati rice (*see note below regarding the rices)
  • 3 and 1/3 cups chicken stock
  • 3 chicken bouillon cubes (I use 'better than bouillon' instead of cubes)
  • 1/2 t. ground pepper
  • 1/3 cup red onions, finely diced
  • 2 cans (13.25 oz.) mushrooms, drained
  • 1/2 cup butter (1 stick), cut into 8 pieces

*note: if you can't find one of the rice varieties, substitute any other variety that you like. Just make it equal 2 and 2/3 cups of mixed, uncooked rice. Or use a mixed rice medley totaling 1 pound. 

1. Preheat oven to 350'. Prepare a large round glass casserole dish by spraying the inside with nonstick cooking spray.

2. In a large saucepan (big enough to hold the broth and rice),  bring the chicken stock and bouillon cubes to a boil over high heat; turn the burner down to medium heat and stir until the bouillon cubes are dissolved. Add the ground pepper, finely diced onions, and drained mushrooms to the saucepan, mix to combine. 

3. Remove from the heat and add the rice, stir until all the ingredients are thoroughly mixed. Transfer the rice mixture in the saucepan to the greased casserole dish. Top with the butter pieces, cover (if your glass dish doesn't have a cover, use heavy-duty foil to cover the dish. You can assemble the dish ahead of time up to this point and refrigerate it until you are ready to bake it. 

4. Bake for 2 hours. When 2 hours have passed, remove the lid or foil and bake for another 20 to 30 minutes. 

serves 6

from 'Coconut Layer Cake Murder' by Joanne Fluke. note she serves this with the lemon glazed chicken breast crockpot recipe I posted yesterday (click for that post). I served it with lemon-glazed pork roast made using the same recipe. 


Thursday, April 29, 2021

Lemon Glazed Chicken Breasts


Here's another recipe from the 'Coconut Layer Cake Murder' book by Joanne Fluke, I made a bunch of her recipes this time. FYI I hate how she writes her recipes so I change that quite a bit, if you read one you'll see what I mean - but the recipe is the same without all her filler notes.

This is a crockpot recipe, but I don't see why it wouldn't work in the oven - I have no idea how long it would take tho, you'll have to figure that part out yourself if you don't want to make it in the crockpot.

Prepare a 4-quart crockpot by spraying the inside of the crock with non-stick cooking spray (or use a liner). If you use a bigger crockpot you'll need to increase the amounts to fill it up better.

Ingredients:

  • 6-oz can frozen lemonade concentrate, undiluted
  • 1/2 t. ground ginger
  • 1/4 t. ground pepper
  • 1 t. dried parsley
  • 6 6-oz. boneless, skinless chicken breast halves
  • 1/4 cup water
  • 2 T. cornstarch
Open the can of frozen lemonade concentrate and put the contents in a shallow bowl that's large enough to hold one of the chicken breast halves. When the lemonade concentrate has thawed, stir in the ginger, pepper, and parsley. 

Dip each piece of chicken breast in the shallow bowl, coating both sides with the mixture. Place the coated chicken in the bottom of the crock. Give the dipping mixture another stir and then pour it over the chicken breast halves in the crock. Cover and cook on LOW for 7 to 9 hours, or on HIGH for 4-5 hours.

After the chicken is cooked, lift it out of the glaze with a slotted spoon and remove it from the crock. Place it in a baking dish and cover tightly with foil. Turn your oven on the lowest possible temperature and keep the chicken warm while you thicken the glaze in the crockpot.

Turn the crockpot with the glaze inside to HIGH and cover. Mix the water and cornstarch together in a small bowl. Add the water/cornstarch mixture to the crock, stir to mix well. Replace the cover, but leave it slightly ajar (note: leaving the cover ajar allows the steam to escape and cause the glaze to thicken faster). Cook the glaze on HIGH for 15-30 minutes or until bubbly and thickened like gravy.

Serve the chicken over cooked rice or any kind of cooked pasta you wish to use. 

Jill's note: so she doesn't say what you're supposed to do with the glaze, I'm assuming you put the chicken back in it before serving over the rice or pasta, or maybe put the chicken on the rice and then pour the glaze over. Her recipes literally cover 8 book pages because she uses so many words haha, but then leaves out how to finish this one. Whatever, it's still a great dish!

PS: am I the only person who hears "lemonade concentrate" and thinks of the blond joke (you know, why did the blond stare at the frozen lemonade can? because it says 'concentrate')?


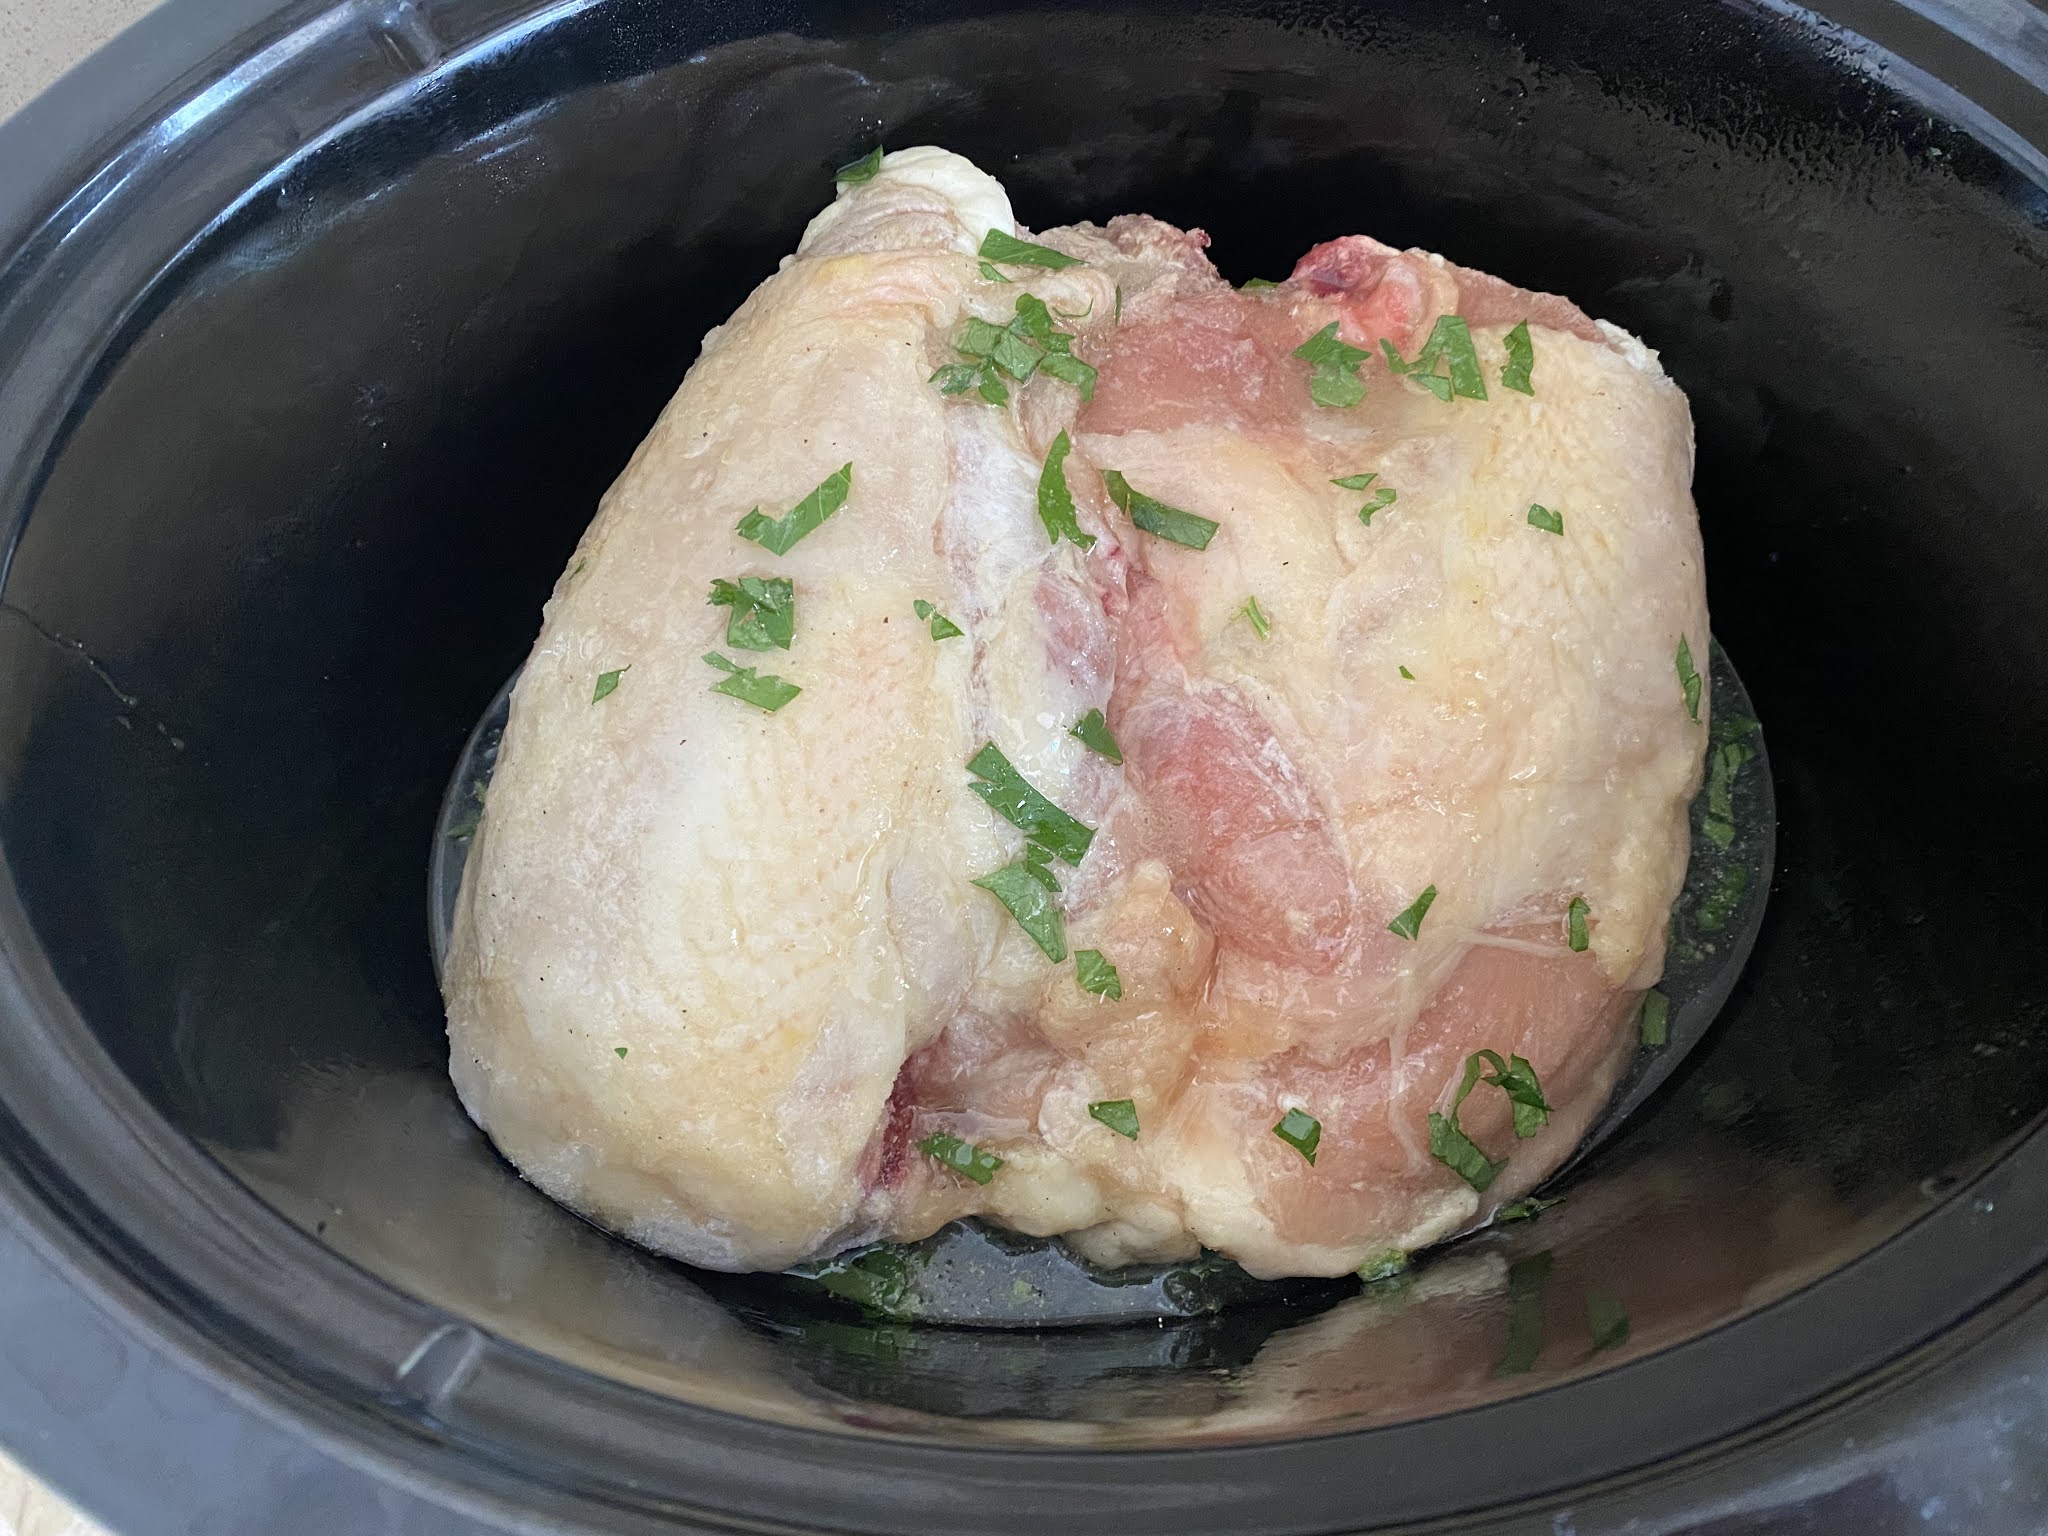
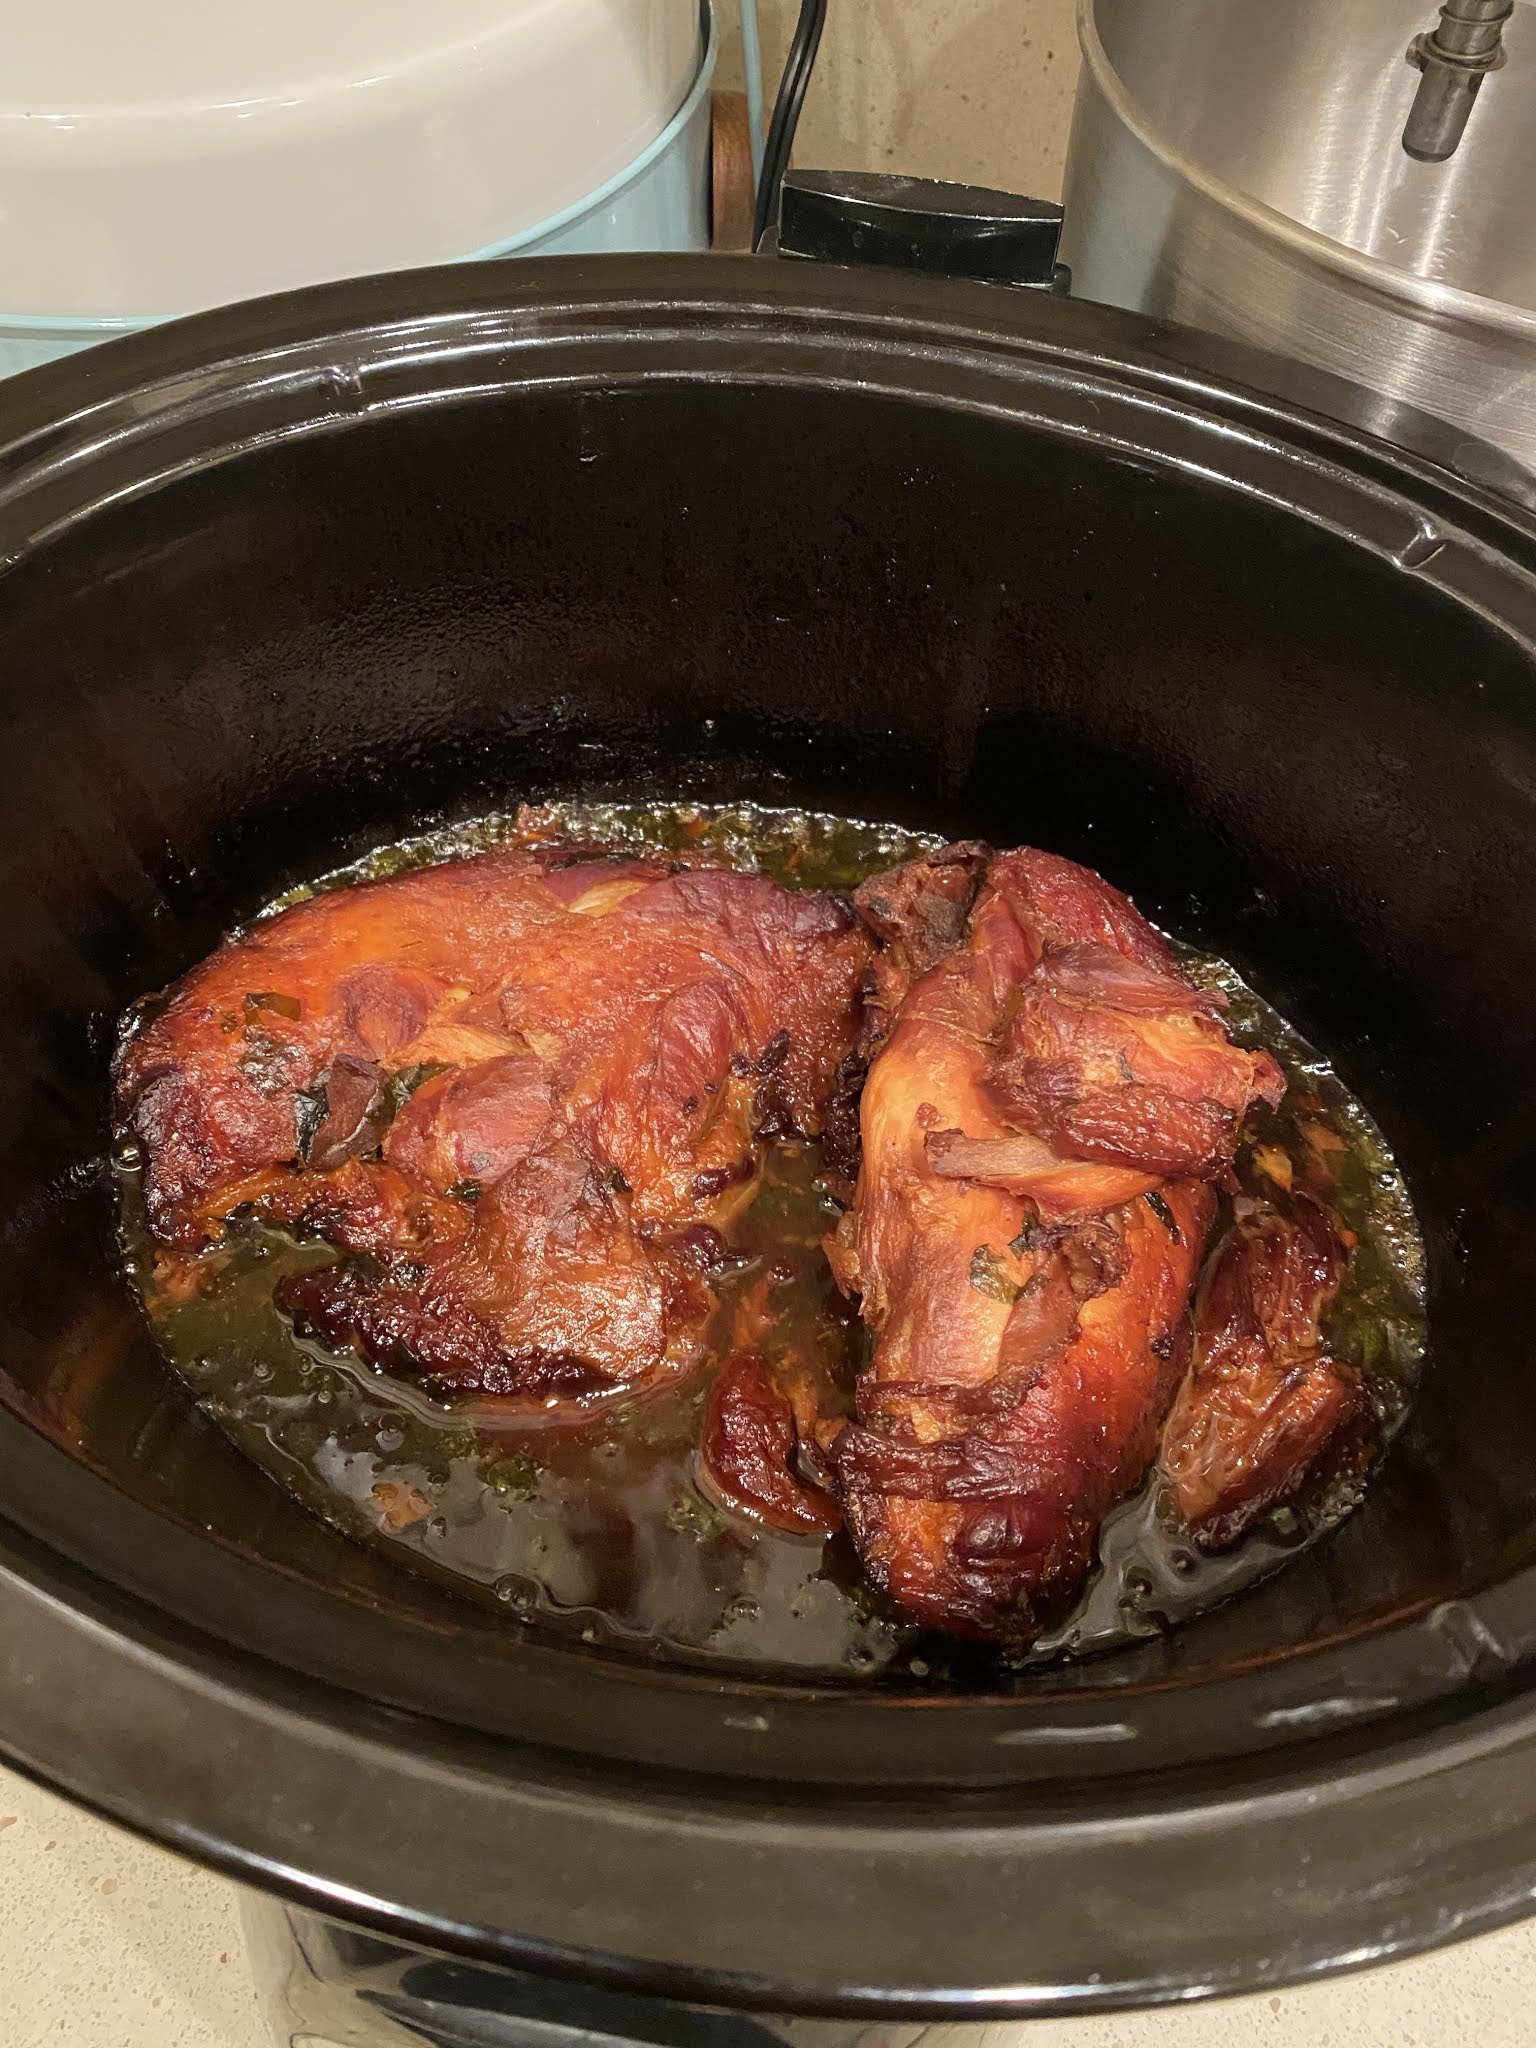
same recipe using a frozen 3 pound pork roast: