Showing posts with label sewing craft. Show all posts

Tuesday, February 18, 2020

Tip-sy Tuesday: How To Change a Sewing Machine Needle

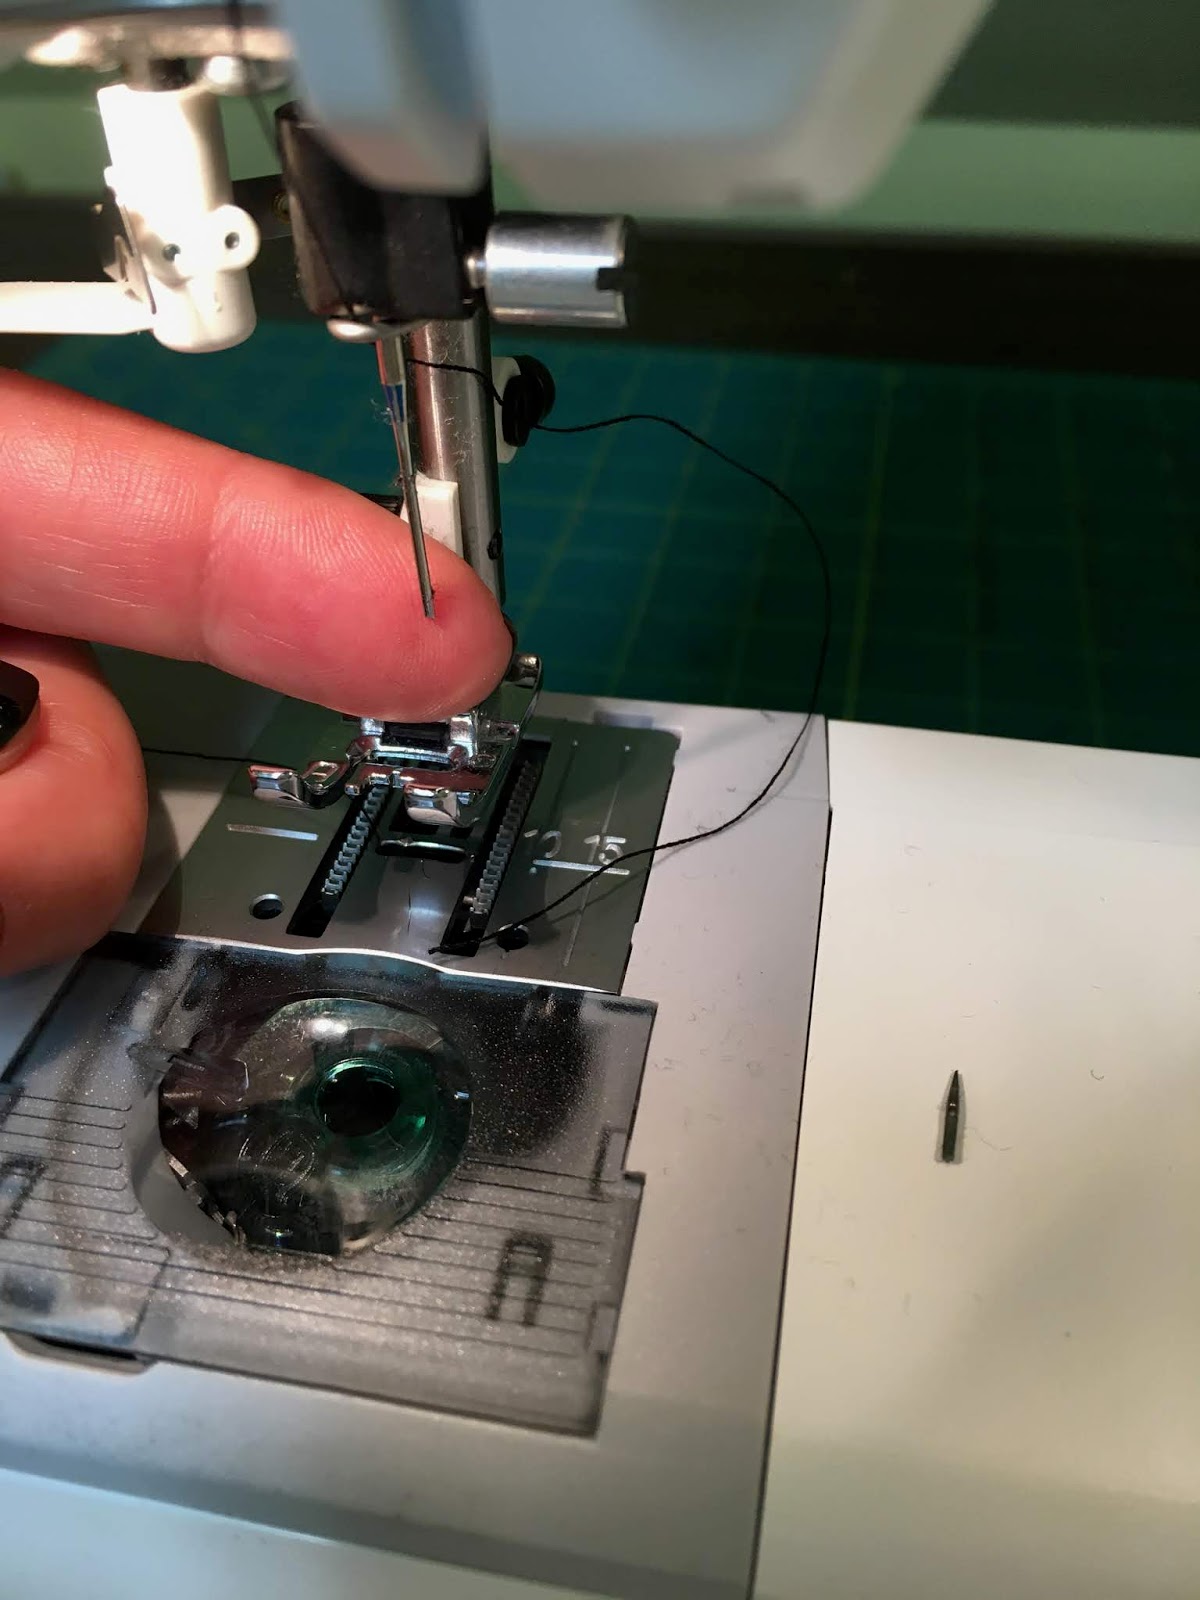
Oops, I tried to sew thru something thick and my needle wasn't up to the task and broke off in the machine. If this happens to you, don't fret - it's a very easy fix (well it's easy if you have the extra needles that probably came with your machine - if not, you'll need to get yourself some new needles before continuing!). It's also helpful to know (and a reminder to myself) that they make assorted sized needles for different tasks - follow the instructions below to change to the appropriate needle that works for the material you are sewing on...or don't, and risk breaking one like me! 


First you need to remove the broken needle: loosen the screw that's right above the needle, either with a small screwdriver if there's a slot or turn it by hand - I have two machines and one turns with a screwdriver and the other by hand - until the needle is loose enough to pull out; then slide the new needle up into place - most likely the head of the needle is flat on the backside and curved on the front, make sure you put it in so it fits correctly in the space (curved side facing you and the eye of the needle in front), then tighten the screw back up. Done. 


Note on needles: my case indicates which needle is used based on the weight and texture of the fabric - this case includes needles for thick jeans, stretchy material, a wing needle used for hemstitching, and universal 'all-purpose' needles used for most fabrics. 


All the sewing machines I've ever had work like this, sorry if yours is different and this is no help to you at all!


Monday, April 8, 2019

Mug Rug


Before putting away the sewing machine mess in the dining room (from making bowl cozies, silverware pouches, and the small fabric wallet - I was on a roll!), I made a couple "mug rugs" with some of the leftover scraps - I totally winged it after seeing a few examples online because quite truthfully I didn't know if I actually needed a rug for my mug and didn't want to spend a lot of time on it. Of course I had to rip out the binding about 18 times because I'm a dummy and an almost-perfectionist and kept sewing it wrong, so it ended up taking much longer than it should have! These are very simple, I just kept messing up...

The mug rug can be whatever size you want - I made one about 8x5" and another 6x4", really it's just a padded coaster to set your mug (and a couple cookies) on - make it whatever size you feel like.
The back is a solid piece of fabric, the front/top side is strips of 2" material sewn together, and it's bound together with self-made bias tape.


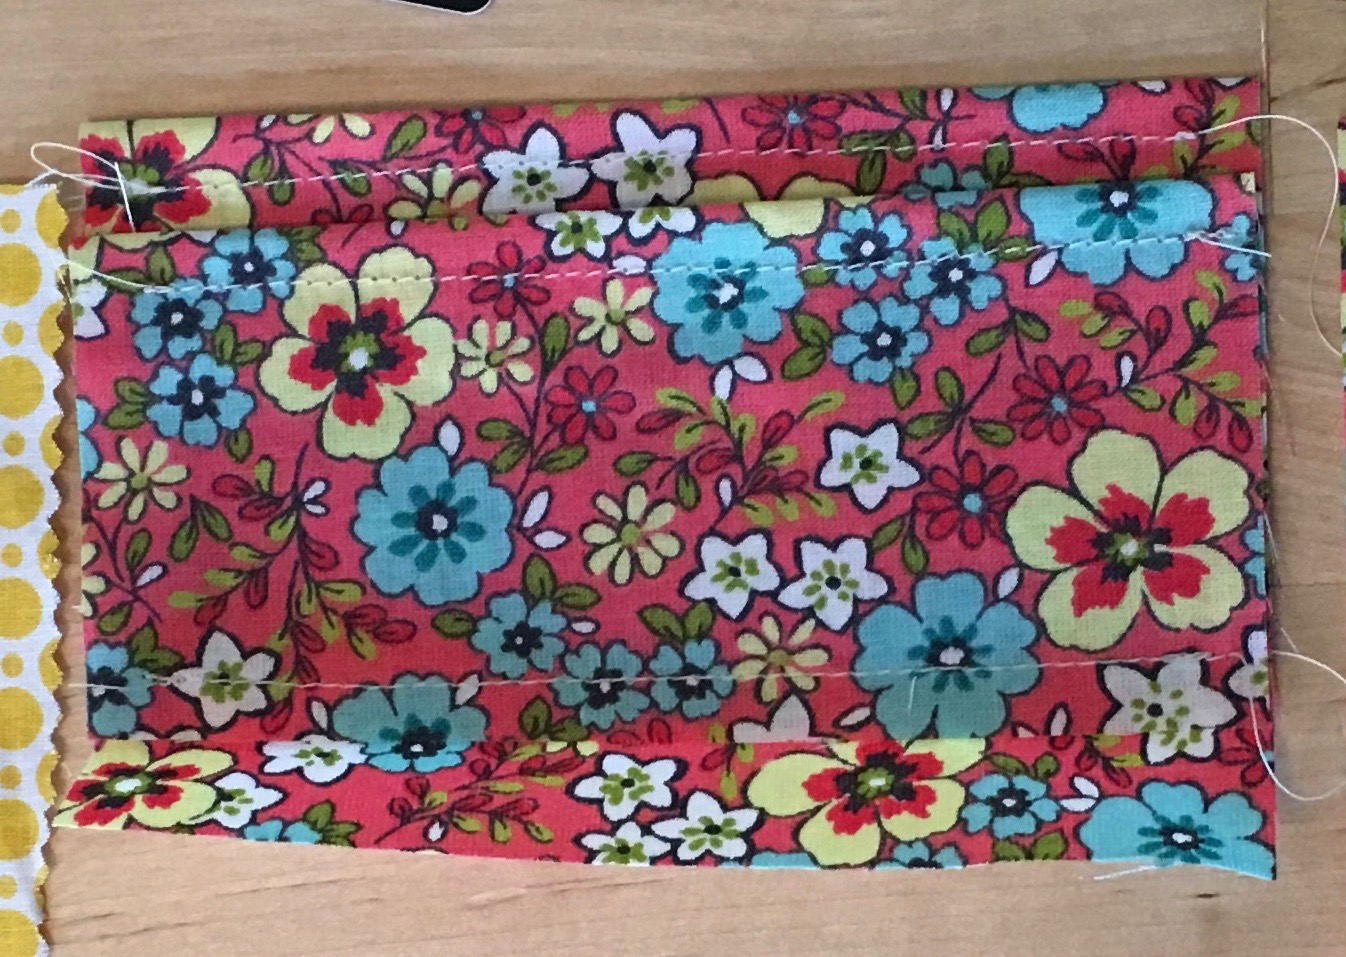
After sewing the 2" strips together, press the seams flat. Cut a piece of batting the same size as the top and bottom fabric piece, sandwich it between the two outer pieces with their right sides facing out (so lay the bottom piece on your work surface with the right side down and the wrong side facing up, add the batting, then put the top piece on the batting with the right side up). Sew the sandwich together by sewing along each of the strips (or you could do a pattern like if you were quilting) to hold all three pieces in place.


Unfold the bias tape and lay it on top of the sandwich as shown in the picture below. Starting in the middle of one side, sew "in the ditch", which means along the fold line about 1/2" from the edge. 


About 1/4" from the corner, turn the fabric and sew on an angle to the corner. Cut the threads and remove from the sewing machine.


Fold the strip up following the angled line you just sewed. 


 Then fold it back on itself and line it up with the next side, continue sewing in the ditch until you reach the next corner, repeat until you have all 4 corners done.


After sewing all 4 corners you need to sew the two ends of the bias tape together. To do that, fold one edge back about 1/2" and lay the other edge on top. Sew across both ends. 


the right side of where you joined the two
ends of the bias tape together. 
 Turn the coaster over and pin the other side of the bias tape in place. See the photos for how to fold the corners:


 Sew around the entire coaster and you're done!


4.8.18: ham pasta salad
4.8.17: coleslaw dressing


Happy moment ~ reaching the top of the hill

Friday, March 8, 2019

DIY: Sew a Fabric Wallet


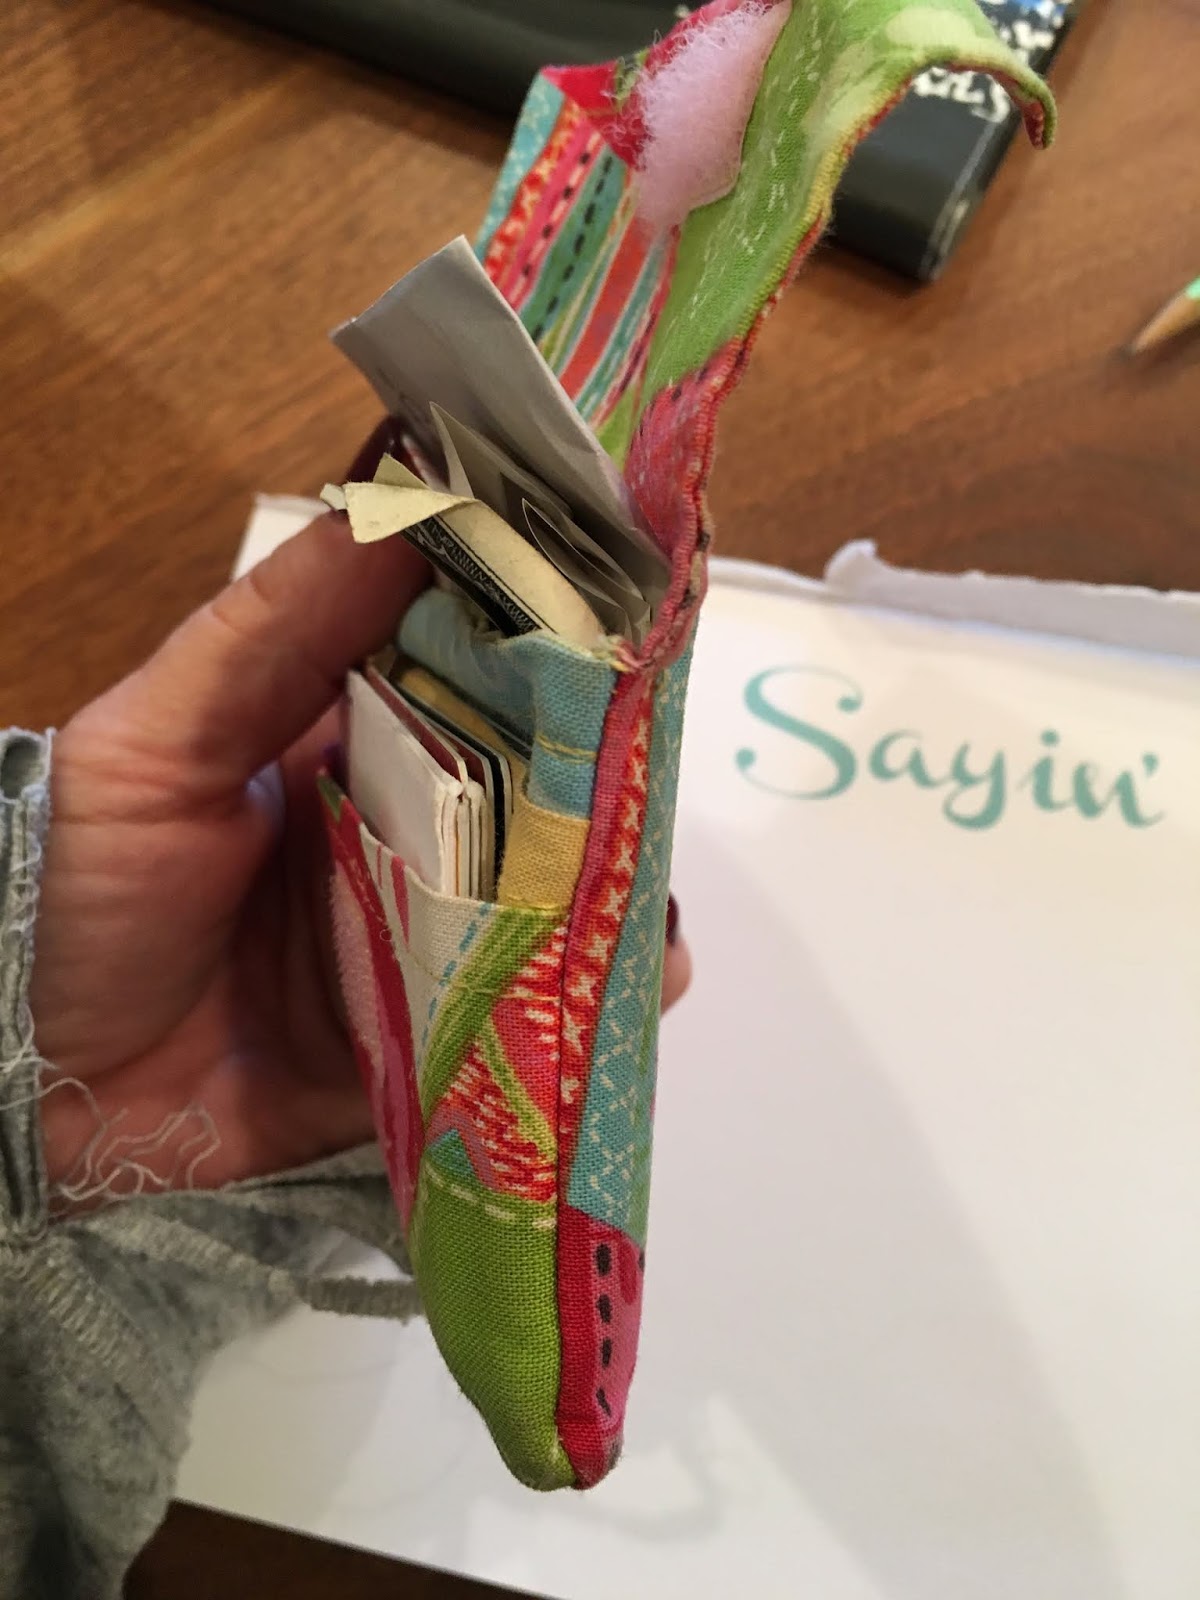
LeDonna has a cute little fabric wallet that someone made for her that she uses all the time - I traced it to make a rough template, and set about figuring out how to make myself one. I used these colorful cotton scraps of material I have left over from making the boho sling bags (click here for that post) and I didn't add any interfacing, so it is very thin and lightweight. I might attempt one out of sturdier fabric in the future but for right now this seems perfect. 


This doesn't take very much material - you only need two pieces of fabric the same size for the outside and the inside wall (I'm calling the yellow dotted piece the inside "wall" because the pockets are going to be sewn to that piece, then sewn to the outside piece), 3 smaller pieces for the pockets, and a bit of velcro to hold it closed. 

My finished wallet is 5 3/4" x 4 1/2" and has three inside pockets. It's a little wider than it needs to
 be, but I feel like if I pack it full I'll want the little extra room for it to expand. 
To make it this size cut:
I used an old gift card to gauge how big the pockets needed to be

2 - 6 1/4" x 5" rectangles - I did a flower print for the outside, and coordinating yellow dots for the inside.
1 - 5" x 3" deepest pocket rectangle
2 - 5" x 2 1/2" for the other two pockets

step one and two
1. Turn down the top edge of a pocket 1/4", iron to make a nice crisp fold, sew along the top edge to hem. Repeat with the other pockets for a total of three top hemmed pieces.
2. (photo above) Lay one of the narrow (2 1/2") pockets on the longer (3") pocket about 1/2" down from the top edge of the 3" pocket. Sew only the bottom of the 2 1/2" pocket to the 3".  You want the pockets to be offset about 1/2" so when you put cards in the slots they are layered instead of all being on top of each other. You'll see what I mean in a minute...


step three
3. Now lay the third 2 1/2" pocket piece on top of the first two, lining up the bottom edge with the bottom edge of the 3" piece. You can now see how the 3 pockets are staggered about 1/2" down from each other. Lay all three pockets on top of the inside wall fabric (the yellow dotted material in this example) all right sides are up at this point. Sew around the outside edges of the pockets and inside wall - you don't need to sew the yellow dotted material where there isn't any other material connecting to it. See the above picture for reference.


step four
4. Pin the right sides together of both large pieces. Sew together leaving a small gap where you'll be able to turn the wallet inside out.


step five
5. Turn the wallet inside out thru the gap, I use a bamboo skewer to get the corners as flat as possible.

step six
6. Iron the entire thing, get it as crisp and flat as you can.
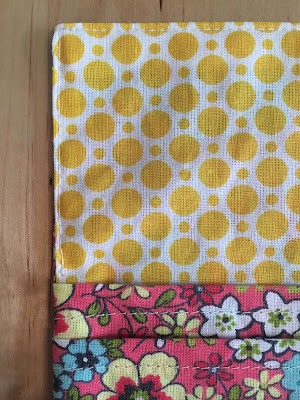

step seven
7. Topstitch the top half of the wallet where the two large pieces joined together, this will sew the gap closed in addition to giving the bag a flatter and more finished look. Don't topstitch the bottom half of the wallet where the pockets are.

step eight
8. Sew a small piece of velcro to the inside flap and top of bottom pocket to keep the flap closed.

LeDonna's - the inspiration for my wallet
3.8.18: wire-wrapped ring
3.8.17: Andes mint cookies
3.8.16: easy art for St. Patrick's day decor


Happy moment ~ a nice surprise in the mail from my sissy, with a note that made me laugh