
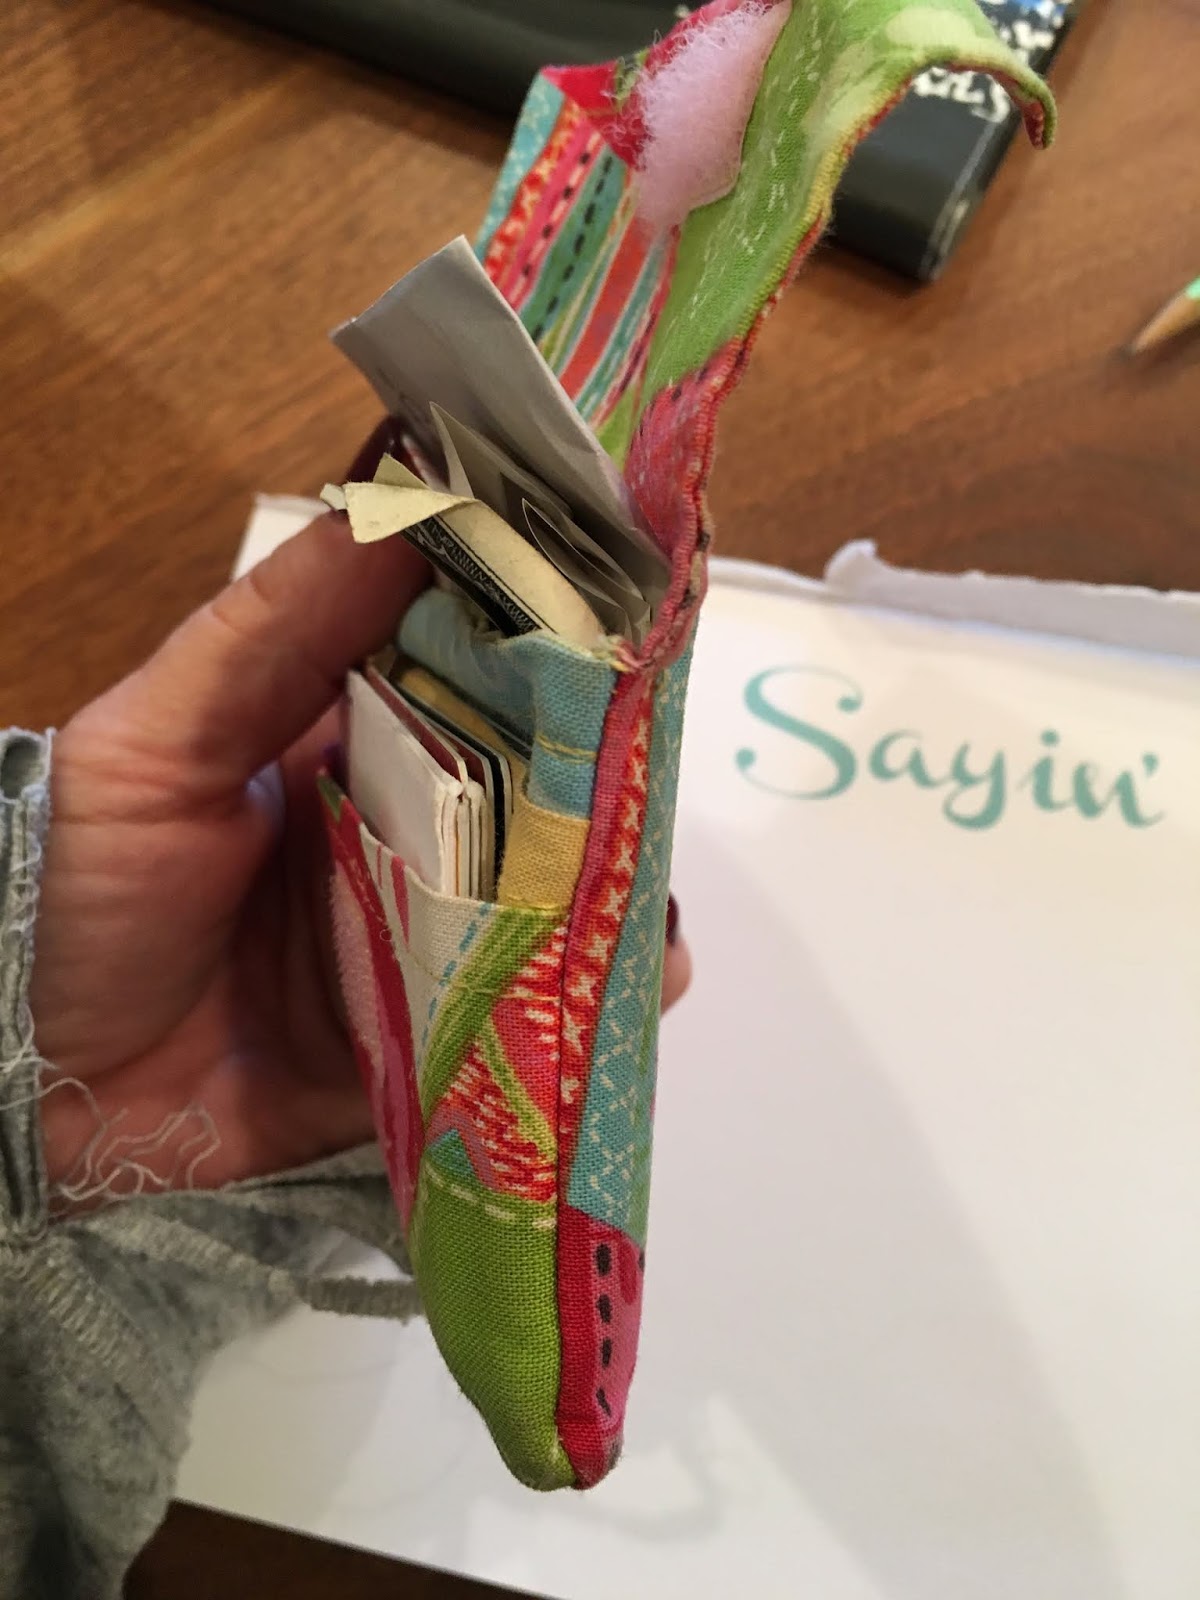
LeDonna has a cute little fabric wallet that someone made for her that she uses all the time - I traced it to make a rough template, and set about figuring out how to make myself one. I used these colorful cotton scraps of material I have left over from making the boho sling bags (click here for that post) and I didn't add any interfacing, so it is very thin and lightweight. I might attempt one out of sturdier fabric in the future but for right now this seems perfect.

This doesn't take very much material - you only need two pieces of fabric the same size for the outside and the inside wall (I'm calling the yellow dotted piece the inside "wall" because the pockets are going to be sewn to that piece, then sewn to the outside piece), 3 smaller pieces for the pockets, and a bit of velcro to hold it closed.
My finished wallet is 5 3/4" x 4 1/2" and has three inside pockets. It's a little wider than it needs to
be, but I feel like if I pack it full I'll want the little extra room for it to expand.
To make it this size cut:
 |
| I used an old gift card to gauge how big the pockets needed to be |
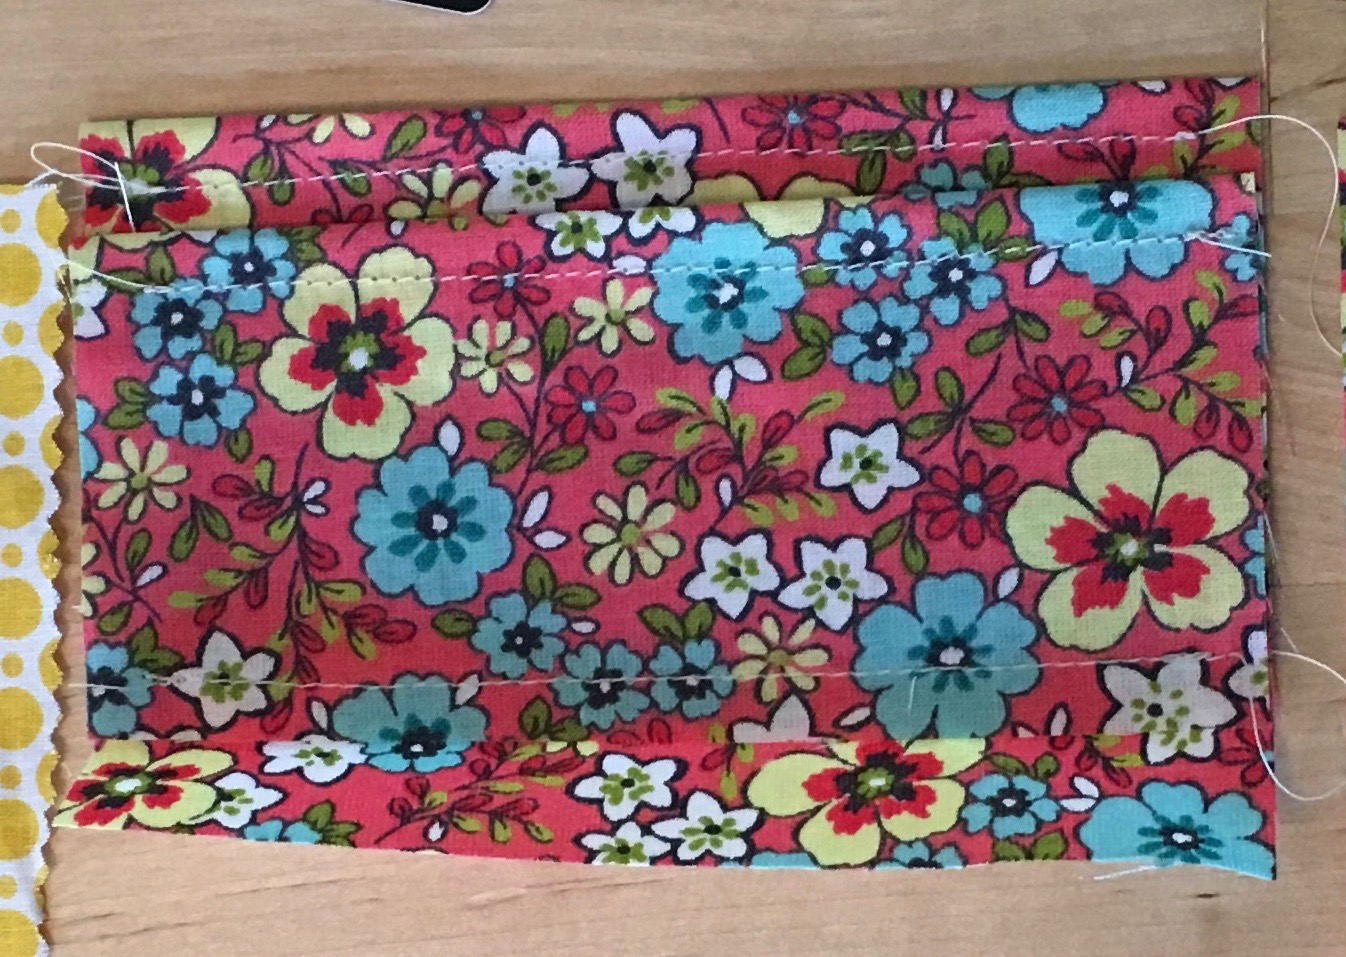
2 - 6 1/4" x 5" rectangles - I did a flower print for the outside, and coordinating yellow dots for the inside.
1 - 5" x 3" deepest pocket rectangle
2 - 5" x 2 1/2" for the other two pockets
 |
| step one and two |
2. (photo above) Lay one of the narrow (2 1/2") pockets on the longer (3") pocket about 1/2" down from the top edge of the 3" pocket. Sew only the bottom of the 2 1/2" pocket to the 3". You want the pockets to be offset about 1/2" so when you put cards in the slots they are layered instead of all being on top of each other. You'll see what I mean in a minute...

 |
| step three |

 |
| step four |

 |
| step five |
 |
| step six |

 |
| step seven |
 |
| step eight |
8. Sew a small piece of velcro to the inside flap and top of bottom pocket to keep the flap closed.
 |
| LeDonna's - the inspiration for my wallet |
3.8.17: Andes mint cookies
3.8.16: easy art for St. Patrick's day decor
Happy moment ~ a nice surprise in the mail from my sissy, with a note that made me laugh
No comments:
Post a Comment