Saturday, July 10, 2021

LeDonna's Famous Rhubarb Pie (re-run)

LeDonna shared this recipe for her amazing rhubarb pie 5 years ago, I have reposted it before but I'm sharing again because you really don't want to miss this one. Note I named it her 'famous' pie, she doesn't call it that LOL. But we all LOVE it and it's totally famous to us! Here's her post from 7.10.16:


Hello, LeDonna here, and thank you Jill again for letting me guest blog for you.

Today I am going to share a special rhubarb pie recipe.  Some of you may say, ewww, I don’t like rhubarb pie!  Well read through and see then if you would like to try.  This recipe I got over 20 years ago from a newspaper and have loved it ever since.  I have had people who normally don’t like rhubarb pie, love this one!  And I have come to love this as a
STRAWBERRY BLUEBARB PIE!  Which is what I made and will show/describe below.


2 9-inch pie crust  (I used to make home made crust, not anymore, I love pillsbury crust ready to roll out), but kudos to you if you make your own!!!!!

3 T. flour


1 ½ Cup Sugar, yes I go a little lighter than a full 1 ½ Cups


3 Cups rhubarb in chunks, you can just use rhubarb, or mix in strawberries/blueberries/raspberries to make up the 3 Cups.  Today I have strawberry/blueberry/rhubarb mixed.
3 eggs, beaten
Line bottom of 9-inch pie plate.
Stir together rhubarb (berry mix), sugar and flour.
Add beaten eggs.
Pour into pie shell.


Top with 2nd crust, fold under and pinch to make scallop


Poke top of crust multiple times with fork.
Bake at 350 degrees for about 1 hour.
Serves 6-8.


I forgot to take picture of pie before we cut into!  Lol!  I love to serve the pie warm with a little vanilla ice cream!

This pie has a custardy filling because of the 3 eggs, so I always store my leftover pie in the fridge.
Hope you enjoy!


Friday, July 9, 2021

Yard Yahtzee (re-run)

Mark and LeDonna showed us how to make a yard Yahtzee game 5 years ago today - perfect to repeat in case you missed it then and want to make it now hahah! Here's their post from 7.9.16:


WooHoo!  Hi everyone, we are Mark and LeDonna Fair.  Thanks Jill for letting us guest blog while you are away!

We hope everyone is having a fabulous summer!  We would like to share with you a fun yard game! 

Our good friends, Barry and Cindy Voisinet, visited us here in the U.P. (De Tour Village), for the 4th of July this year and introduced us to YARD YATZEE!  It was so fun and entertaining with a group of friends!  Here are pics and details for you to make your own game and hope you enjoy!!!

SUPPLIES NEEDED:
-5 gallon bucket with lid
-4x4 wood post that is 20” long
-saw, (chop saw best)
-sand paper
-any color felt (if you can find some already with adhesive-awesome), otherwise you need glue too
-or use paint and a circle stencil 
-8 ½ x11 inch paper


Cut the 4x4 wood post into 5 equal squares, see above that the square is about 3 ½ “ wide, a 4x4 is about that wide.  I know, shouldn’t a 4x4 be 4” and not 3 ½”!!!?  I am just saying!

If you like you can sand the wood squares and put poly on them.


Paint or cut felt circles and put the dots for 1 – 6 on each of the 5 wood squares to make dice.


Take 8 1/2x 11 inch paper and make the yatzee score sheets.

Use 5 gallon bucket to store dice and score sheets, and use bucket to shake and throw the dice.


Invite friends over and enjoy some fun, while sipping your favorite summer beverage!!!
In our case it  worked great to have one score keeper, positioned up on the deck with a birds eye view to make the official call if a dice was on edge and keep score for everyone playing.


And how exciting it was when we had 2 people actually roll yatzees!!!!!


May the rest of your summer be filled with love, laughter and lots of game playing!!!
Enjoy!

7.9.20: bacon lettuce cups

7.9.19: hair bun hack

7.9.18: beach terrarium


7.9.17: knock-off Topopo Salad
7.9.16: Mark and LeDonna made Yard Yahtzee

Thursday, July 8, 2021

Mushroom Rice (re-run)

Mickey posted this recipe on this day 5 years ago - I think it's time for a repeat! Here's what she had to say 7/8/16:


Hey everyone its Mickey~ Since I get to be a guest on the blog this week I figured I would share one of my all time favorite recipes. Unfortunately I am a terrible cook, so I have to have Kyle make it for me! This is a recipe that his mom has been making for years and years. Its so delicious that we have it at every family function, or just because! 


You will need:
Uncle Ben’s converted rice
1 stick of butter (or make healthier using 1/2 a cup of olive oil)
1 Large can of Mushrooms
1 Can Beef Consume
1 Can of French Onion Soup

Preheat oven to 325. Mix all of the ingredients into an oven safe container, and bake covered for 30-40 minutes (or until rice is cooked). 

And thats it. Its that easy.


Wednesday, July 7, 2021

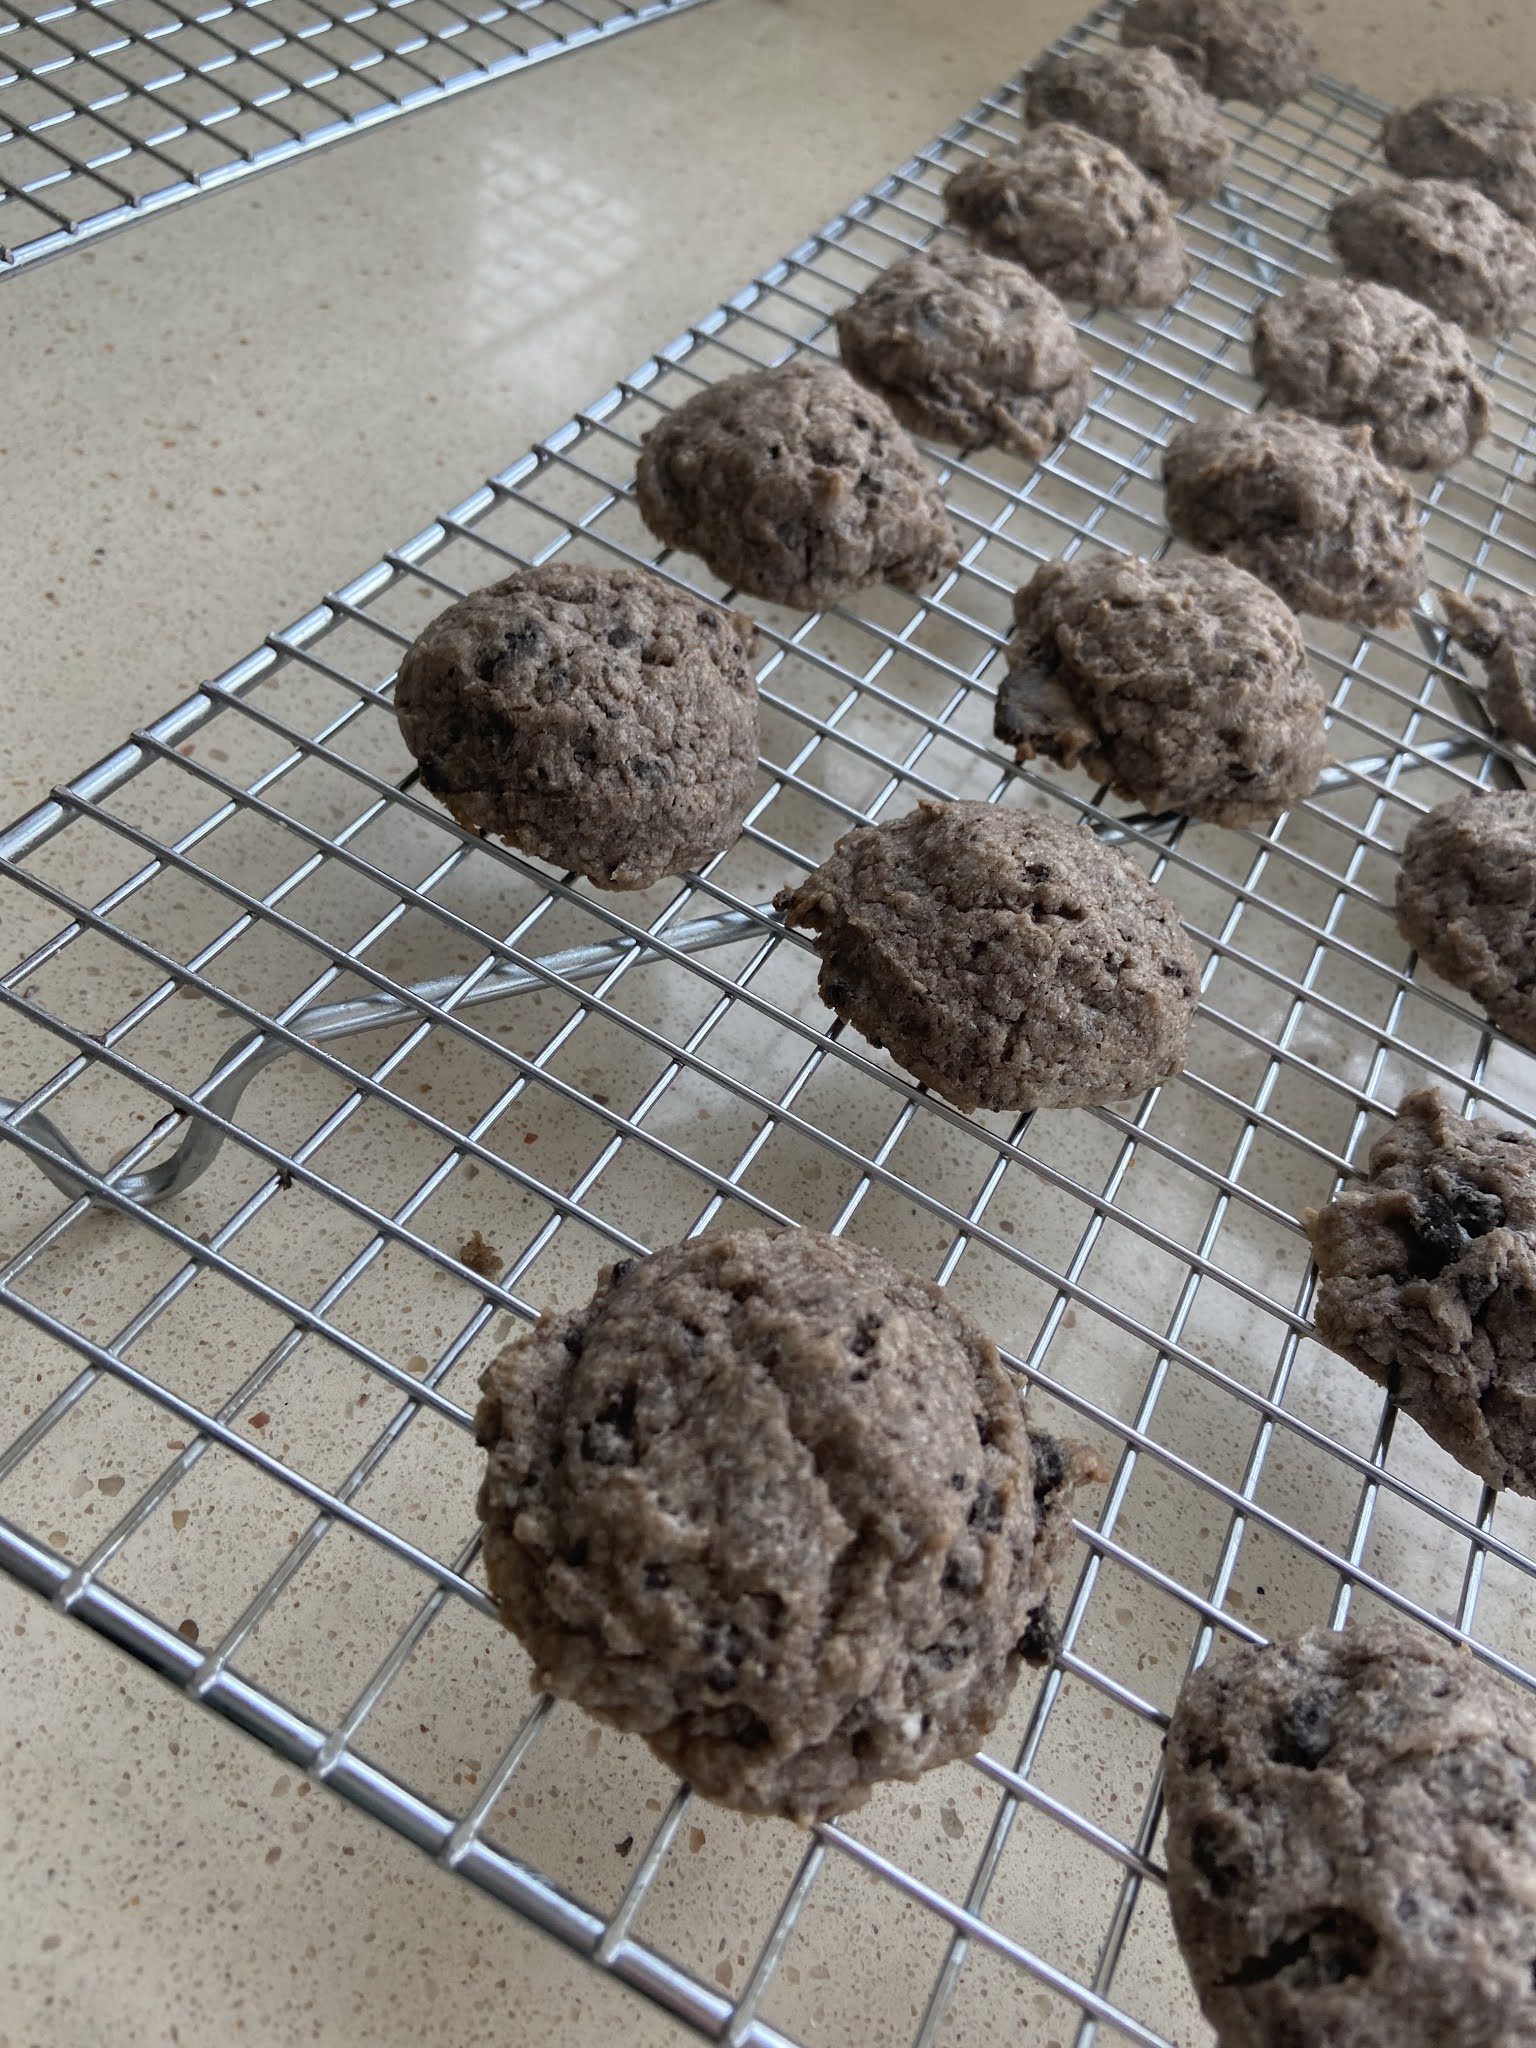
Oreo Cheesecake Cookies by Brooke

Hey guys! Today I made Oreo cheesecake cookies. You’ll need 

4 oz cream cheese (from temperature)

 8 tablespoons salted butter (room temperature)

3/4 cup sugar

1 cup flour

10 Oreo cookies crushed

First in a mixing bowl mix cream cheese, sugar, and butter. Add flour to mixture and continue to stir until fully blended. Once fully blended add cookies and fold together. Preheat oven to 350°. Put batter into small balls and place on a parchment lined baking sheet. Bake for 12-15 minutes. Once done baking place on a cooling rack for 5 minutes. Hope you enjoy!!


Tuesday, July 6, 2021

Tip-sy Tuesday: recipe holder hack

 Dave sent me this and while it's kinda dumb it's actually a good idea hahahhaha:


Monday, July 5, 2021

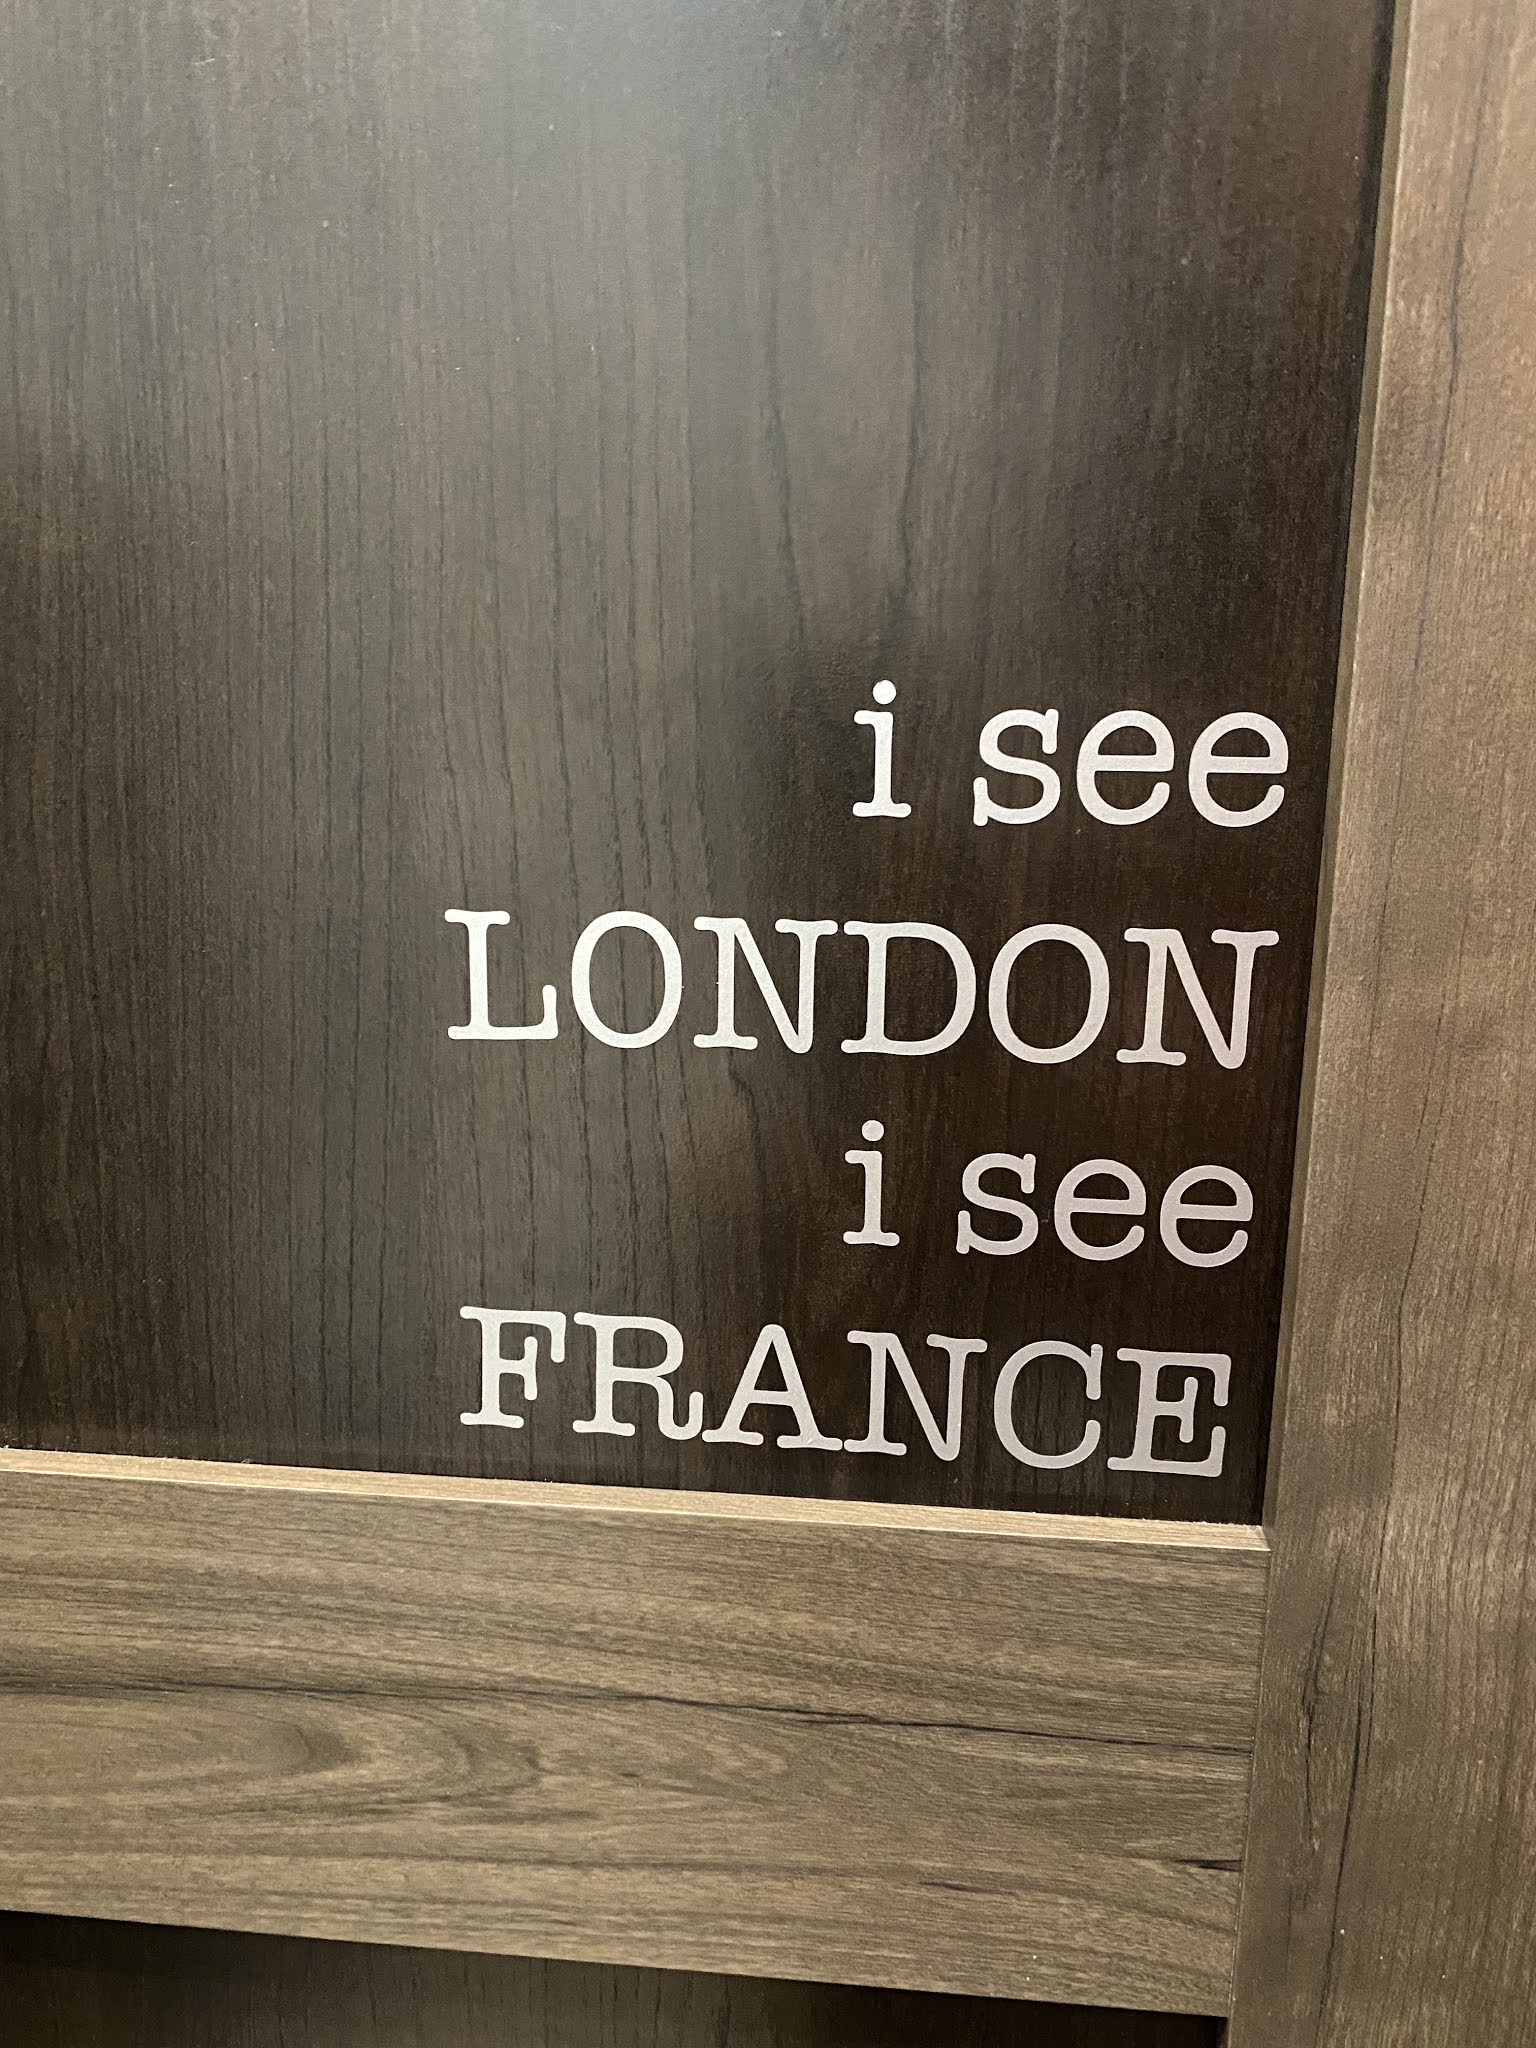
Vinyl Wall Words

This is just a little silly thing I made for the inside of the pocket door in our RV bathroom. You can't see it unless you are in the bathroom and pull the door closed, but I enjoy the little 'surprise' when you do. Cut the words out of vinyl using my Cricut Joy machine and stuck them to the door - so easy! The hardest part was lining the words up so they are spaced evenly and straight, I had to sit on the floor of our very small bathroom (and of course Sarge had to squeeze in there with me) to stick them on - I just eyeballed it and fortunately it seems straight to me!


7.5.20: 🔥week 27

7.5.19: lego scottie and hydrant

7.5.18: how to grease a bundt pan 

7.5.17: chocolate mint cookies

7.5.16: bleu cheese dressing


Sunday, July 4, 2021

🔥 Around the Campfire (week 27)

Dear Campers ~

Here's a quick recap in case you missed anything at camp last week:

Posts ~

6/27: 🔥week 26

6/28: another mask

6/29: tip-sy tuesday: sewing tip

6/30: hermits

7/1: baked salmon with crab topping

7/2: dessert hot pockets by B

7/3: crock pot cheesy breakfast potatoes

I spent the first part of the week in Tennessee and the last part camping, with one day at home in the middle - needless to say I don't have any menu ideas for you this week! 

Hope you had a great week - stop back often to see more crafts, projects, recipes, and whatever else I can think of to make at camp!

Here's my oft-repeated July 4th post, it's been repeated a few times but I like to share the pet info/reminder! 


HAPPY INDEPENDENCE DAY!!

cheers to

~Stars and Stripes~
~Freedom~
~Sparklers~
~Parades~
~Liberty~

and food, fireworks, family, and friends

ENJOY YOUR DAY!


A note from the dog:

Guys! I usually like loud noises and want to go check out what's happening but seriously...fireworks are scary so please read these tips my mom found. She also turns on the tv which I appreciate...I know she's just trying to distract me from the loud noises outside but since I LOVE to watch tv and bark at anything that moves on the screen it makes the fireworks a little bit easier to take. They are fun for people, but not for me and my friends. Just sayin'. Now go have fun and save me some hot dog.

Love, The Sarge


Saturday, July 3, 2021

Slow-Cooker Cheesy Breakfast Potatoes

Kicking around ideas for a brunch my sis and I are planning for the end of the month - I wondered if there's such thing as breakfast cheesy potatoes in a crock pot and Jen immediately googled and sent me the first one she found. And it sounded great - it's just standard cheesy potatoes with bacon and green chilies. I did a practice run to test them and even tho 'breakfast' is in the title we had them as a side with grilled chicken for dinner. Everyone loved them, except my mom - said she didn't care for the bacon but I agree with Paula Deen that everything tastes better with bacon hahahha! 

If you already have a good recipe for cheesy potatoes go ahead and use it and just add the bacon and green chilies. If you don't, here's the recipe I followed other than I added a 2nd small can of green chilies after some of the reviews noted they couldn't taste them. 

ingredients:

  • 1 package (16 oz) bacon
  • 1/2 cup chopped onion
  • 16 oz. sour cream
  • 1 can (10 3/4 oz) condensed cream of chicken soup
  • 1 can (4.5 oz.) chopped green chilies
  • 1/2 t. salt
  • 1/2 t. pepper
  • 1 (30 oz) bag frozen shredded hash brown potatoes, thawed
  • 1 package (8 oz) shredded sharp cheddar cheese (2 cups)
  • 2 T. butter, melted
  • chopped chives for garnish, if desired
directions:

1. cook the bacon however you prefer and crumble. (sometimes I do it in the microwave but this time I cut it into pieces and cooked in a large pan on the stovetop).

2. spray and/or line your crockpot. Add the potatoes and onions. Combine the sour cream, soup, green chilies, salt and pepper and pour over the potatoes, then mix well to combine. Fold in the cheese and bacon. Drizzle with the melted butter.

3. cover the crockpot with a kitchen towel before adding the cover (keeps the condensation out of the potatoes). cook on HIGH for 3 hours, stirring once or as needed. 


This keeps really well, we had it for dinner and breakfast the next day and my sis had it a couple days later and it was still good.  

recipe found here

7.3.20: patriotic donut pops

7.3.19: patriotic mini fruit pies

7.3.18: triple berry shortcake

7.3.17: june outfits

7.3.16: nail art for the 4th


Friday, July 2, 2021

Dessert Hot Pockets by Brooke

hey guys! today my mom and i made something very weird... but it ended up being very good! we're calling it a desert hot pocket. we used snickers and crescent rolls. we cut a roll of cresent rolls into 15 squares (5 rows of 3) and wrapped a peice of it all around a mini snickers. then we put them in the air frier for 8 minutes. it was soo good and im definetly going to try it again with other candy!!


7.2.20: pompom earrings
7.2.19: tip-sy tuesday: storing ribbons and trims

Thursday, July 1, 2021

Baked Salmon with Crab Topping

I love the stuffed salmon at Costco and we eat it frequently. So when Dave went to buy some and said they were out I was so bummed - he said why didn't I just make stovetop stuffing and put it on plain salmon? Uh, maybe because Costco stuffed salmon is nothing like stove top stuffing. 🙄

But that did give me the idea to make my own crab stuffing - but instead of stuffing the salmon I just put it on top of the fillets and it's EVEN BETTER than my favorite Costco version! Shocking. I googled for recipes, found this one and pretty much followed it other than I omitted the red pepper and added 6 oz. of cream cheese and 2 T. mayo. Yum, we loved this!


Ingredients:

  • 4 (6 oz.) salmon fillets, skinless
  • 8 oz. crabmeat drained well
  • 4 ounces cream cheese, room temperature 
  • 1 large egg 
  • 1 T. mayonnaise
  • ½ cup baby spinach, cooked and squeezed dry
  • 1 T. roasted red peppers, diced
  • ½ cup shredded mozzarella cheese 
  • 1 t. old bay seasoning
  • ¼ teaspoon sea salt, to taste
  • ⅛ teaspoon black pepper, to taste
  • 2 tablespoons panko bread crumbs 

Directions:

  • Preheat oven to 350 degrees
  • Put spinach in a microwavable bowl and cook until wilted. Let cool. 
  • When spinach is cool, squeeze out all of the water from the spinach (excess water will make the stuffing loose)
  • Put the softened cream cheese, mayonnaise, egg and old bay seasoning in a bowl, whip with a mixer until well blended.
  • Fold in the spinach, roasted peppers, shredded mozzarella and crab meat (make sure crab meat has been well-drained, squeezing out any excess water). Mix gently and if the mixture is too loose you may add a little bread crumb to tighten it up.
  • Place salmon on a baking sheet and season with salt and pepper
  • Portion stuffing out and place on top of salmon fillet, then sprinkle breadcrumbs on top.
  • Bake at 350 degrees for 18-22 minutes until done to your liking. Salmon should be done but not overcooked.
  • recipe found here.