I received this folder holding some pretty notecards years ago as a thank-you gift from Darcie, it's been in my stash all this time and when I came across it I thought I'd show you - and make some more haha! I made 3 different folder and will show them to you over multiple posts (because I really don't think you want like 45 photos in one post hahha).
Here's the folder from Darcie that started me down the rabbit-hole of making folders:


I based this first folder on Darcie's with the inside flaps held in place using brads (in this case a brad is a paper fastener sort of like a tack, the pointed stem part you put thru paper is split, once you insert it thru the papers you spread the stem apart which holds it in place - see photos below).
All you need for this folder is a 12-inch square piece of cardstock, scissors, decorative paper to cover the front, glue, and 2 brads.

1. Score the paper at 4" on one end. Turn the paper and score it in the middle. Fold along the score lines to get nice sharp creases.
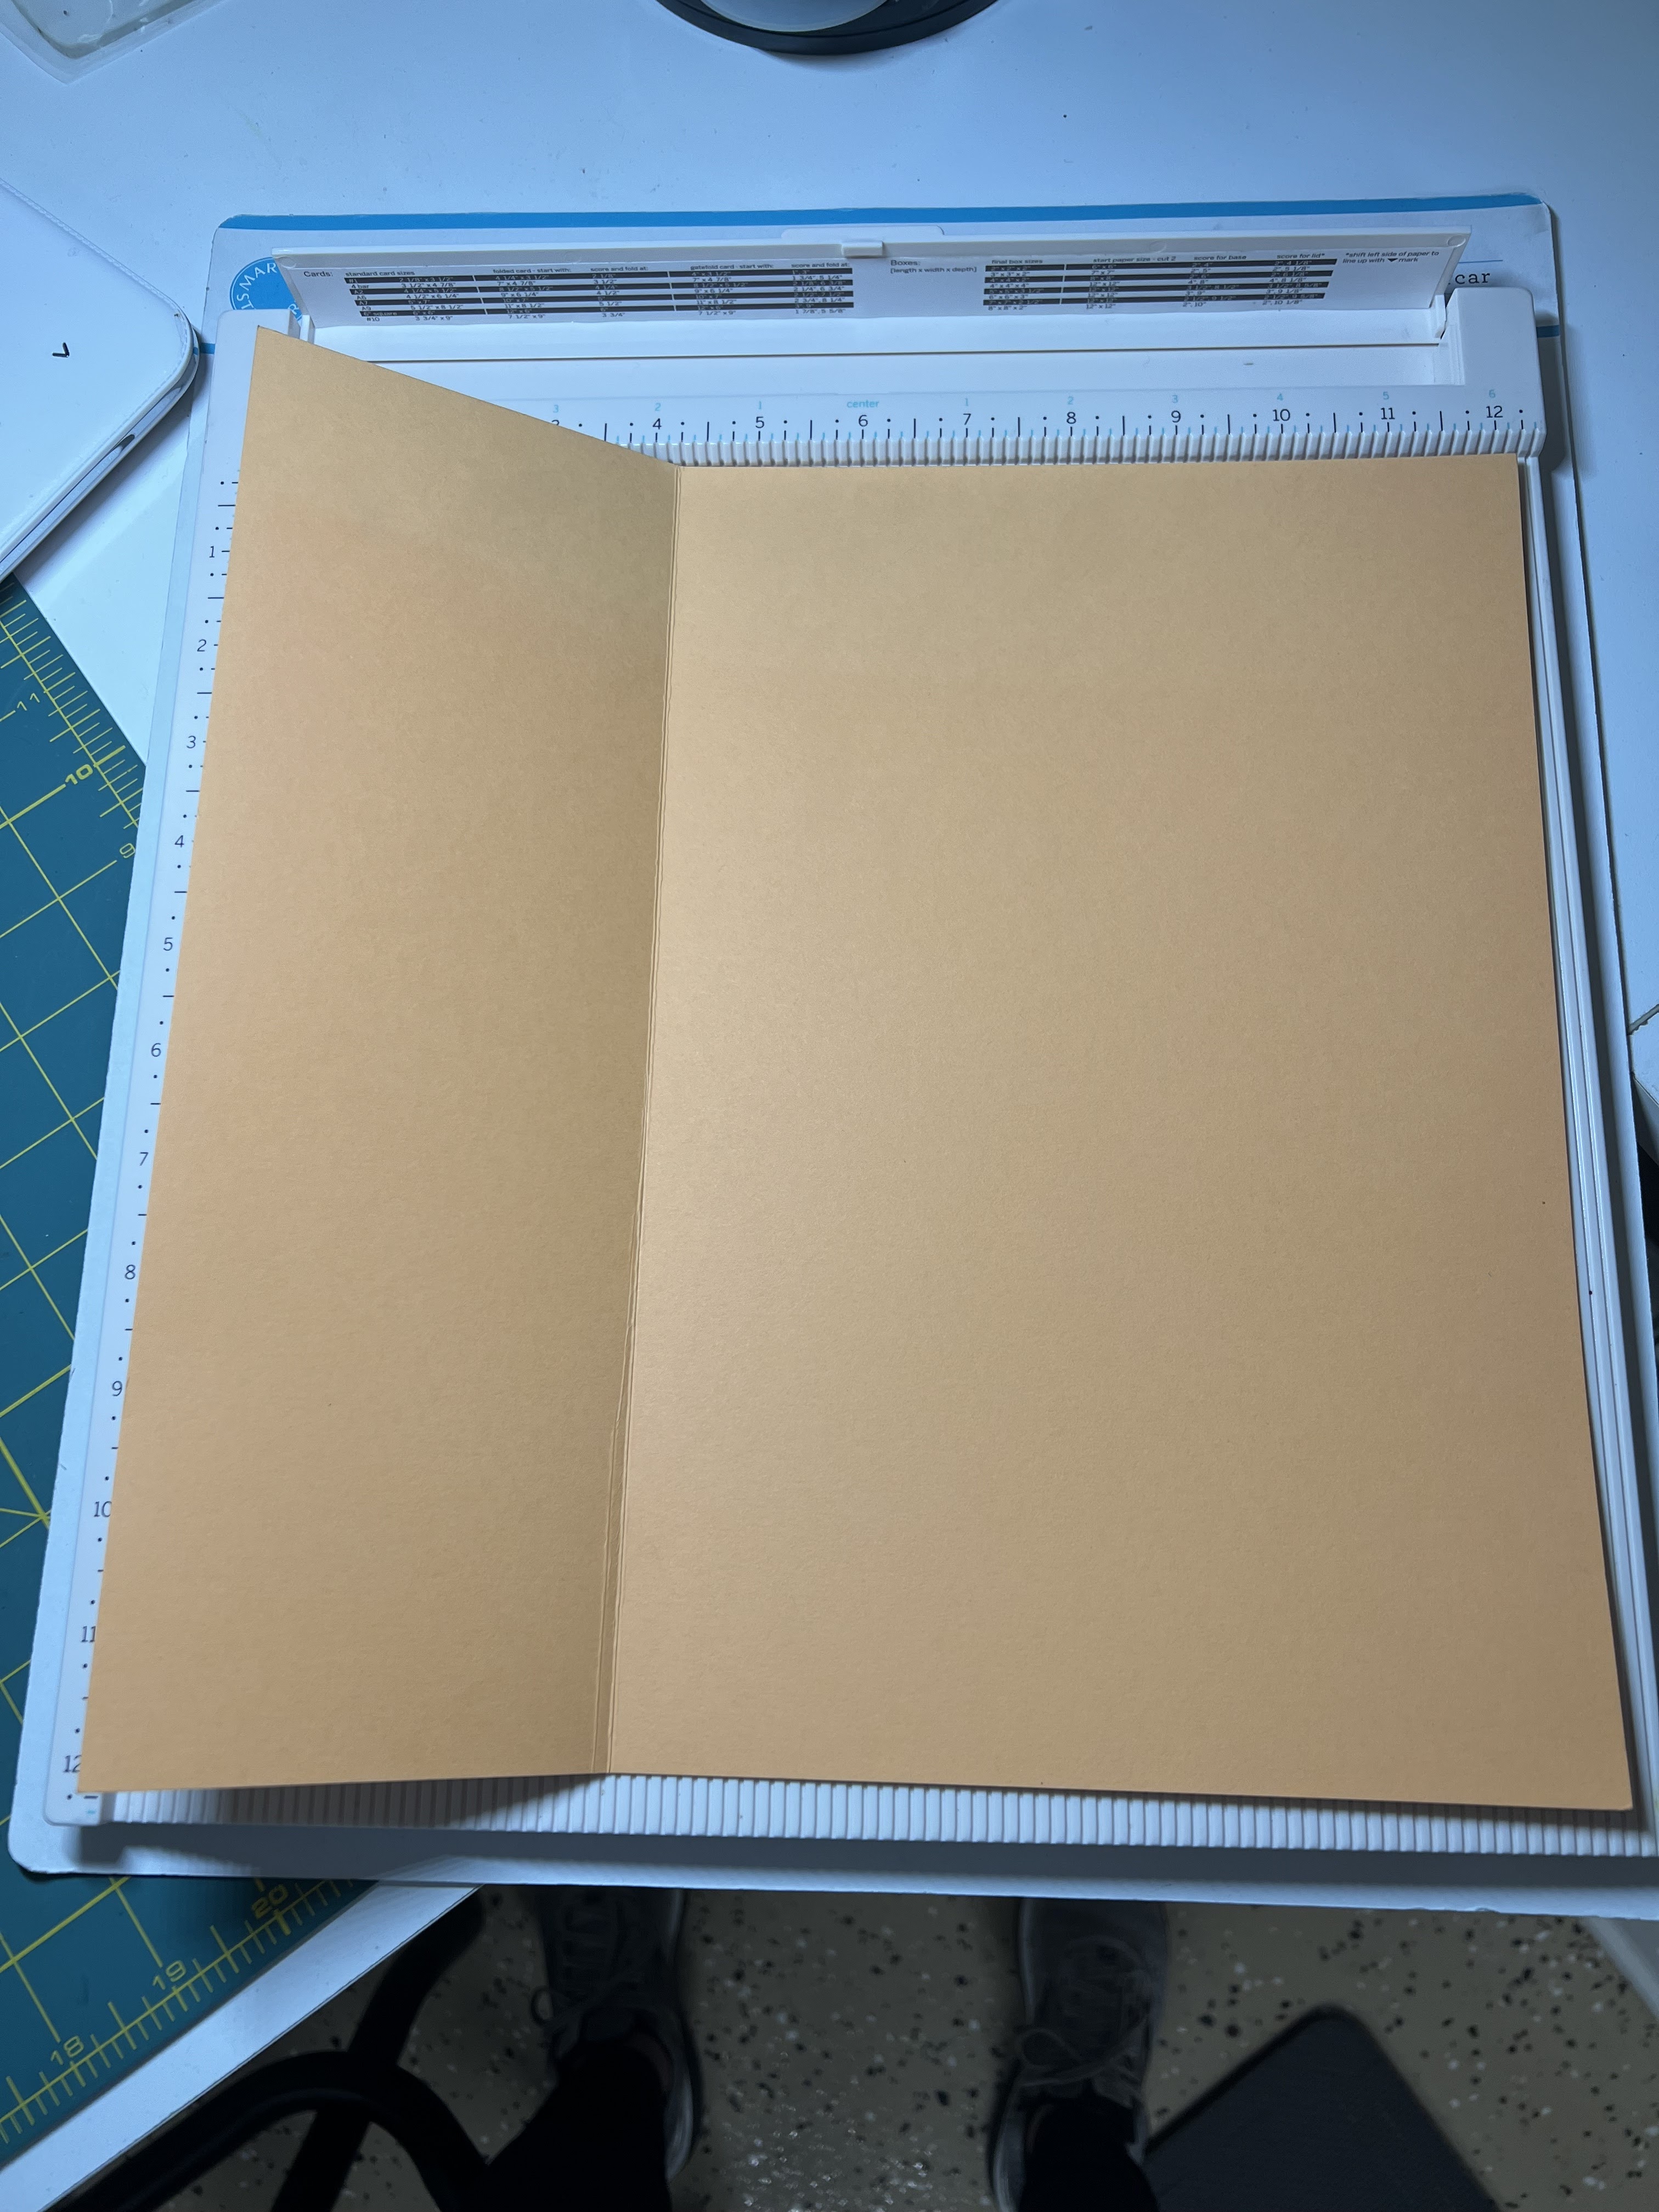

2. Score 1/2" on both sides of the middle line up to the 4" score line. Cut along the score lines removing a 1" by 4" rectangle.


This folder is 8" x 6" closed, when opened it holds cards that are approx 5x7" on both sides.
click for paper folder #2
2.20.22: 🔥 week 8
2.20.21: grapefruit cocktail
2.20.20: TBT french dressing
2.20.19: rainy day casserole
2.20.16: lucky cat martini
No comments:
Post a Comment