Showing posts with label display table. Show all posts

Saturday, July 15, 2017

Card Holder (from re-purposed junk!)


This is a totally jerry-rigged odd thing I made for Ronda's display table using stuff that was just laying around - but it turned out pretty cute and Ronda didn't make fun of it, so I'll share. Not since I made the travel jewelry pouch using a potholder and plastic baggies (click here for that post) have I created such a totally made up thing that could potentially be lame but turned out ok, hahaha.


So - this is an unfinished wood candleholder, an empty ribbon spool, hoop earrings, beads, a wine cork, and some twine. First I covered the top of the spool with some Stampin' Up patterned paper. Cut a slit into the top of the cork, put it thru the spool, and stood it up in the candleholder. Then inserted a cute flat card into the slit and hot glued some twine along the edges of the spool. That looked pretty good but it needed a little more jazzing up so I punched four holes in the spool, threaded the earring hoops thru and added a bead on each one.


The finished display table ~ click here to see how to make the popsicle Adirondack chair and paper hat; click here to see how to make spider mum paper flowers; and click here to see how to make k-cup twine and starfish garland: 


Monday, June 26, 2017

Paper "Fireworks"


I'm working on making things for Ronda's seasonal display table (click here  for Halloween and here for Fall), we're doing a "beachy" summer theme and I'll show you all the fun things I've been making for her in the next few posts. While making some pretty paper flowers I thought how much they looked like fireworks if I used red, white, and blue paper - they'll be perfect for Fourth of July decorations.


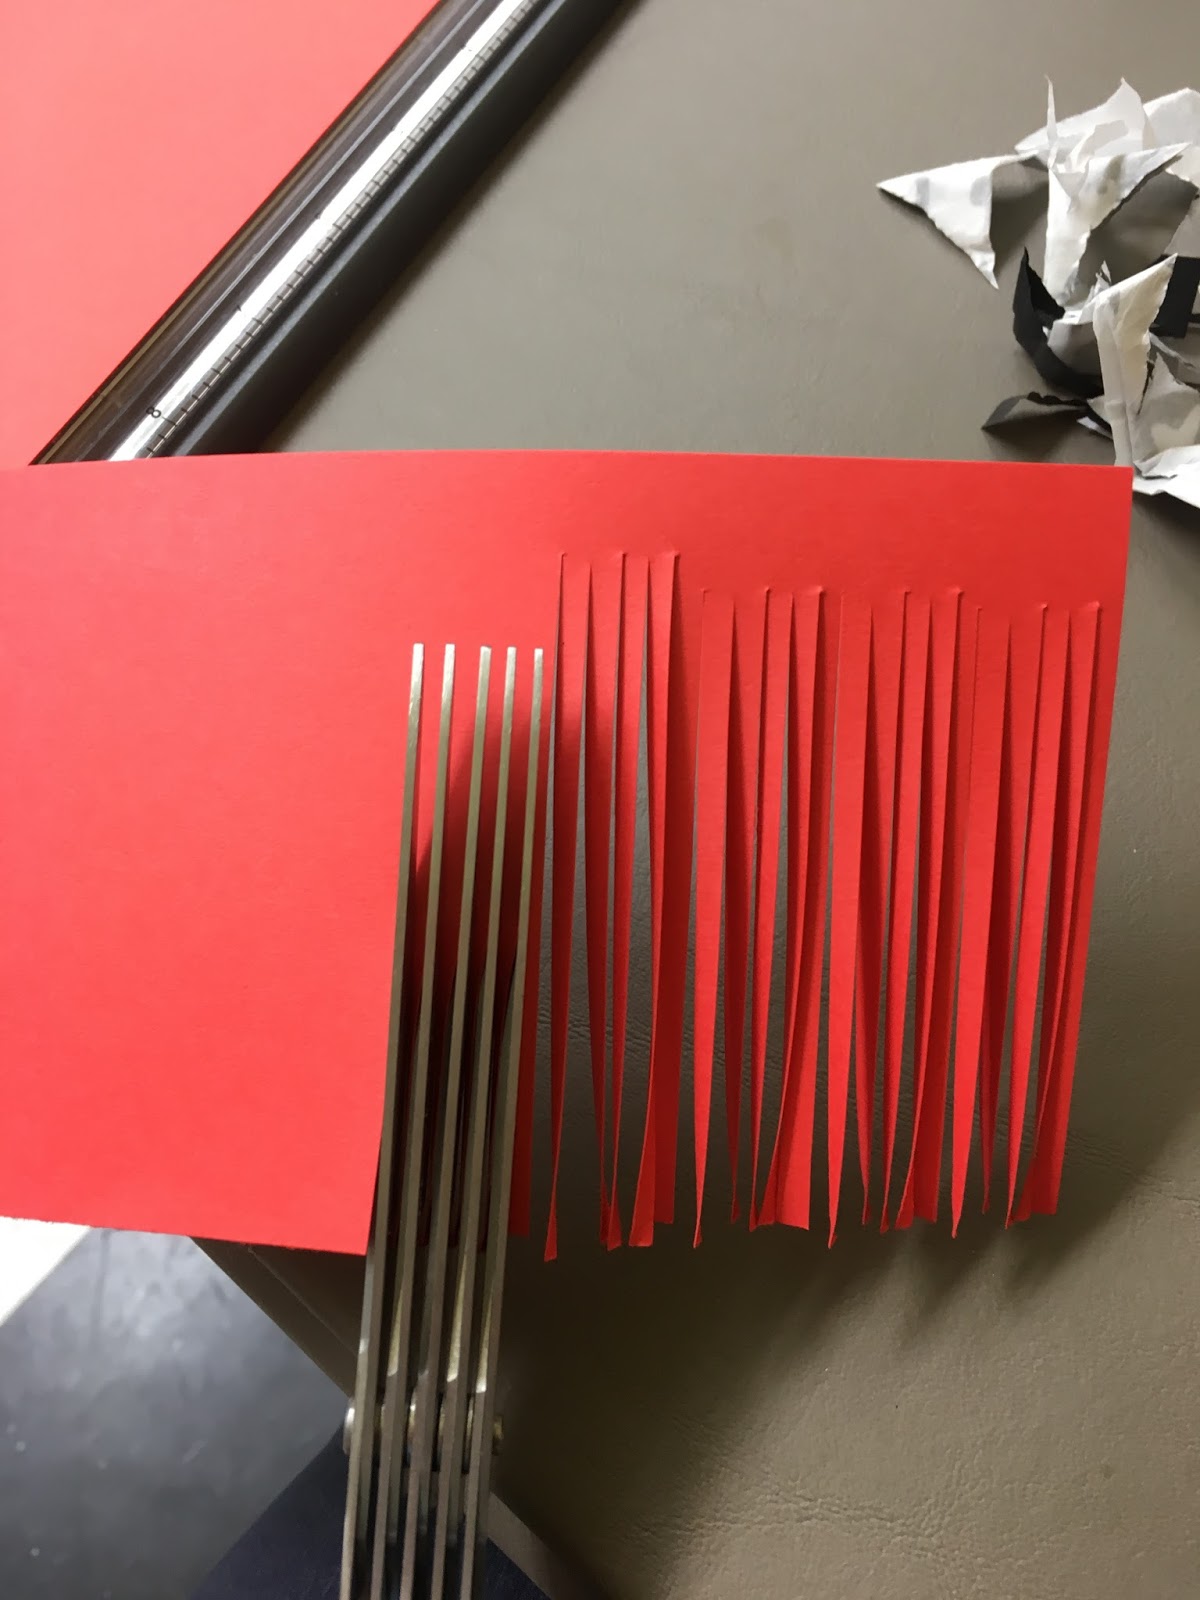
Starting with a 3.5"x8.5" strip of cardstock, fringe one long edge with fringing scissors (or just make thin cuts the entire length with sharp scissors). Tightly roll up the strip, run some glue (I used a glue stick) along the last one inch of end so it'll stay coiled up. Pull the fringe down, slightly curving it with your fingers as you go so it pulls apart and looks like a paper pompom. Add a drop of glue to the underside of the coil then insert a wooden skewer. Done. I did the flowers a little differently and will share that later (click here to see the spider mum post).