Showing posts with label paper flowers. Show all posts

Monday, June 17, 2019

Paper Tropical Flowers


While looking for Lego crafts I came across a video - it had nothing to do with Legos but popped up and caught my eye - on how to make a paper flower ball. I've made a few paper flowers (as you might recall, click here and here for a couple of them) but never any like this, so after practicing with a piece of white paper to make sure it was going to work and not waste my cardstock I moved on from looking at Lego crafts to making tropical flowers. The original idea made a round flower ball which takes 12 flowers, but I'm still dealing with tendonitis in my hand from moving furniture like a month ago, so I quit after making 4 flowers - I think they're very pretty even if I didn't make a ball!

Here's how:

Cut 4" paper squares, 5 per flower.

1. fold a square into a triangle


 2. fold the sides in to meet in the middle, creating a square shape


 3. unfold the side triangles you just made


 4. insert a finger into the side triangles and flatten them like in this next photo


5. fold the side tips down


6. fold the side triangles in half


 7. fold but don't crease the two edges to meet each other


 8. snip off the top tip


 9. glue the edges together to form the petal - I used glue dots


10. after making 5 petals, glue them all together to make a flower - note the glue dots didn't hold all the petals together so I switched to hot glue. Add something to the very center, I wanted to use sticky back Stampin' Up gem embellishments but couldn't get them to hold so switched to a mini pompom. The original inspiration video used pearls. 
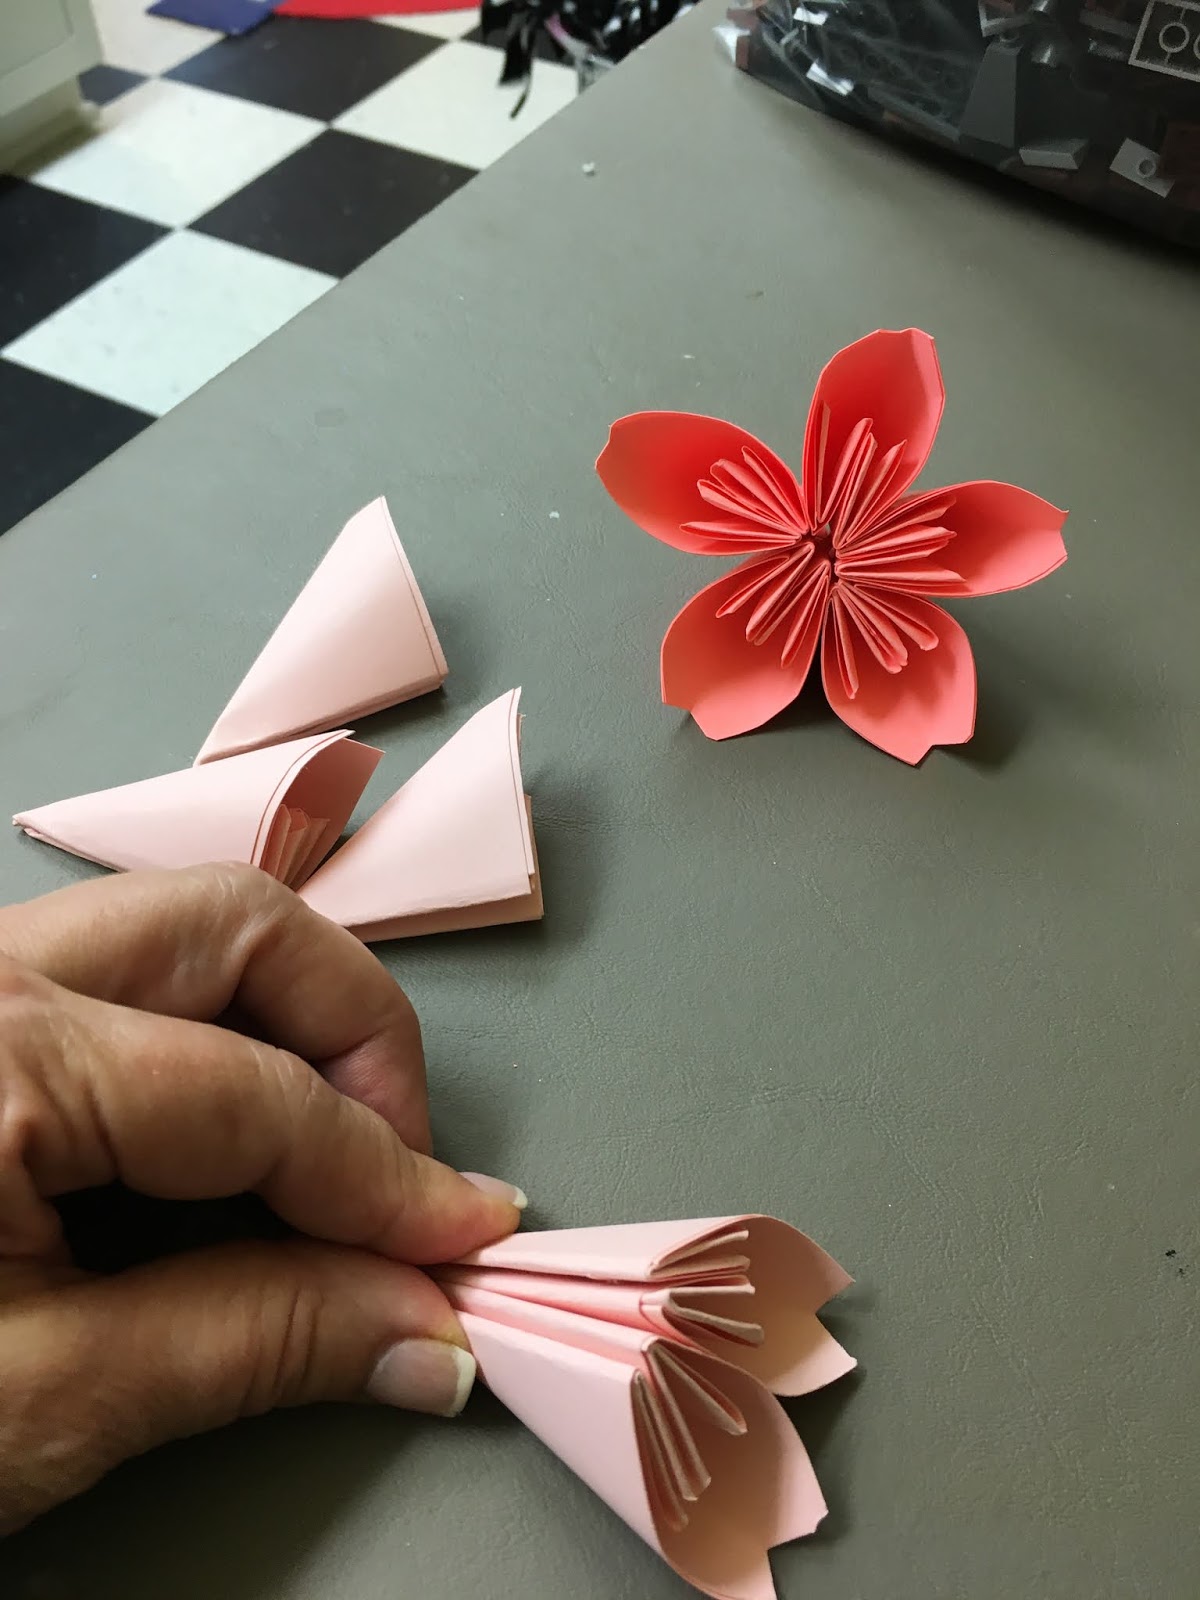


11. glue however many flowers you want together in a bundle. I made a couple leaves following the above directions but didn't snip the tips off - seems more "leaf-like" to me - and glued them to the flowers before gluing the flowers into a bundle. 


I made a short video on how to fold the petals in case my description above doesn't make sense!


original source found here


one year ago: coincidentally it's a different paper flower.
two years ago: for real, it's another paper flower! I honestly had no idea and did not do this on purpose!
three years ago: rock photo stand. whew, 3 years of paper flowers woulda been super weird timing.


Tuesday, August 14, 2018

Tissue Paper Flower Gift Topper

I haven't made tissue flowers in a long time (click here for another post) - I didn't have a good bow or ribbon for the big box I wrapped my sissy's gift in yesterday so I quickly made 3 small flowers to tie on top.


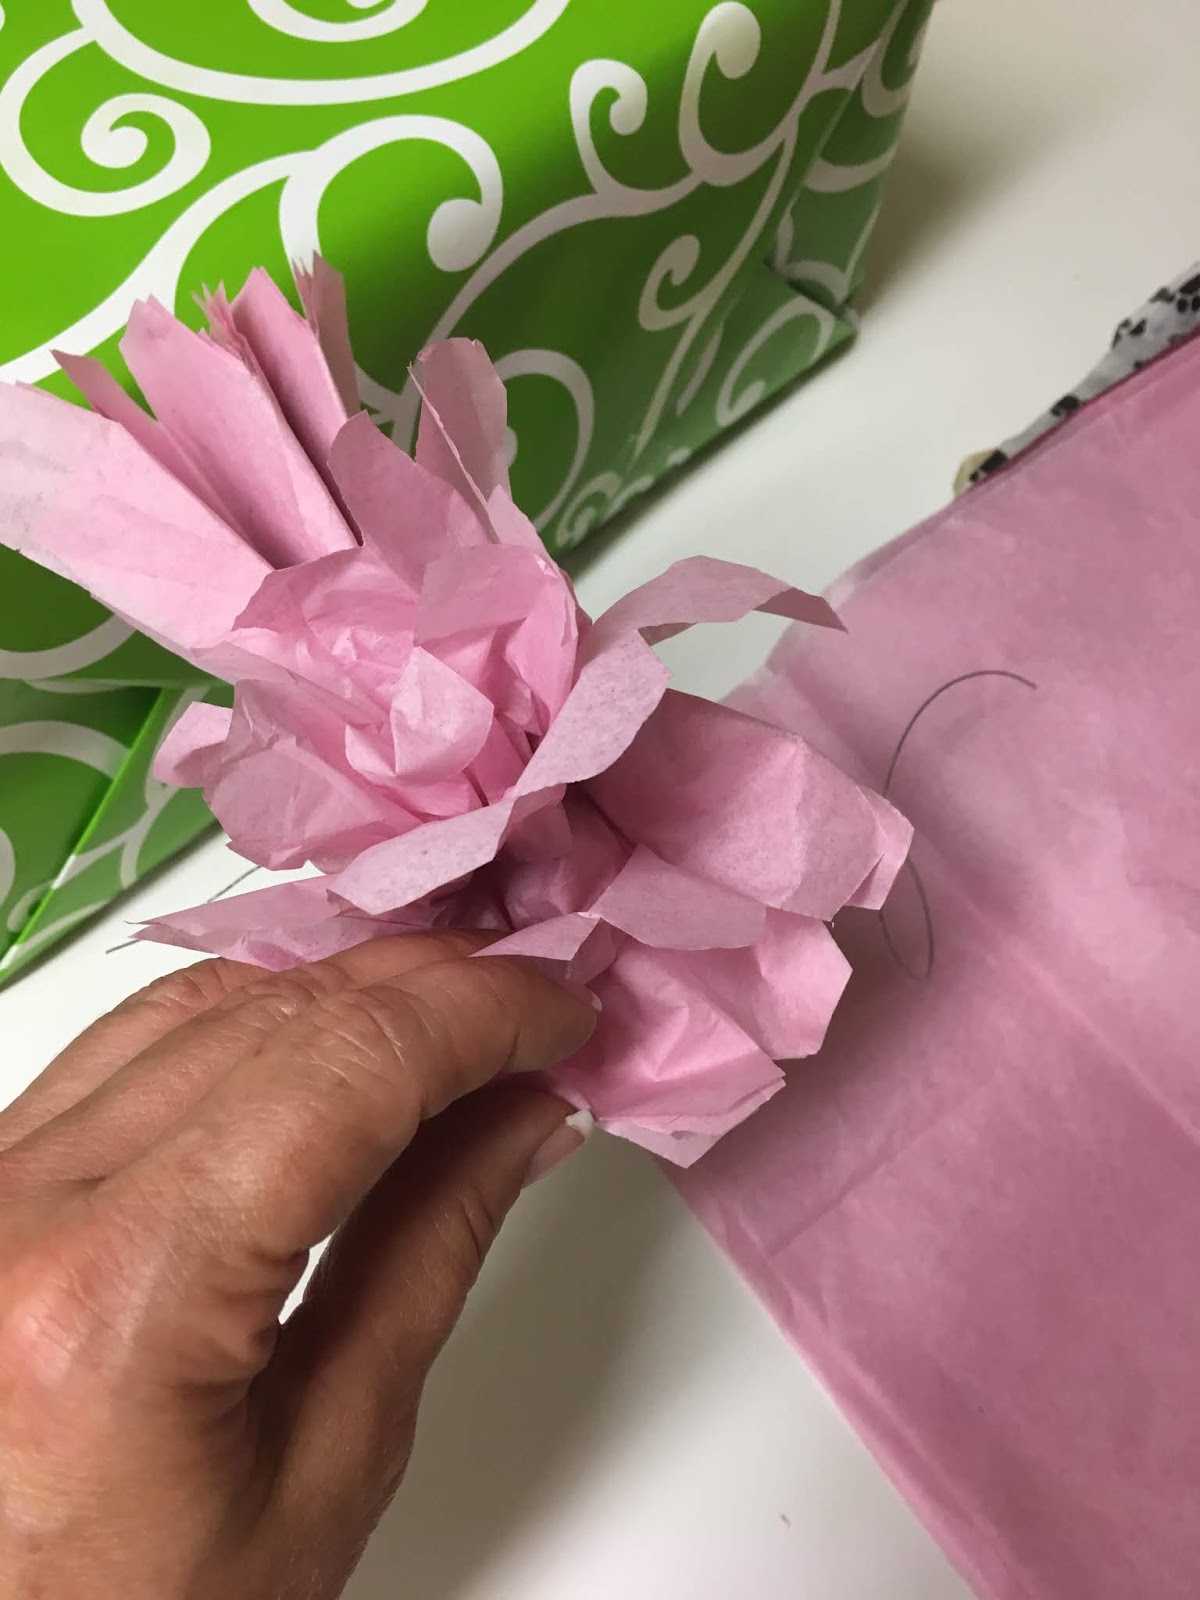
Cut a few squares of tissue paper, for these small flowers I cut them approximately 5" square and used 9 squares. Stack on top of each other, accordion fold them, twist a short piece of thin wire around the center, trim the edges either round or pointed, then carefully separate the layers and shape like a flower. I made 3 of them, twisted them together so they looked like a bouquet, and attached to a ribbon that I wrapped around the box. Look how pretty it looks! Very inexpensive, easy, and quick to do - and it's different than a regular ol' bow.

rounding the edges...

...or cutting them into a point gives the flowers a different look.

gently pull up the layers to separate

here I've separated the layers on the left side of the wire, continue with the right side and shape.

twist the flowers together into a bouquet


one year ago: make a personalized shopping bag
two years ago: quebec chicken

Sunday, June 17, 2018

Paper Flower with Pinwheels

Made a big paper flower to give to my little friend at her dance recital - very easy to make and look how cute it is! I wasn't sure if I'd like it tho, so as a back-up plan I found some little pinwheels at the Dollar store just in case; when I was trying to figure out what I wanted to put in the center of the flower I thought of the pinwheels and combined the two together (using a rubber band so she can take them apart if she wants), I love how it turned out.


You can easily make these bigger or smaller depending on how long you cut the strips, I did a couple of them to see which I liked better. I also experimented with types of paper - regular weight paper (like printer paper) bends and sticks easier than cardstock, but the thicker cardstock stands up and holds its shape better. I recommend using lighter weight paper if you're making smaller flowers, and heavier weight for a big flower.

For the one I gave her I mixed the two papers together, the heavier cardstock is the back row and then I did the lighter on top - the main reason is because I cut a bunch of lightweight strips before realizing I needed the heavier paper to help hold it up and I didn't want to waste the paper!

Cut a 3" circle out of cardstock for the back of the flower, and cut paper strips about 1/2" wide and 2 different lengths. I did strips 8" and 11.5". Glue the longer strips down first (see the photos). Add rows until you like how it looks, I ended up with 1 row of cardstock and 3 rows of lightweight. Put a smaller circle in the center to finish it - I did glittery paper before adding the pinwheels. To finish I wrapped it in cellophane so it'd look more like a flower bouquet :)


Tuesday, July 11, 2017

Spider Mum Paper Flowers


Remember the paper fireworks I posted before the Fourth? Well here's what I was making when I decided they would be good fireworks - spider mums. I wanted a simple airy flowery filler for Ronda's display table, saw these here and really liked them - and since I'm using Ronda's Stampin' Up  double sided papers I thought they'd be perfect.


So you make the flower part just like the fireworks, only I cut the paper into 3" x 12" strips so they are a little thicker than the fireworks. I copied the directions I posted before, click here to see the instruction pictures and that post...

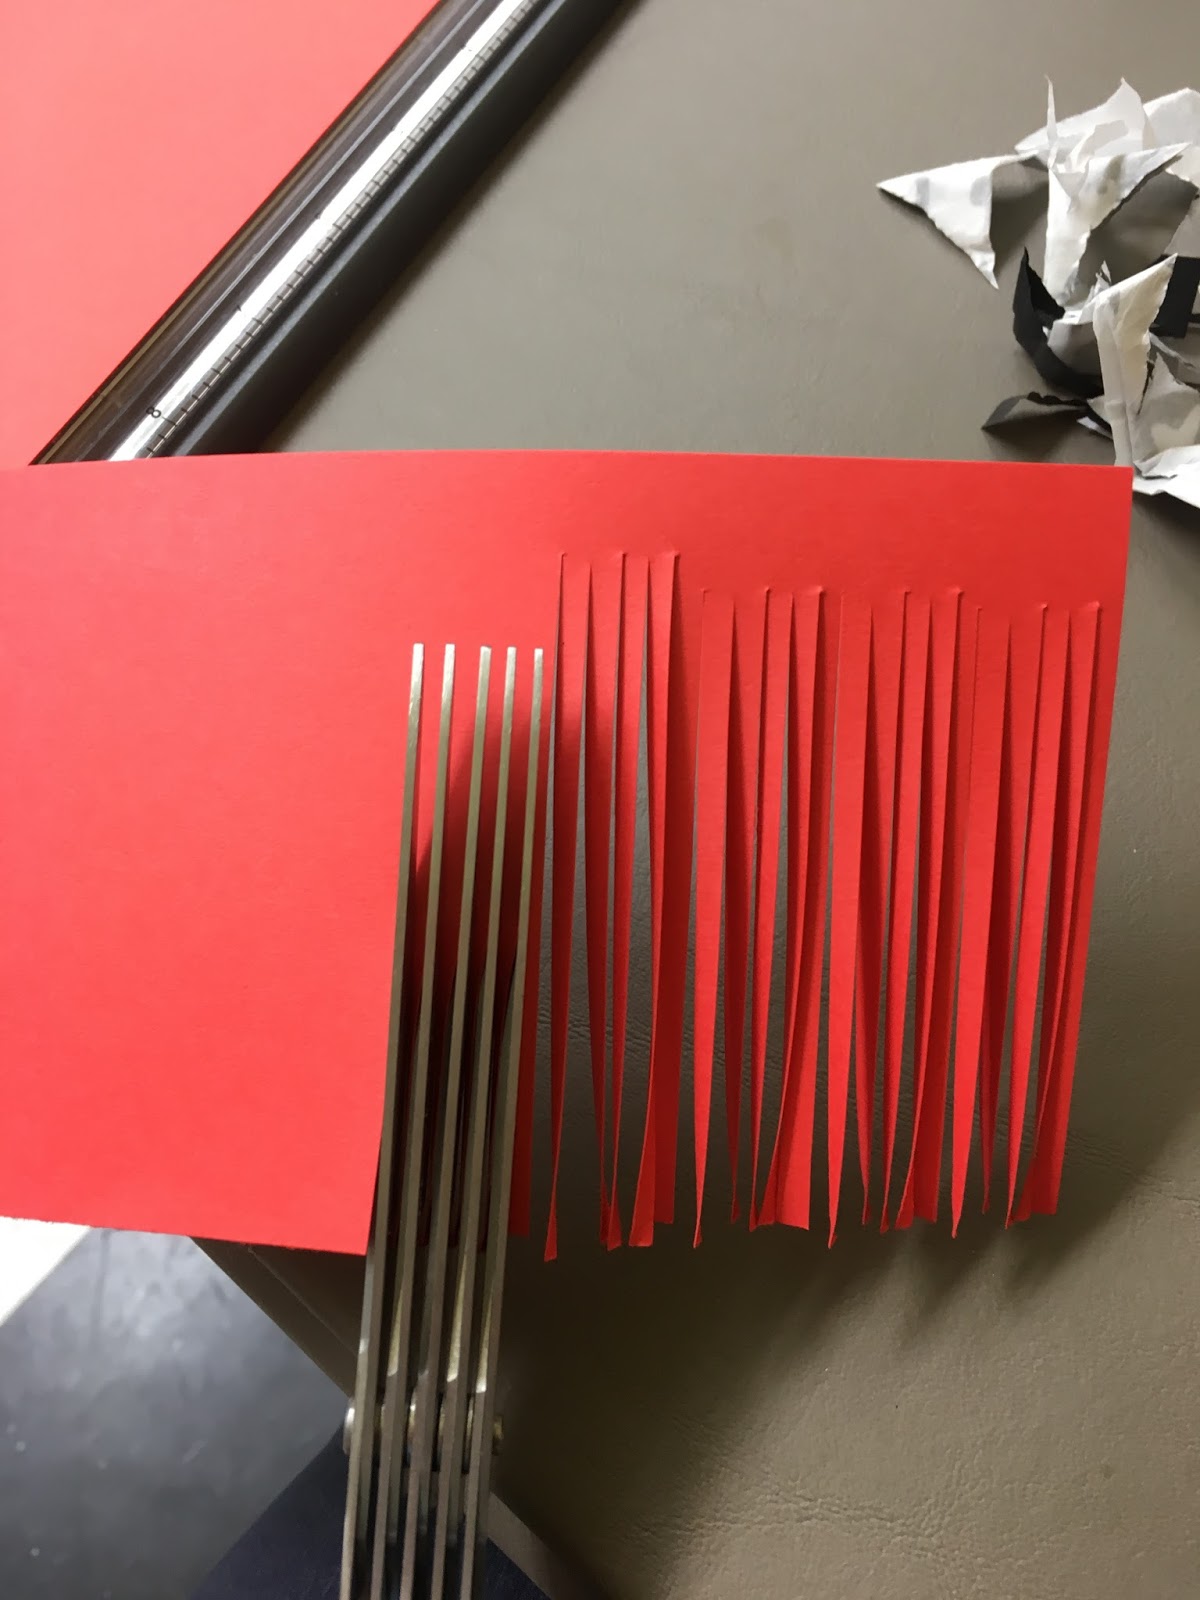
for the fireworks: 3.5"x8.5" strip of cardstock, fringe one long edge with fringing scissors (or just make thin cuts the entire length with sharp scissors). Tightly roll up the strip, run some glue (I used a glue stick) along the last one inch of end so it'll stay coiled up. Pull the fringe down, slightly curving it with your fingers as you go so it pulls apart and looks like a paper pompom. Add a drop of glue to the underside of the coil then insert a wooden skewer.

To make them into flowers is a tiny bit trickier. You need to wrap the bottom of the flower onto a piece of floral wire using floral tape, but the bottom of the flower is way bigger than the wire so there needs to be something between the flower and the wire so it tapers down more like a real flower would. I was unable to just tape the flower to the wire. The instructions I followed said she uses pieces of tissue paper wadded up to fill in the gap, that worked pretty good - I thought maybe cotton balls would work but the tissue paper is better. I struggled getting the flower, filler, and wire to stay together while I was wrapping with the floral tape so played around with better ways to go about doing that - I found that if you wrap regular clear tape around first it's so much easier to then wrap the floral tape around the bottom of the flower, around the filler, and then down the wire a few inches


To shape them, run your finger and thumb down each strand and bend slightly.


Monday, June 26, 2017

Paper "Fireworks"


I'm working on making things for Ronda's seasonal display table (click here  for Halloween and here for Fall), we're doing a "beachy" summer theme and I'll show you all the fun things I've been making for her in the next few posts. While making some pretty paper flowers I thought how much they looked like fireworks if I used red, white, and blue paper - they'll be perfect for Fourth of July decorations.


Starting with a 3.5"x8.5" strip of cardstock, fringe one long edge with fringing scissors (or just make thin cuts the entire length with sharp scissors). Tightly roll up the strip, run some glue (I used a glue stick) along the last one inch of end so it'll stay coiled up. Pull the fringe down, slightly curving it with your fingers as you go so it pulls apart and looks like a paper pompom. Add a drop of glue to the underside of the coil then insert a wooden skewer. Done. I did the flowers a little differently and will share that later (click here to see the spider mum post).