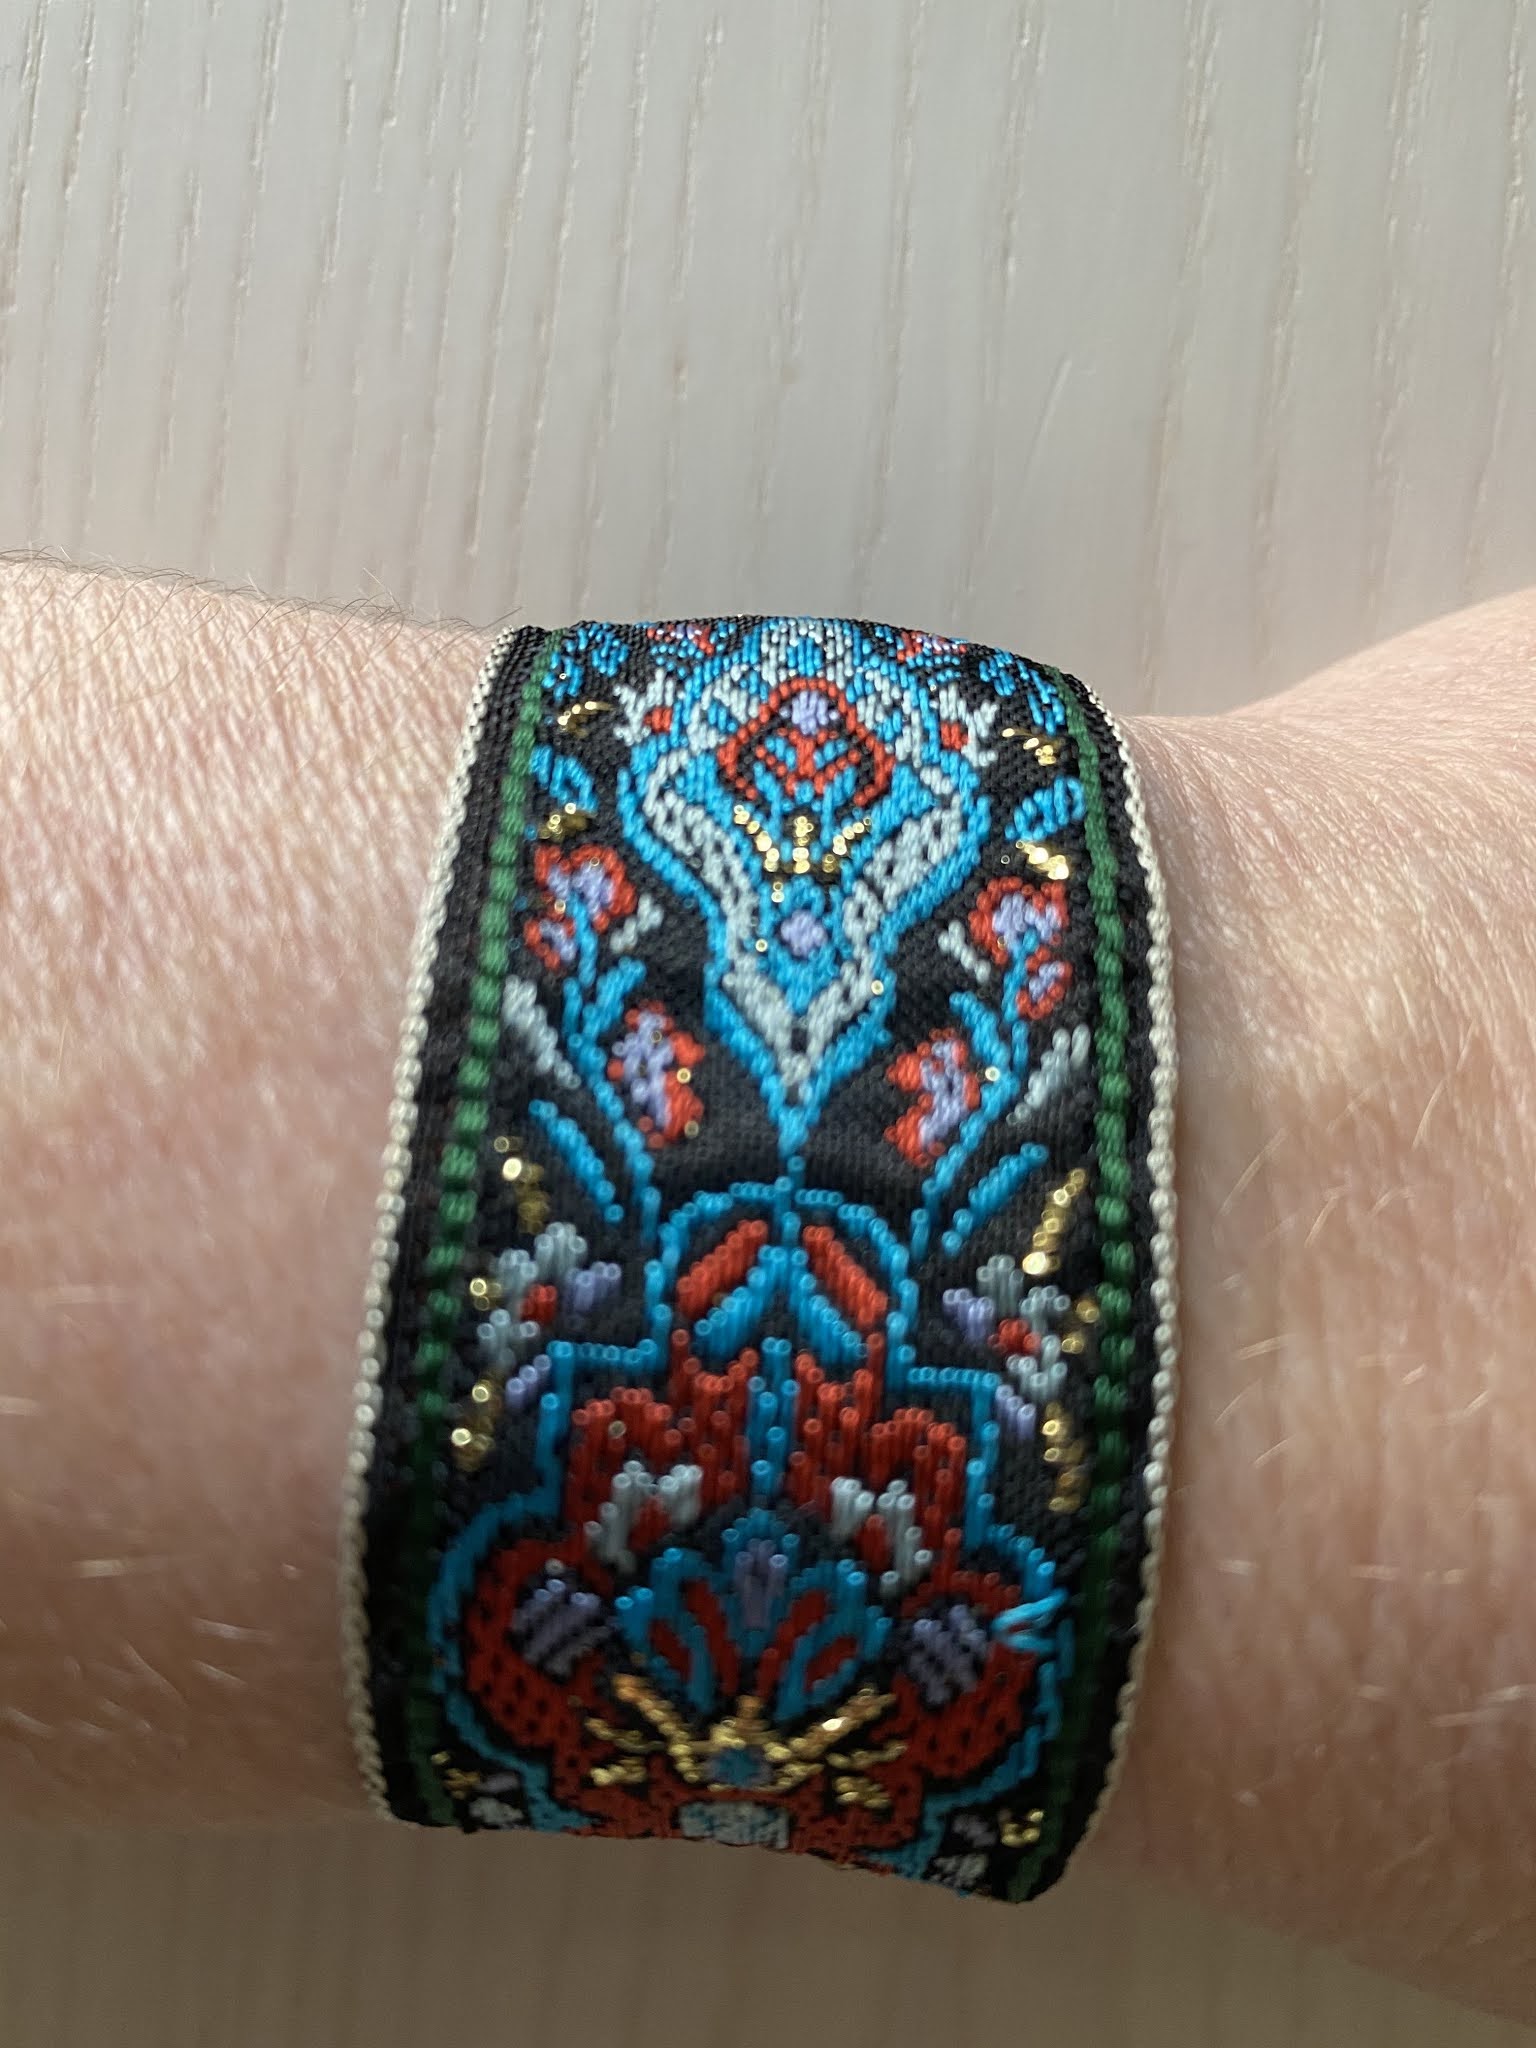
I wore a ribbon bracelet the other day and couldn't remember if I'd ever posted how to make one - I did, way back in March 2016. It's a fun easy little project that I'm posting again so we all remember how to make them (myself included hahaha!). In this post I made one for St. Patrick's Day, now I want to make one for all the holiday's - easy accessory! Here's the one I wore recently - pretty, right?


Originally posted 3/16:

I wanted to make a St. Patrick's Day ribbon bracelet but didn't find any ribbon that was perfect - but I do like this green/black/white striped ribbon enough and they are pretty easy to make so even though it isn't my favorite ribbon ever I still made it and really like how it turned out. Now I'll have something green to wear on St. Patty's Day!

materials needed:
8" ribbon
20 seed beads
1 small button for closure
stretchy cord
needle and thread

cut a length of stretchy cord to make the closure loop, I cut a piece probably 10" long. thread it onto a needle, tie a knot in one end of the stretchy cord and pull it thru from the backside of the ribbon.

turn the ribbon over and add 20 seed beads to the cord, the needle probably won't go thru the tiny hole in the beads but the stretchy cord is stiff enough that you can just thread them right onto the end of the cord.

thread the cord back onto the needle and poke it back thru the front side of the ribbon right next to where the cord came up to start. this creates a bead loop for the closure.

this is what the back of it will look like after you make the bead loop and tie it off close to the ribbon.

fold the end of the ribbon over twice making sure the loop is at the edge of ribbon. sew the hem in place.
measure how long you want the bracelet to be for your wrist, add about an inch so you can fold the other end of ribbon over twice and sew it in place. sew on the button on the right side.
here's the front of the finished bracelet..

...and the back..

...and how it looks on!
3.1.20: 🔥week 9
3.1.19: boho sling bag
3.1.18: password keeper
3.1.17: Julie's key lime pie
3.1.16: organize the spice drawer
No comments:
Post a Comment