Monday, June 14, 2021

Sweet and Simple Gift Box

Ronda made this little gift box on Youtube (click here to watch her make it) and I think it's adorable and sat right down to make myself one. She named it 'sweet and simple' and that's accurate, it's very easy to make! You can whip this project out in very little time, perfect for a last minute gift (which so many of my gifts are hahah) which makes it a very handy tool in your gift wrapping repertoire - if there's such thing as a 'gift wrapping repertoire'! She stamped a message in the bottom of her example box, then filled with candy - so after the recipient eats the candy they'll see the note, super cute idea right? I don't have any stamps like she used so I put a silly sticker in the bottom of mine, then I'll add the gift on top and there will still be a cute surprise when the gift is removed. She also made a pretty tag that she stuck to the top over thee belly band - I didn't do that part and still thinks it looks pretty. 


Box dimensions:  4 x 2 1/2 x 1" 

You need 
  • 1 piece of cardstock 4 1/2" x 5 3/4"
  • 1 piece of decorative paper 4" x 9 1/4"
  • 1 piece of decorative paper 3/4" x 10" (approximately, it just needs to be long enough to wrap around the box making a belly band)
  • ribbon 
  • label or tag, optional
 
Step 1 - make the bottom of the box using your 4 1/2 x 5 3/4" piece of cardstock. Score 1" on all 4 sides, cut on the score lines at thee corners on the 2 long sides cutting just to the cross score line - you'll make a total of 4 (1") snips creating a tab at each corner. Snip the points off each corner; fold along all score lines. Fold the short sides up with the tabs folded in, put adhesive on the underside of the tabs, fold up the longer sides and glue to the tabs creating the box. Stamp or add a sticker to the inside of the box. See photos:


Step 2 - make the cover using the 4 x 9 1/4" decorative paper. Note my paper is double sided so the coral is the outside of the cover and inside is white with black circles. Score at 2 1/2, 3 1/2, 6, and 7". Fold along the score lines.


reverse side of paper 

Glue the bottom of the box to the decorative paper in the middle spot, if you measured correctly it'll fit exactly between the 2 innermost score lines. 


Fold the flaps up and over the bottom box creating the cover. Ronda designed it so the longer flap folds over first, with the shorter flap on the outside. 


Fold the 3/4" strip around the box, glue the strip together tight enough to hold the cover closed but loose enough to be able to slide the band off the box.


Add ribbon over the belly band and tie a pretty bow. If you are adding a label or tag to the top of the box over the belly band you'll want to tie the bow so it's sitting at the short side of the box (or else the label will be over the bow). I didn't add a label but here's an example of what I'm talking about - if you add a label make sure to attach it only to the belly band so you can slide the whole thing off to open the gift (if you stick it to the cover you won't be able to open the gift without destroying the cute box!):


Sunday, June 13, 2021

🔥 Around the Campfire (week 24)

Dear Campers ~

Here's a quick recap of what happened at camp last week in case you missed anything:

Posts  ~

6/6: 🔥week 23

6/7: simple card with belly band

6/8: tip-sy tuesday: plants to attract bees 

6/9: champagne cupcakes

6/10: air fryer salmon

6/11:  prosciutto and goat cheese crackers 

6/12: cauliflower pizza casserole

What's cooking ~

  • grilled pork tenderloin, roasted asparagus, roasted cauliflower
  • grilled bone-in chicken, salad
  • grilled swordfish, chopped kale salad, corn tortillas
  • grilled marinaded chicken breast, roasted broccoli, caesar salad
  • bbq ribs, sweet kale salad
  • grilled chicken breast, caesar salad, carbo-nada noodles with alfredo

Miscellaneous stuff keeping me busy ~

  • since last week I wasn't feeling good for so many days, I had to make up for my lazy week! First up -  I changed the camper around and made myself a little 'office' nook, which is a tv tray and a shelf next to a plug - I'm now able to blog and not have my stuff spread everywhere. Dave's stuff is still strewn about which he doesn't seem to mind (drives me crazy haha) but secretly I know he's jealous of my new set up LOL (no he isn't). 
  • planted more sunflower seeds hoping to get enough for my niece's rehearsal dinner centerpieces.
  • read 'Greenlights' by Matthew McConaughey. Initially I borrowed the audio book from the library thinking I'd like to hear him read it but after about 3 minutes I thought 'oh heck no, he reads waaaaay to slow and I have no patience for that' - imagine his voice reading an entire book? Nope. So I returned it and got the version I could speed read myself hahaha. Didn't love it, didn't hate it. I took away some useful insights, he told some interesting stories but there's also an awful lot of rambling and stream-of-consiousness that I found annoying. Overall he's just one odd guy and I was left with a 'well that was weird' sense LOL. Tell me if you read it and what you think! ⭐️⭐️⭐️
Hope you had a great week! Stop back often to see more of whatever I think of to make next week at camp :) Bye!

Sincerely ~


Jill 
camp counselor

6.13.19: MSIH: mini calzones
6.13.18: 1,000 posts! (it's now 2095!)

Saturday, June 12, 2021

Cauliflower Pizza Casserole

Here's an easy, healthy dish I made for lunch today after realizing I have a head of cauliflower in the fridge that I needed to do something with - and I had leftover homemade pizza sauce from making individual grilled pizzas last week...so cauliflower pizza casserole it is! 


As you know about me by now, I didn't really measure these ingredients - just eyeball and wing it. I didn't get too ambitious with the pizza add-ons, but you can change this up however you want - add chopped veggies, feta cheese, spinach, olives, onions, whatever you like. 

Preheat oven to 400'. Spray a baking sheet with non-stick cooking spray. Cut up the cauliflower into small bite-sized florets and place on the baking sheet. Drizzle with olive oil, season with Italian seasoning, salt and pepper, then add grated parmesan cheese and toss everything together until cauliflower is evenly coated. Bake until starting to be tender, for me it was about 20 minutes. Remove from oven.

Add pizza sauce and shredded mozzarella overtop of the cauliflower, toss to coat. Drizzle with more sauce, add chopped canadian bacon and pepperoni, top with additional shredded mozzarella and a little more parmesan. Pop back in the oven until everything is hot and the cheese is melted. Serve with additional sauce (and Ranch if you're a dipper like me!). Delicious!


6.12.20: Al and Cathy change their kitchen island 


Friday, June 11, 2021

Prosciutto, Cheese, and Fig Jam Crackers

Here's an easy appetizer Cathy made up based on a sandwich she loves - they are quite addicting and delicious! Spread goat cheese on a ritz cracker, top with a bit of fig jam, and a rolled piece of prosciutto. She added a super thin slice of apple to some of them, they're good with and without! Yum, I need to make these right now :) 


6.11.20: veggie stuffed peppers by Jen

6.11.19: tip-sy tuesday: organizing spare buttons and extra threads

6.11.18: road trip survival kit

6.11.17: perfect grilled chicken marinade

6.11.16: how to make glitter balloons 

Thursday, June 10, 2021

Air Fryer Salmon (from frozen)

Jordyn told me about making frozen salmon filets in the air fryer and I've since made it quite a few times - I only like salmon a couple ways and now I have another technique to add to my growing salmon favorites! This is great!

I have a combination toaster oven/air fryer and this is how I make it:

Preheat the air fryer for 5 minutes at 400'. Put the frozen filets in the basket of the air fryer and bake for 7 minutes. Flip over and season however you like - sometimes I sprinkle with salmon seasoning, cajun or blackening seasoning, or just salt and pepper, or brush with a sauce made by mixing 3 T. Dijon, 2 t. maple syrup, salt and pepper  - then bake for another 7-9 minutes until done to your preference. 


6.10.19: wine cork flower wreath

Wednesday, June 9, 2021

Champagne Cupcakes

My step-niece loves champagne, so when I saw this recipe I thought she'd be the perfect person to bake them for - sadly you can't taste champagne at all, it was just fun to make 'champagne cupcakes' for her birthday! I've seen other recipes for this type of 2-ingredient cake - just using a cake mix and pop or club soda, but I've never tried it. Not sure why this works, but it does! The texture is different than regular cake, light and fluffy almost like angel food cake. Not gonna lie, I didn't love the texture but I don't actually love cake (but I love to make cake so...hahhaha), maybe the texture is amazing to everyone who loves cake! However, the frosting is great - I'll use it on other cake in the future for sure. 


Mix together white cake mix and 1 1/2 cups champagne for 2 minutes. Pour into greased cake or cupcake lined pans and bake at 350' according to the package directions for cooking times. That's it!

For the champagne buttercream frosting, beat together until fluffy:

  • 2 sticks butter, room temperature
  • 4 cups powdered sugar
  • 1/4 cup champagne
  • 1/2 t. vanilla
  • pinch of salt


I added a couple drops of pink food coloring to make it pale pink, and added colored sugar sprinkles. 

 recipe found here at delish 

6.9.20: tip-sy tuesday: multiple ways to make pesto

6.9.19: 🔥week 23

6.9.18: packing tip - pillbox jewelry holder

6.9.17: outfit idea - cuffed jeans and t-shirt

6.9.16: garden update 


Tuesday, June 8, 2021

Tip-sy Tuesday: Saving the Bees

Dave found this chart of things to plant to 'help save the bees' -  yesterday I posted about finding flower seed mixtures ("bee my friend") so it seemed like a good time to share this info on what else to plant to attract bees and other pollinators. 


Monday, June 7, 2021

Simple Card with Belly Band

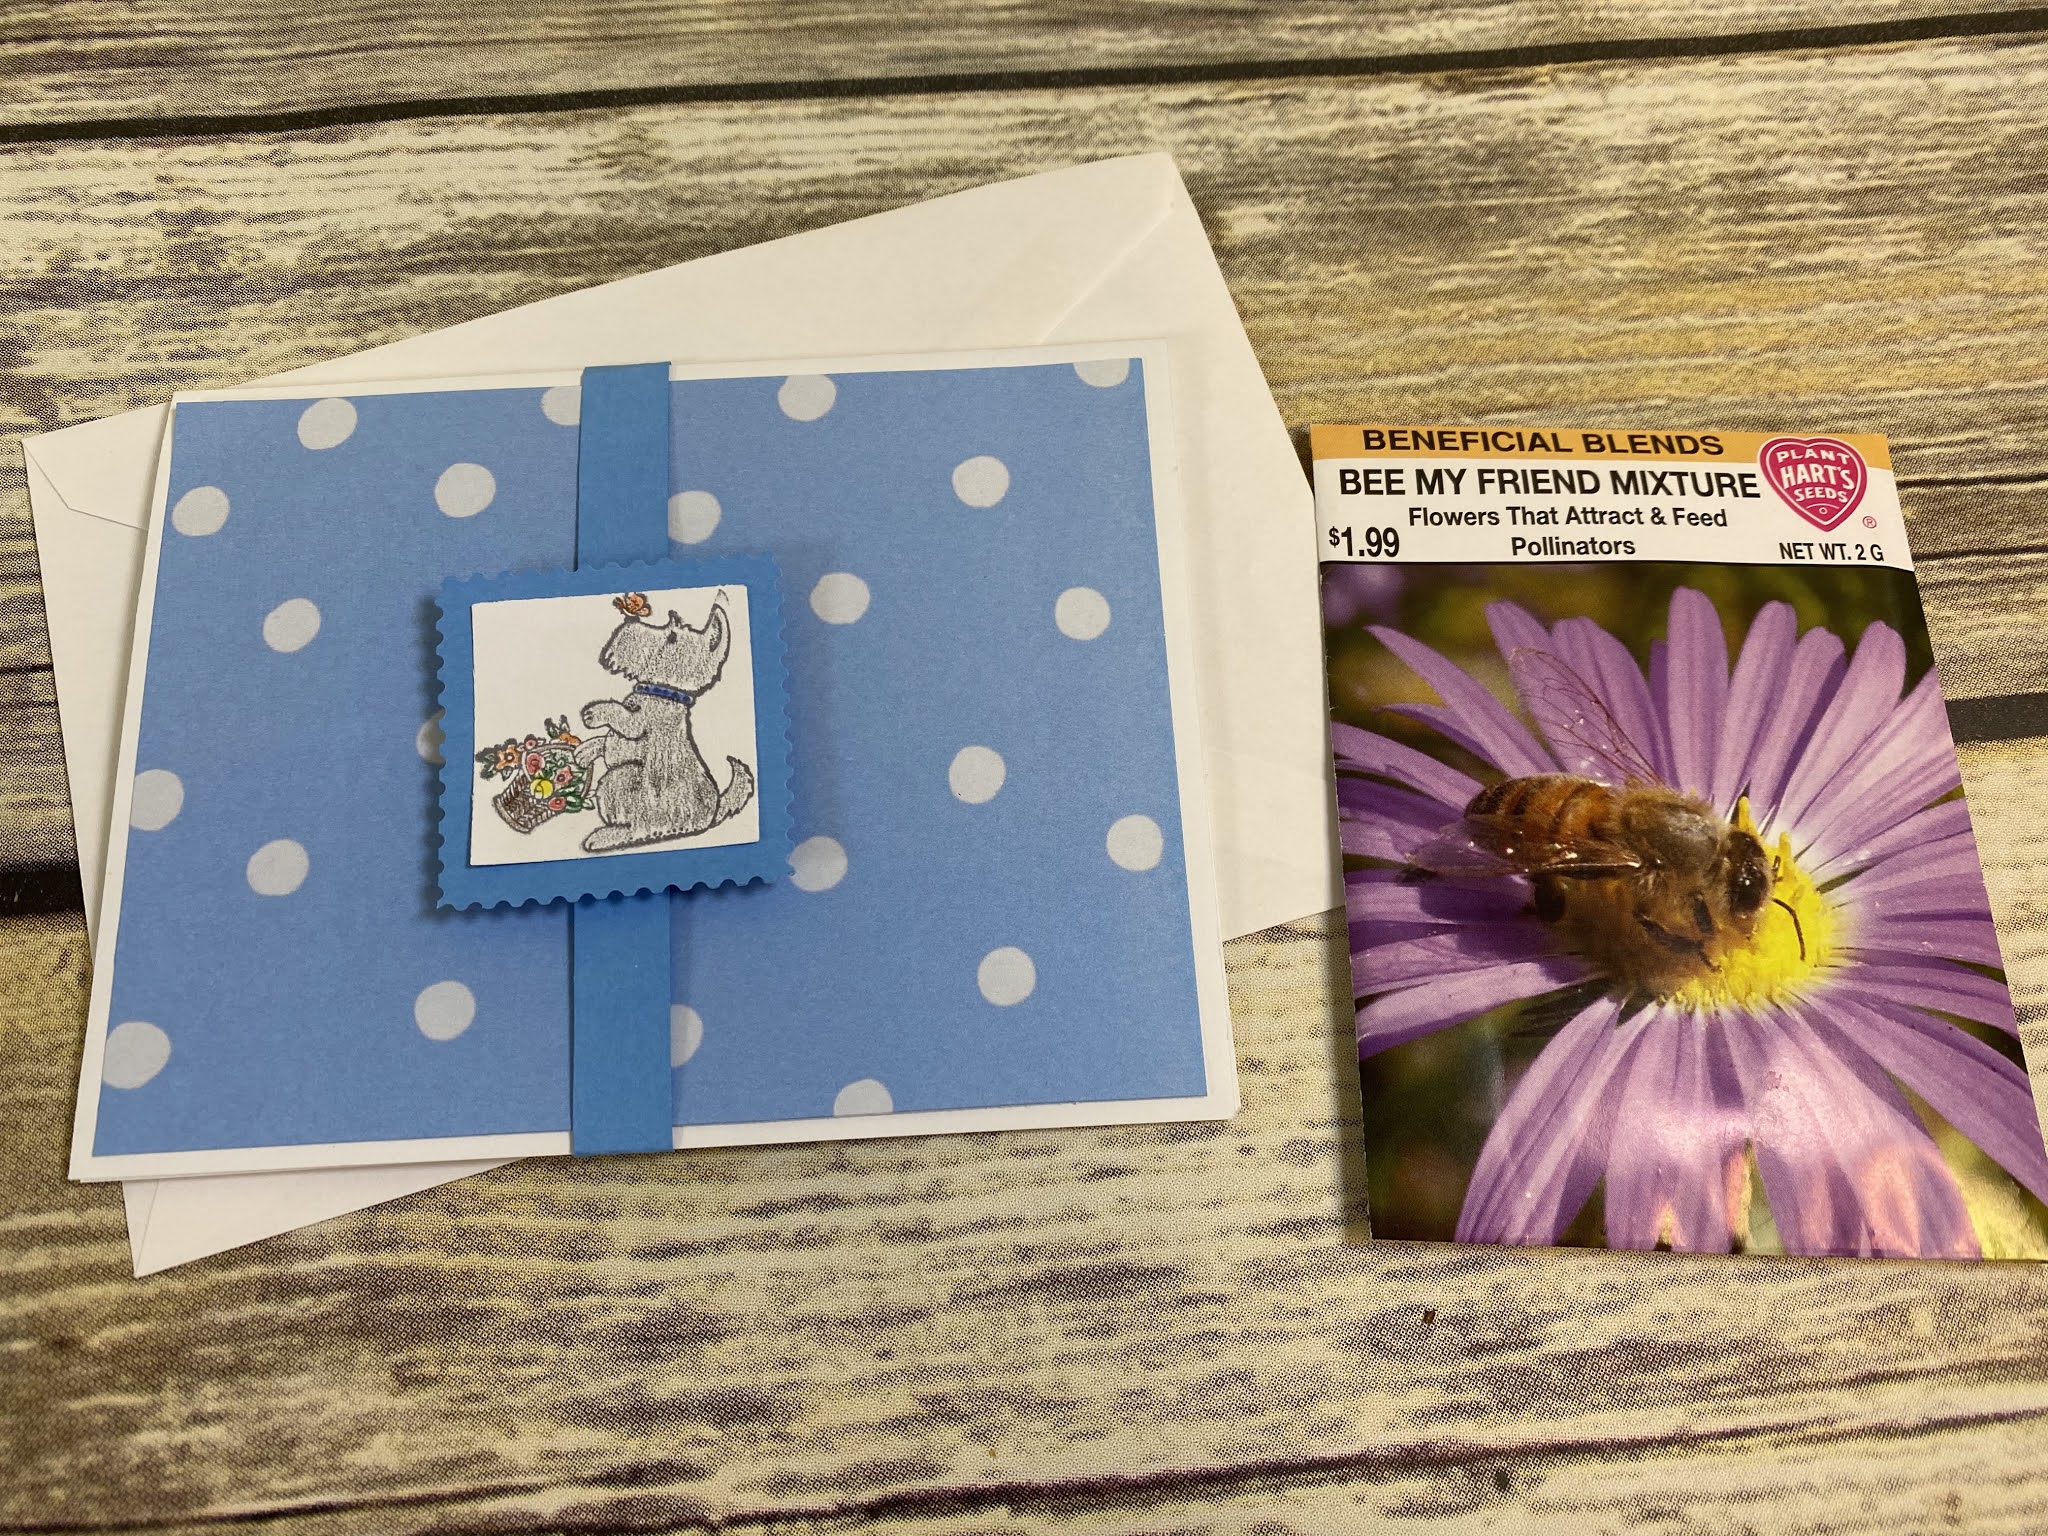
I found these cute flower seeds that say "Bee My Friend" and thought it'd be fun to send them to a couple friends - I made super simple basic cards and added a belly band so the seeds would stay in the card when removed from the envelope. I'm talking super simple here - you can probably just look at this picture and figure out what I did hahahha, my directions are waaaaay longer than necessary!! It's just folding a piece of cardstock, glue on paper to the front, make a band to wrap around the card, stick on a cute image. Done! But just to make it an actual crafty post I'll break it all down...

For this card I used white cardstock for the base card and the smaller square, blue and white polka dot paper for the card front, and blue cardstock for the larger square and the belly band strip. It's fine to change the colors obviously, I'll use my colors in the directions to make it clearer when giving directions. I stamped a cute Scottie holding a basket of flowers which seemed appropriate when giving flowers hahah. Stamp whatever you like, or use a sticker or something. 

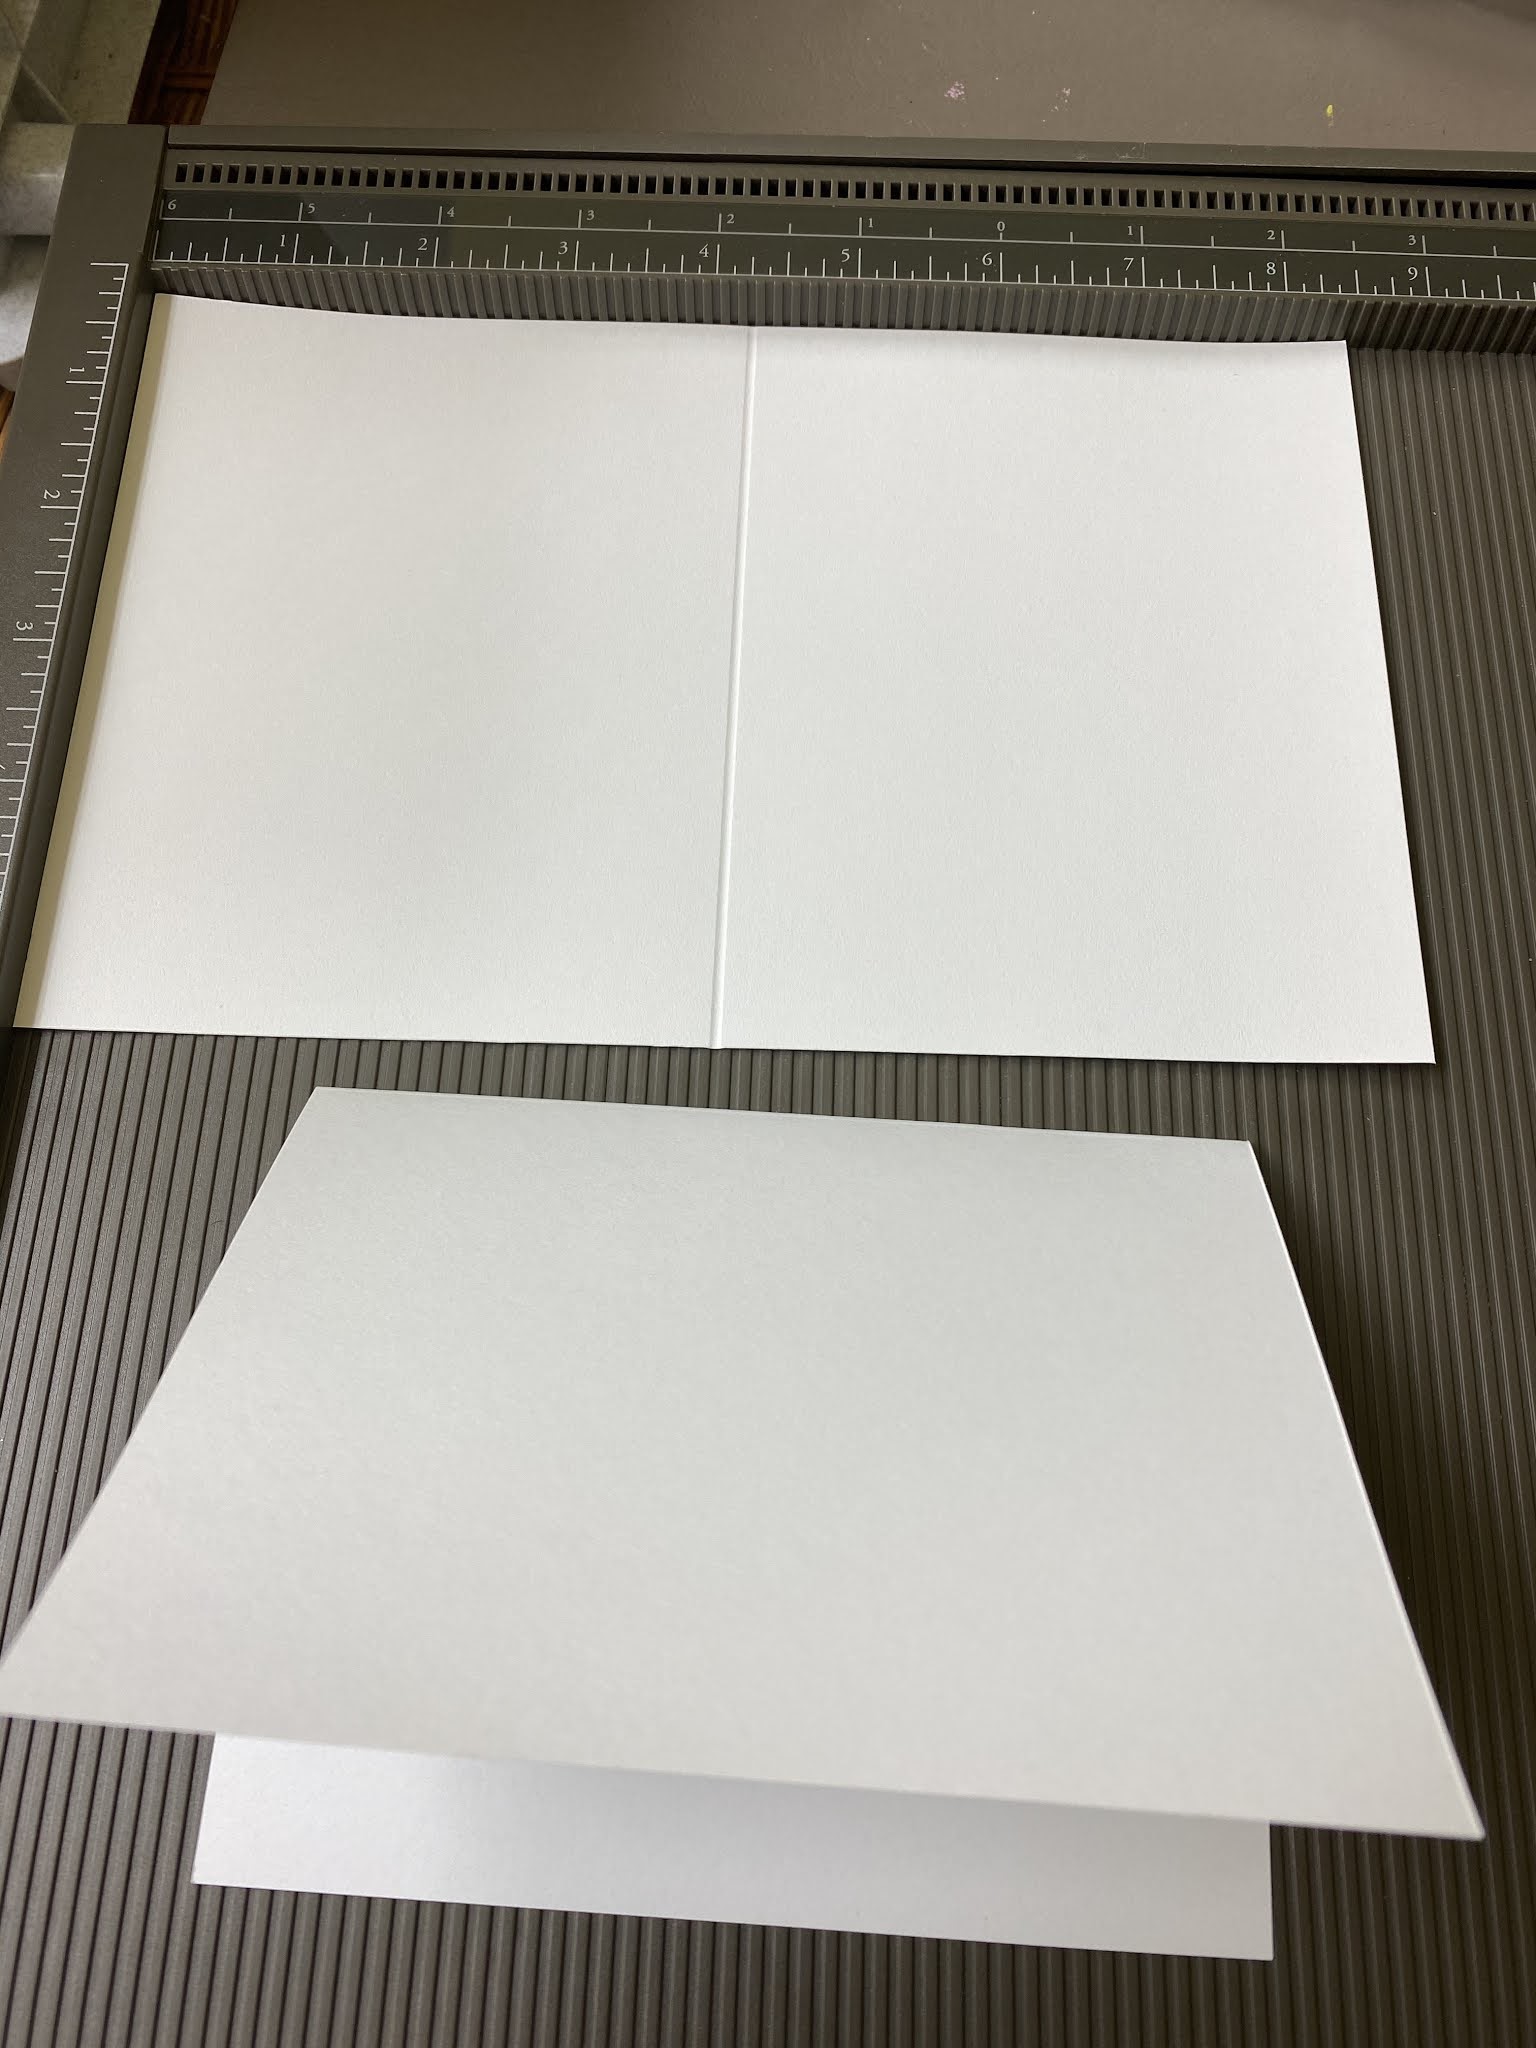
Cut a 8 1/2 x 11" piece of white cardstock in half so you have two rectangles 4 1/4 x 11". Score the center and fold in half creating a card that is 4 1/4 x 5 1/2". 

Cut a piece of the decorative polka dot paper 4 x 5 1/4" and glue to the front of the card. 

Stamp an image (or use a sticker) onto white cardstock and punch or cut it out in a square. Cut another square out of coordinating blue cardstock that is about 1/4" larger than the square with the image, trim the edges with decorative scissors if desired. Glue the two squares together. 

To create the belly band: cut a long skinny strip out of the blue cardstock, about 1/2" wide x 11" long. Fold one end in a couple inches, and put it around the card with the folded end at the front center, then wrap the long end around the back of the card and fold again at the other side so the ends meet in the front;  trim off a couple inches of the long overlap and glue the ends together - that creates the 'belly band'. Oh, in case you don't know that term - a belly band is a strip of paper with the ends glued together creating a band that goes around the card, or a box, to keep the card/box closed. I put the overlapping ends in the front because the squares will cover the ends up - otherwise you can put the glued ends in the back of the card where you won't notice the glued part. You want the belly band to fit snuggly so it'll actually keep the card closed - if it's too loose it'll slip right off the card (and if too tight you won't be able to slide it off!). 

Color the stamped image - I used colored pencils and didn't try to make it perfect, just lightly give it some color. Stick the stacked squares on the belly band with a foam dimensional (which makes the squares pop off the band a little) or just glue it right to the band. 


I found an envelope that fits the card, if I didn't have one on hand I'd have figured out how to make one! I wrote a note on the inside, inserted the flower seed packet, slid the bellyband overtop and put it in the envelope.  See - easy, right? I know Ronda and all the gorgeous card-making Stampin' Up people are totally rolling their eyes right now but hey - I was going for easy, quick, and simple and it's cute enough for me hahahha!!! 

Sunday, June 6, 2021

🔥Around the Campfire (week 23)

Dear Campers ~

Here's a quick recap in case you missed anything at camp last week:

Posts ~

5/30: 🔥week 22

5/31: Memorial Day

6/1: marshmallow filled cupcakes 

6/2: Yeti gift

6/3: peanut butter cheese ball

6/4: how to: use a Cricut to make the above Yeti gift

6/5: wedge salad dip

What's Cooking:

  • burgers, brats, Jane's baked beans, potato salad
  • chicken potpies (I was sick and needed comfort food haha!), green salad
  • topopo salad
  • grilled pork chops, chopped salad, roasted cauliflower
  • burger patties on caesar salad
Miscellaneous stuff keeping me busy ~
  • we are at the campground, it's super hot and windy and I've been sick all week so staying inside and catching up on computer stuff - I just found that I skipped a couple weekly recaps at the end of last year! So doing some blog housekeeping haha! 
  • still working my way thru all the John Sandford Prey series and Virgil Flowers series. They are all good but sort of running together so I'm not going to review them all at this point. They are all summed up with 'really bad criminals up against some very smart good guys'. Well, they aren't exactly always good guys but they are the protagonist/heroes who solve the crimes.
  • finished planting my garden - I, as usual, planted waaaay too many tomatoes but I can never help myself - I love them SO much. I'm too late for Lucy's (the parrot) peas but did green beans which she also loves. Cukes for Dave, onions and herbs for me, and sunflowers in anticipation of using them for centerpieces at my nieces rehearsal dinner later in the summer. She's having an 'I do bbq' - cute right? Checked tablecloths, mason jar glasses, sunflowers and twinkle lights, and traditional bbq food. 
Brooke brought me chicken soup one day while I was sick - I love this bag so much! 


That's it for now - hope everyone had a great week! Stop back often for more crafts, recipes, and whatever else I can think to make next week at camp - maybe I'll get lucky and find some guest bloggers too hahaha! Bye!

Sincerely ~

Jill
camp counselor

6.6.20: crock pot pork roast (from frozen)

Saturday, June 5, 2021

Wedge Salad Dip

Here'a another recipe my sis gave me  in hopes that I'd make it for her - yes, she is perfectly capable of making this herself but for some reason she'd rather I just do it and bring it to her ... sigh...sisters ;)

When she said it's 'wedge salad dip' I literally was like 'salad dip? what the...' but really, it's a great idea and is really good - if you like wedge salad (you know - usually a wedge of iceberg topped with chopped tomatoes, bacon, sometimes onions, and bleu cheese. click here and here for recipes for the salad, not the dip) I bet you'll love this! If you aren't a bleu cheese fan I think it'd be just as good with a different kind of cheese - I'm thinking crumbled feta but try whatever you like! 

I questioned putting lettuce on top of a cream cheese mixture topped with tomatoes - doesn't it seem like the lettuce would get gross? Nope, it held up just fine! I served it with tortilla chips and corn chip scoops. 

  • 8 oz. cream cheese, room temperature
  • 1 c. sour cream
  • 1 1 oz. package dry Ranch Dressing Mix
  • 1 ½ c. chopped romaine lettuce
  • ½ c. chopped tomatoes
  • ½ c. chopped cooked bacon
  • 2-4 oz. crumbled blue cheese (more or less to taste)
  • 1 Tbsp. chopped fresh chives

  1. Combine cream cheese, sour cream, and Ranch Dressing Mix and mix until smooth.
  2. Spread into the bottom of a 9-inch pie plate or other similarly sized pan.
  3. Top with lettuce, tomatoes, bacon, blue cheese, and chives.

    6.5.16: greek salad