I found these cute flower seeds that say "Bee My Friend" and thought it'd be fun to send them to a couple friends - I made super simple basic cards and added a belly band so the seeds would stay in the card when removed from the envelope. I'm talking super simple here - you can probably just look at this picture and figure out what I did hahahha, my directions are waaaaay longer than necessary!! It's just folding a piece of cardstock, glue on paper to the front, make a band to wrap around the card, stick on a cute image. Done! But just to make it an actual crafty post I'll break it all down...
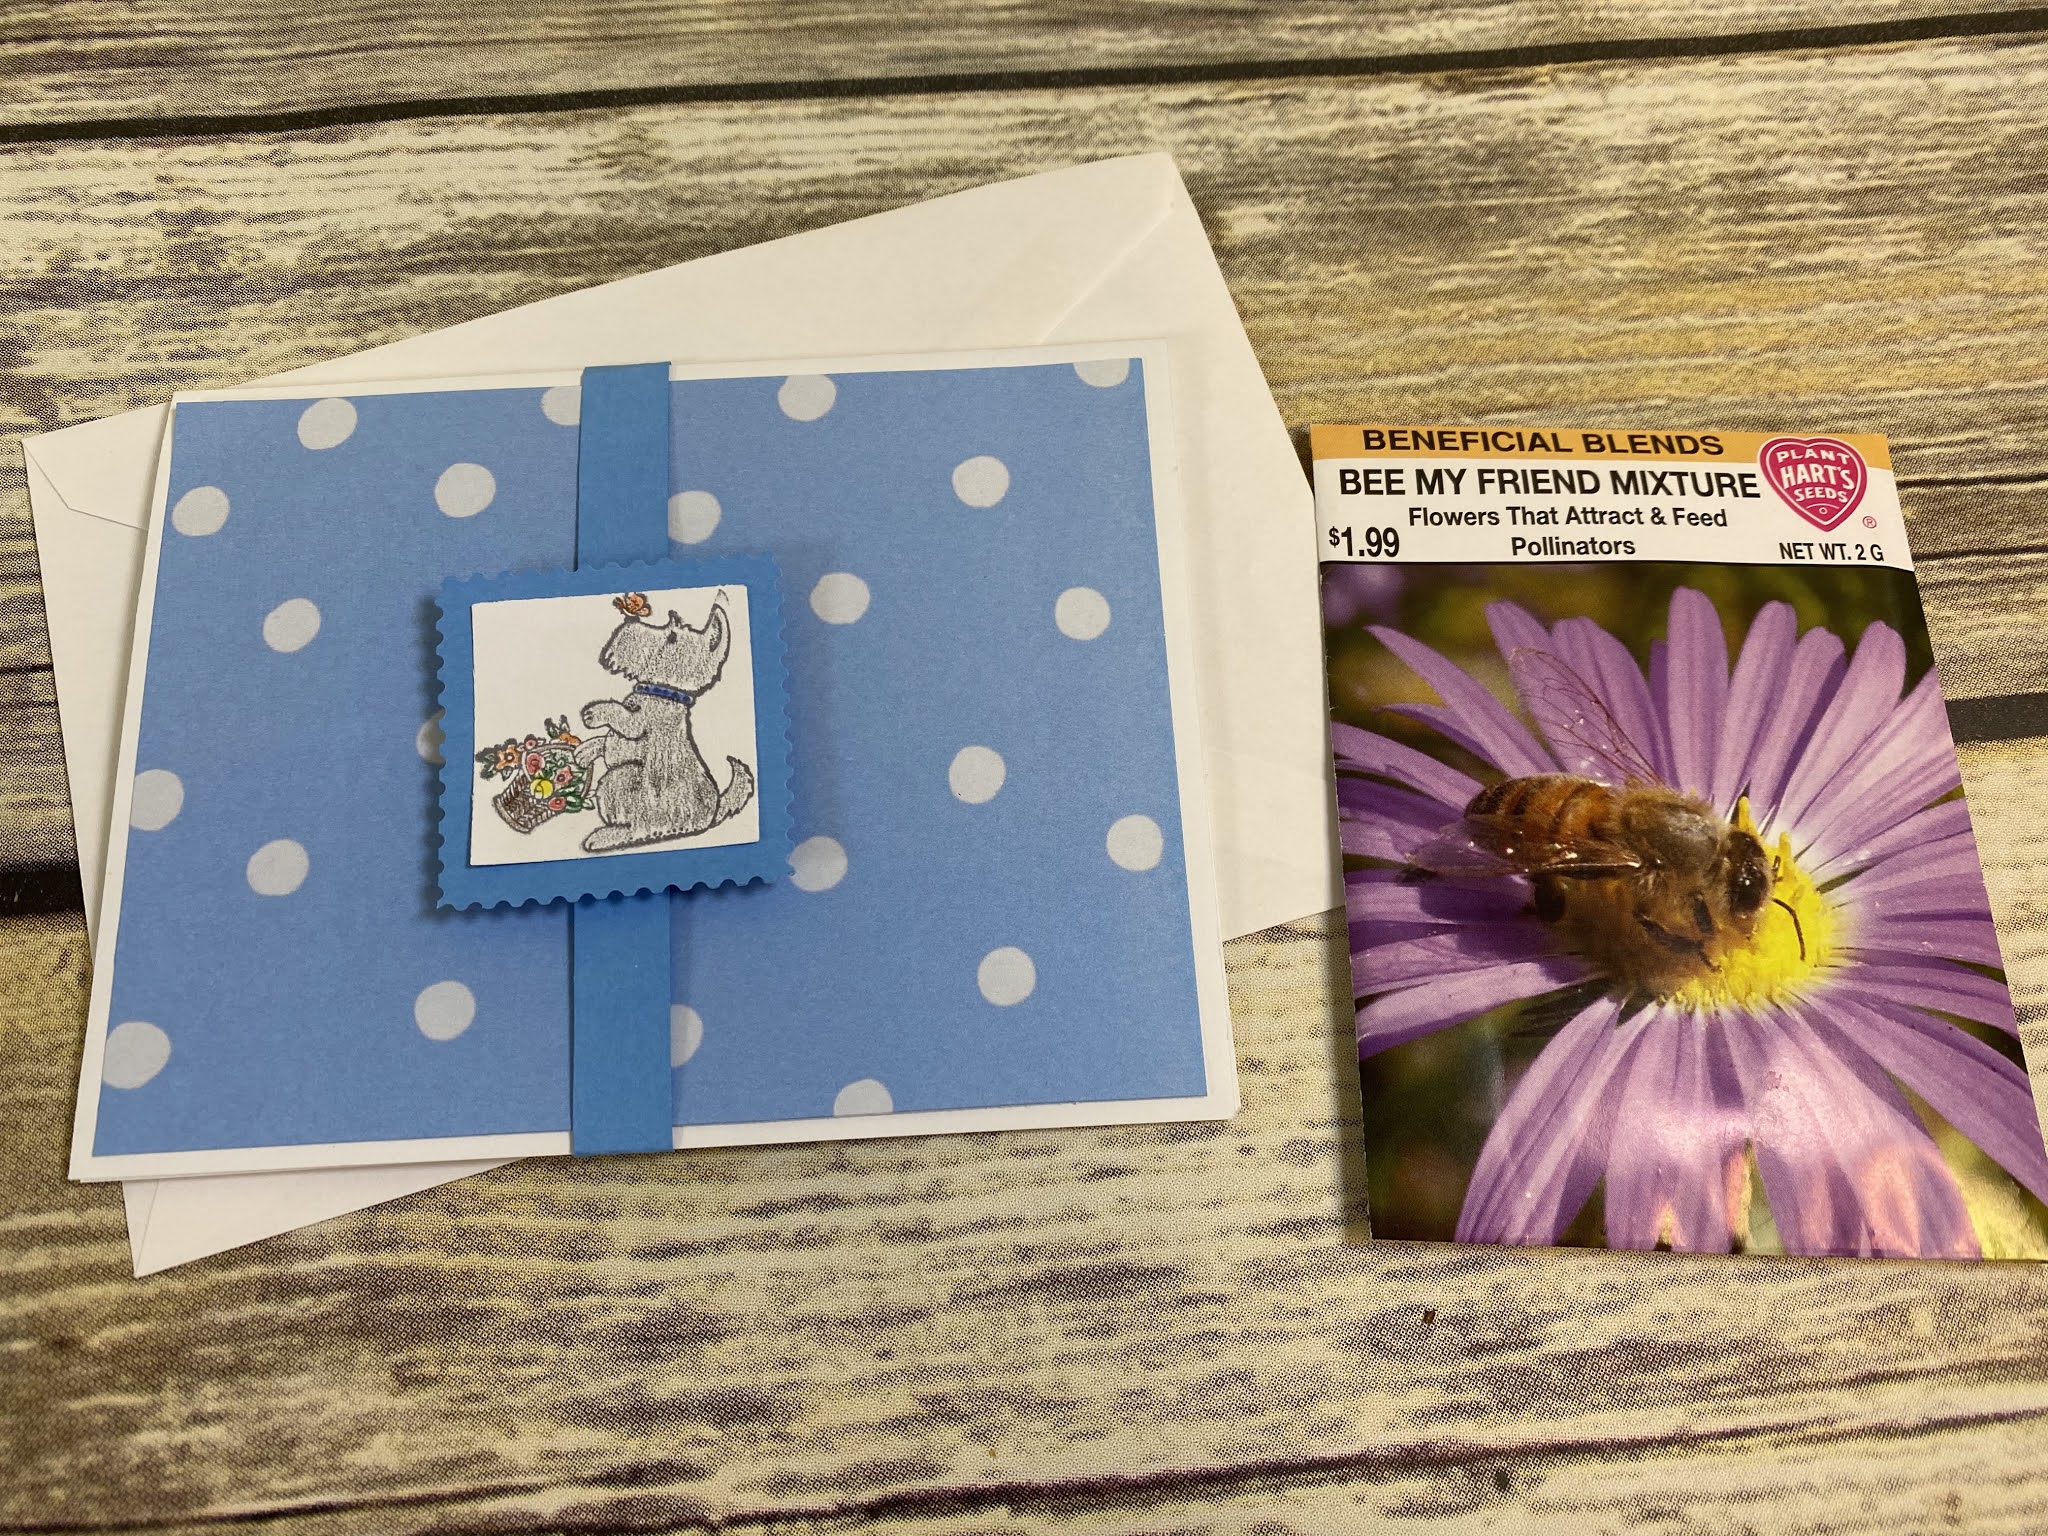
For this card I used white cardstock for the base card and the smaller square, blue and white polka dot paper for the card front, and blue cardstock for the larger square and the belly band strip. It's fine to change the colors obviously, I'll use my colors in the directions to make it clearer when giving directions. I stamped a cute Scottie holding a basket of flowers which seemed appropriate when giving flowers hahah. Stamp whatever you like, or use a sticker or something.
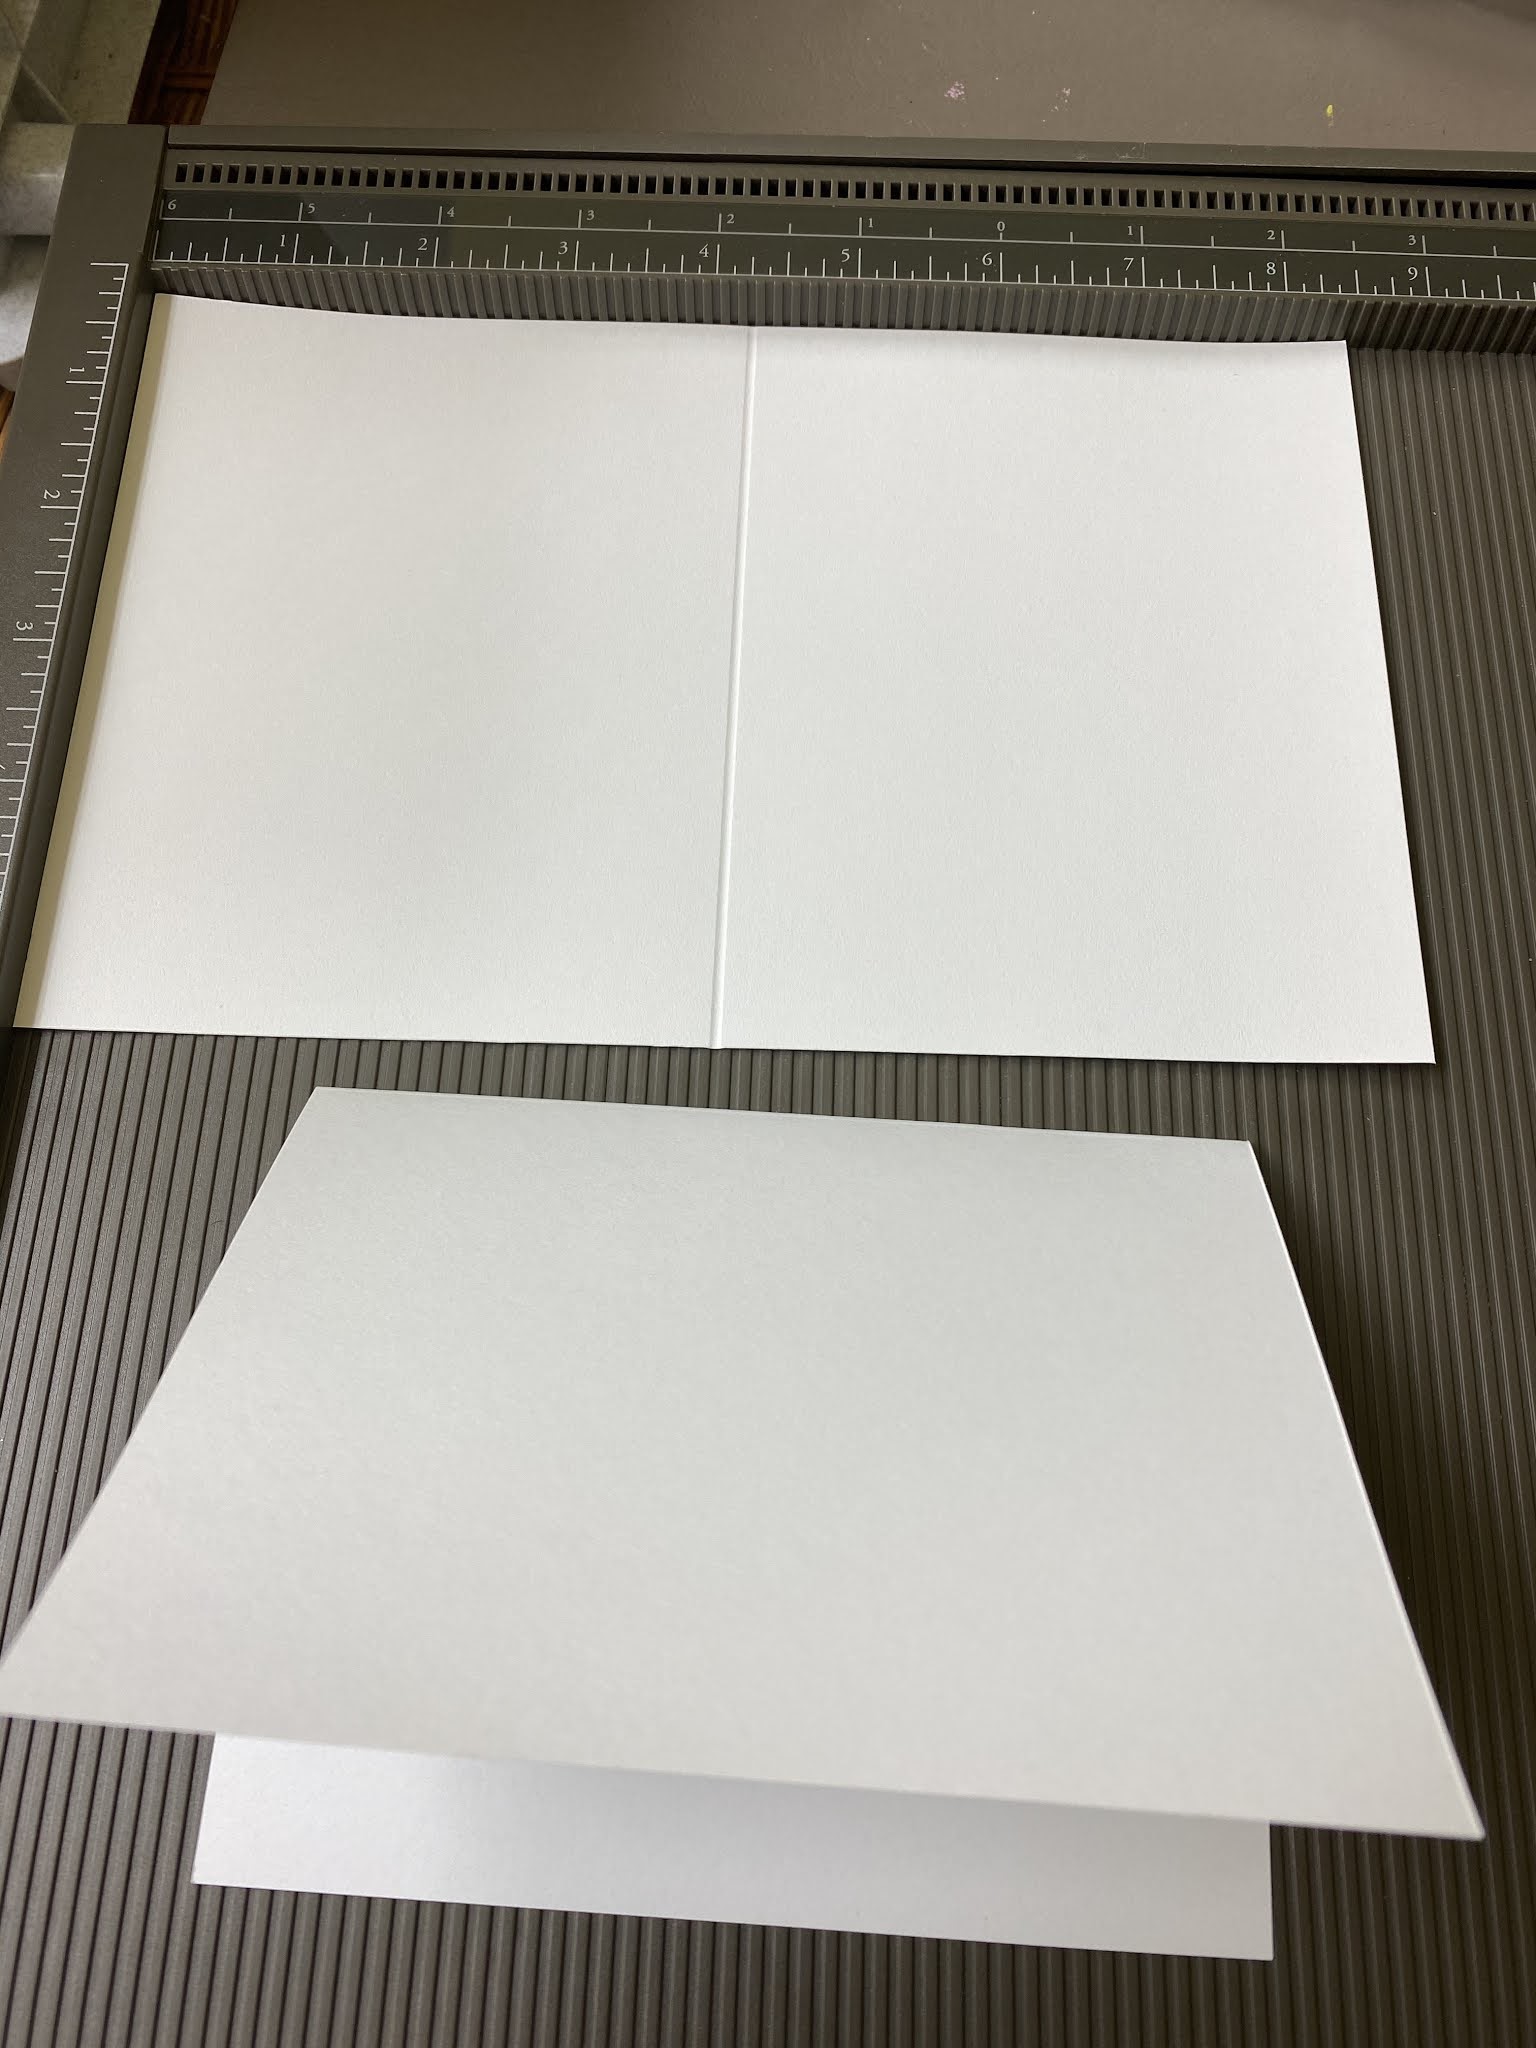
Cut a 8 1/2 x 11" piece of white cardstock in half so you have two rectangles 4 1/4 x 11". Score the center and fold in half creating a card that is 4 1/4 x 5 1/2".
Cut a piece of the decorative polka dot paper 4 x 5 1/4" and glue to the front of the card.
Stamp an image (or use a sticker) onto white cardstock and punch or cut it out in a square. Cut another square out of coordinating blue cardstock that is about 1/4" larger than the square with the image, trim the edges with decorative scissors if desired. Glue the two squares together.

To create the belly band: cut a long skinny strip out of the blue cardstock, about 1/2" wide x 11" long. Fold one end in a couple inches, and put it around the card with the folded end at the front center, then wrap the long end around the back of the card and fold again at the other side so the ends meet in the front; trim off a couple inches of the long overlap and glue the ends together - that creates the 'belly band'. Oh, in case you don't know that term - a belly band is a strip of paper with the ends glued together creating a band that goes around the card, or a box, to keep the card/box closed. I put the overlapping ends in the front because the squares will cover the ends up - otherwise you can put the glued ends in the back of the card where you won't notice the glued part. You want the belly band to fit snuggly so it'll actually keep the card closed - if it's too loose it'll slip right off the card (and if too tight you won't be able to slide it off!).
Color the stamped image - I used colored pencils and didn't try to make it perfect, just lightly give it some color. Stick the stacked squares on the belly band with a foam dimensional (which makes the squares pop off the band a little) or just glue it right to the band.


6.7.20: 🔥week 23
6.7.19: macrame shell holder

6.7.18: travel blog: Norway to Denmark
6.7.17: brownie strawberry skewers
6.7.16: roasted garbanzo beans
No comments:
Post a Comment