8.19.22: snackle box
8.19.21: personalized mimosa glasses
8.19.20: gingersnaps
8.19.19: shadow box memory collage
8.19.18: 🔥 week 33
8.19.17: twisted frozen grapes
8.19.21: personalized mimosa glasses
8.19.20: gingersnaps
8.19.19: shadow box memory collage
8.19.18: 🔥 week 33
8.19.17: twisted frozen grapes
OK, this one is not a recipe, but let me start with a question:
Am I the only one who didn’t know you could make air-fried chicken drumsticks?
I have a bunch of packages of drumsticks from Costco that I have had no idea what to do with. Most likely I bought them because they were cheap, not because I actually have a love for an abundance of chicken drumstick packages. Anyway- I was short on time and looking for a dinner and saw the same packages of chicken that have been in the freezer for months. I then started looking for ways to cook them. I happened to google across “easy air fried chicken drumsticks”. The “recipe” was nothing which was right up my alley. Lay in the basket, drizzle with oil, and season. I got out my trusty creole and blackening seasoning that I use for my fish, sprayed with cooking spray (because I absolutely hate using oil) and seasoned. 7 minutes on one side at 400, rotated and cooked 7 more. VOILA! They were delicious. Like legit delicious. The skin got crispy, the inside still juicy, just really great!
Lucky for me I have 17 packages left to make for future dinners.


8.18.21: oreo rice krispie treats
8.18.20: tip-sy tuesday: measuring sticky ingredients
8.18.19: 🔥 week 33
8.18.18: scrambled eggs and toast 'chick'
8.18.17: school hairstyle by Brooke
8.18.16: 30 day ab challenge


8.17.21: tip-sy tuesday - fruit filled crescent rolls
8.17.20: painted letters and an engagement cake
8.17.19: grape and broccoli salad
8.17.18: morse code bracelets
8.17.17: caprese salad (tomato mozzarella salad)


8.16.20: 🔥week 33
8.16.19: tuna avocado egg salad
8.16.18: sloppy joes
8.16.17: s'more pie
8.16.16: mashed cauliflower
This tip is from postfun.com: That hard clamshell packaging is almost frustrating enough to make not buying something worth it. Almost. Next time, skip almost cutting yourself with scissors or scratching cup your fingers and use a can opener to open the package.
I tried this idea and sure enough, it does work - but not easily. It totally mangled and chewed up the edges so if I wanted to return whatever was in the clamshell packaging it wasn't going to be pretty haha. But it works and was an interesting experiment!
By the way - if you have a can opener that is difficult to use (like turns really hard) my favorite is by Swing-A-Way, I've had good luck with them and they're easy to crank. Just fyi.

8.15.21: 🔥 week 33
8.15.20: mini succulent shadowbox
8.15.19: cheeseburger shepherds pie
8.15.18: zucchini bread or cake
When cleaning out my mom's house we found an old sheet that she had saved of our brothers - Jenny had the idea to make pillowcases out of it and I loved that idea. I've never made a pillowcase so of course spent way too much time watching youtube videos before remembering it's just a rectangle and get making one already hahaha.
The sheet is 64"wide x 95"long and the pattern runs across the width. I wanted the pattern to be horizontal on the pillowcase so I had 64" max to work with - standard pillowcases are approx 20x30 with about a 4" hem on the open end but I didn't have that much fabric so my hem is only about 2". There are lots of videos showing how to do special hems or cuffs but short of sewing on additional fabric I couldn't do anything special.
For each pillowcase I cut a rectangle 64" x 21 1/2" figuring on a roughly 1/2 inch seam for the sides. Fold in half with right sides together and sew the long ends together. I made a second seam using a zigzag stitch along the raw edge to help it not ravel. Fold the open end back 2" and iron. Unfold and fold the raw edge under about 1/4" and iron, folding the edge under and then folding again will help keep the raw edge from unraveling. Sew the hem close to the folded edge, Then again about 1/4" from the first seam.
Turn right side out, poke the corners from the inside to get them fully turned. Iron so it's nice and sharp and you're done. Easy!
If you have more material to work with you can make a deeper hem/cuff or endlessly watch videos to see how to do some different cuffs!

 |
| 1/2" seam where the pin is above |
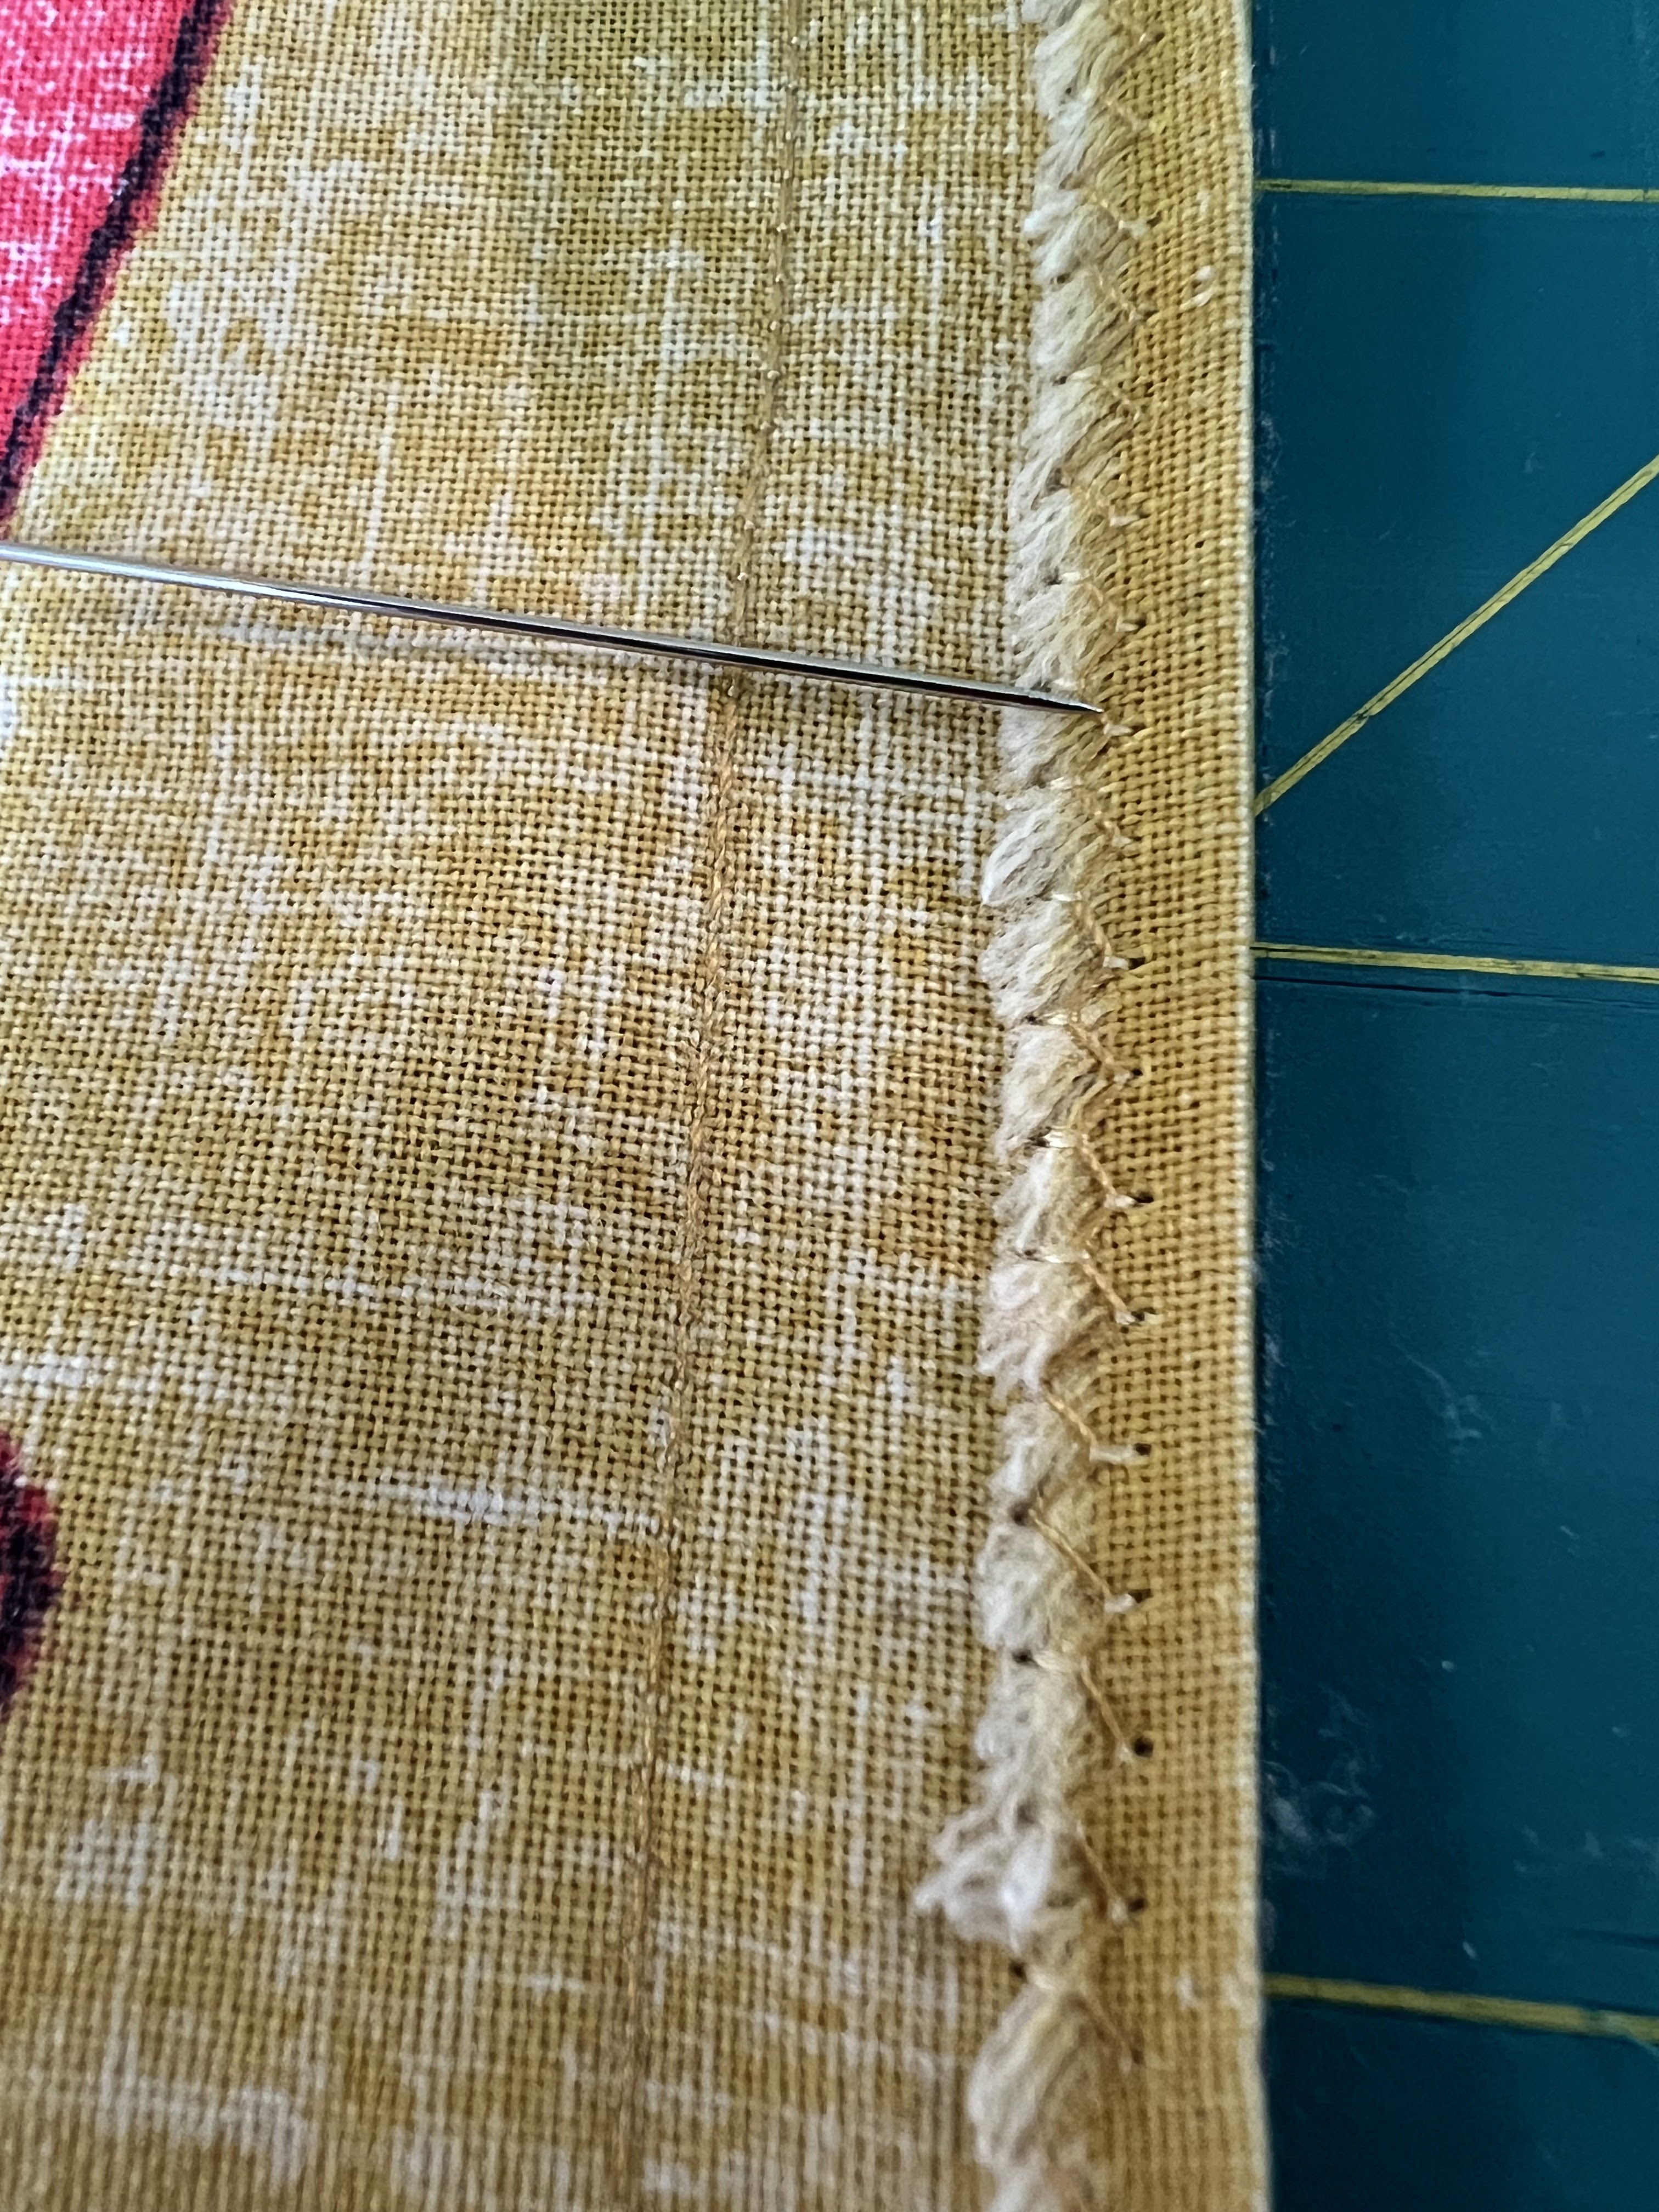 |
and a zigzag seam along the raw edge (the pin is pointing at it in the above pic) |
 |
| 2 seams to hem the open end (where you'll insert the pillow) |


 |
| it also works as a cover for the back of my office chair. the pattern is going the 'wrong' way but it's still cute and I enjoy seeing it every day while working! |
8.14.22: 🔥 week 33
8.14.16: quebec chicken
Dear Campers ~
Here's a quick recap in case you missed anything at camp last week:
Posts ~
8/6: 🔥 week 32
8/7: baby play ring
8/8: TT herb flowers
8/9: bacon and boursin stuffed peppers
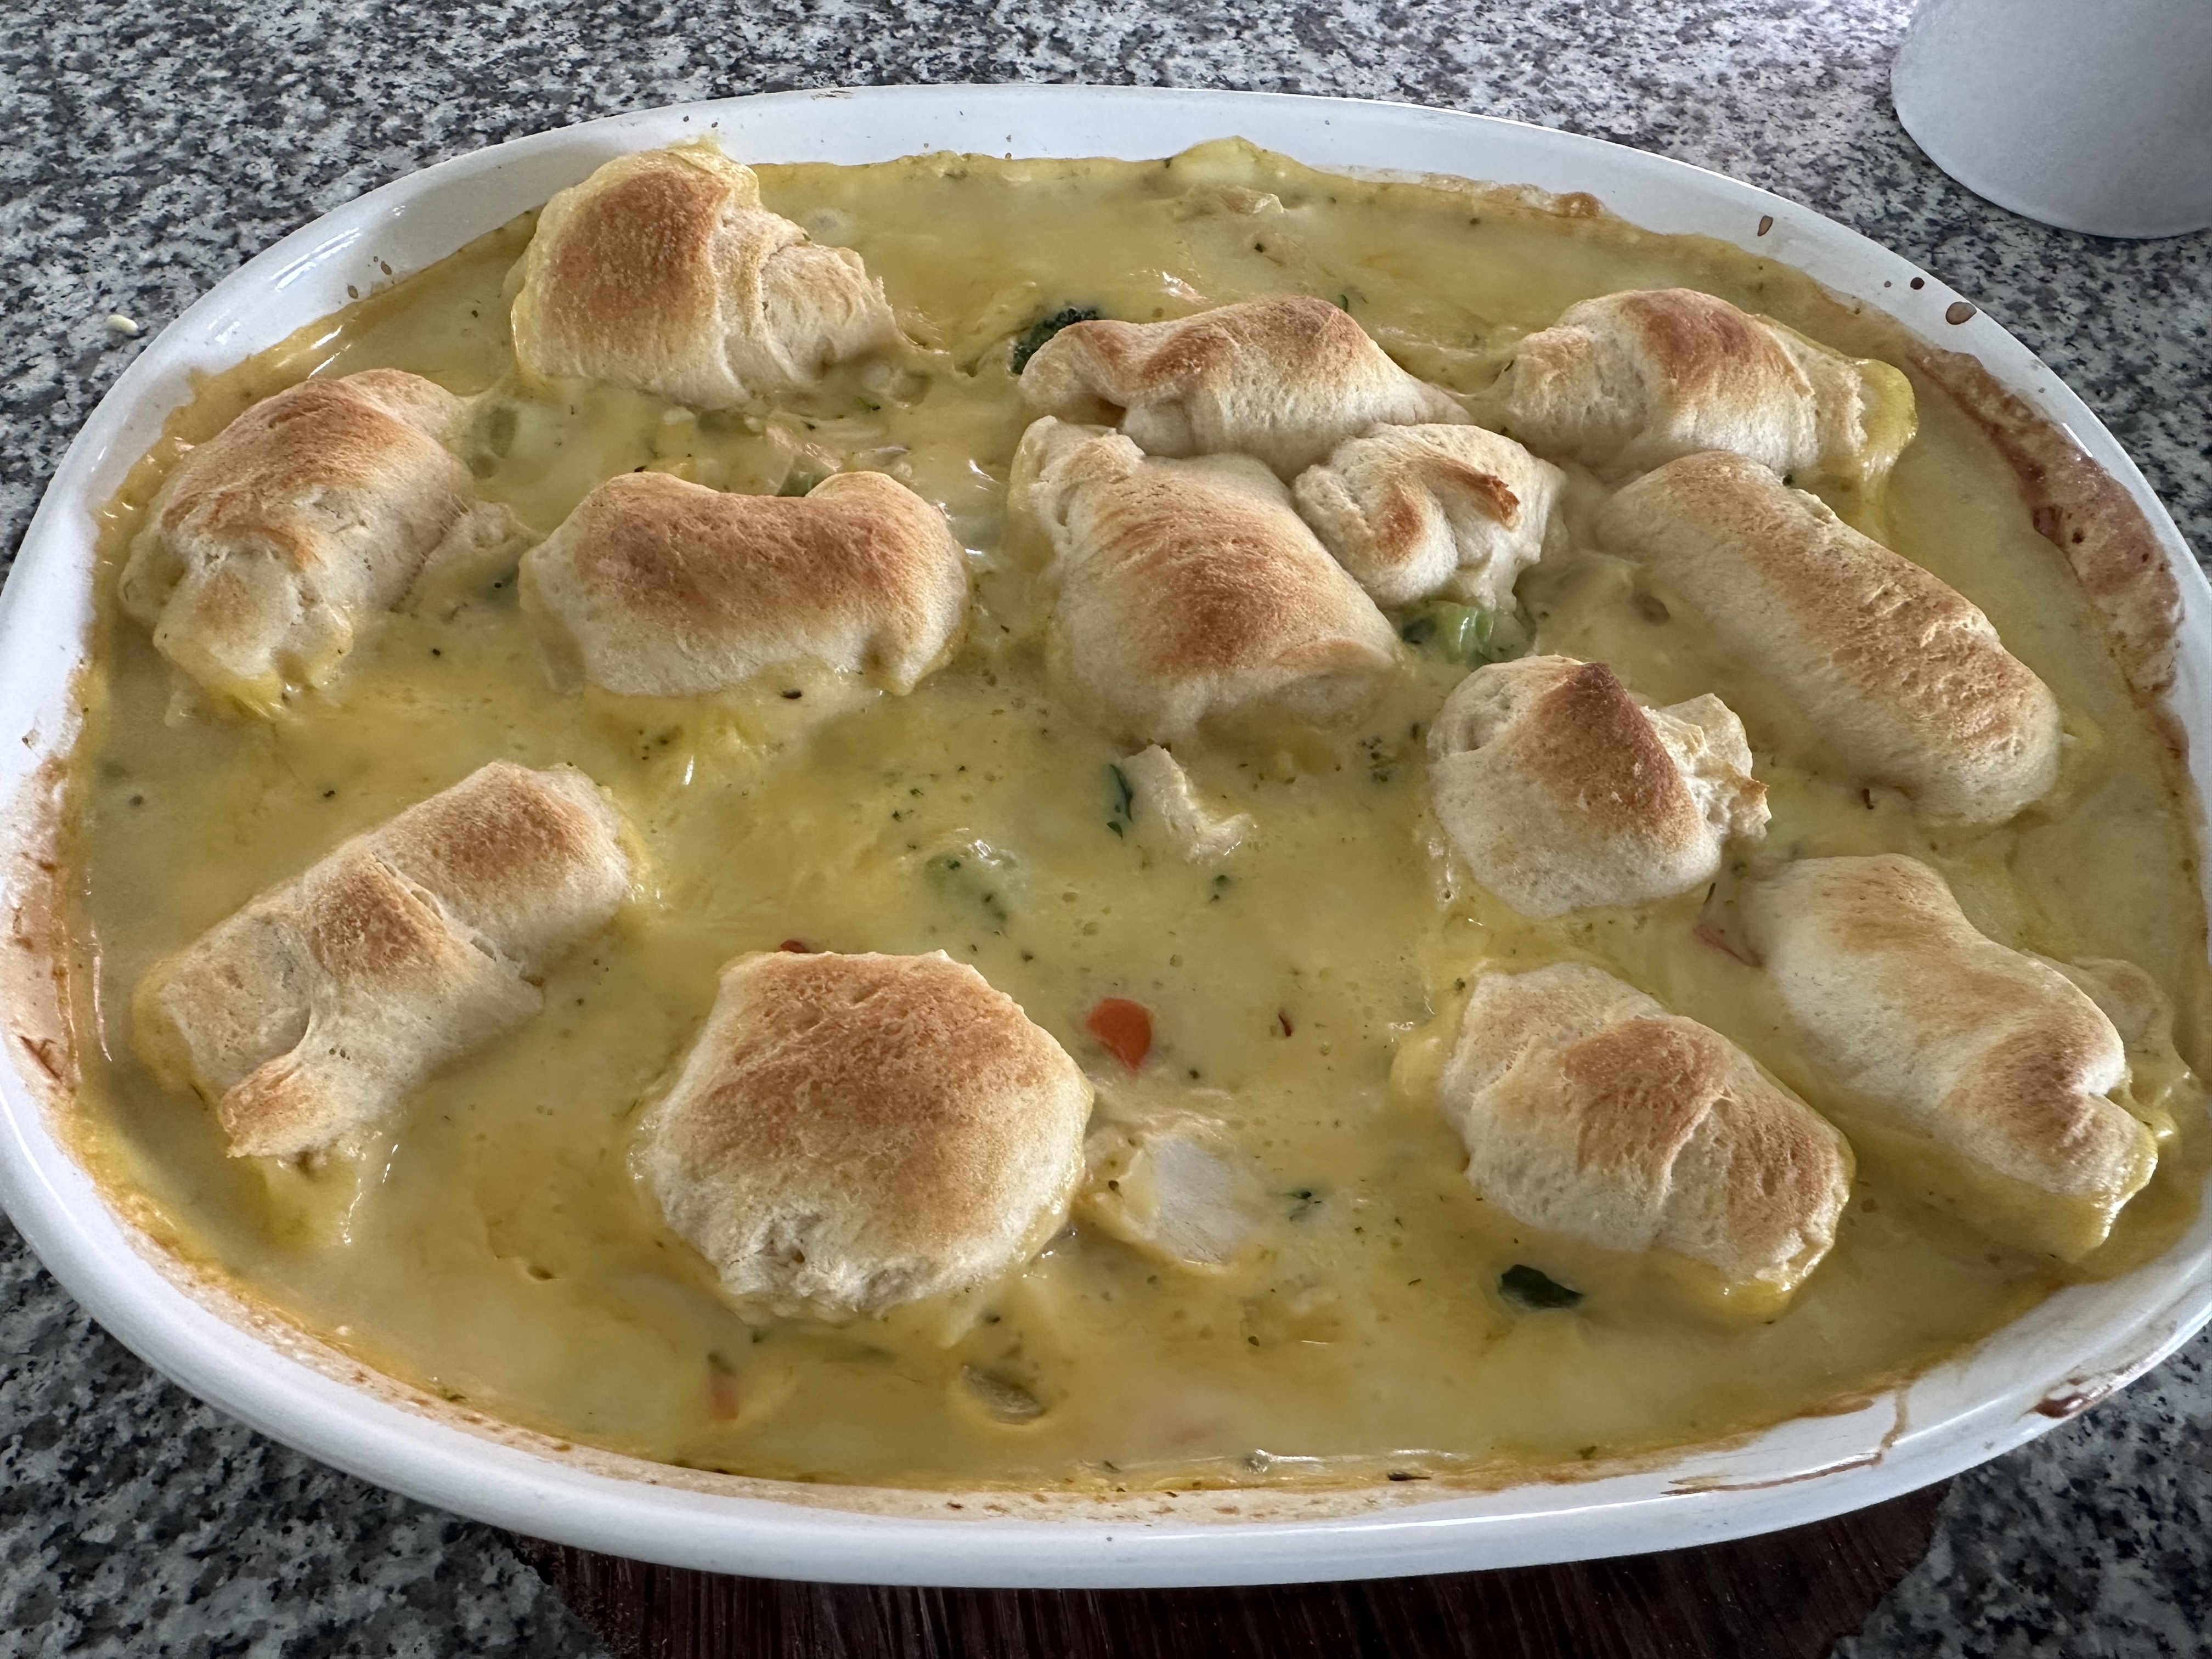
8/10: shortcut chicken pot pie
8/11: MSTI coffee chiller update
8/12: words
Super short recap this week, we are up north camping and I'm waiting for friends to come over for lunch (burgers, bean and corn salad, potato salad) and I'm out of time to share anything else today. See you next week for more recipes, crafts, projects, whatever I can think of to make (or get other people to make for me!) at camp. Bye :)
Sincerely ~
Jill
camp counselor
PS: HAPPY BIRTHDAY TO MY SIS!
8.13.22: dirty shirley
8.13.21: taco cake

8.13.20: notebook paper frame
8.13.19: TT - opening a can
8.13.18: framed travel coins
8.13.17: chicken tortellini salad
8.13.16: copycat purple drink


8.12.22: candied almonds
8.12.21: room assignment cards
8.12.20: mini banana cream pies
8.12.19: zucchini chickpea patties
8.12.18: 🔥 week 32
8.12.17: baked spinach dip
8.12.16: candy bouquet