Sunday, December 10, 2023

🔥 Around the Campfire (week 50)

Dear Campers ~ 

Here's a quick recap in case you missed anything at camp last week:

Posts ~

12/3: 🔥 week 49

12/4: snowman baggie wreath re-run

12/5: pumpkin deer re-run

12/6: asian salad dressing (aka: Appleby's dressing)

12/7: Quebec chicken 

12/8: santa gift enclosure 

12/9: words

I flew for the first time in a very long time last weekend, and wouldn't you know it - now I'm sick! On the up-side tho I sound like Batman which is pretty cool :) So no menu ideas to share this week (unless canned chicken soup counts haha). 

That's it for now - see you next week for more projects, crafts, recipes, whatever we can think of to make at camp - bye :)


Sincerely ~

Jill
camp counselor


12.10.21: santa gnome cupcakes

12.10.20: MSIH scalloped potato review

12.10.19: TT make a gift bag out of wrapping paper (it's easy and so handy, I make them all the time!)


12.10.17: sweetly spiced pork tenderloin with butternut and pears


Friday, December 8, 2023

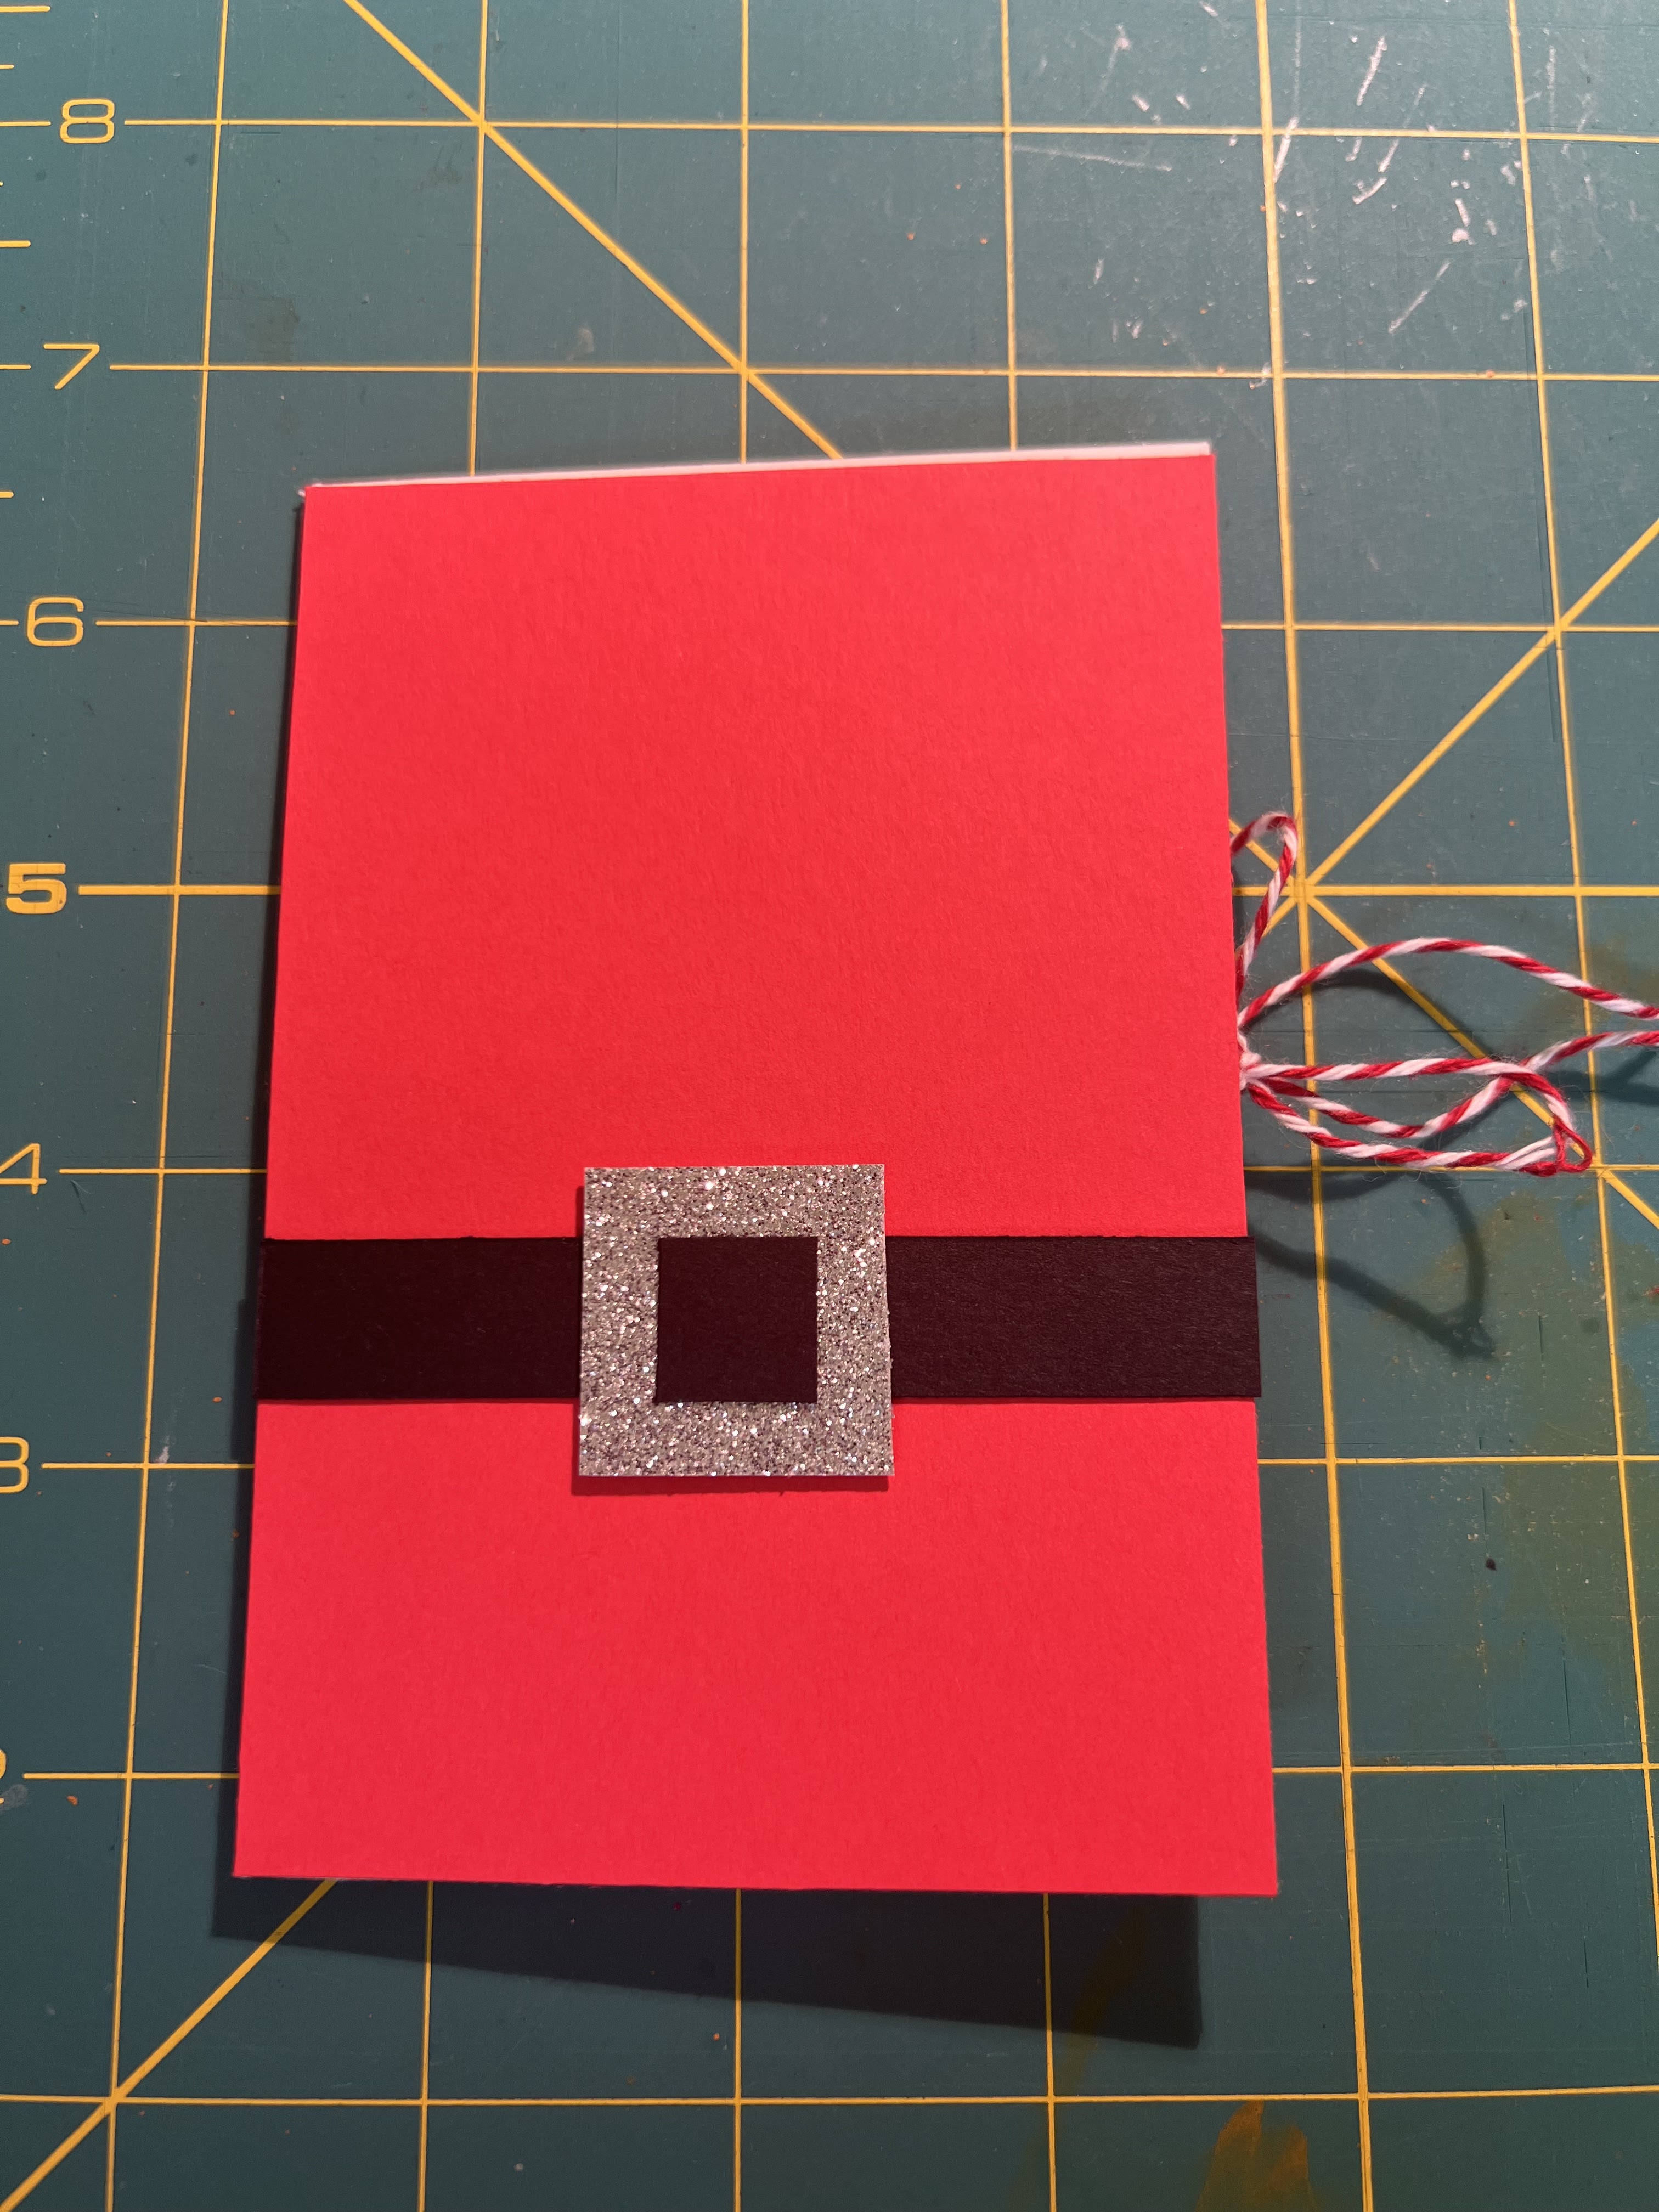
Santa Gift Enclosure

Looking thru my folder of ideas I came across this idea for another gift card holder - I've made many different card holders (I know!) but this one is very cute, very quick, and very easy so I just went and whipped one up in like 5 minutes.

This is a Stampin' Up creation, I assume I got it from Ronda - I made it out of mostly non-stampin'up materials so I'll just show you how I did it, it is a bit different from the example and feel free to make your own changes as you see fit! The original continues the red paper and black belt around to cover the backside (I just did the front and think it looks ok), and it has a stamped message at the top. Use whatever size envelope you have on hand that will hold a gift card when folded in half and adjust the sizes of the red, black, and glitter papers accordingly. I took lots of pics, and here's the original directions:

Directions:

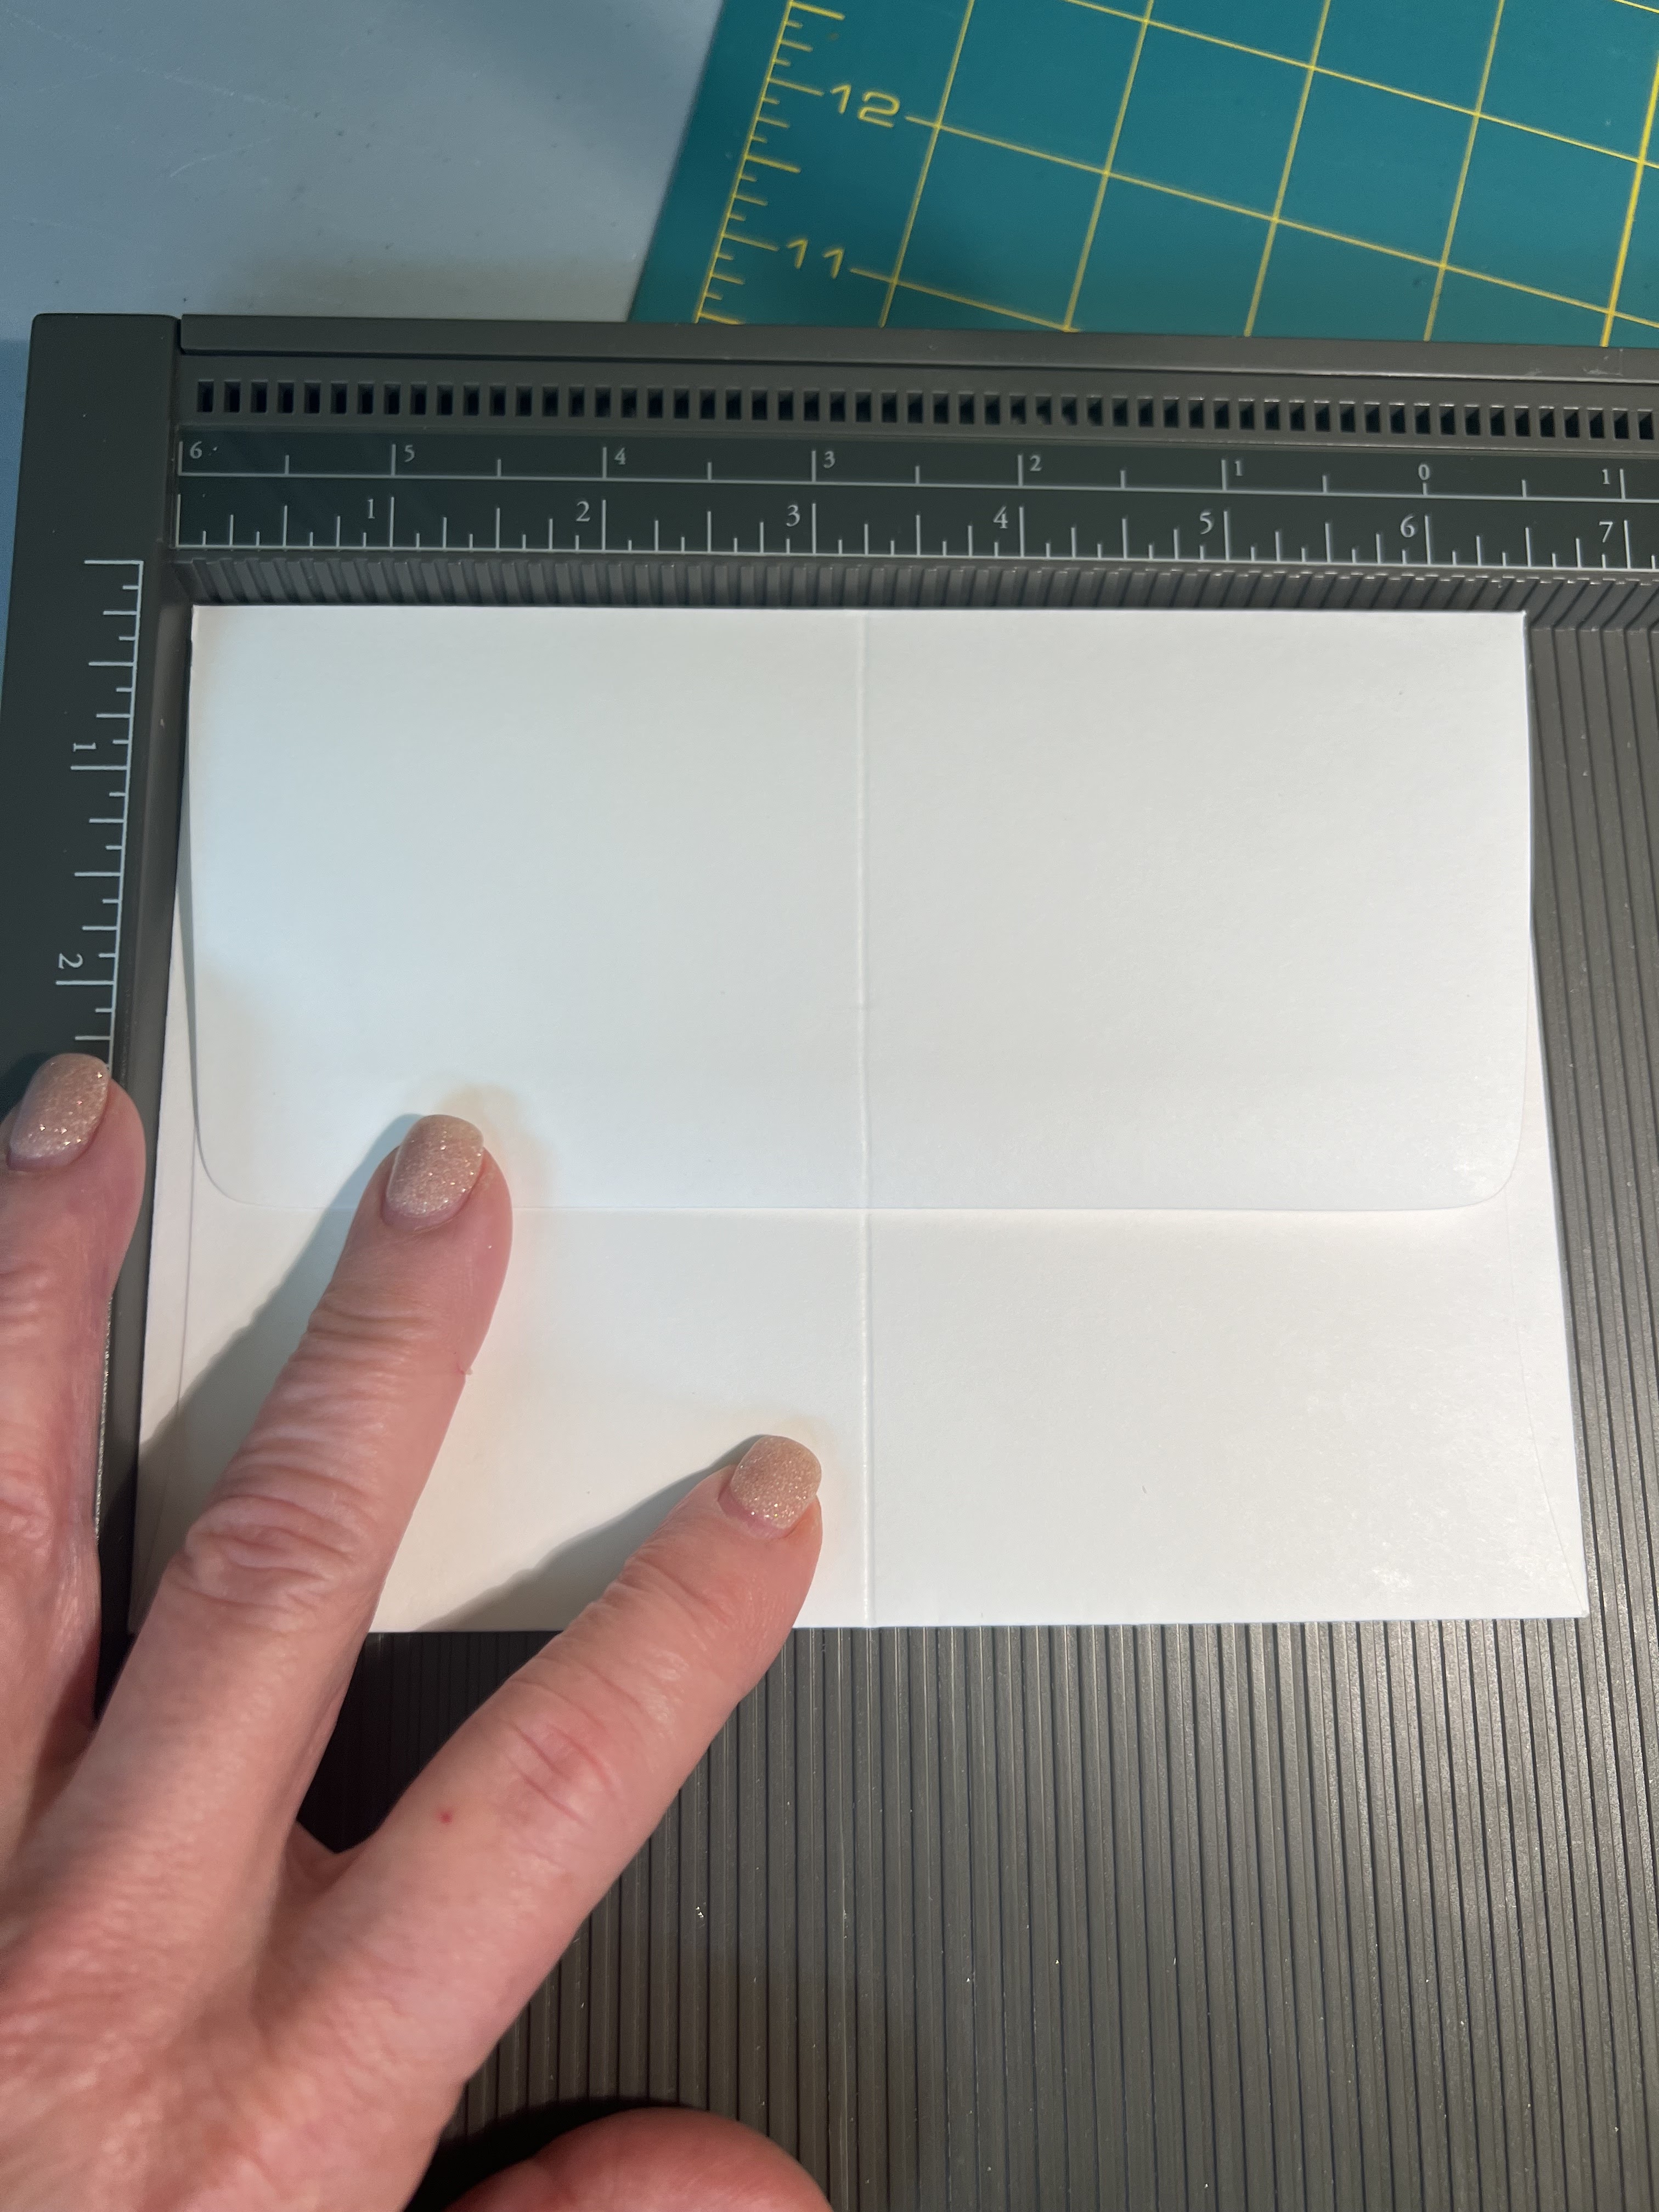
  1. Fold the Whisper White Envelope in half. Cut off ONE half of the flap and then glue down the other side. Wrap around a piece of the White Baker's Twine and tie in a bow.
  2. Cut 2 pieces of Real Red 2 ¾ × 4 ¼ and glue down to the front and back with Stampin' Dimensionals.
  3. Cut ½ × 2 ¾ piece of Basic Black, layer on a 1 inch square piece of Silver Glimmer Paper, and add a ½ inch square of Basic Black on top.
  4. Stamp greeting with Basic Black and punch out with a 1 ¾ inch Circle Punch and add a sliver of Glimmer Paper behind.
  5. Add your Gift Card to the inside.


Here's the original:


12.8.21: catalina cranberry chicken 

12.8.20: TT: prosciutto (and a great pear/cheese/prosciutto appetizer)


Thursday, December 7, 2023

Quebec Chicken

My sis just asked if this recipe is on the blog so she can verify if she's remembering all the ingredients correctly - and I had a little problem finding it so I decided I'd re-run it to make it easier to locate in the future. 

So the reason I had a problem finding it is because I couldn't remember what I re-named it! We don't call it 'Quebec Chicken' but since we might have gotten the recipe in a sneaky way I didn't want to put it on the blog under the name we actually use LOL. So when Jen asked me for "________ Chicken" I had to figure out what I blogged it under hahahahah. 

Here's the original post from August '16 - "My Sister's Birthday Dinner (aka: Quebec Chicken):

For my sister's birthday she requested Quebec Chicken - a dish we have been making forever. So this may or may not be a stolen recipe, it's a long ancient story - let's just say I heard it from a friend who, heard it from a friend who, heard it from another... and leave it at that! Wherever it came from and however I got it, it's an excellent recipe and we are all crazy for it (oh, and for the record I changed the name to protect the innocent hahaha!! ). 


Ingredients:

  • 1 pound chicken tenders (or boneless, skinless chicken breast)
  • a couple sweet peppers (I like to do different colors), chopped in bite sized pieces
  • 1 small onion, chopped in bite sized pieces
  • 1 cup sour cream
  • 1 cup mayonnaise
  • 1 cup grated parmesan
  • 1 T. montreal steak seasoning
  • 1 t. lemon pepper
  • 2 T. olive oil
  • 1 pound cooked angel hair pasta

Directions:

Cut the chicken tenders in half (big bite sized pieces), put in a big bowl. Drizzle with a little olive oil and sprinkle with the montreal steak seasoning and lemon pepper, toss to coat evenly. Sauté chicken in the remaining olive oil in a large saucepan, turning once, a couple minutes on each side. Remove chicken from pan and add the peppers and onions, sauté for a few minutes until softened. Add the chicken back to the pan and then stir in the sour cream, mayo, and parmesan. I like to add additional montreal seasoning but that is up to you. Bake in a large casserole dish 1 hour until bubbly, serve over the pasta.

note: I normally double this - we rarely have leftovers, and the sauce is so good you'll want lots of it! Cover for the first half hour, then remove the cover so it browns a little bit. The sauce is super thick to start but will loosen up as it bakes. There are a bunch of people in the family that don't like peppers and onions so I don't usually add them to the sauce, bake them in a small dish separately and then whoever wants them can add to the chicken and pasta - if everyone at your house likes peppers and onions though, the sauce tastes even better if you bake them all together. I've made it with broccoli and mushrooms which is also good - but I personally like the onions the best!) 

OMG this is so good - you guys are gonna love it!

12.7.22: Christmas tree pull apart bread

12.7.21: tip-sy tuesday: cheese

12.7.20: how to decoupage glass plates 


Wednesday, December 6, 2023

Asian Salad Dressing

Last week I shared a recipe for ramen chicken salad and included this dressing, but I want it to have its own post so we can find it easier in the future. I make it all the time, it's delicious!

APPLEBY'S DRESSING
  • 1/2 C. oil
  • 4 T. white sugar
  • 2 T. vinegar
  • 1 T. soy sauce
  • 1/2 t. salt
  • 1/2 t. pepper
Mix all together in a shaker bottle or bowl until well incorporated. Cover and chill 30 minutes. Makes 1 cup. 


12.6.22: cork santa hats


Tuesday, December 5, 2023

Pumpkin Deer

I keep messing up and not scheduling posts correctly - and I just see that I didn't do yesterday or today! Good grief. Let's go with a re-run of this super cute and easy pumpkin made from a white fake pumpkin and a handful of supplies you probably have on hand...and I'll try to get it together before tomorrow LOL.

Originally posted 12/5/16 and titled 'funky folksy deer':

Made this for Ronda's December seasonal display table and I have to say it was a little hard for me to let it go - this turned out sooooooo cute. It was really simple to make so I parted with him knowing I can easily make another ;)


Supplies:
-white fake pumpkin (found at the craft store - you could always use an orange one and paint it, or even a real one but I worry about them getting all mushy in the house)
-2 different color (and sizes if you want) buttons for the eyes
-triangle piece of felt for the nose
-2 pieces of felt for its ears (I just cut out sort of rounded ovals in the size I thought would work for my pumpkin)
- 2 sticks for the antlers (I roamed around the yard looking for sticks that were the right size and shape)
-miscellaneous bits of yarn

Directions:
-hot glue the buttons, felt nose, and felt ears in place. For the ears I pinched the bottom of the oval together so they would form ears and glued them on.
-wrap the yard around the sticks in different areas, as much or little as you want. It looks cute to wrap up some of the little side parts of the stick too - I hot glued the beginning of the yarn in place, wrapped as high as I wanted and then glued the end down; repeat with other colors in other areas, trying to hide the glue and ends as best I could.
-poke small holes in the top of the pumpkin where you want the antlers to go and stick them in. I didn't like being able to see where the sticks went into the pumpkin so I wrapped short pieces of yarn around the opening and glued the ends down neatly.

Seriously, I think this is adorable. I got the idea for it in some magazine a long time ago, it's been in my idea file for ages so I don't remember where it's from...


Monday, December 4, 2023

Snowman Baggie Wreath re-run

Originally posted 12/4/18:

Remember the baggie wreath from Halloween (food baggies tied onto a wire circle)? I turned it into this snowman wreath by attaching a wood sign and some silver snowflakes that I found at the dollar store. So my original-cheap-easy baggie wreath that cost a couple bucks is now a cheap and easy snowman wreath that cost less than 5 dollars. And it's super cute. Can't ask for much more than that from a snowman wreath! :)


12.4.21: defrosting the chest freezer

12.4.20: how to make tiny bows using a fork

12.4.19: cranberry sauce hand pies

12.4.18: snowman wreath


12.4.17: wine cork Christmas trees


12.4.16: pasta with roasted tomatoes and sausage


12.4.15: contact paper dog house


Sunday, December 3, 2023

🔥 Around the Campfire (week 49)

Dear Campers ~ 

Here's a quick recap in case you missed anything at camp last week:

Posts ~

11/26: ðŸ”¥ week 48 

11/27: advent gifts 

11/28: TT glue gun station 

11.29: mediterranean turkey meatloaf

11/30: crockpot apple crisp

12/1: ramen noodle chicken salad

12/2: words

What's Cooking ~

  • baked walleye, baked potato, cole slaw
  • grilled pork chops, buttered noodles, roasted green beans
  • chicken Parmesan, leftover noodles, sautéed mushrooms and zucchini
  • meatloaf, mashed potatoes/cauliflower, mixed veggies

That's it for this week! See you next week for more projects, crafts, recipes, whatever we can think of to make at camp - bye :)


Sincerely ~

Jill
camp counselor


Friday, December 1, 2023

Ramen Noodle Chicken Salad with Asian Salad Dressing

I love this salad dressing recipe and have been making it for years courtesy of an old friend, Kris Appleby. In fact, I call this 'Appleby's Dressing' but that name isn't going to mean much to you when you are looking for an asian salad dressing recipe haha, so I re-named it for this post. We went to dinner at their house (like 30 years ago!) and I still remember what she made - grilled marinated pork tenderloin, long- and wild rice mix, and a lettuce salad with mandarin oranges, mushrooms, and green onions tossed with this dressing. 

It's awful that I can remember this meal from 1993 but can't remember what I had for lunch yesterday 🤦‍♀️

  • 1/2 recipe "Appleby's Dressing" (recipe follows)
  • 4 C. mixed greens (spinach, romaine, etc., whatever you like)
  • 2 C. fresh veggies (carrots, mushrooms, pea pods, cucumber, etc., whatever you like)
  • 1 C. coarsely chopped red cabbage
  • 1 (3 oz.) package ramen noodles (discard seasoning packet), broken into pieces
  • 4 (12 oz. total) boneless chicken breasts
  • soy sauce
  • ground ginger
Sprinkle chicken with soy sauce and ginger, cook however you want (grill, bake, steam...); cool and shred or chop into bite-sized pieces.

Mix together all ingredients (greens, veggies, cabbage, noodles, cooked chicken), toss with dressing and serve immediately. Makes 4 servings

*note: this salad is also great without the chicken. 

APPLEBY'S DRESSING
  • 1/2 C. oil
  • 4 T. white sugar
  • 2 T. vinegar
  • 1 T. soy sauce
  • 1/2 t. salt
  • 1/2 t. pepper
Mix all together in a shaker bottle or bowl until well incorporated. Cover and chill 30 minutes. Makes 1 cup.