Wednesday, October 19, 2022

Bacon Jam (re-run)

In yesterday’s post for fried green tomatoes I wrote that my mom liked to eat them with bacon jam, I totally forgot about amazing bacon jam! So I’m sharing that post again in memory of mom, and also because it’s SO good it deserves another look. Originally posted 12/17:

Bacon. 

Jam.

(mic drop. really, do I need to say more?)

And if anyone's first thought is "why",  I'm not sure we can be friends. 'Cause c'mon - bacon jam!


Ingredients:
  • 2 pounds bacon, diced
  • 4 medium onions, thinly sliced
  • 3 cloves garlic, smashed and peeled
  • 1 1/2 tablespoons fresh thyme leaves
  • 1/2 cup cider vinegar
  • 1 cup packed brown sugar
  • 3/4 cup brewed coffee
Directions:
  1. In a large skillet over medium-high heat, cook bacon in 2 batches, stirring occasionally, until crisp, 10 to 12 minutes per batch. With a slotted spoon, transfer bacon to paper towel-lined plate to drain. Pour off all but 2 tablespoons fat from skillet. Add onions and garlic; cook, stirring, until onions are translucent, about 10 minutes. Transfer mixture to a 6-quart slow cooker.
  2. Add thyme, vinegar, brown sugar and coffee to slow cooker. Chop bacon into small crumbles, add to slow cooker and stir. Cover and cook on hight for 2 1/2 hours. Uncover and cook until onions are caramelized, about 1 hour more. Jam will thicken as it cools. 
  3. Let cool. Refrigerate until ready to jar. The jam will keep in the fridge up to 4 weeks.
Note: if gifting - portion the jam into 4 1-cup jars. You could cut scraps of fabric with pinking shears and tie over lid with twine, or just wrap the jar with some ribbon. Attach a tag (include that it needs to be kept in the fridge and will last 4 weeks), and you could also tie on a pretty spreader if you want to add to the gift!

Serve on crackers and sandwiches (try it on grilled cheese). 

Hands-on time: 1 hour
Total time: 4 1/2 hours
Yield: about 4 cups

found this recipe here.

PS: I cannot stop nibbling on this. A teaspoon at a time. Sweet and salty...bacon-y...sigh.


10.19.21: TT- enchilada sauce
10.19.19: mummy meatballs
10.19.18: coffee filter ghost sucker wreath

Tuesday, October 18, 2022

Fried Green Tomatoes (re-run)

Today would have been my moms birthday (well I guess it’s still her birthday, but you know what I mean right?) so I’d like to repost this recipe for fried green tomatoes that she taught me how to make. This is a good time of year to use up any green tomatoes that didn’t have time to ripen, or maybe you can find them  at the grocery store or farmers market. They are great! 

Originally posted 11/10/18:

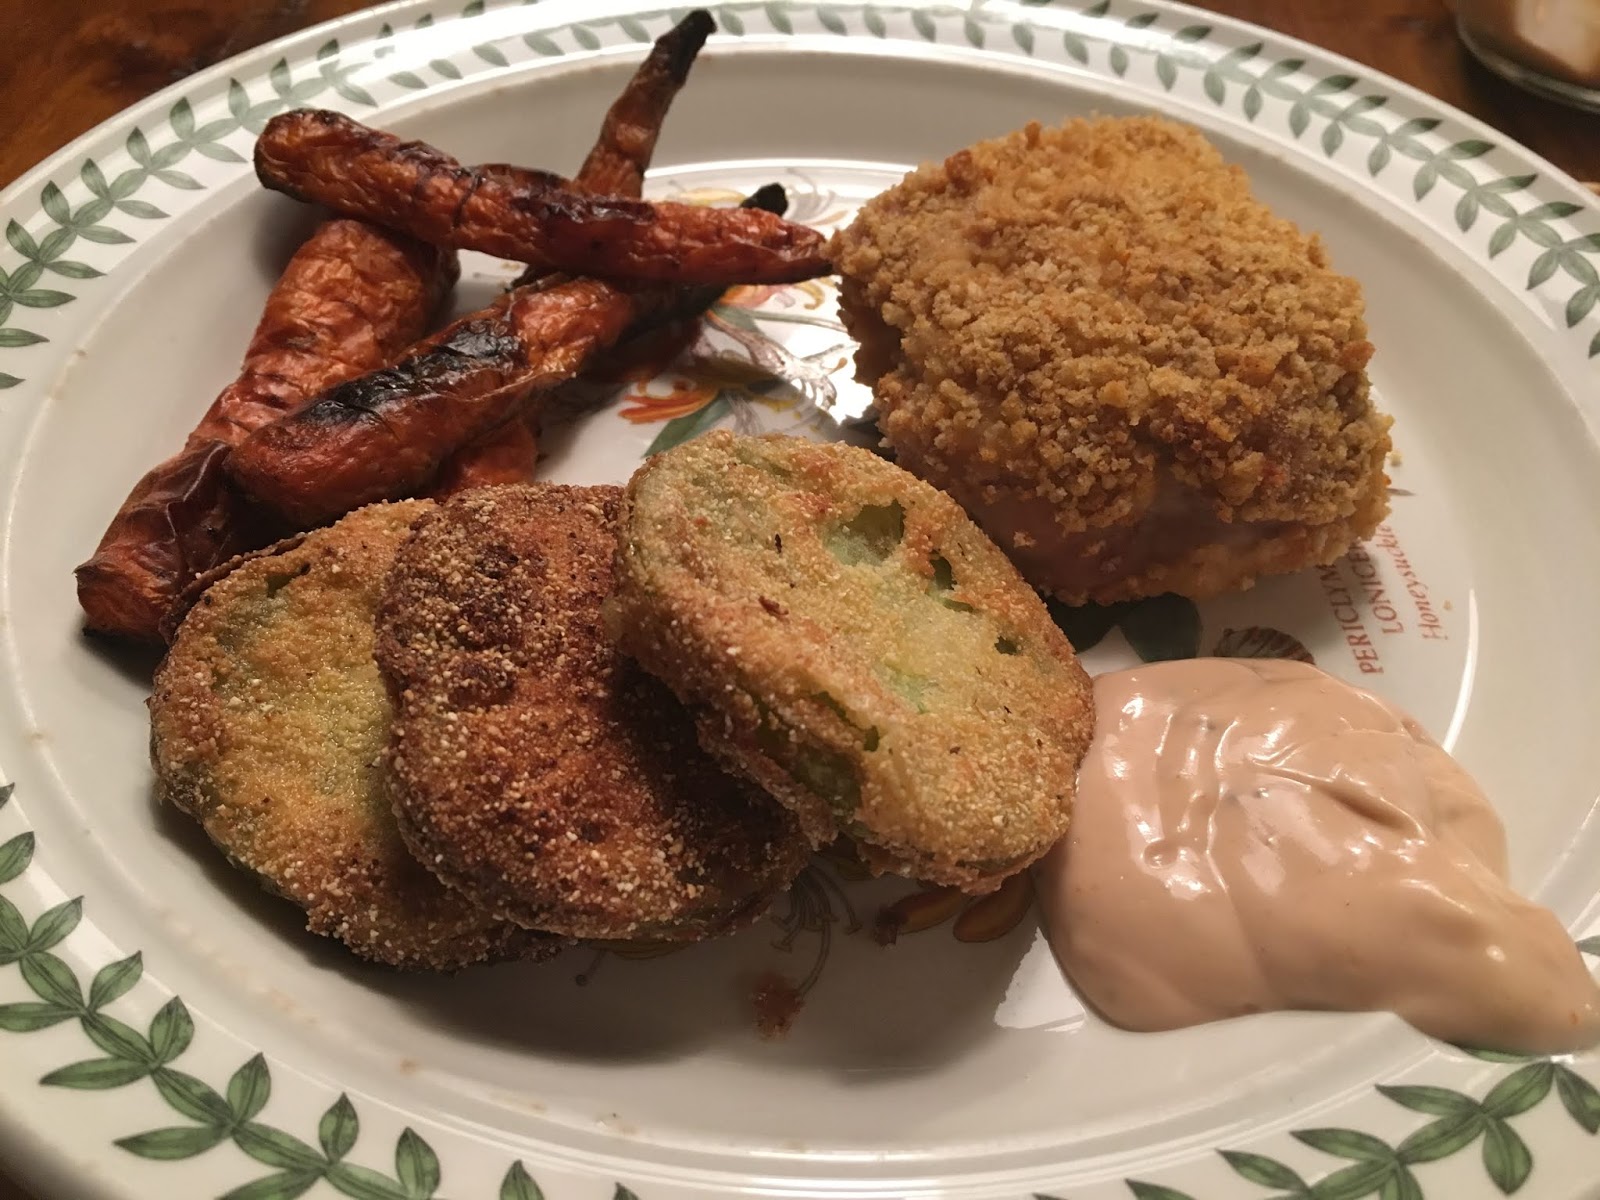
I have never had fried green tomatoes, let alone made fried green tomatoes - quite frankly I wasn't really interested in trying them 'cuz (a) I try to not eat fried foods, (b) we live in Michigan and it's not really a thing, and (3) I've never had an abundance of big green tomatoes that I was trying to use up before! Well, as you've seen this past week (green tomato soup, muffins, jam) I had lots to spare and thought I'd give frying them a try. Know what? They are SO SO good, I'm a believer now and this will be a repeat for sure. Yes they are fried and I don't do that often, but these are not greasy at all and it still seemed like I was eating a vegetable - I love fried green beans but really, they don't taste like beans, they taste like fried batter! These aren't like that, promise. If you see green tomatoes at the grocery store or farmers market you really really want to buy a couple and make this recipe - you won't regret it!


I read a bunch of recipes before it occurred to me that my mom lives in the south and is a great cook, so I bet she knows how to make them (side thought: why is this a southern thing? why don't we eat them in the north? not like we don't get - obviously - green tomatoes here!) -  why wasn't I just asking her instead of googling random recipes? Sure enough, she gave me lots of tips that I hadn't read about, and the proof is in the pudding (or in the tomatoes) that she knew what she was talking about :) Thanks mom!

A big key is that you want the tomatoes dry...really dry...so they don't fry up mushy. Slice the tomatoes into about 1/4" round slices (slice sideways thru the tomato, not top down - that's obvious, right?) and lay them out on paper towels. Sprinkle with salt to draw out some of the juices and let them set 30 minutes (you can go longer if you have time).  Blot really, really well so they are as dry as you can get them. Set up 3 plates (I use old pie tins) for your dipping assembly line;  in the first one put 1/2 cup flour seasoned with salt, pepper, and cayenne pepper; second one whisk an egg or two with a little milk; third one mix together 1/2 cup cornmeal with a couple tablespoons of flour, season with salt and pepper and red pepper flakes.


When you are ready to fry them - note: you want to make these right before eating them, they aren't going to hold very good - put oil (I used canola) in a large frypan, I did about 1/2" deep, and heat over medium-high. Once the oil is hot but not smoking, dredge each slice into the flour, shake lightly to remove the excess flour, then the egg mixture, then lastly in the cornmeal. For each step make sure you are coating both sides and the edges. Carefully place a few slices in the hot oil - don't crowd the slices in the pan - and fry for 2-3 minutes until golden brown, flip and cook for another couple minutes until the other side is golden brown. Don't leave them in the oil longer than necessary, soggy mushy slices are not going to taste as good! Remove from the pan with a slotted spatula, transfer to dry paper towels to blot the oil a bit, repeat with remaining slices.


Mom likes these with bacon jam (click here for a recipe) but I didn't have that so made a quick sauce out of mayo, ketchup, lemon juice, and pepper.

I'm telling ya' - these are fantastic!!! Light, flaky crust and the tomatoes are still firm and flavorful - oh man, I wish I had more green tomatoes so I could make this again right now!!!

Monday, October 17, 2022

10.17.22

Well I just took an unexpected week off from blogging with no warning to you ahead of time or getting people to cover for me - sorry ‘bout that! Now I’m going to have a big ol’ hole in my blog history. My mom passed away quite unexpectantly and we had to go to Tennessee to make some arrangements - I’m so glad we went down a couple weeks ago and had a great weekend with her, she was doing so good! Looking back, even tho it was our last time with her, I think she was feeling blessed and happy she got to do all her favorite things - we shopped, had lunch out, got her Starbucks (which was always the first stop on our outings haha!), went to church, had her fave Mexican food (and Chinese, and pizza - we didn’t lack for food!), and got to spend lots of time with all her daughters, the Tennessee grandkids, and one of her best friends. 

She always read the blog, contributed a few posts, and we talked quite a bit about cooking - she often knew answers to questions I had without my having to Google haha; how to make fried green tomatoes is the first one that comes to mind because a friend and I were just talking about making them. I got my love of cooking and decorating from her for sure - oh and one lesson I definitely learned from watching her is that if you want something done, figure out how to get it done (once she took out a wall in the kitchen that she wanted gone - all by herself!). Thanks to her I’m able to move large pieces of furniture around without help, where there’s a will there’s a way! 

I’m back at home and even tho I STILL don’t have a computer (4 weeks now) I’ll be back to sharing recipes, projects, tips, crafts, whatever else I can think of to make at camp. Stay tuned!

Thanks for listening to me ramble. 

10.17.21: 🔥 week 42

10.17.20: panko crusted baked scallops

10.17.19: MSIH: chicken spaghetti


10.17.2017: make a candy corn wreath


10.17.2016: paint a Halloween canvas


Tuesday, October 11, 2022

Tip-sy Tuesday: stacked pumpkins

Look how cute my front porch looks with these fun pumpkins and gourds, I love it. Jen and I went to Lee Farm in Laingsburg, they have a huge assortment of pumpkins, gourds, mini pumpkins and gourds, “warty pumpkins” (that made me laugh), corn stalks, squashes, mums…so much to pick from it took me an hour to make up my mind! Anyway, on of my favorite ideas is to find 3 different sizes and colors of pumpkins and stack them into a tower - I’ve seen some people put a big dowel thru the tower to keep it upright, but if you find 3 that rest together nicely I’ve had good luck just stacking them. Of course you could make your tower taller using larger pumpkins, in which case you might want to skewer them together with a wood dowel so they don’t topple over!

Cathy gave me the gorgeous mum and I stuck my black flamingo in it - Mark told me the other day he saw “spook-ingo’s” at the store, what the heck is a spook-ingo I asked? Flamingos painted orange and black! Well I already have that but “spook-ingo” is too hard to say haha. Click here  to see how I made the Halloween flamingo (hint, paint a pink one black LOL). 


Monday, October 10, 2022

Backpack Charm

My sis has a plain black backpack she uses for traveling and even tho she’s never been a purse charm sorta girl she’s decided that now she wants something fun dangling from the backpack. She’s been looking for random keychains and pompoms and all kinds of miscellaneous shizzle. So the other day, and I don’t know why it took this long, it occurred to me that I could easily make her one and (a) she will shut up about finding something, (b) can now just tell people her sister made it for her in case her friends make fun of her for having a purse charm which is out of character for her and they know it lol, and (c) it’s what I do and why wouldn’t I make it instead of her buying a something random off Amazon?

These are simple to make: cut a bunch of cords, ribbons, leather strips, hemp, whatever you have or like into long lengths (you can trim them when it’s done so cut them a bit longer than you think you want). Fold the bunch in half and feed thru a round key ring (a book ring works too), then bring the ends up and thru the folded loop. Pull tight. Then add charms, braids, beads, etc to finish. Trim to the length you want. 

I kept this fairly simple to ease my sis into the world of backpack charms, you can make this fuller, longer, more decorated if you want more!  I have these hanaging off of everything hahahha 😉

10.10.21: 🔥 week 41

10.10.20: bacon wrapped cocktail sausage

10.10.19: carving pumpkins

10.10.18: mummy pumpkin


10.10.17: Mickey's fall wreath


10.10.16: ghost garland lights


10.10.15: Halloween granulated wax layered candle

Sunday, October 9, 2022

🔥 Around the Campfire (week 41)

 Dear Campers ~

I am still without my computer and have been posting using my IPad - I’m thankful I have an iPad but am not very proficient at using it for more than playing games and watching shows! I just now realize that I missed two Sunday recaps and a few days of posting, one of these days I’ll go back and plug them in just to keep things organized…but for now I’m bumbling along and doing what I can! 

Here’s this weeks recap of things that happened at camp in case you missed anything:

Posts ~

10/3: dividing iris plants

10/4: breakfast banana splits

10/5:taco-cuterie by Jenny (taco party platter)

10/6: caramel pie 

10/7: pork chops with zucchini, stuffing, and Dijon-fig sauce

10/8: yummy mummy Rice Krispie treats

Keeping it short this week, hope you’ll come back often to see more projects, recipes, whatever I think to make at camp and can work up into a post!! Bye!

Sincerely ~

Jill

Camp counselor

Saturday, October 8, 2022

Yummy Mummy Rice Krispie Treats

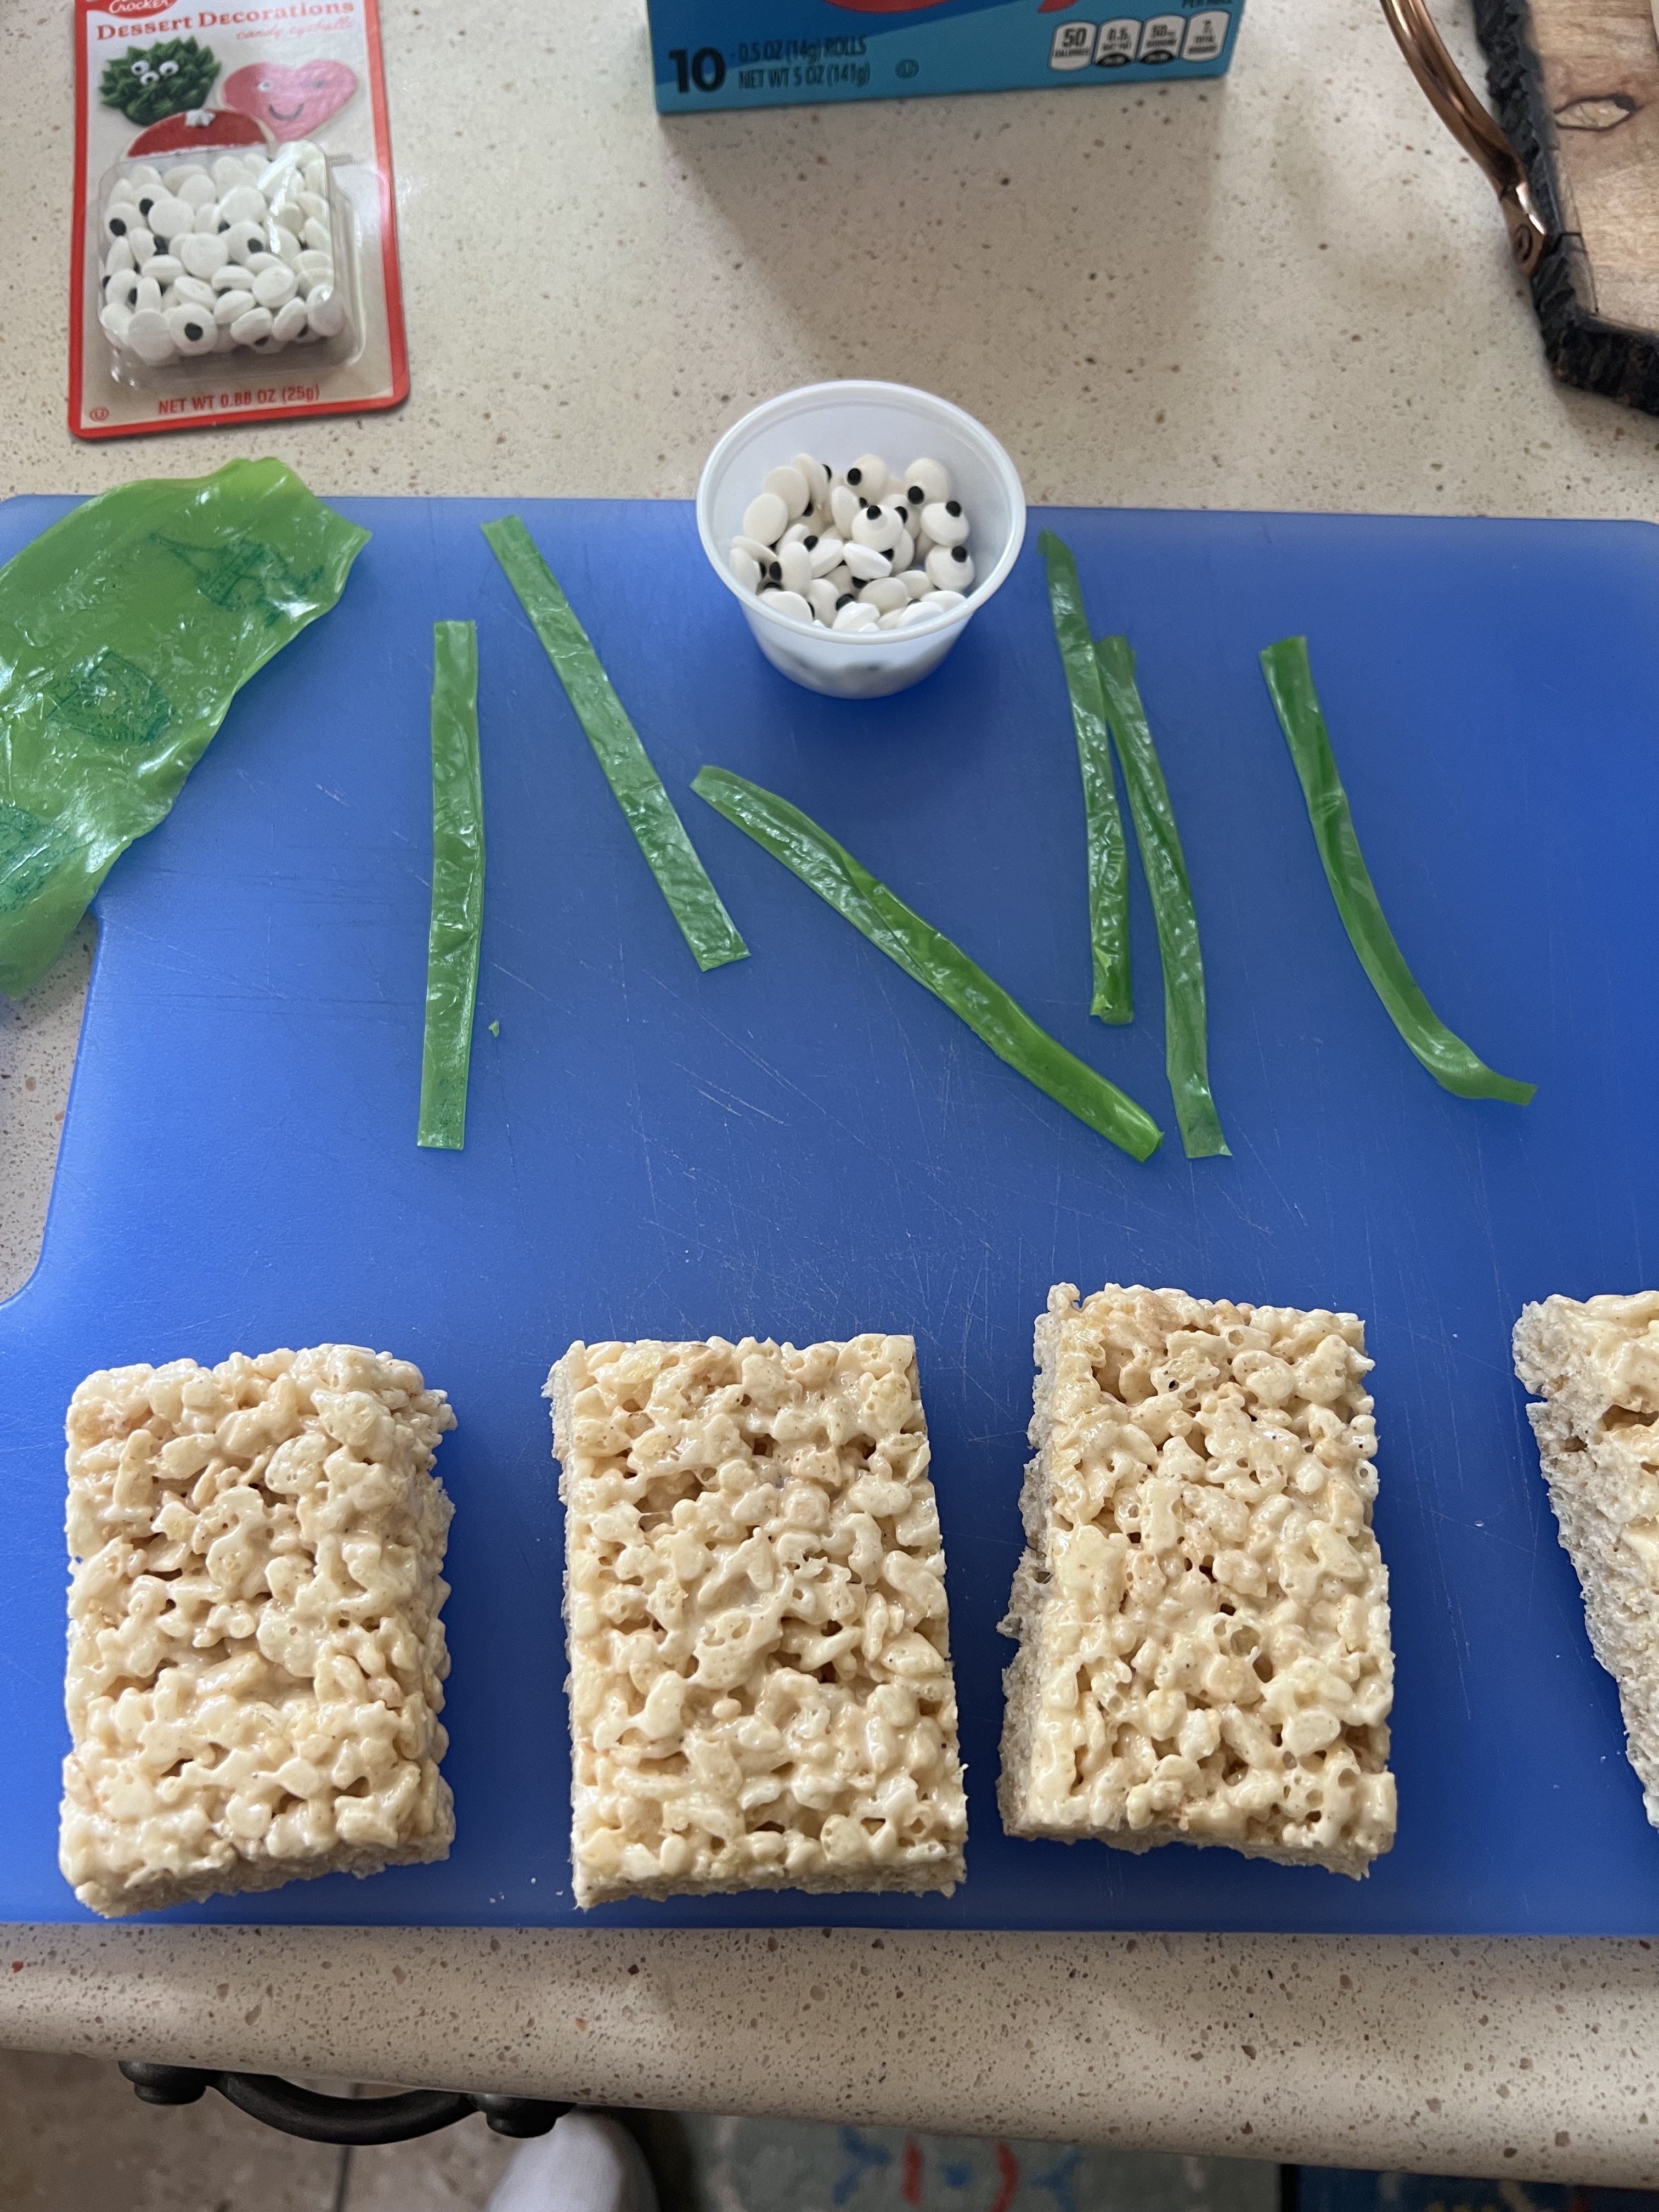
I got the idea for these funny Rice Krispie treats from a food network magazine. I didn’t follow their recipe because I like the yummy browned butter one that I now use (click here), but I decorated each bar like they did and they turned out so cute. I wondered if the eyes and fruit roll up would stay on (initially I thought I might have to stick on the eyes with frosting) but the Rice Krispie treats are sticky enough to hold the candy in place. I individually wrapped each “mummy” to serve them to Dave’s ukulele group this morning. 

PS: it’s now the afternoon and Dave just got back the meeting with a nice note from Irene (one of the members) thanking me for the “yummy mummies” - wish I would have thought to call them that hahah! Now I’m updating the name of this post :) 


  • 1/2 cup (1 stick) butter, softened
  • 20 oz. marshmallows
  • 1 t. vanilla
  • pinch of coarse salt
  • 7 cups (7 oz.) rice krispies cereal
Directions:

1. Butter the bottom and sides of a 13x9" pan. Set aside.

2. Melt the butter in a large saucepan on low heat and let it cook until the solids start to turn golden brown and it smells caramelly, 3 to 4 minutes.

3.  Add the marshmallows and cook on low, stirring constantly until mostly melted (a few small lumps here and there are ok). Add the vanilla and salt, stir to combine.

4. Place the Rice Krispies in a large bowl, Pour the melted marshmallow mixture overtop and stir until evenly combined. Scoop the mixture into the prepared pan and press the mixture into the pan with lightly greased hands - smashing them down too hard will result in firm rice krispie treats, so use a gentle hand if you want them chewy. Let cool before slicing into squares.


10.8.20: MSIH: zucchini bread cookies
10.8.19: TT: mushrooms and onions
10.8.18: plastic spider earrings
10.8.17: test tube Reese's 'heart you to pieces'
10.8.16: my crafty sister (no, she isn't crafty - but she IS funny!)
10.8.15: cute and creepy carved pumpkin


Friday, October 7, 2022

Pork Chops with Zucchini and Stuffing

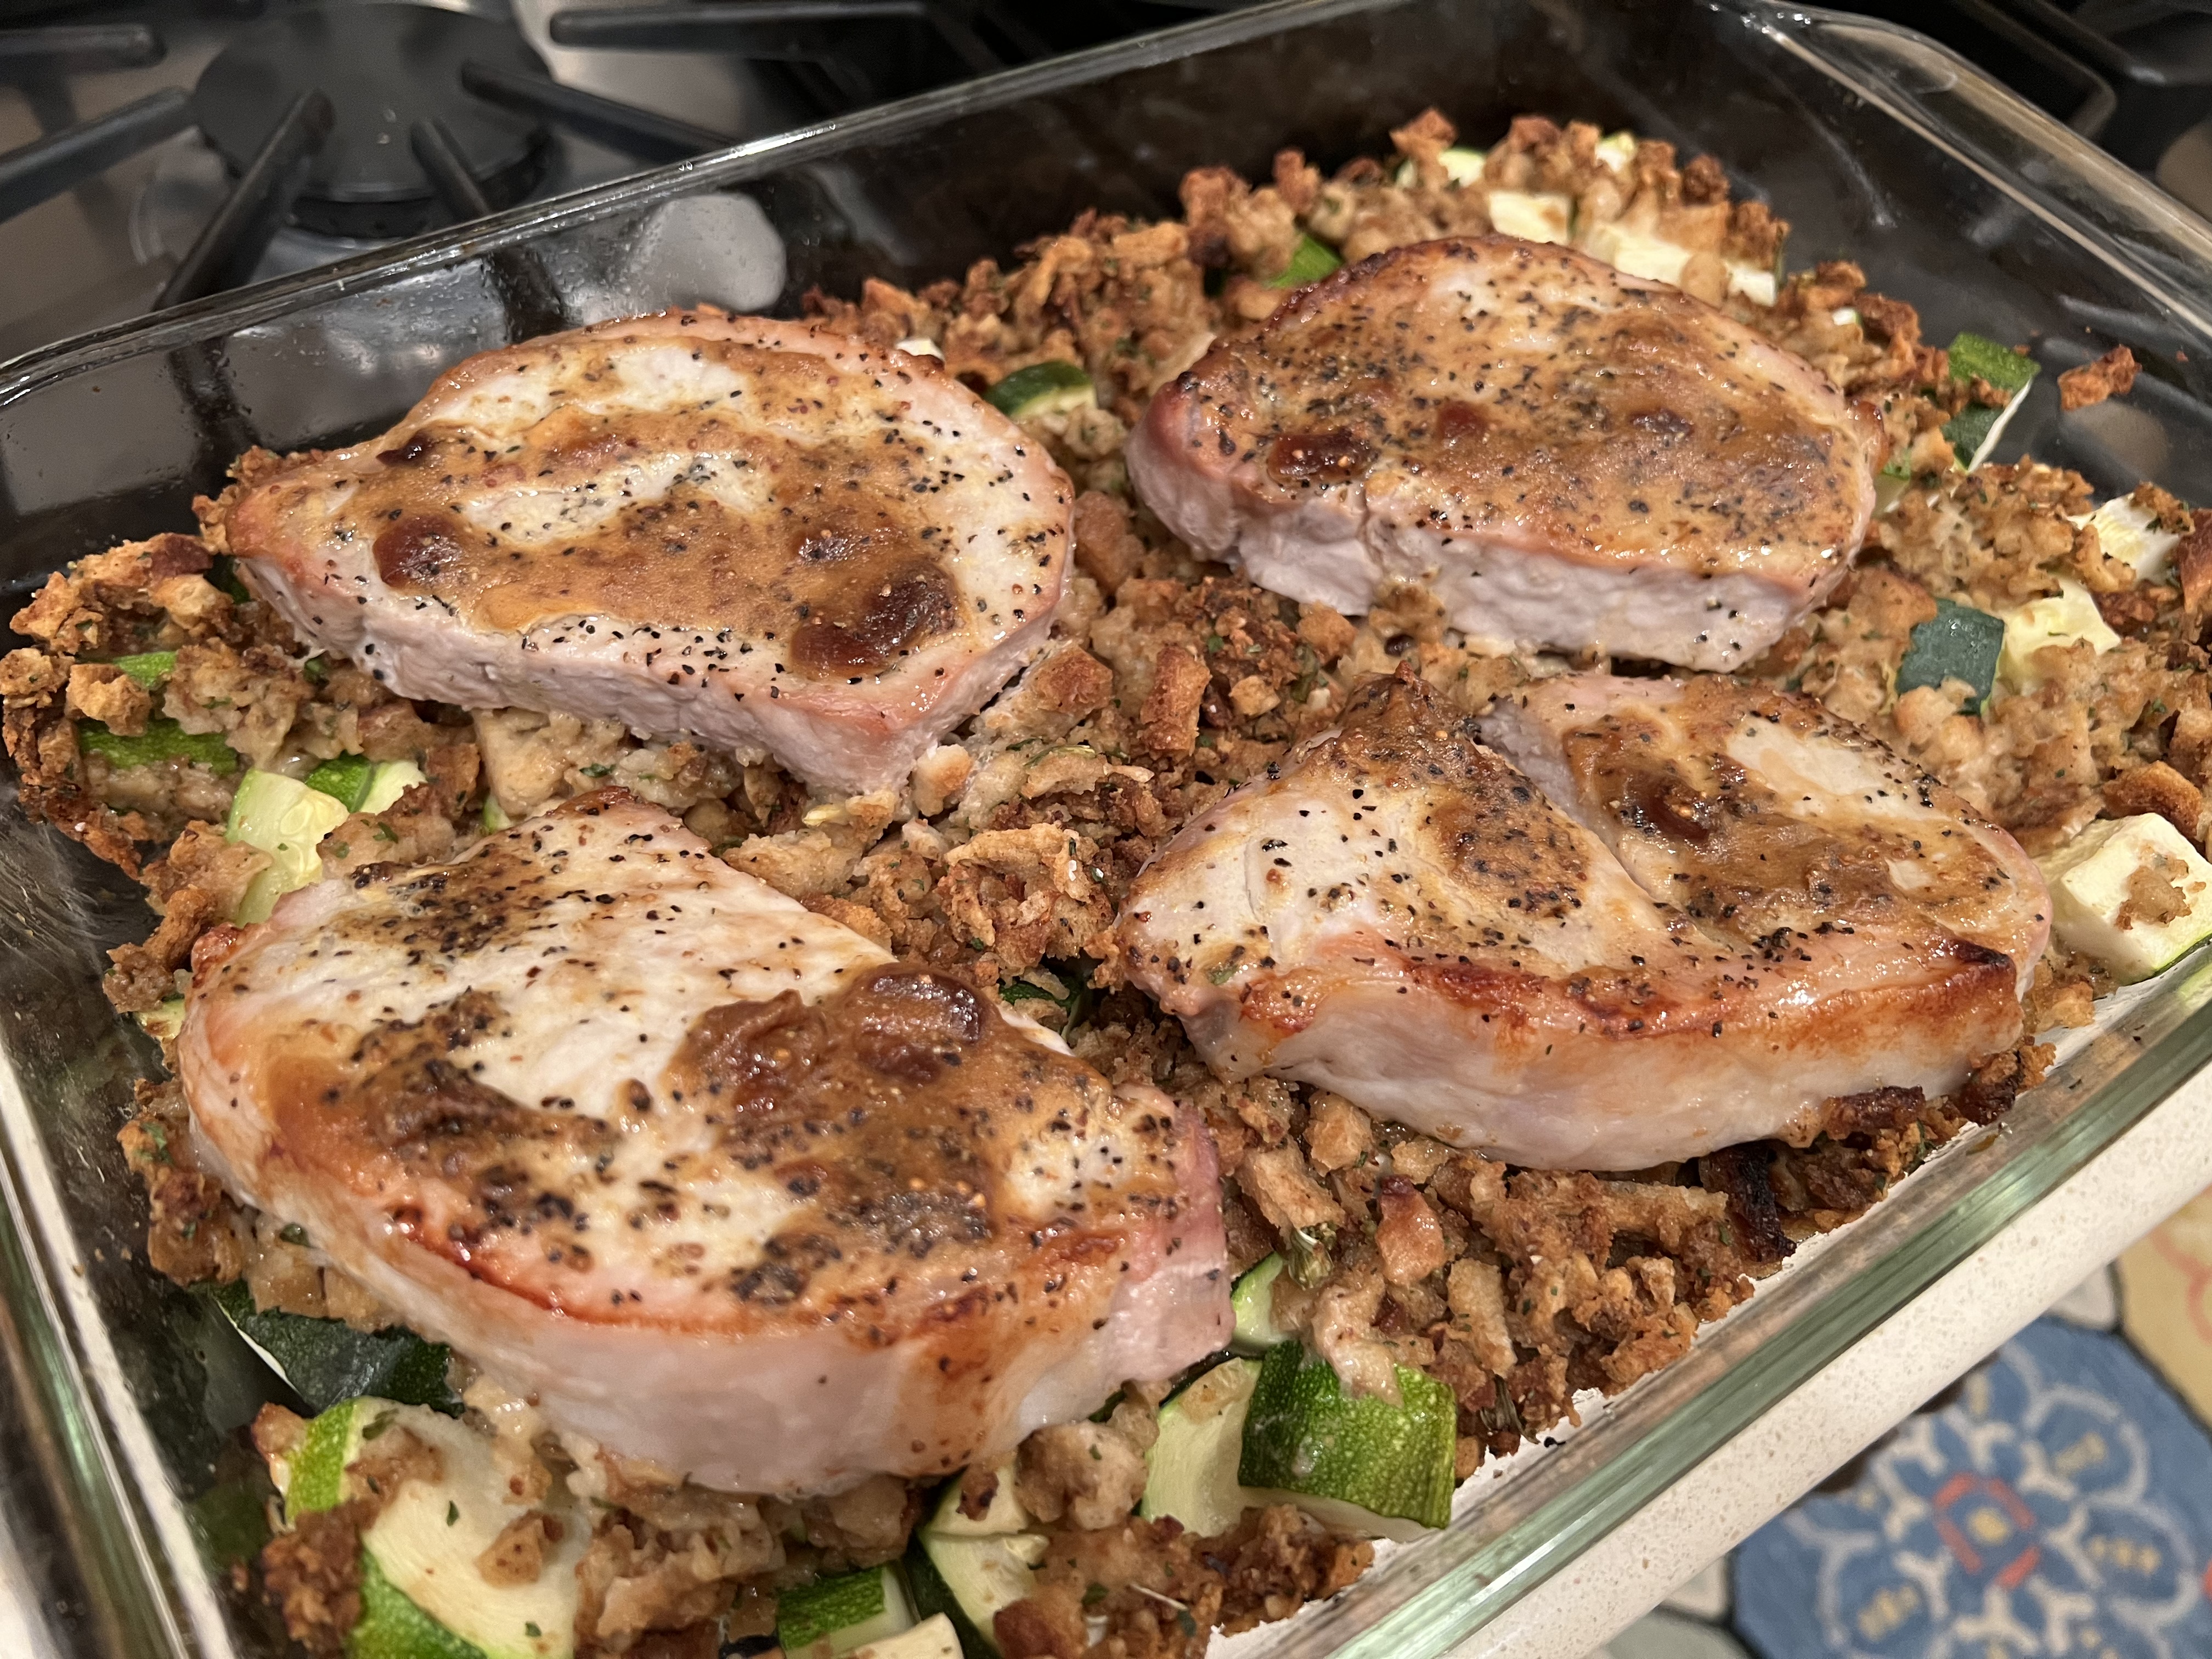
I’ve shared the zucchini and stuffing idea before but this time I added pork chops on top and baked until they were cooked thru and it was so good (and easy!). At the last minute I remembered a recipe I wanted to try for Dijon-fig sauce and whipped it up to serve with these pork chops - oh my gosh we loved it! New favorite weeknight dinner idea!


For the main dish: chop up zucchini into bite sized chunks and put in a shallow casserole dish (I sprayed the dish with non-stick cooking spray first); make stove-top (or your favorite stuffing mix) according to package directions and layer it over the zucchini. (note: I didn't add anything to the stove-top, just mixed the seasoned bread with water and melted butter). Top with boneless pork chops and bake until chops are done and the stuffing is toasted.

For the fig sauce: stir together 1/4 cup Dijon, 2 T. Fig jam, 1 T. Water (or however much it takes to get the consistency you want for sauce), and a pinch of salt. You can change the amounts of mustard and fig to suit your taste.


10.7.16: Brooke makes a funky pumpkin


10.7.15: boo painted mug


Thursday, October 6, 2022

Caramel Pie

We went to visit my mom last weekend and I thought it’d be nice to take her a birthday dessert (even tho her birthday isn’t until next month) since I am rarely with her on her birthday and usually just send something. I know she loves pecan pie but I’ve never made one and my little sister told me that she makes a great one so I’m leaving pecan pie to her hahah - plus I don’t like it which was another reason I didn’t want to attempt it LOL. 

I also know she used to love the caramel pie at O’Charley’s restaurant which is no longer open by her - I Googled to see if anyone had a recipe and found quite a few copycat recipes posted. The one I chose to make seemed to be the most simple pie ever - you literally open cans and pour into a crust. So easy! And I gotta say, it’s a fantastic pie. So good that when I asked my niece Gracie what her favorite dessert is she went “well, nooooowwww it’s caramel pie” hahahah!  

You can make your own caramel, I saw lots of recipes for that online when I was searching for ideas - but when I saw this beyond easy recipe I decided to give it a try and it’s a winner. Hopefully mom, niece, and sisters don’t read today’s blog because I looked like a genius when they ate this pie LOL!

  • Graham cracker crust (store-bought or homemade. I wanted store-bought but they were out so I made one following the recipe on the graham crumb container)
  • 3 (13.4 oz) cans Dulce de Leche caramel sauce
  • Cool whip or whipped cream
  • Chopped pecans, and chocolate chips for garnishing the top 
Check out how easy these directions are: spread the caramel sauce into the pie shell, refrigerate at least 3 hours for it to set up. Spread with cool whip and sprinkle the top with chopped pecans and chocolate chips. Seriously, that’s it!


10.6.21: antipasto skewers  

10.6.20: dilly bean hack


10.6.17: Ronda makes a Halloween Treat Box

10.6.16: Dog on the blog - sweet potato dog cookies

10.6.15: Make a spooky terrarium


Wednesday, October 5, 2022

Taco-cuterie by Jenny

 TACO-CUTERIE! Is that a thing? I’m making it one. Lol. My sister and daughter love to make charcuterie boards and here is one I can totally get behind. Saw this picture online and planning to recreate at my next party. If anyone else tries it post a picture and tell me what did and didn’t work! Orrrrrr…. If my sister decides to try it and brings it to me I will let you know how delicious it was. 😂😉