Monday, April 10, 2023

Paper Folder #3

I showed you 2 other paper folders back in February but then the whole 'starch madness' thing happened so I had to wait to show you the 3rd one I made. 


I think this might be my favorite because it has a 1/2" spine folded in the middle and I like how 'clean' it looks having that little space. This one requires no cutting, just folding and a little tear tape (or adhesive of your choice) to hold the inside pockets in place. 

Start with a 12" piece of 2-sided decorative paper. 


Score at 5 3/4" and 6 1/4", fold and crease. I put pink arrows on the photo to show you where to put the fold lines, it's creating the 'spine' of the folder:

To create the folder pockets, turn the paper and score at 4" across the folds you made above. Fold and crease. 

Unfold and apply tear tape or your choice of adhesive along both edges and the center spine of the pocket (the 4" section you created above). Fold it back up and press to stick it down. 


That's it! Decorate however you'd like, I lined mine with washi tape but also tried out tying a ribbon around it or adding a tag to the front. All ways are cute. 


click here to see paper folder #1 and paper folder #2


Sunday, April 9, 2023

🔥 Around the Campfire (week 15)

Dear Campers ~


Well how did it feel to not read about starch this week? Hahaha! Here's a recap of what did happen at camp last week in case you missed anything:

Posts ~

4/2: 🔥 week 14

4/3: limoncello

4/4: TT Easter/spring veggie tray

4/5: dice bunny

4/6: bunny coaster 

4/7: rice-dyed Easter eggs

4/8: words

What's Cooking ~

  • burgers, caesar salad
  • chicken pot pie, green salad
  • chicken enchiladas, spanish rice, side salad
  • pork tenderloin, sweet potatoes, green beans
  • spaghetti and meatballs, caesar salad
  • grilled chicken, pierogi, green salad
That's it for this week - hope you have a very Happy Easter!

photo


Sincerely ~

Jill
camp counselor

4.9.19: tipsy tuesday: make a grease container
4.9.18: don't throw away old or broken candles...make new ones
4.9.17: JAR pot roast (short ribs and vegetables)
4.9.16: refrigerator jam and easy ice cream cake

Friday, April 7, 2023

Rice Dyed Easter Eggs

I've seen this technique for dying hard boiled eggs everywhere lately - I don't know if it's a 'new' thing or if I just haven't been paying attention hahaha, either way I tried it and it's fun! It's very easy and other than getting food dye on my hands when opening the bottles (!) it's relatively not too messy. 


I only boiled a couple eggs to try this out, adjust the amounts of rice and food color for however many eggs you have to dye. I put 1/4 cup rice in a ziplock baggie and added 5 drops of gel-based food color (if you use regular food coloring you'll probably want more drops), seal the bag and shake it to completely coat the rice. Add a hard boiled egg, reseal the bag and shake some more until it's coated as much as you want - the more shaking you do the more coated the egg gets, mine is almost solid colored in places so if you want a heavier coating just keep shaking! 

I started with pink then added blue dye to the pink rice and made purple - I put a pink colored egg into the purple and lightly shook it for a rainbow-colored look. Place on a paper plate to dry. 


If you want more info just Google rice dyed eggs and there are lots of people who've done it! One thing I read is that after you shake a few eggs you might need to add more dye to the rice.

Thursday, April 6, 2023

Bunny Coaster

Another dollar store craft just in time for Easter - coasters made from rope and hot glue in the shape of a bunny. At heart this is a very simple project - coil rope using hot glue to keep it in place and add some ears of rope and fabric. Sounds easy, right?


It was 'easy' - but I also burned the shizzle out of my fingers multiple times! It isn't actually easy to coil the rope and hot glue at the same time, if you make this I'm warning you to use a skewer or something to keep the rope in place after adding the glue! Let's just say I intended to make a few of these for our Easter dinner table and now there is only going to be this one LOL. 

I added a circle of cardstock paper to the bottom because I didn't like seeing all the hardened glue. Plus it helped give the coaster more stability - even tho I used what seemed like a lot of glue, it wanted to come apart 🙄

For the ears: cut (2) 6" lengths of rope. Glue each rope to a piece of material in an ear shape, once cool trim away the excess material. Hot glue in place. Add a decoration like a fake flower if you want. 


Wednesday, April 5, 2023

Dice Bunny

I saw a picture last year of a dollar store craft of bunnies made out of foam dice - but at the time I couldn't find foam dice so stuck the idea in my folder and promptly forgot about it. Until roaming the dollar store the other day and saw the dice - that's what happens when you stop looking for something, right? hahaha. Anyway - I bought a 2 pack and some balloons and made this cutie in a matter of minutes.     


The original inspo picture I have is just using one dice per bunny, gluing ears on top, a tail in the back and a drawn on face. That's what I started out making but changed it by the end. 

I decided to stack the 2 dice so the bunny has a 'body', either way is cute. I also decided to not add a face, when I was building it I thought it looked cute with just the ears and tail - if you want a face you can paint it on, draw it with a sharpie, or make stickers with a Cricut machine. 

I bought light-colored dice but when I covered it with a white balloon I can still see the dots and a tinge of color, so I added a second balloon. You could fix that by making the bunny a different color. 

I took tons of pictures, not because the steps are complicated, mostly just because it's so cute I couldn't stop myself LOL. I don't even really need to use any more words to tell you what I did, I pretty much give the instructions in pictures! 


cut off the rest of the balloon tail so it's smooth

add a second balloon but have the hole/tail end be
on the other side of the dice from the first  hole 

glue the 2 ends with the holes together 


cut out felt ears, pinch and glue the bottom to curve
them slightly. Hot glue to the middle of the top dice. 

add decorations at the base of the ears. 


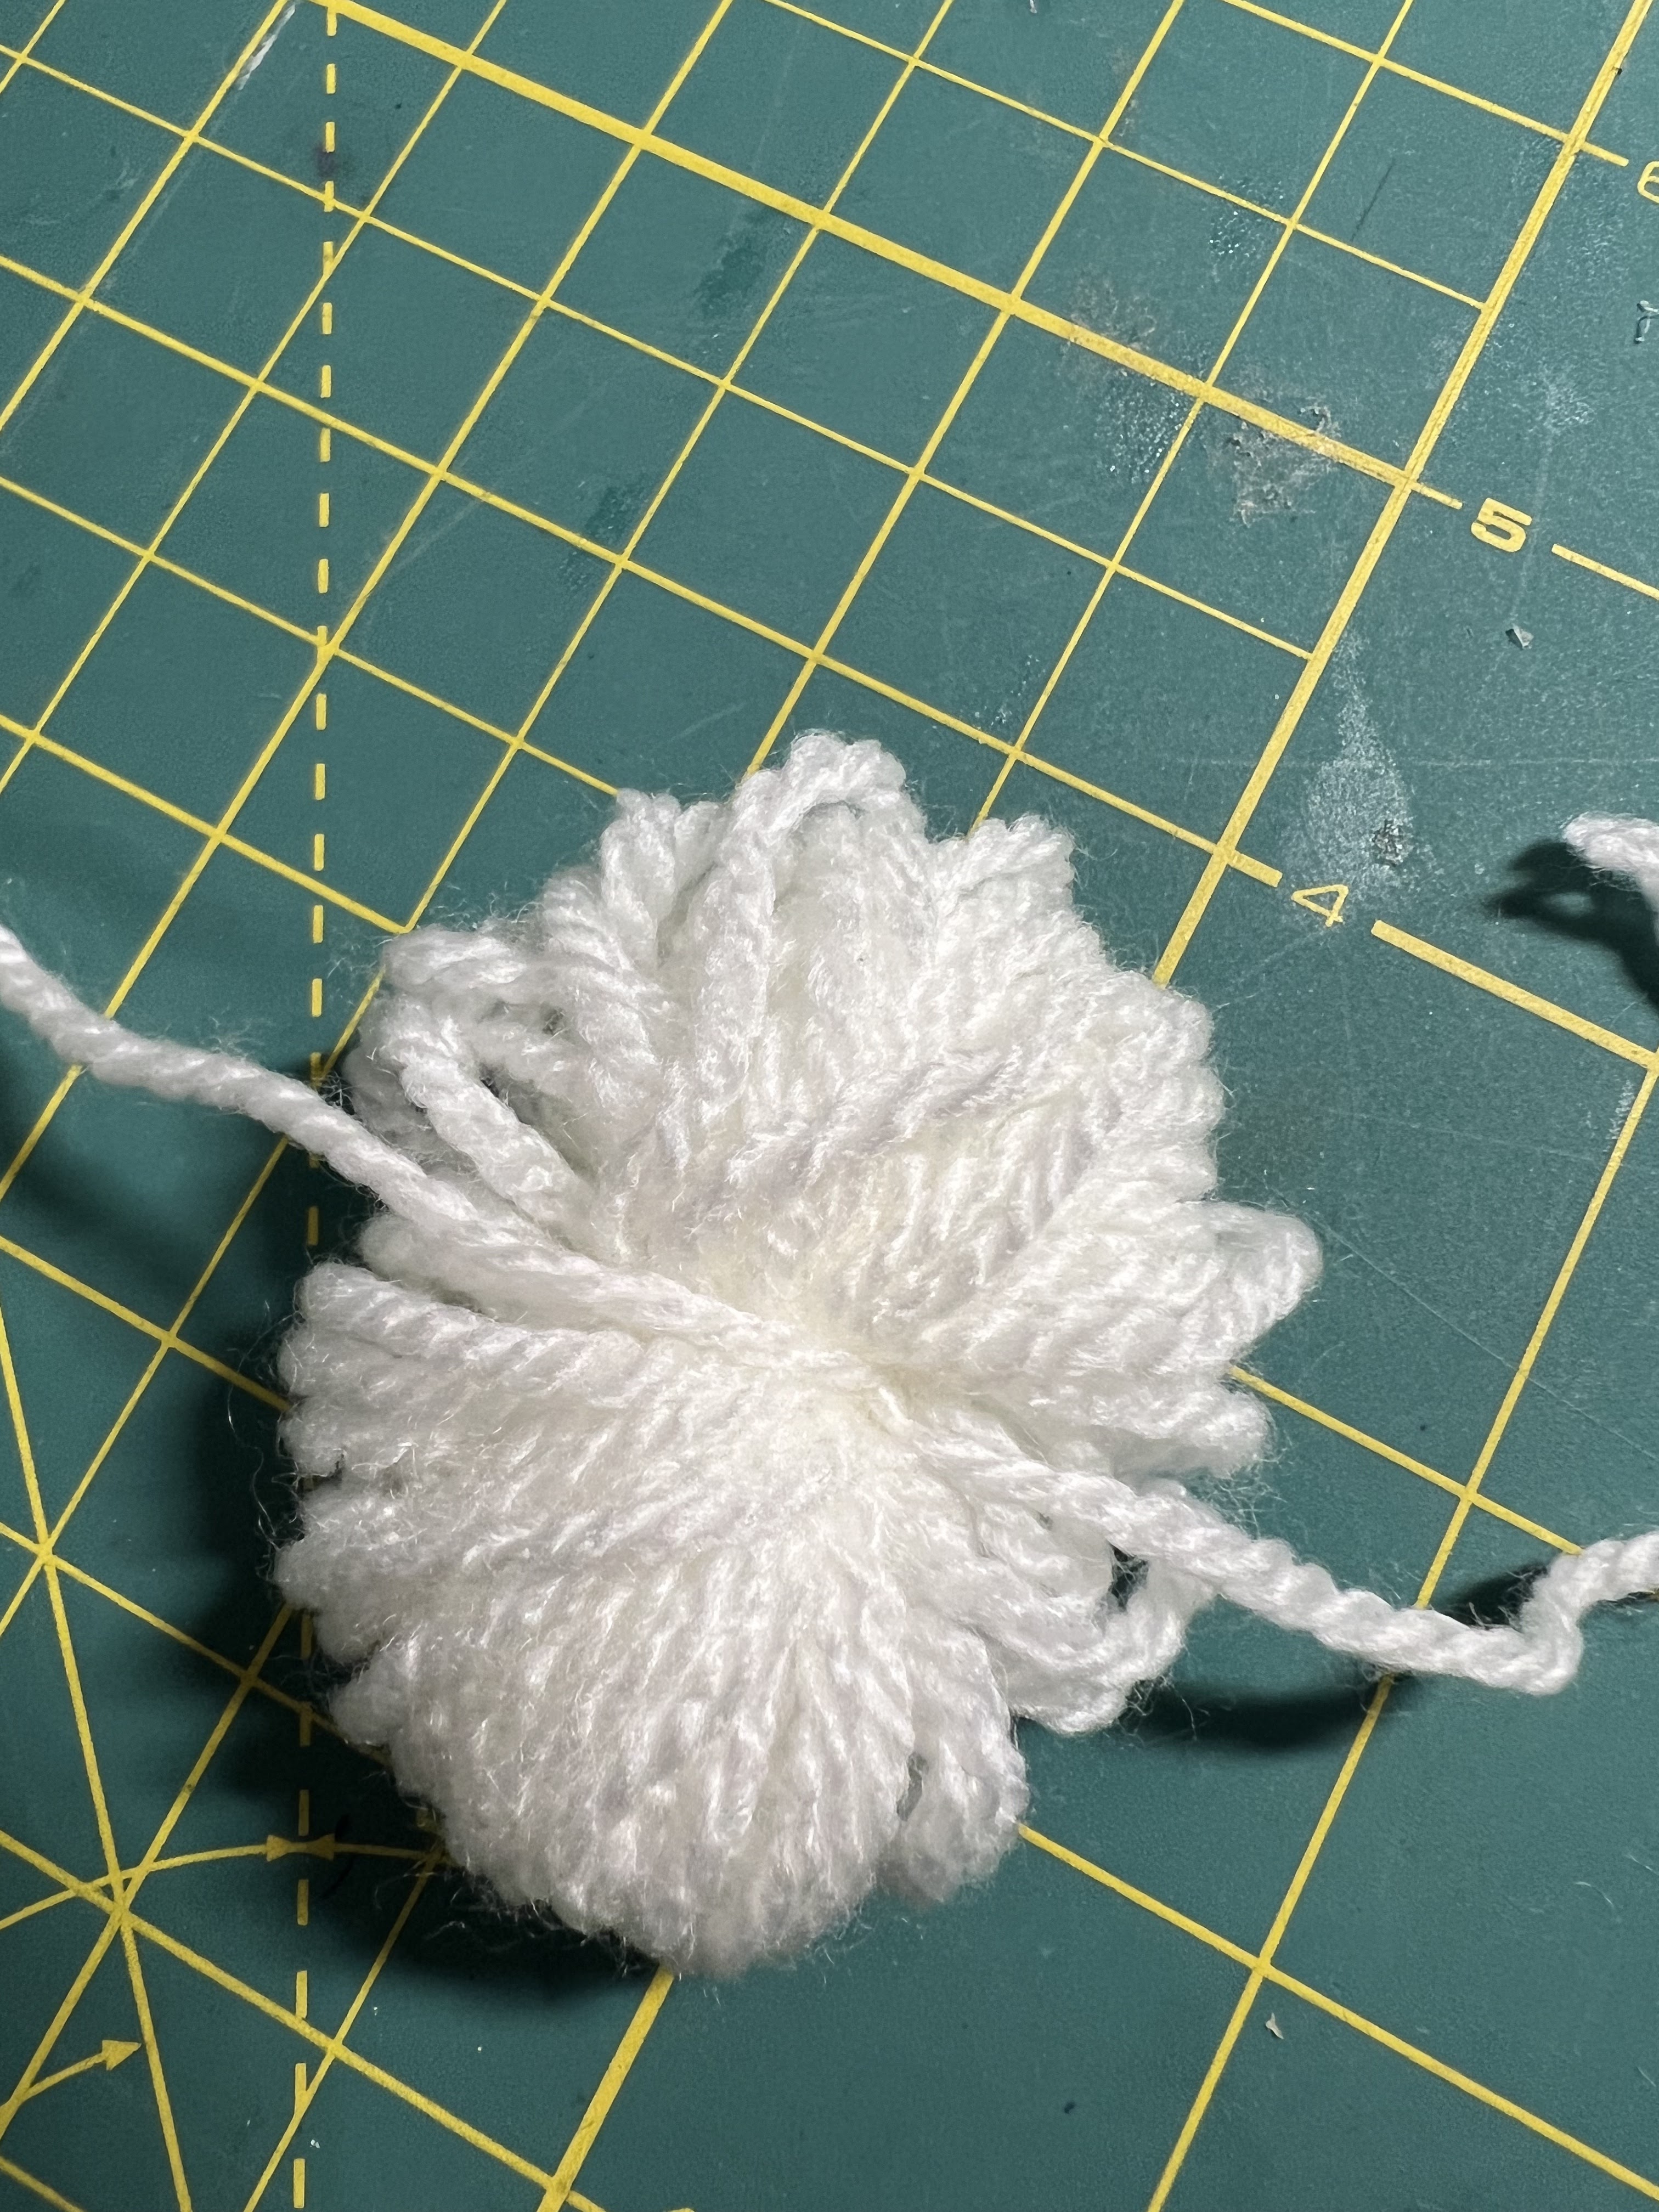
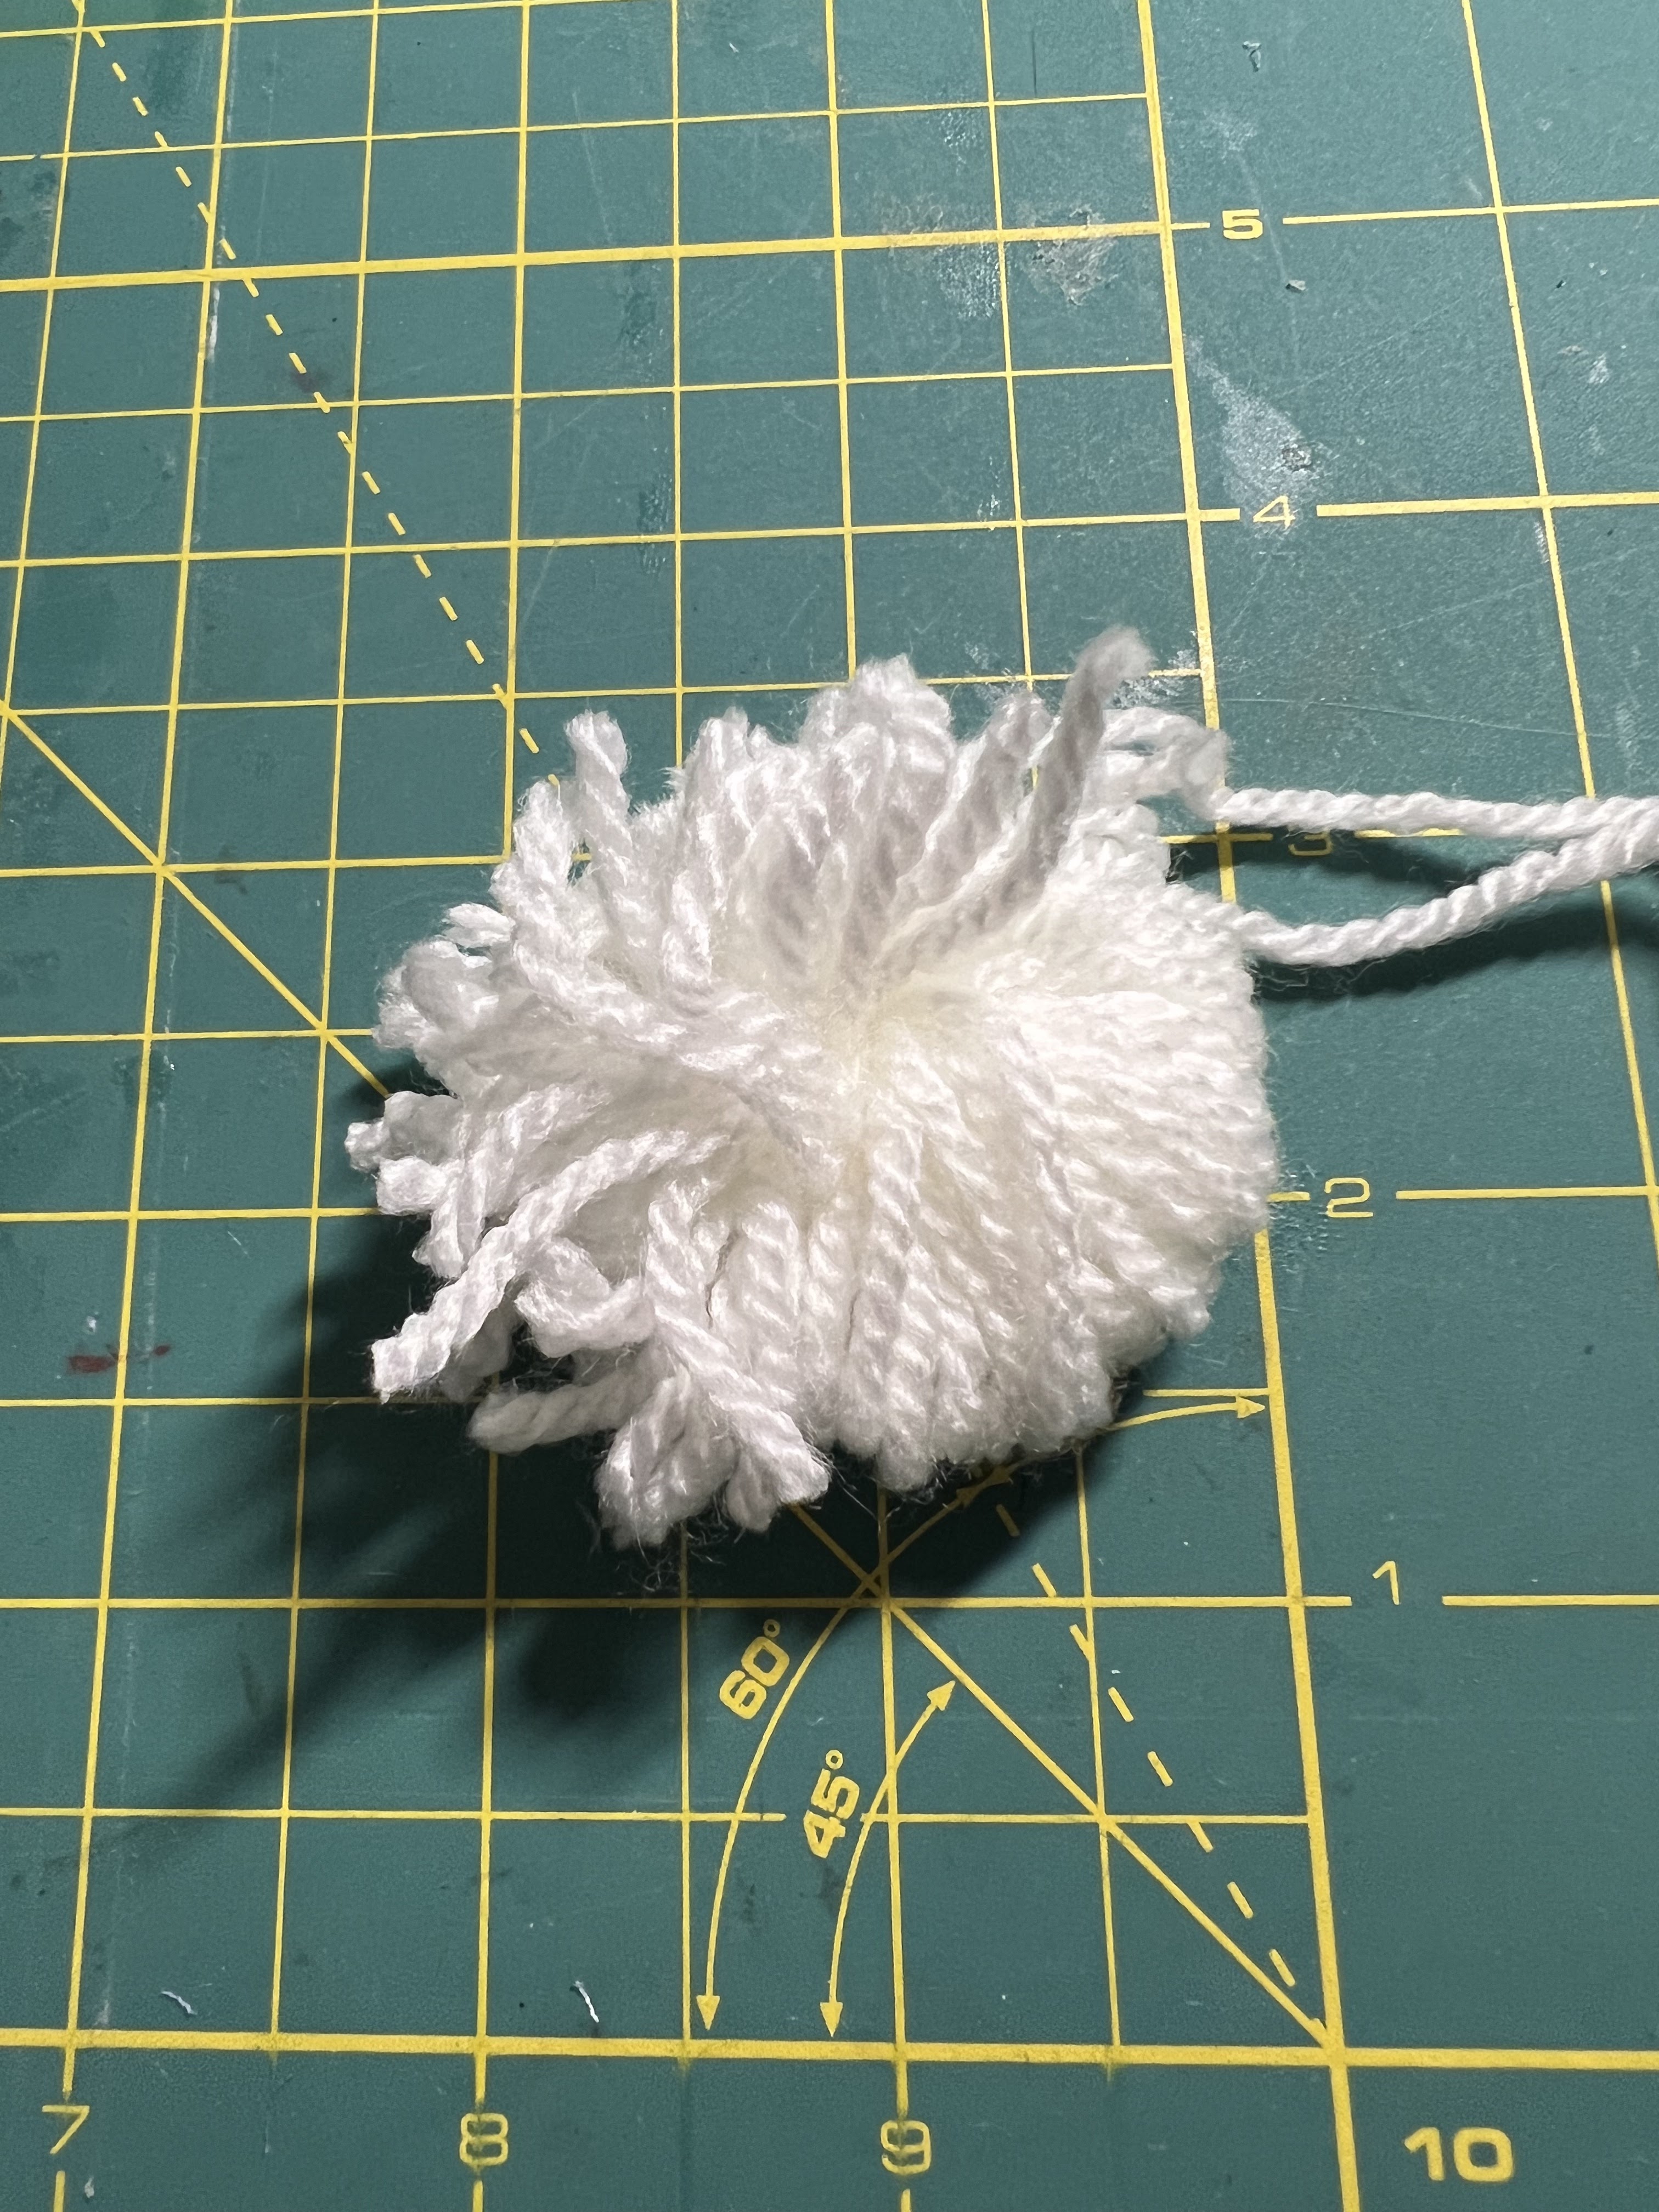
To make the pompom tail - wind yarn around a credit card 40 times. Cut a short piece of yarn for tying the pompom. Carefully remove the wound yarn from the credit card and place it on top of the short piece of yarn. Tie the piece of yarn tightly around the middle of the yarn ball and knot. Clip the loops and shape:


4.5.22: TT freezing meals

4.5.21: MSIH ham lentil soup


4.5.18: low carb pizza (cauliflower crust)


Tuesday, April 4, 2023

Tip-sy Tuesday: Easter/Spring Vegetable Tray

This isn't exactly a tip, more like an idea in time for Easter this weekend. Jen sent me this picture after I posted last month about making a living Easter basket, and it's too cute not to share! Perfect for Easter or any time this spring you're looking for cute and different veggie tray ideas.


Monday, April 3, 2023

Limoncello

Macey has been giving me lemons and oranges from her trees, which is amazing to have the fresh citrus around but if I don't need tons of the fruits then I'm scrambling to find ways to use them. I shared tips on household uses for lemons (click here for that post), next up is making limoncello - a sweet, lemony, vodka drink that is delicious on it's own, mixed with sparkling water, or added to other cocktails. 

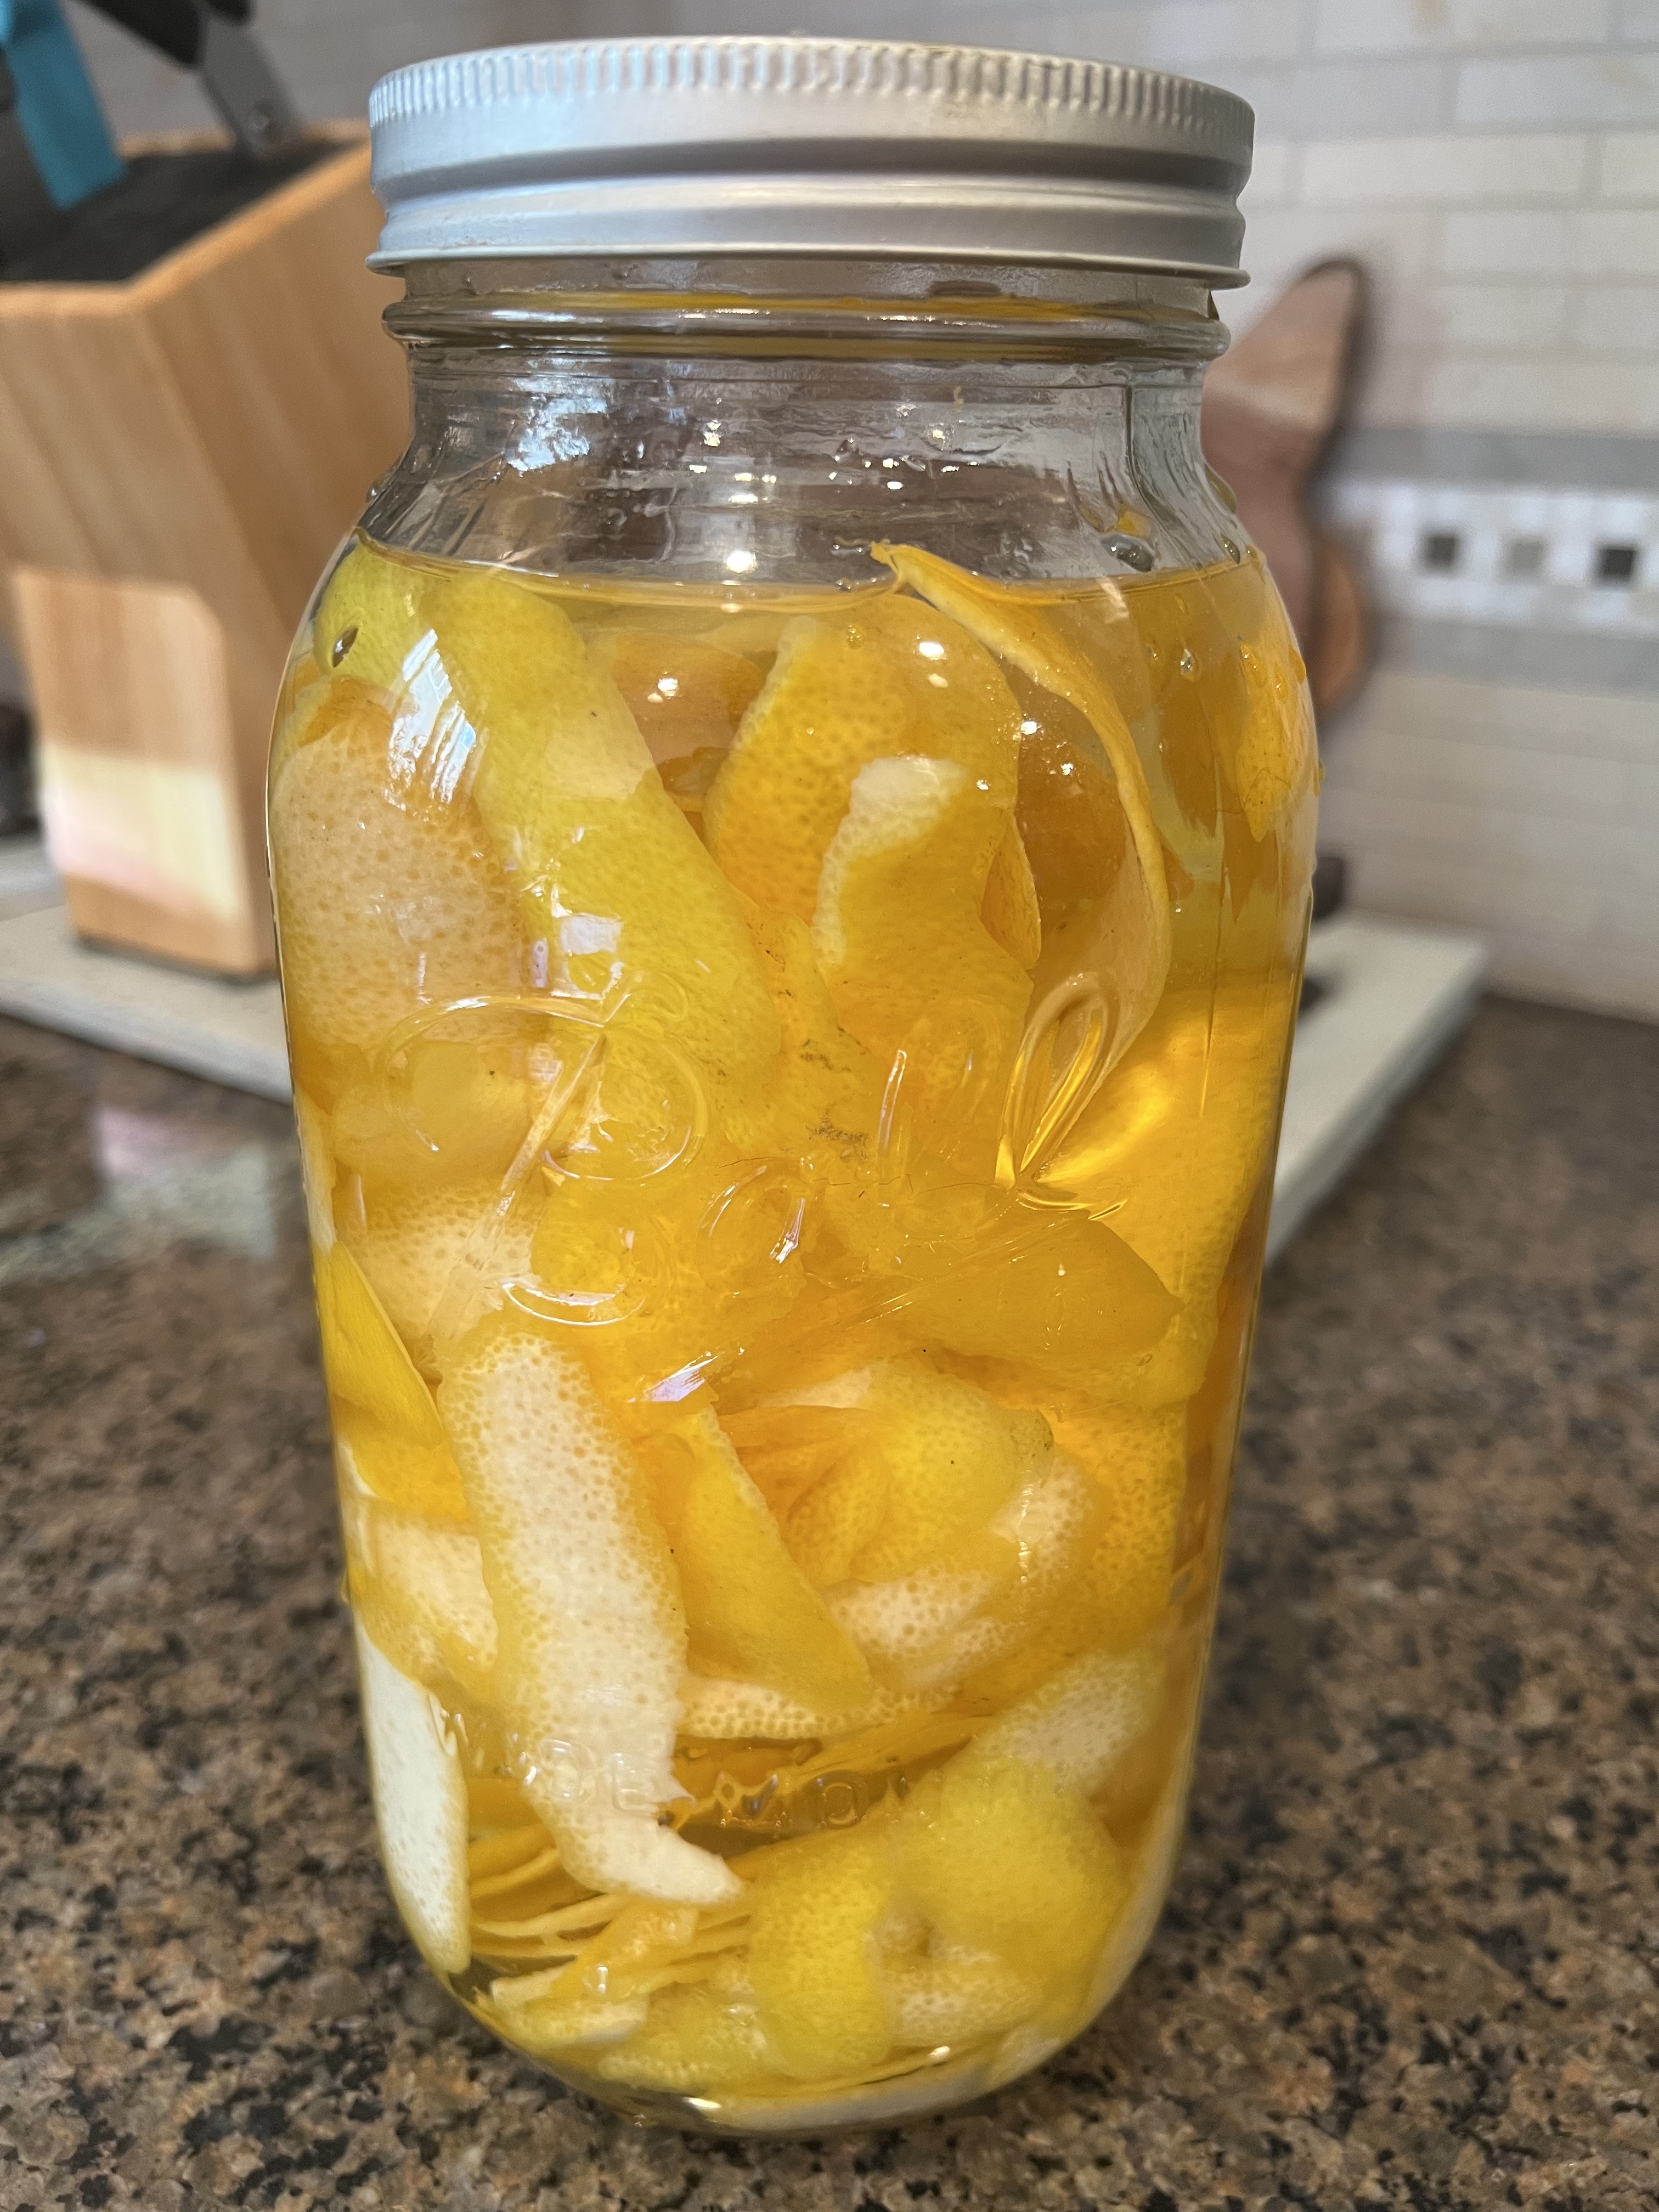
I found a basic recipe at better home and gardens, there are lots of recipes online - I didn't add all of the simple syrup as directed and it's quite sweet, you can adjust the level of sweetness by adding more or less of the syrup. I left the peels in the vodka for 14 days and the lemon flavor is super intense, Dave said it reminded him of cough syrup hahah - not sure if that's because of the peels, maybe I left too much pith on the peel (the white part), or because I left it a few days too long; my simple fix was to add more plain vodka to dilute the strong lemon flavor and now it tastes great to me. 

No, it doesn't taste great to me just because I was taste-testing vodka at 9am this morning! Pretty sure anyway...;)


10 large lemons

750 ml bottle vodka

3 cups sugar

2 1/2 cups water

Lemons cut into wedges, optional

Scrub the lemons with a vegetable brush. Using a vegetable peeler, carefully cut enough of the yellow peel away from the white pith to make 2 cups lemon peel. (If desired, juice lemons and reserve for another use.

In a large glass pitcher or bowl, combine the 2 cups lemon peel and the vodka. Cover tightly and let stand in a cool, dry place for 10 days, gently swirling the mixture in the pitcher each day. Strain mixture thru a fine-mesh sieve; discard lemon peel. Return the lemon-infused vodka to the pitcher. 

When you're ready to make the limoncello, combine sugar and water  in a medium saucepan. Bring just to a boil, stirring to dissolve the sugar. Cool to room temperature. 

Pour syrup into the lemon-infused vodka; stir to combine. Cover and chill overnight. Pour limoncello through a funnel into clean bottles; secure the lid. Add lemon wedges if desired. Store in the refrigerator for up to 1 month. 

I gave a bottle to Macey and she texted me something like she 'doesn't know what this is, and she doesn't drink very often, but this makes her think maybe she'll start'! Hahahha, I'm not trying to corrupt anyone or turn them into drinkers - but if you like lemon and drinks now and then (or know others who do!) you might want to try making this ;) 

Recipe found here at bhg


4.3.22: ðŸ”¥ week 14

4.3.21: Easter white chocolate bark

4.3.20: neighborhood messages

4.3.19: sheet pan pork chops

4.3.18: peeling potatoes tip

4.3.17: K-cup bunnies (fun Easter craft!)


Sunday, April 2, 2023

🔥 Around the Campfire (week 14)

Dear Campers ~

Here's a quick recap of the last week of 'starch madness' in case you missed anything:

Posts ~

3/26: 🔥 week 13 

3/27: baked black bean tacos

3/28: TT: gluten-free baking tips

3/29: goat cheese toast

3/30: air-dry clay ornaments

3/31: 3-ingredient macaroni and cheese

4/1: words

What's Cooking ~

  • beef and broccoli, rice, chinese green beans (Jiji gave me a cooking lesson!)
  • grilled pork chops, macaroni and cheese, roasted green beans
  • steak, tater tots :), caesar salad
  • chicken stroganoff 'light', roasted asparagus
  • greek grilled chicken and salad with warm pita
Miscellaneous stuff keeping me busy ~
  • read 'The Maid's Diary" by Loretta Anne White. I haven't shared a book review lately, not because I haven't been reading - more like I just haven't read a book worth reviewing hahahha. This one however is a winner. It's a twisty-dark-suspensful-mystery-thriller that I could not put down. Basically it's about a housecleaner with a snooping problem who gets herself into trouble. I know that doesn't sound twisty and dark but it is. ⭐️⭐️⭐️⭐️1/2
  • another reason I haven't read quite as much is that I've been binge-watching 'Virgin River' on Netflix. This is a new-to-me series and I'm hooked!
That's it for now - hope everyone enjoyed starch madness (or at least got some good recipes haha), now we revert to our regular ol' madness for April! See you next week!

Sincerely ~

Jill
camp counselor