Friday, July 29, 2022

Golf Banquet

I play in a women's golf league and my partner Natalie and I were assigned the fun of planning the end-of-season banquet last August. Ok, ok, maybe not assigned so much as we were in last place and the losers "get" to do the planning hahaha. But we are both planners so this wasn't that difficult - hardest part was not having solid info regarding what was expected (for instance - there is usually a cash prize for the first couple teams but the amount is up to us, and how we divide it is also for us to decide. My sister said when it was her turn to plan the party and was told the same thing - 'well ok then, 5th place gets all the money'! You guessed it, she was in 5th place LOL) so we were sort of winging things. 

After finding out how much money we had to spend, we decided how to break down the budget among prizes/food/games/decor. In case you're interested, I'm sharing our notes on what we did because when I googled 'how to throw a women's golf league end of season banquet' I did not find much useful info (!) - I'll pass these notes on to the next party planners in case they want to know what we did, and if not they can make up their own plan haha.  It's a long post but I tried to provide detailed info - maybe you'll be inspired by some of our games and party planning:


NOTES AND THINGS TO DO FOR GOLF FUN NIGHT '21


·      This year the budget is $620 ($20 from 31 golfers)

  • Prizes:        

-  1st place - $20 and a seat cover ($25 each)

-  2nd place - $10 each

-  3rd place - $5 each

-  Last place – practice balls ($5 each), white board, 

payday candy bar in a goody bag

 (note cash and prizes = $130 plus what Nat pd for board & leis))


  • ·     Favor bags for all league players (and subs? I hear some members don’t like that subs get the same thing since they don’t pay dues, etc. I guess it depends how many subs are attending… this year we have 2 subs joining us)
  • ·     Prize for the winning scramble team (aloha theme this year – 3 Island-y balls, lei, chocolate macadamia candy, bright tees)
  • ·     Ask Greg and Mike for donations – give everyone a raffle ticket then draw for the donated prizes. (Jen says Greg donated a shirt and something else last year ‘20) NOTE: Mike donating 2 gift cards ($15, 10), Greg says he’ll donate but I don’t know what yet. Also asked Wendi at Dairy Den and she’ll donate $10 g.c. (Update: Greg gave 2 shirts and (4) 18 holes with cart)
  • ·     Talk to Greg about shot gun start from all 9 holes (Update: he texted that he’d adjust the tee sheet)
  • ·     Food: Nat ordering subs and chips, Jill will do cooler with coke/zero/water and dessert – note we had a lot of leftover food and drinks. 3 trays of assorted 3” subs with almost a whole tray left, ½ of cookies left, and only drank 2 reg cokes and a few diets. 

*I googled Subway to get an idea for the food budget – a platter serving 7 is $48. Not sure how many people we’ll have, if it’s 50 that’ll cost us $345 not counting chips.  Update: Nat got a great deal at Subway and it only cost 170 delivered! Other ideas for $170 – Twilligers (chicken fingers, potato salad, etc) or pizza and salad. We could ask everyone to bring a dish but then we'd need more tables, plugs, etc. and would end up with a lot of food - plus the minor hassle of having to bring your dish ahead of time, then set it up after golf...Subway brought utensils, plates and napkins, all the condiments - easy. 


BANQUET PRIZES:


  • ·      SCRAMBLE winners – 4 bags with leis

  • ·      ANNOUNCE AND HAND OUT OVER-ALL LEAGUE WINNING PRIZES (Natalie):

- 1st place envelopes and 2 cart seat covers to 

#9 Deb and Mary 25.5 points

-  2nd place envelopes to #4 Brenda and Krys 21.5 points

-  3rd place envelopes to #16 Kathy and Michelle 21 points

(*if anyone cares, 4 teams tied for 4th place with 20 points)

-  Last place – bag w/ practice balls, payday bar, white board to #12 Jonna and Becky


  • ·      FAVOR BAGS FOR EVERYONE – LPGA socks, hat marker, wipe tablets (water activated), tees, straws, 2 fun size candy bars

  • ·      GIVE EVERYONE 2 RAFFLE TICKETs, DRAW FOR PRIZES:

-  TWILLIGERS $10

-  TWILLIGERS $15

-  DAIRY DEN  $10

-  SUBWAY     $15

-  PINE HILLS – 

§  Shirt

§  Shirt

§  18 holes with cart

§  18 holes with cart

§  18 holes with cart

§  18 holes with cart


 TO DO:

  • §  put $ in envelopes for prizes - label so Natalie can read each one and hand out 
  • §  favor bags - buy bags and filler, and assemble
  • §  buy raffle tickets, separate
  • §  collect donated items to raffle

-  Twigs (2) $10 gift cards

-  Greg/Pine Hills

-  Dairy Den $10

  • §  Scramble winner prize – 

-  buy bags and shreds, leis, island-themed balls, Hawaiian candy bar

-  assemble bags

  • §  Get a case of coke and zero, and waters

-  Ice in large cooler – note I froze waters ahead, and only added a gallon ziplock baggie of ice from home

  • §  buy cookie assortment and chex mix bags from Meijer
  • §  Make rule sheet and score cards
  • §  Get head count, make teams
  • §  Order subs, fixings, chips


Night of:

  • ·      Get to course early and set up:

        - tables/chairs on patio, we put a plastic tablecloth on the food table. Food on head table, drinks in cooler under the table. 

        - put rule sheet, score cards, and chex mix on a table. Nat will read the rules and give instructions, everyone take chex mix snacks for their golf cart.

  • ·      Separate raffle tickets ahead of time, I passed out 2 tickets to each golfer and drew the numbers out of a hat. Next time I’d have people pick their own 2 out of a container that you can shake up, I didn’t shuffle good enough by hand and some people won twice with back-to- back ticket numbers. Also, it was dark on the patio and by the time we did the raffle it was hard to read the numbers. 


BUDGET/PURCHASES


Jill: 

·      Scramble winning bags - $2/ball, candy $6               $24

·      Last place balls - $5/each, paydays                          $14

·      Drinks – 24 coke, zero, water                                    $27.60

·      Cookies                                                                      $11.50

·      Seat covers                                                                $50

·      Chex mix cart snacks                                                 $20

·      Subway gift card for raffle                                          $15

________

                   $162


Natalie:


·      Favor bags and fillers                                               = $200

·      Subway                                                                        $170

                    __________

                    $370


TOTAL SPENT approx. $532 + 70 cash prizes = 602


Split the remaining 20 with Nat to cover all the misc. incidentals we didn’t keep track of like dollar store cheap filler stuff, etc.  (tees, straws, goody bags, ice…)


Budget                620 


                            -70 cash prizes


Nat                     -200 bags/filler

                           -170 subway

                           -  10 misc. 

Jill                       -100 prizes

                           -  60 food/drink

                           - 10 misc.

______________________________________

                                     0


Where to purchase/find prize items:


AMAZON for socks, golf balls, hat markers, wipe tablets, seat covers


DOLLAR STORE for white boards, clear favor bags and shreds (Nat did white handled bags from Family Dollar), leis, payday, aloha straws, raffle tickets


MEIJER for practice balls, tees, subway gc


COST PLUS for macadamia candy


Before the banquet we play a round of 'fun' golf, it's up to the party planners to choose how to make it 'fun'. Nat and I decided to do a regular 4-man scramble with a few 'twists' on the odd-numbered holes:

hole #1: MAKE LIKE A FLAMINGO, GET READY FOR FUN - STAND ON ONE LEG TO DRIVE HOLE #1 (rule: balance on one leg while teeing off on hole #1)

hole #3: TWIST, JIVE, LOOK ALIVE - 'CAUSE NOW YOU'VE GOT TO USE THE WORST DRIVE (rule: everyone tee off, but use the worst drive instead of the best. Play the rest of the hole as regular scramble)

hole #5: OUR TWISTS ARE SILLY, NOT MEANT TO BE MEAN, WE BET YOU'LL LIKE THIS ONE - IT'S BOWLING THE GREEN! (rule: play regular scramble until someone is on the green; once there, pick the best ball as usual but instead of using your putter, pick up the ball and roll it towards the cup like you are bowling it. Continue playing the best roll until you make it in the hole - count each best roll as a stroke just like if you missed a putt)

hole #7: NOT A 7&7 WITH CROWN AND 7UP - USE ONLY YOUR 7 IRON, JUST LIKE 'TIN CUP' (rule: use your 7 iron for all strokes including drive and putt)

hole #9: NOW THAT YOU ARE FEELING FINE, TAKE A TEAM SELFIE ON HOLE #9! (rule: take your photo and text it to Natalie or Jill)

holes #2, 4, 6, 8 - play traditional scramble

NOTE: you must use at least one drive from every team member at some point in the game.

SCRAMBLE BASICS - all team members tee off on each hole, then decide which one is the best. The other team members pick up their balls and play their next shot from that spot. Repeat everyone hitting and picking the best one on every shot for the rest of the game. 

7.29.21: how to make a tie blanket

7.29.20: smashed baby red potatoes

7.29.19: steering wheel cover

7.29.17: wonder woman keychain 

7.29.16: Brooke makes a tie blanket


Thursday, July 28, 2022

My Niece is Hungry: Chicken Stuffed Crescent Rolls

My sis is out of town this week so she doesn't get to review these yummy stuffed crescent rolls - Brooke is around tho so I asked if she's hungry and wants to try them hahah. So this week we have "My Niece is Hungry" instead of my sis!

Here's what B had to say about chicken stuffed crescent rolls:

Hey guys! My boyfriend Dayshawn and I tried the Chicken roll up things. And can i just say, thank god my mom was gone this week because these were amazing! They tasted so delicious. Dayshawn voted them a 8/10 i vote them a 9/10! A good meal or a great snack if you only heat up one with a little gravy! You have to try these!


  • 2 (8 oz) tubes crescent roll dough
  • 1 large can (22.6 oz) cream of chicken soup
  • 8 oz. block cream cheese, cubed
  • 2 1/2 cups shredded cooked chicken 
  • 1 packet Italian dressing mix
1. Preheat oven to 375'.

2. Put soup and cream cheese in a medium pot over medium heat, stir until cream cheese is melted and the mixture is smooth. Stir in dressing mix until well combined. 

3. Put the chicken in a large bowl, add enough of the soup mixture to coat the chicken. Stir to combine. Note*: save some of the soup mixture for serving alongside the bundles. 

4. Separate the crescent roll triangles, lay out on a clean counter or cutting board. Gently flatten each triangle out a bit (to make more space for the filling). Put a small scoop of the chicken mixture onto the crescent roll (I centered the filling in the middle of the largest part of the triangle). Fold the right and left sides of the triangle overtop of the filling, then roll up towards the long pointed end. 

5. Place on a parchment paper lined cookie sheet; bake in the preheated oven for 15 -18 minutes or until the rolls are lightly browned and cooked thru. 

6. Serve warm with additional warm sauce on the side. 

Makes 16 bundles; 209 calories each

Jill again with a couple notes: we loved these stuffed rolls and I will definitely make them again. The recipe called for 2 (10.75 oz) cans of soup but our store was out of the regular size cans so I bought 1 large can and it was fine. Also the recipe called for 2-3 cups of chicken, I boiled chicken breasts and then shredded them - use as much chicken as you think will fill the 16 crescents. *This makes a lot of sauce, I bet twice as much as needed, so you'll either have lots of extra sauce to use for something else, or only make 1/2 of the amount listed. Side note - I put extra chicken in the extra sauce and just ate it like that, yum. 


recipe found here at lil luna 


7.28.21: old fashioned ham salad

7.28.20: tt - float anchor

7.28.19: 🔥 week 30

7.28.18: blue cheese stuffed olives

7.28.17: jilly's jam - strawberry peach freezer jam

7.28.16: framed words


Wednesday, July 27, 2022

Zucchini Brownies v2

The other day I stumbled on a post from last fall for zucchini brownies that everyone liked but I thought were a little cakey, so I said I was going to experiment with other recipes - and of course I forgot that I was going to keep trying to find the best zucchini brownies for Ginny. She didn't get to try the first version, so when I gave her a plate of these she couldn't compare them to the others - but let me tell you, her reaction was so funny, she called me and the family behind her were all yelling that they LOVED them! She said they were fighting over the last one and I had only given them to her like 5 minutes previously HAHA! 

The texture of these is very soft, I thought too soft (seemed really underdone to me) so I said to her that I'd bake them longer next time and once again I got shouting into the phone to not change a thing. I laughed. Ok, ok, I hear you Ginny and fam - I'll leave 'em alone! 

Dave and Mark had the most center part of the pan underneath a scoop of ice cream and also loved them and raved. So what do I know? Soft and seemingly undercooked is the perfect zucchini brownie - although I'm going to make the first recipe again to see if she likes them any more than this recipe (I'll let you know what they think between the 2 versions). 

Oh my gosh I just realize I don't have any pics of these baked! Goodness, sorry people. They look like super moist brownies, use your imagination hahah!!! I know, I'll make both of the recipes for Ginny to try side-by-side and then I'll update this post with more photos. 

ZUCCHINI BROWNIES

  • 1 ½ cups diced zucchini
  • ¼ cup vegetable oil
  • 3 large eggs
  • 1 teaspoon vanilla extract
  • ½ cup all-purpose flour
  • ⅔ cup granulated sugar
  • ⅔ cup unsweetened cocoa powder
  • ½ teaspoon baking powder
  • ½ teaspoon salt
  • ½ cup mini chocolate chips
  • chocolate frosting (optional)


    • 1. Preheat the oven to 350F degrees and line a 9-inch square baking pan with parchment paper and set aside.
    • 2. Add the diced zucchini, vegetable oil, eggs, and vanilla to a food processor or blender and blend until smooth. 
    • 3. Pour the mixture into a large mixing bowl or stand mixer bowl.In a separate bowl, whisk together the flour, sugar, cocoa, baking powder, and salt - add the dry ingredients to the wet ingredients and mix just until combined.
    • 4. Fold in the chocolate chips and pour the batter into the prepared baking pan. 
    • 5. Bake for 25 to 30 minutes. Remove from the oven and allow to cool for about an hour then top with frosting (if using.) Slice and serve.


      8/22 update - I made both, version 2 is in the foreground on the left, version 1 is in the back

       recipe found Here

      7.27.21: travel medication tip

      7.27.20: gourmet s'mores

      7.27.19: penne alla vecchia bettola

      7.27.18: Japanese string gardening

      7.27.17: crochet a mug cozy


      7.27.16: travel trip for medications


    Tuesday, July 26, 2022

    Tip-sy Tuesday: Personalized Beach Drink Holder

    My camping neighbor Jenn made me this super cute drink holder for when we are hanging on the beach - she ordered them from Amazon and cricut-ed my name on it, fun idea! It holds a drink and my phone, although with my recent streak of bad luck I probably shouldn't have my phone anywhere near sand! 


    Side note: how great is it that I have a crafty neighbor to talk cricut-ing (and more haha) with?!! She has the bigger machine and heat press (I just use my iron but that doesn't work on the bigger projects she can do - she makes t-shirts, tanks, onesies, and even corn hole boards!). Love.  


    Thanks new friend!

    Monday, July 25, 2022

    Star Plates

    Brooke and I used to go to the 'paint your own pottery' place all the time, one visit we made these fun star shaped plates and since there's a little technique involved I thought I'd share how we made them.

    They both use similar techniques to make the pattern so clean (cuz there's no way either one of are free- handing stripes or stars this perfect haha!!). In both of these examples you start with a couple coats of white paint all over the plate, let it dry completely before decorating. 

    To make the stripes: simply put tape over the area you want to stay white and paint in between with the color of your choice. Brooke went with yellow stripes, I went with a flag theme and painted my stripes red. If you want the stripes to be more solid add a second coat of paint. Let dry and peel off the tape.

    For the stars (or whatever shape you want) cut or punch out the shape from paper in the size you want. B went with large stars and I went for small. Lightly dampen the paper shapes and stick in place. For the pink and yellow plate Brooke left tape over the last white stripe towards the middle and painted one coat of pink over the paper stars (make sure the paper stays stuck down or else the pink will bleed underneath. For my flag plate I put tape over the stripes to keep the blue paint from covering any of the stripes and keeping a nice sharpe line, then fill in that area with blue paint (the navy paint had the texture in it already, I didn't add it). Once the paint has dried very carefully pick the paper stars off using a pin or sharp pointy object. When you remove the paper you'll reveal the crisp white star shape. 


    Finish according to the instructions at the pottery place - don't forget to sign your piece! 


    7.25.18: peanut butter granola
    7.25.17: how to sharpen knives
    7.25.16: Prague


    Sunday, July 24, 2022

    🔥 Around the Campfire (week 30)

    Dear Campers ~

    Here's a quick recap of what happened at work last week in case you missed anything:

    Posts ~

    7/17: 🔥 week 29

    7/18: organizing outdoor rv storage spaces

    7/19: tt - how to clean a cricut mat

    7/20: peach cobbler

    7/21: pork tenderloin with mustard rub

    7/22: loaded tater tots

    7.23: s'more nachos

    What's Cooking ~

    • grilled tuna, greek salad with garbanzo beans
    • mushroom cheeseburgers, potato salad
    • grilled pork chops, kale salad, roasted asparagus
    • grilled thin chicken breasts, Mexican salad (lettuce, corn, black beans, avocado, cheese)
    That's it for this week - stop back often to see more projects, crafts, recipes, whatever else I can think of to make! Bye!

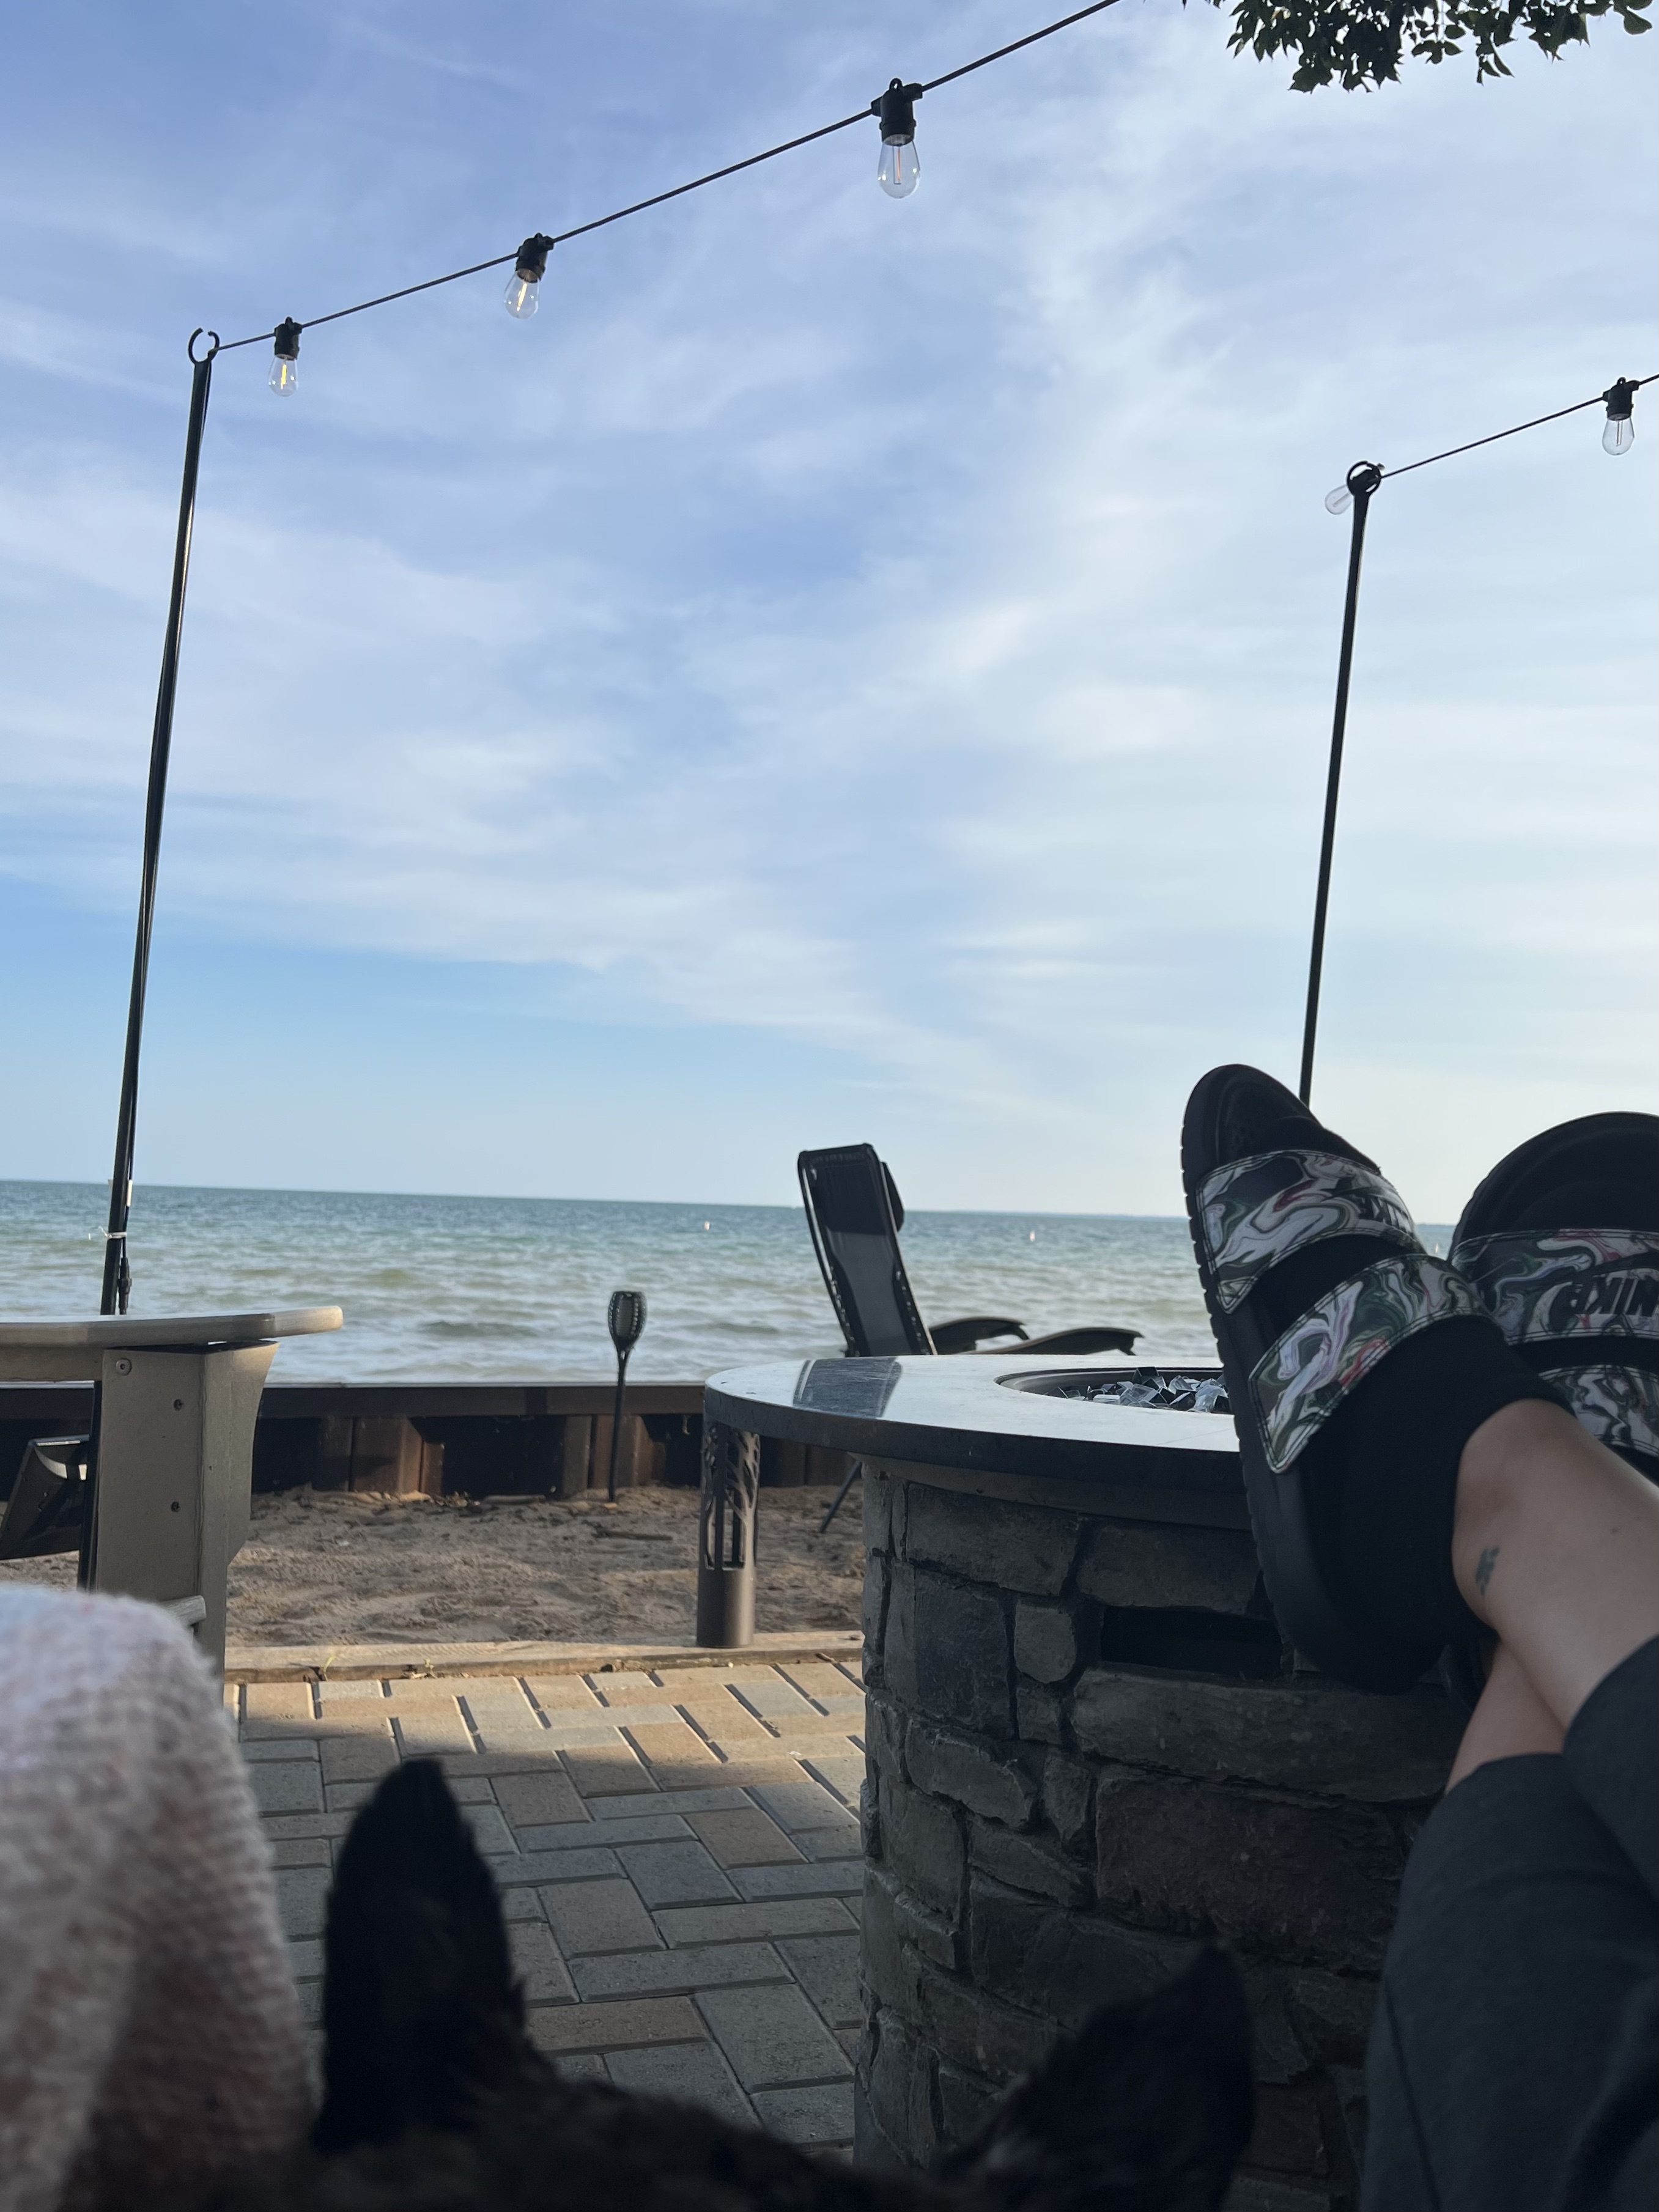
    at the lake
    found poles to hang lights over our fire pit area,
    hanging with Sarge enjoying listening to the water in
    our now cozy space...


    Sincerely ~

    Jill
    camp counselor

    7.24.21: Cathy's peach cobbler

    7.24.20: tuna cauliflower salad


    7.24.16: Nuremberg


    Saturday, July 23, 2022

    S'More Nachos

    I saw this idea in an email from Kiefer Campgrounds for S'more nachos and I have to say this seems genius to me! Dave won't let me toast marshmallows over our gas fire pit (for some reason haha) so we usually only have them if a neighbor is game to mess up their pit - so when I saw this recipe I knew I was going to make it! 

    I'm going to make these nachos the next time we're camping (I bought disposable foil pans to keep down the clean-up), but I'm sharing this with you now in case you need S'more's before I get around to making them!


    Ingredients and Materials
    • 12 oz graham crackers
    • 12 oz marshmallows
    • 6 oz chocolate bars or chips
    • Campfire with grate
    • Aluminum or cast iron pan
    Instructions
    1. Break graham crackers into small pieces.
    2. Layer graham crackers, marshmallows, and chocolate into your pan.
    3. Place pan over the campfire using the grate.
    4. Cook for 10 minutes or until marshmallows are golden brown and melting.

    Other Ingredients 

    There are many other ingredients that you can use to make this recipe your own. Here are a few ideas:

    • Peanut butter chips
    • Large and small marshmallows
    • Peeps
    • Peanut butter cups
    • Caramels
    • Strawberries

    Friday, July 22, 2022

    Loaded Tater Tots

    Loaded tater tots. 

    Really, do I need to say anything else? 

    Do you need to hear how mega-delicious loaded tater tots are? How easy they are to make? How addictive they are to eat? What a great side dish to grilled steak they make? 

    I didn't think so. Just make these. That's all I'm saying :)

    • (32 oz) package frozen tater tots
    • 1 cup Monterey Jack Queso (or any jarred white queso, I like one from "On the Border")
    • 2 cups shredded Monterey Jack cheese
    • cooked, chopped bacon
    • thinly sliced green onions, optional 
    • sour cream, for serving if desired
    1. Preheat oven to 425'. Spray a rimmed baking sheet with non-stick cooking spray. Arrange frozen tater tots on the pan and bake according to package directions.

    2. Warm the queso in a microwave, drizzle over baked tater tots. Top with shredded cheese and put bake in the oven until the cheese is melted. Sprinkle with chopped bacon and onions if desired. Serve with sour cream on the side if desired.

    notes:
    * I didn't sprinkle the onions on top but put them in a little side dish so whoever wanted them could help themselves. 
    *You can obviously change this up to suit your taste - I based ours on what I like on a loaded baked potato. 
    *You'd think the addition of the Queso dip would make things soggy but it didn't - well it did as it sat for a while, but even then it was addictively delicious! 
    *we served them off the baking sheet, if you want a prettier presentation put the baked tater tots on a oven-safe serving dish before adding the queso and cheese, then continue with the above instructions. 
    *I wish I would have taken a better photo of these on our plates with meat and salad! 


    Thursday, July 21, 2022

    Pork Tenderloin with Mustard Rub

    I feel like I've shared many pork tenderloin recipes with you, sorry if you're over pork tenderloin recipes hahaha, but here's another one that tastes great and is easy to make. Read my note tho about not baking them directly on foil! And once again I forgot to take a photo after they were baked, but I managed to get one of them with the rub on before baking...


    2 pork tenderloins (approx 1.25 pounds each)
    4 T. dijon mustard
    4 T. brown sugar
    1 teaspoon coarse salt
    1/2 teaspoon pepper

    Preheat oven 425'.

    Mix the mustard, sugar, salt and pepper together in a small bowl.

    Dry the tenderloins with a paper towel, place on a parchment lined baking sheet.

    Rub the mustard mixture all over the tenderloins, place in preheated oven and bake for 20-30 minutes until a thermometer reads 145'. Remove from oven, tent with foil and let rest 5 minutes before slicing.

    note: you can easily half this recipe and just make one tenderloin. I could only find a package with 2 tenderloins and decided to bake them both and have extra pork for leftovers. I baked these on foil and the sugar mixed with the pork juices made a very thick sticky mess and basically glued the foil to the baking sheet (it came off after soaking for a bit). I recommend using parchment or spray the baking sheet really good with non-stick cooking spray.