Tuesday, July 26, 2022

Tip-sy Tuesday: Personalized Beach Drink Holder

My camping neighbor Jenn made me this super cute drink holder for when we are hanging on the beach - she ordered them from Amazon and cricut-ed my name on it, fun idea! It holds a drink and my phone, although with my recent streak of bad luck I probably shouldn't have my phone anywhere near sand! 


Side note: how great is it that I have a crafty neighbor to talk cricut-ing (and more haha) with?!! She has the bigger machine and heat press (I just use my iron but that doesn't work on the bigger projects she can do - she makes t-shirts, tanks, onesies, and even corn hole boards!). Love.  


Thanks new friend!

Monday, July 25, 2022

Star Plates

Brooke and I used to go to the 'paint your own pottery' place all the time, one visit we made these fun star shaped plates and since there's a little technique involved I thought I'd share how we made them.

They both use similar techniques to make the pattern so clean (cuz there's no way either one of are free- handing stripes or stars this perfect haha!!). In both of these examples you start with a couple coats of white paint all over the plate, let it dry completely before decorating. 

To make the stripes: simply put tape over the area you want to stay white and paint in between with the color of your choice. Brooke went with yellow stripes, I went with a flag theme and painted my stripes red. If you want the stripes to be more solid add a second coat of paint. Let dry and peel off the tape.

For the stars (or whatever shape you want) cut or punch out the shape from paper in the size you want. B went with large stars and I went for small. Lightly dampen the paper shapes and stick in place. For the pink and yellow plate Brooke left tape over the last white stripe towards the middle and painted one coat of pink over the paper stars (make sure the paper stays stuck down or else the pink will bleed underneath. For my flag plate I put tape over the stripes to keep the blue paint from covering any of the stripes and keeping a nice sharpe line, then fill in that area with blue paint (the navy paint had the texture in it already, I didn't add it). Once the paint has dried very carefully pick the paper stars off using a pin or sharp pointy object. When you remove the paper you'll reveal the crisp white star shape. 


Finish according to the instructions at the pottery place - don't forget to sign your piece! 


7.25.18: peanut butter granola
7.25.17: how to sharpen knives
7.25.16: Prague


Sunday, July 24, 2022

🔥 Around the Campfire (week 30)

Dear Campers ~

Here's a quick recap of what happened at work last week in case you missed anything:

Posts ~

7/17: 🔥 week 29

7/18: organizing outdoor rv storage spaces

7/19: tt - how to clean a cricut mat

7/20: peach cobbler

7/21: pork tenderloin with mustard rub

7/22: loaded tater tots

7.23: s'more nachos

What's Cooking ~

  • grilled tuna, greek salad with garbanzo beans
  • mushroom cheeseburgers, potato salad
  • grilled pork chops, kale salad, roasted asparagus
  • grilled thin chicken breasts, Mexican salad (lettuce, corn, black beans, avocado, cheese)
That's it for this week - stop back often to see more projects, crafts, recipes, whatever else I can think of to make! Bye!

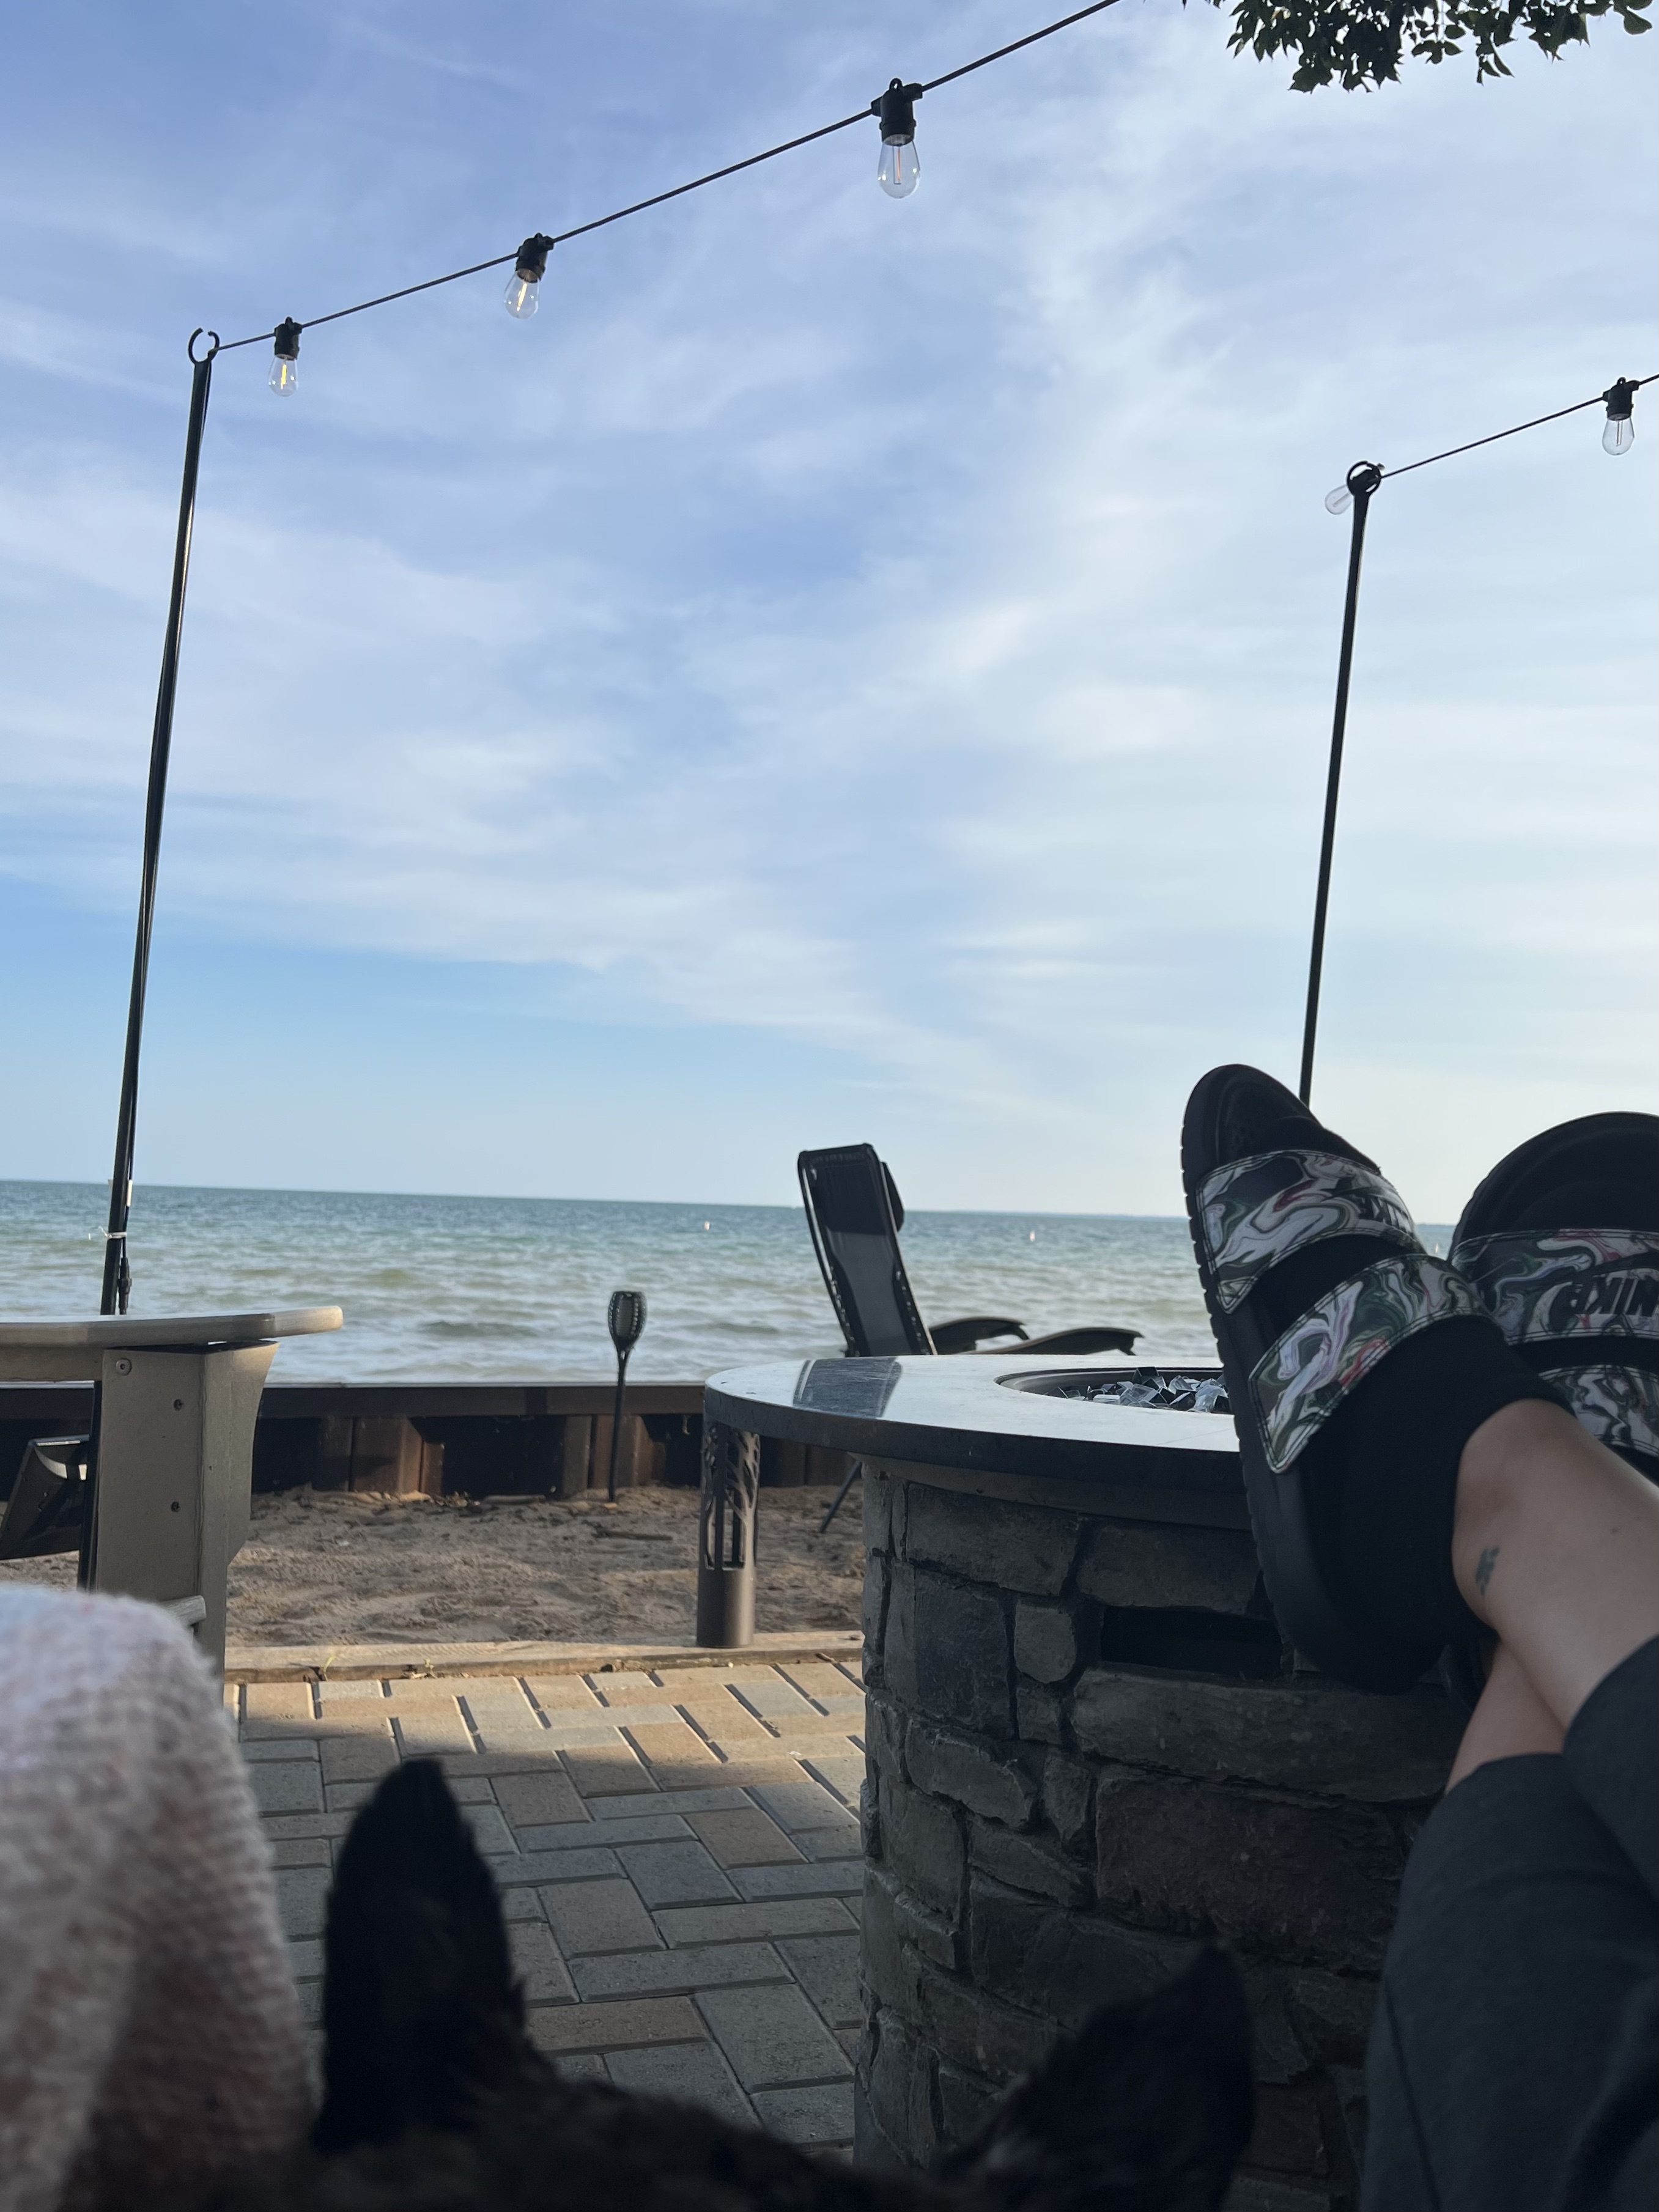
at the lake
found poles to hang lights over our fire pit area,
hanging with Sarge enjoying listening to the water in
our now cozy space...


Sincerely ~

Jill
camp counselor

7.24.21: Cathy's peach cobbler

7.24.20: tuna cauliflower salad


7.24.16: Nuremberg


Saturday, July 23, 2022

S'More Nachos

I saw this idea in an email from Kiefer Campgrounds for S'more nachos and I have to say this seems genius to me! Dave won't let me toast marshmallows over our gas fire pit (for some reason haha) so we usually only have them if a neighbor is game to mess up their pit - so when I saw this recipe I knew I was going to make it! 

I'm going to make these nachos the next time we're camping (I bought disposable foil pans to keep down the clean-up), but I'm sharing this with you now in case you need S'more's before I get around to making them!


Ingredients and Materials
  • 12 oz graham crackers
  • 12 oz marshmallows
  • 6 oz chocolate bars or chips
  • Campfire with grate
  • Aluminum or cast iron pan
Instructions
  1. Break graham crackers into small pieces.
  2. Layer graham crackers, marshmallows, and chocolate into your pan.
  3. Place pan over the campfire using the grate.
  4. Cook for 10 minutes or until marshmallows are golden brown and melting.

Other Ingredients 

There are many other ingredients that you can use to make this recipe your own. Here are a few ideas:

  • Peanut butter chips
  • Large and small marshmallows
  • Peeps
  • Peanut butter cups
  • Caramels
  • Strawberries

Friday, July 22, 2022

Loaded Tater Tots

Loaded tater tots. 

Really, do I need to say anything else? 

Do you need to hear how mega-delicious loaded tater tots are? How easy they are to make? How addictive they are to eat? What a great side dish to grilled steak they make? 

I didn't think so. Just make these. That's all I'm saying :)

  • (32 oz) package frozen tater tots
  • 1 cup Monterey Jack Queso (or any jarred white queso, I like one from "On the Border")
  • 2 cups shredded Monterey Jack cheese
  • cooked, chopped bacon
  • thinly sliced green onions, optional 
  • sour cream, for serving if desired
1. Preheat oven to 425'. Spray a rimmed baking sheet with non-stick cooking spray. Arrange frozen tater tots on the pan and bake according to package directions.

2. Warm the queso in a microwave, drizzle over baked tater tots. Top with shredded cheese and put bake in the oven until the cheese is melted. Sprinkle with chopped bacon and onions if desired. Serve with sour cream on the side if desired.

notes:
* I didn't sprinkle the onions on top but put them in a little side dish so whoever wanted them could help themselves. 
*You can obviously change this up to suit your taste - I based ours on what I like on a loaded baked potato. 
*You'd think the addition of the Queso dip would make things soggy but it didn't - well it did as it sat for a while, but even then it was addictively delicious! 
*we served them off the baking sheet, if you want a prettier presentation put the baked tater tots on a oven-safe serving dish before adding the queso and cheese, then continue with the above instructions. 
*I wish I would have taken a better photo of these on our plates with meat and salad! 


Thursday, July 21, 2022

Pork Tenderloin with Mustard Rub

I feel like I've shared many pork tenderloin recipes with you, sorry if you're over pork tenderloin recipes hahaha, but here's another one that tastes great and is easy to make. Read my note tho about not baking them directly on foil! And once again I forgot to take a photo after they were baked, but I managed to get one of them with the rub on before baking...


2 pork tenderloins (approx 1.25 pounds each)
4 T. dijon mustard
4 T. brown sugar
1 teaspoon coarse salt
1/2 teaspoon pepper

Preheat oven 425'.

Mix the mustard, sugar, salt and pepper together in a small bowl.

Dry the tenderloins with a paper towel, place on a parchment lined baking sheet.

Rub the mustard mixture all over the tenderloins, place in preheated oven and bake for 20-30 minutes until a thermometer reads 145'. Remove from oven, tent with foil and let rest 5 minutes before slicing.

note: you can easily half this recipe and just make one tenderloin. I could only find a package with 2 tenderloins and decided to bake them both and have extra pork for leftovers. I baked these on foil and the sugar mixed with the pork juices made a very thick sticky mess and basically glued the foil to the baking sheet (it came off after soaking for a bit). I recommend using parchment or spray the baking sheet really good with non-stick cooking spray.

Wednesday, July 20, 2022

Peach Cobbler

Claudette made peach cobbler and sent a couple pieces with LeDonna and Mark for Dave and I to try - we weren't home to eat it at dinner that night but I enjoyed it for breakfast the next morning. It's really good and a little different than I've made it and asked if she'd share the recipe. 

EASY PEACH COBBLER

  • 1/2 cup butter
  • 1 cup flour
  • 2 cups sugar, divided (that means you won't use it all at the same time)
  • 1 T. baking powder
  • 1 cup milk
  • 4 cups sliced peaches
  • 1 T. lemon juice
  • ground cinnamon or nutmeg
  1. Melt butter in a 9x13" baking dish.
  2. Combine flour, 1 cup sugar, and baking powder. Add milk, stirring until dry ingredients are moistened. Pour batter over butter (do not stir).
  3. Bring remaining 1 cup sugar, peach slices, lemon juice to a boil, stirring constantly. Pour over batter (do not stir). Sprinkle with cinnamon or nutmeg. 
  4. Bake at 375' 40-45 minutes.

LeDonna told me that Claudette wondered if I liked it, L told her that we were out for dinner but knowing me I'd eat it for breakfast hahahha, yep she knows me well! 

To my credit I did not eat it with ice cream or whipped cream for breakfast (and didn't miss it!). 


7.20.21: TT - silpat vs parchment paper

7.20.20: chocolate chip, banana, oatmeal muffins

7.20.19: grilled tuna pasta salad

7.20.18: kid craft: beach jars

7.20.17: how I organize my garden stuff

7.20.16: Budapest and Vienna


Tuesday, July 19, 2022

Tip-sy Tuesday: Cleaning a Cricut Cutting Mat

I've been cricut-ing a lot of things lately and noticed my cutting mat isn't sticky anymore; so before buying a new one I thought to Google for a solution or if I really did have to replace it. Sure enough, there's a fix.

I found this info and it works - easy and saved me some moolah:

Materials cut with Knife Blade will generate more dust or debris that will likely stick to the adhesive on your cutting mat. To help prolong the life of your StrongGrip mat, clean it as follows:

  • Remove large debris with tweezers
  • Avoid scraping the mat. Scraping will push material debris deeper into the adhesive.
  • Wash the mat as follows: 
    • Keep the mat flat supported by a firm surface, and place in the sink. 
    • Run lukewarm water over the mat. Use a plastic, hard-bristled brush to gently scrub in a circular motion until the entire surface of the mat had been cleaned. 
    • Pat dry with a paper towel.
    • Let mat air dry completely for stickiness to return. 


Monday, July 18, 2022

RV Organizing: the hold

We have one good outside storage compartment in our fifth wheel (aka: the cottage), we call it the 'hold' and it runs the width of the carriage and has big doors on either side for access. I put in a 3 shelf thing last year on the side closest to the front door but the other side was just a big hole and it'd gotten really junked up. I took everything out and re-organized, along with purchasing another 3 shelf stand. 


For the side that is farthest away I put all the stuff that doesn't get accessed all the time, like cleaning supplies, buckets, bleach, garden edging, etc. (side story - I also put  Dave's wetsuit over there, the one that he's only attempted to put on one time since he bought it - he didn't research tips to putting it on and I can even tell you how hard me and Ginny our camp neighbor laughed as he struggled. We both tried to zip him up as he's jumping up and down trying to wriggle into it LOL, still makes me laugh). Anyway...all the things that don't need to be quickly used is over there.


The closest side holds tools, garden stuff, bug remover, hooks and small hardware, blower, etc. And now we can see and get to everything in it's place. Ahhhhh....

I think my favorite thing is this little idea I thought of all by myself - I hung the paper work towel roll to the side of the wire shelf with a small bungie so we can easily tear off a sheet. I'm feeling very proud of my organizing self this morning hahahah. 


We have what's called the 'garage' that I also worked on but nothing I did out there is very inventive - it's the area in the front of a fifth wheel where the tongue is for towing. There's a canvas surround around the rv so it creates a covered holding area for bikes, chairs, floats, brooms/rakes/shovel, etc. I removed everything, cleaned out thee spiders, and arranged everything to be easier to get to. Other than hanging our life jackets on s hooks and finding a secret place for a hide-a-key, the rest is just standard organizing. 


7.18.21: 🔥 week 29
7.18.19: msih - mexican stuffed peppers
7.18.18: Cathy's strawberry pie (so good!!)
7.18.17: tip to keep off the shoulder tops off the shoulder!
7.18.16: Jen's tip for washing baseball hats


Sunday, July 17, 2022

🔥 Around the Campfire (week 29)

 Dear Campers ~

Well I forgot to post the weekly recap on Sunday, so now I'm doing it late just so it's on the blog! I'm just recapping what happened during the week in case you missed anything:

7/10: 🔥 week 28

7/11: window shadow box display

7/12: tip-sy tuesday: personalize a phone charger

7/13: chicken parm meatballs

7/14: creamy baked fettuccine

7/15: california roll wrap 

7/16: another phone case

Ok, now you're caught up!! More like I'm caught up hahaha. Bye!


Sincerely ~

Jill

camp counselor


7/17: Jen's deviled eggs


7.17.17: Deanna's pretty garden dish flowers