Wednesday, August 10, 2022

Black Bean Salsa

This salsa is really easy, quick once you've cubed the mango, and really yummy! It's great as salsa, but it's also great on it's own as a salad or side dish. And there's no oil so it's versatile and healthy too :) 


Mix together and enjoy: 
  • 1 can black beans, rinse and drain
  • 1 can corn with peppers, rinse and drain
  • 2 mangoes, cubed
  • 1/4 cup chopped onion
  • 1/4 cup cilantro
  • 2 Tablespoons lime juice
  • 1 teaspoon garlic salt
  • 1/4 teaspoon cumin
click here to see yesterday's post on how to dice a mango


8.10.21: TT - drizzling chocolate
8.10.20: hello doormat

Tuesday, August 9, 2022

Tip-sy Tuesday: Mangoes

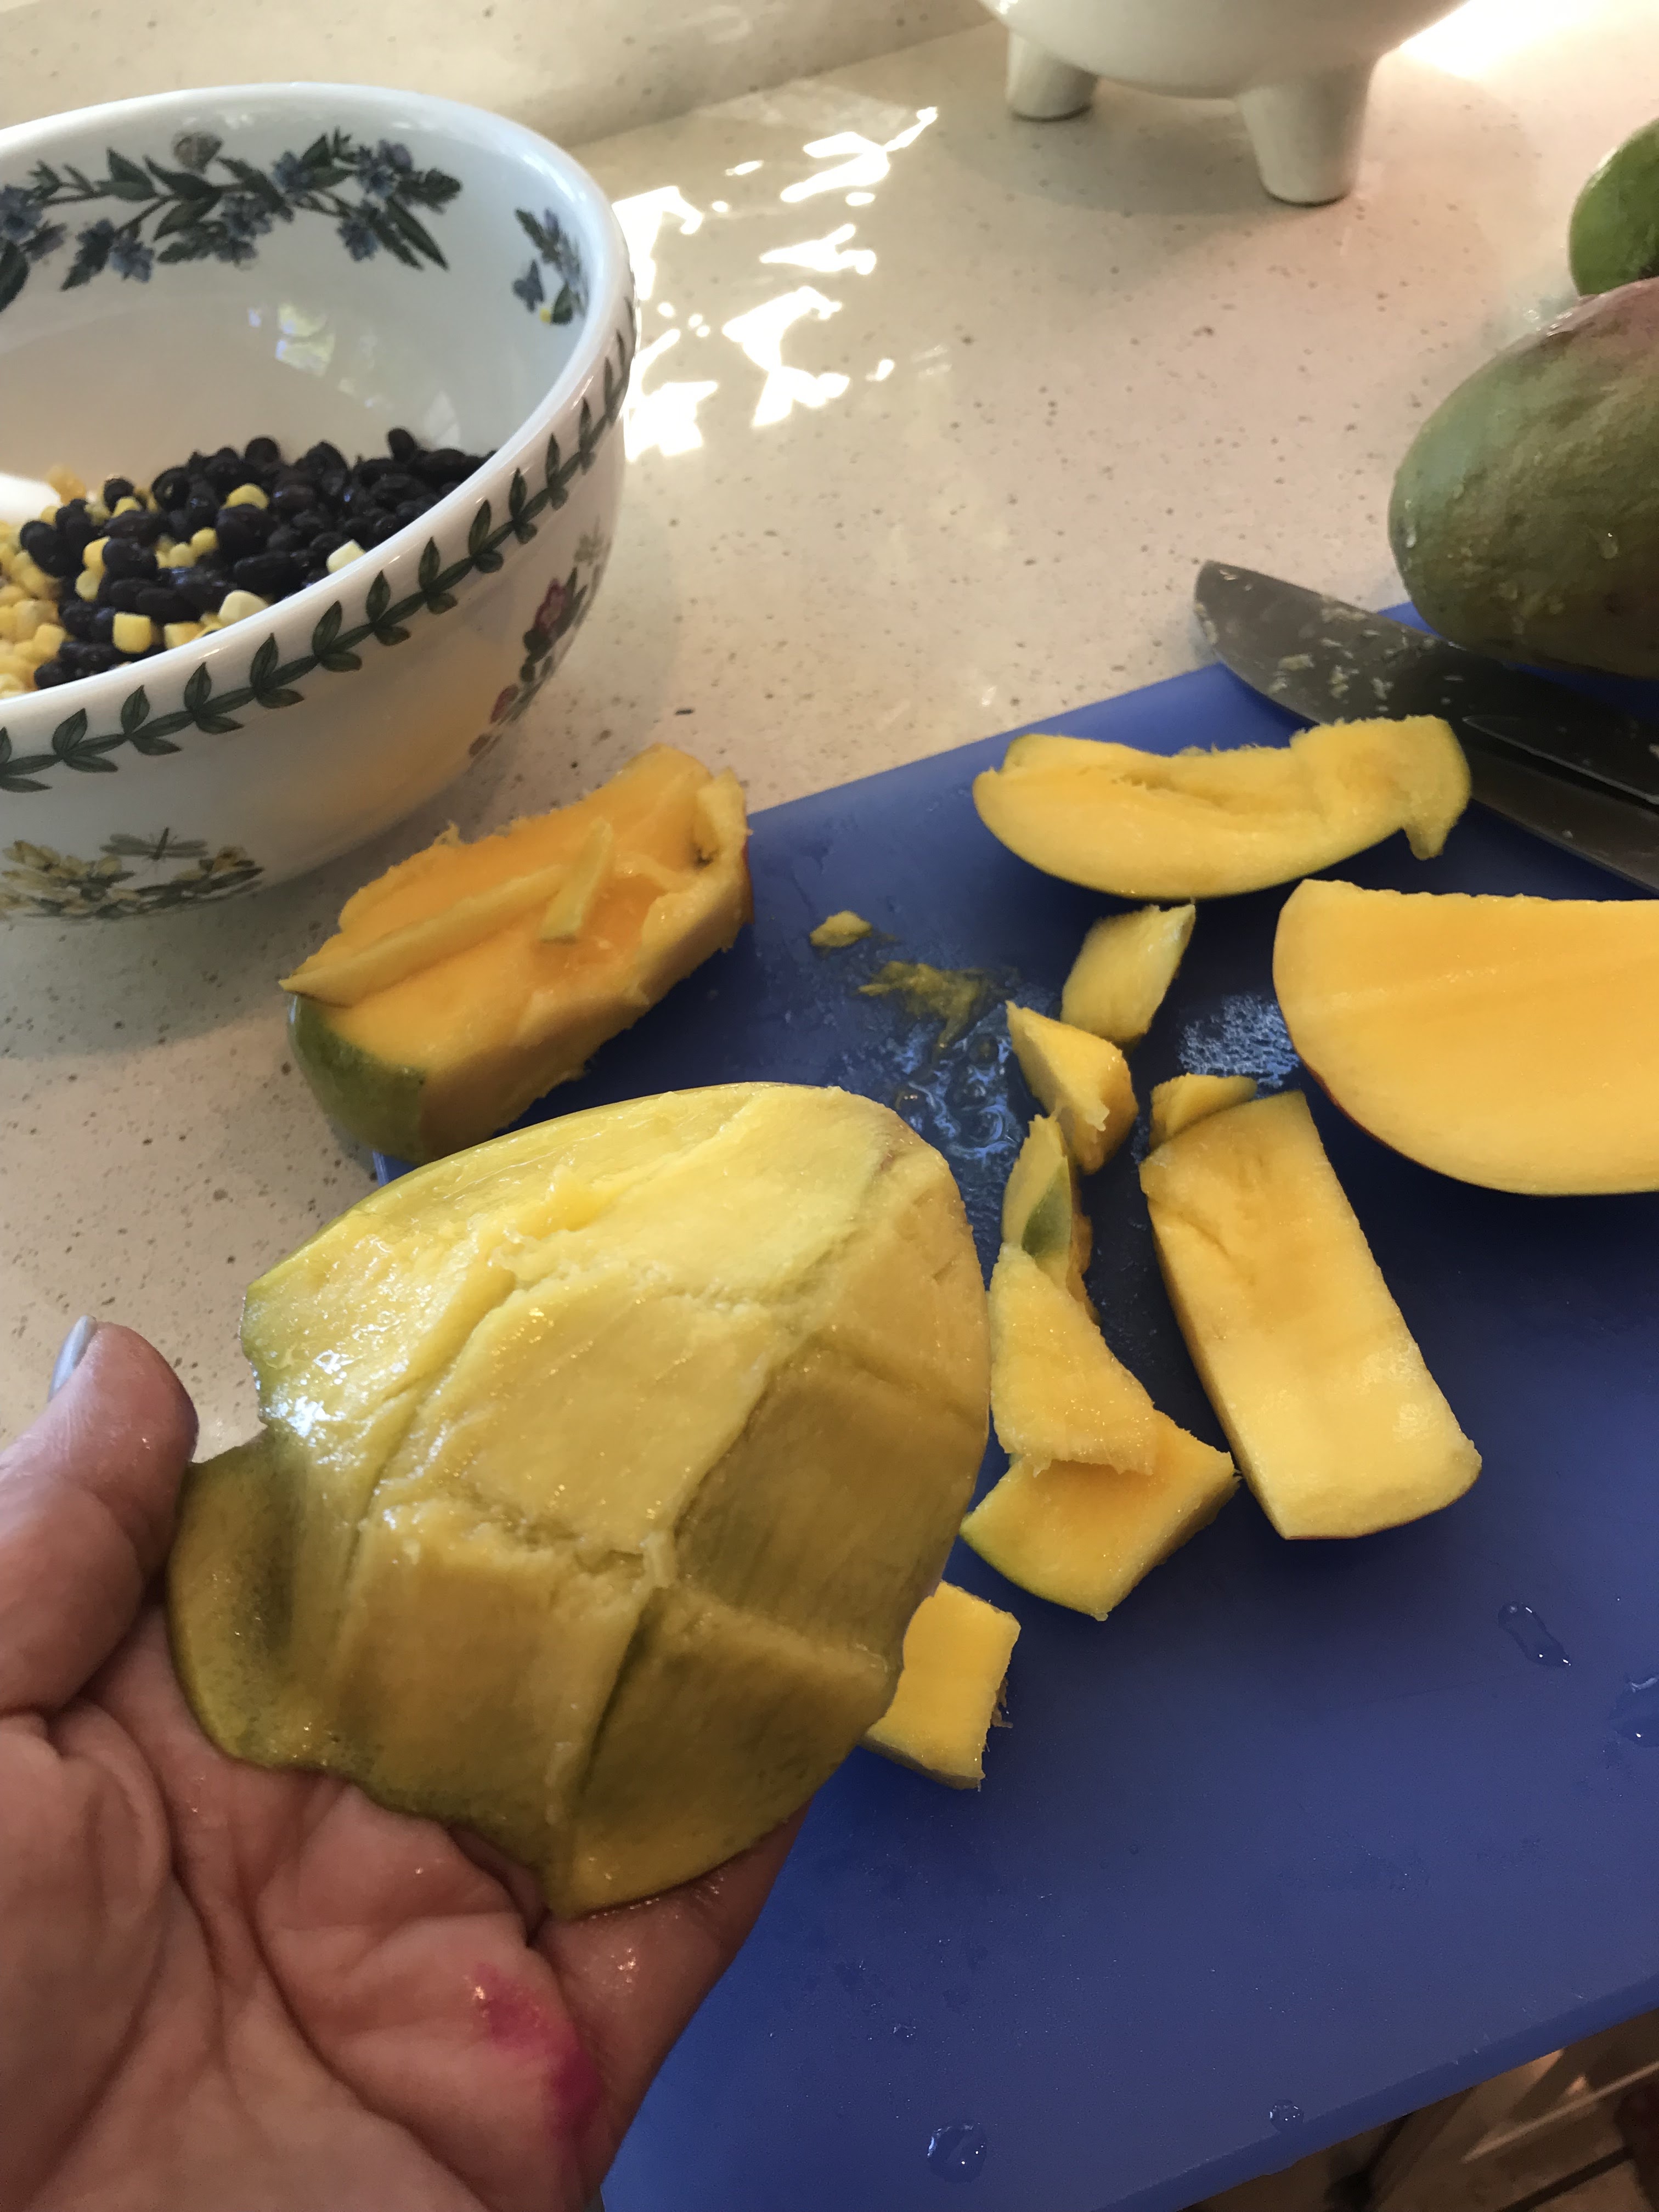
I don't love dealing with mangoes, it seems like there should be more fruit than you get after taking out the giant pit in the center - seems it's mostly pit. But I learned this little trick years ago that makes dicing your mango easier. Lay the unpeeled mango on a cutting board so one narrow side is down, then slice the flat side of the mango away from the pit. Repeat with the other flat side. You'll end up with 2 slices of mango, and 1 large pit that appears to have more fruit on it but really doesn't. Sometimes I trim the narrow edges to pick away a little more flesh but it's really all about the 2 main slices. 


Now to dice the mango - score the flesh with a paring knife into a grid pattern, don't cut thru the peel. Using your fingers, invert the peel and the flesh pushes up in squares that you can then cut off resulting in small cubes of mango. If you want slices you can do the same technique but make parallel cuts instead of the grid. 


one delicious way to enjoy mango is in a black bean and corn salsa/salad/side dish...

8.9.21: texas caviar

Monday, August 8, 2022

Painted Knife Block

I've been wanting to paint my knife block for a long time but haven't gotten around to figuring out if I need to sand it first and all that - so when I found a baby knife block for the RV ('the cottage') with no varnish or sealer on it (it looks and feels like super cheap balsa wood) I figured it'd be a good way to practice. 


My goodness this was beyond simple and quick - because the paint basically soaked in and dried almost immediately I was able to paint 3 coats in about 1/2 hour. And it's so cute! 

My first plan was to only paint the bottom half, that's what I want for my big knife block, but then decided to just paint the whole thing - it's so small that you'd hardly see the paint if I only did the bottom half!


8.8.21: 🔥 week 32

8.8.20: caesar-inspired asparagus

8.8.19: msih - french onion soup with cauliflower 

8.8.18: cucumber and smoked salmon appetizer

8.8.17: Candy's corn shortcut

8.8.16: how to paint a "hello" doormat

Sunday, August 7, 2022

🔥 Around the Campfire (week 32)

Dear Campers ~

Here's a quick recap of what happened at camp last week in case you missed anything:

Posts ~

7/31: 🔥 week 31

8/1: remove stains and scratches from stainless steel

8/2: tip-sy tuesday: zucchini brownie taste-off

8/3: chocolate chip caramel cookies 

8/4: creamy beef and tortellini soup

8/5: perfect lemon bars

8/6: lemon squares

What's cooking ~

  • baked walleye, coleslaw, ciabatta rolls
  • grilled peppercorn rubbed pork tenderloin, kale salad, roasted baby potatoes
  • grilled chicken breast, roasted carrots with thyme from my herb garden, chopped salad
  • stuffed salmon (costco), steamed broccoli
  • steak, sautéed mushrooms, salad (black beans, corn, avocado, tomatoes)
That's it for this week - stop by often for more crafts, tips, recipes, whatever else I can think of to make at camp next week! Bye!

Sincerely ~

Jill
camp counselor


Saturday, August 6, 2022

Lemon Squares

Here's the regular ol' recipe I talked about in yesterday's 'Perfect Lemon Bar' post in case you don't already have a stand-by go-to version - this is exactly how I have it written and there isn't nearly as many words or instructions as the other one hahaha!

  • 1/2 cup butter
  • 1 cup flour
  • 1/4 cup sugar
Bake in an 8x8 pan 20 min at 350' 

Mix together and spread on cooked 'crust':

  • 2 eggs
  • 1 cup sugar
  • 1/4 cup butter
  • 3 T. lemon juice
  • 1/2 t. baking powder
  • 2 T. flour
Bake 30 min. When cool, dust with powdered sugar.

You can double the recipe and put in 13x9 pan. 

I don't have a picture of these, pretty much look like the perfect lemon bars but haven't had a problem getting the confectioners' sugar to not melt into the top.  Maybe I'll do like the zucchini brownies and make both versions for a taste-test - if so I'll update this with photos. 


Friday, August 5, 2022

Perfect Lemon Bars

Made these for Dave's LAUGH meeting (Lansing Area Ukulele Group) and everyone seemed to like them even tho I didn't think they're as pretty as they should have been - the top stayed wet and the sugar soaked in...I cut them into squares and put in paper liners to serve them and fortunately that made them look better. This recipe has been in my file to try for years, I cut it out of a magazine but there's no indication of which one or the date. I have a regular ol' lemon square recipe that is probably the same as every other standard regular ol' lemon square recipe, but I decided I'd try something different this time. I'll share my regular recipe tomorrow if you want to try both of them - this one is much more detailed, many more steps and ingredients, and the end result is still a lemon square but different then the usual. Give it a try and see what you think (or wait for tomorrows recipe and make that one hahahah). These are really good, just different. 


For the record - I'm always cynical when a recipe is self-proclaimed 'perfect', and I'm not going to tell you these are 'perfect'. They're good but I'm not calling them perfect until I've tried all the recipes I can find hahahha. 

Here's the recipe exactly as written, yes it's lots of words and maybe they're all necessary, you decide:

PERFECT LEMON BARS

makes about two dozen 1 1/2 to 2 inch squares

The lemon filling must be added to a warm crust. The 30-minute chilling and 20-minute baking of the crust should allow plenty of time to prepare the filling. If not, make the filling first and stir to blend just before pouring it onto the crust. Any leftover bars can be sealed in plastic wrap and refrigerated for up to two days. 

The Crust

  • 1 3/4 cups flour
  • 2/3 cup confectioners' sugar, plus extra to decorate finished bars
  •  1/4 cup cornstarch
  • 3/4 t. salt
  • 12 T. unsalted butter (1 1/2 sticks), at very cool room temperature, cut into 1-inch pieces, plus extra for greasing pan
Lemon Filling
  • 4 large eggs, beaten lightly
  • 1 1/3 cups granulated sugar
  • 3 T. all-purpose flour
  • 2 t. finely grated zest from two large lemons
  • 2/3 cup juice from 3 to 4 large lemons, strained
  • 1/3 cup whole milk
  • 1/8 t. salt
1. FOR THE CRUST: adjust oven rack to middle position and heat oven to 350'. Lightly butter a 13 by 9-inch baking dish and line with one sheet parchment or wax paper. Dot paper with butter, then lay second sheet crosswise over it.

2. Pulse flour, confectioners' sugar, cornstarch, and salt in a food processor fitted with steel blade. Add butter and process to blend, 8 to 10 seconds, then pulse until mixture is pale yellow and resembles coarse meal, about three 1-second bursts. (To do this by hand, mix flour, confections' sugar, cornstarch's dn salt in medium bowl. Freeze butter and grate it on large holes of box grater into flour mixture. Toss butter pieces to coat. Rub pieces between your fingers for a minute, until flour turns pale yellow and coarse.) Sprinkle mixture into lined pan and press firmly with fingers into even, 1/4-inch layer over entire pan bottom and about 1/2 inch up sides. Refrigerate for 30 minutes, then bake until golden brown, about 20 minutes.

3. FOR THE FILLING: Meanwhile, whisk eggs, sugar, and flour in medium bowl, then stir in lemon zest and juice, milk, and salt to blend well.

4. TO FINISH THE BARS: Reduce oven temperature to 325'. Stir filling mixture to rebound; pour onto warm crust. Bake until filling feels firm when touched lightly, about 20 minutes, Transfer pan to wire rack; cool to near room temperature, at least 30 minutes. Transfer to cutting board, peel paper down, and cut into serving-size bars, wiping knife or pizza cutter clean between cuts, as necessary. Sieve confectioners' sugar over bars, if desired. 

note: I had to bake these longer than 20 minutes for the filling to feel firm - the dents in the top are from me testing the top!

8.5.21: greek broccoli gratin

8.5.20: milk dud ice cream cake

8.5.19: friendship bracelets by Brooke

8.5.18: creamy cucumber salad

8.5.17: porch sittin'

8.5.16: fidget stress balls


Thursday, August 4, 2022

Creamy Beef and Tortellini Soup

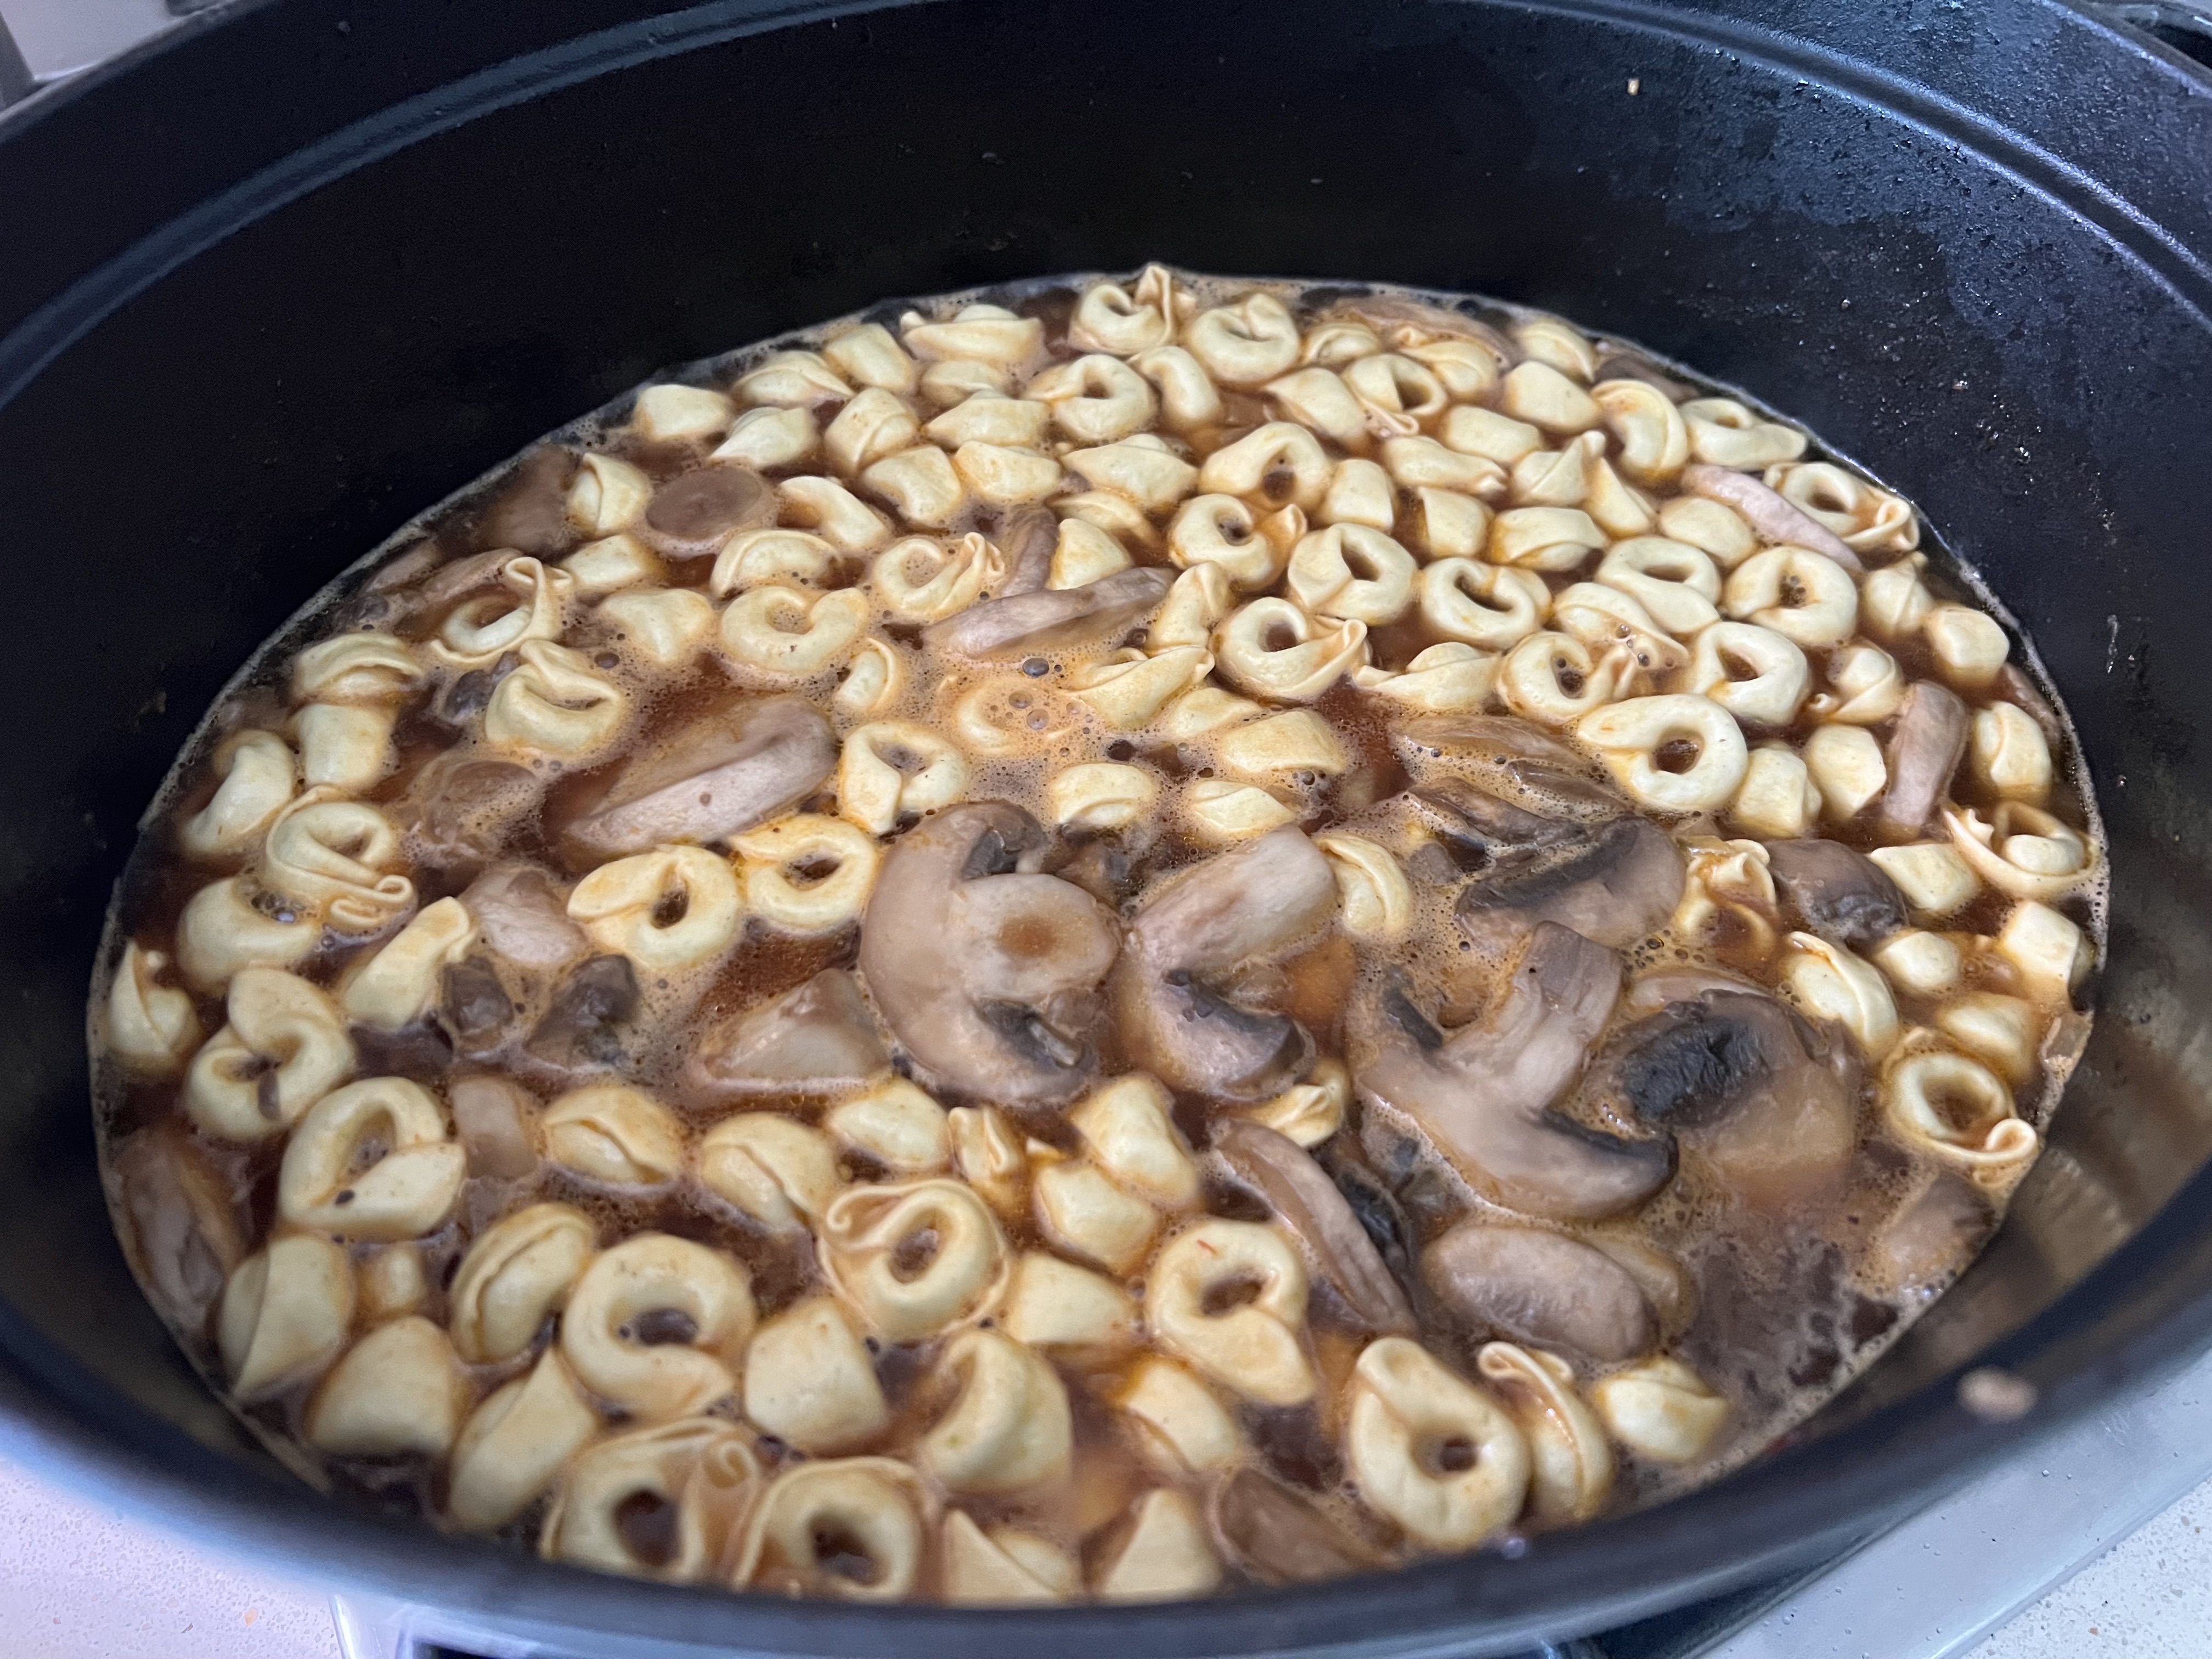
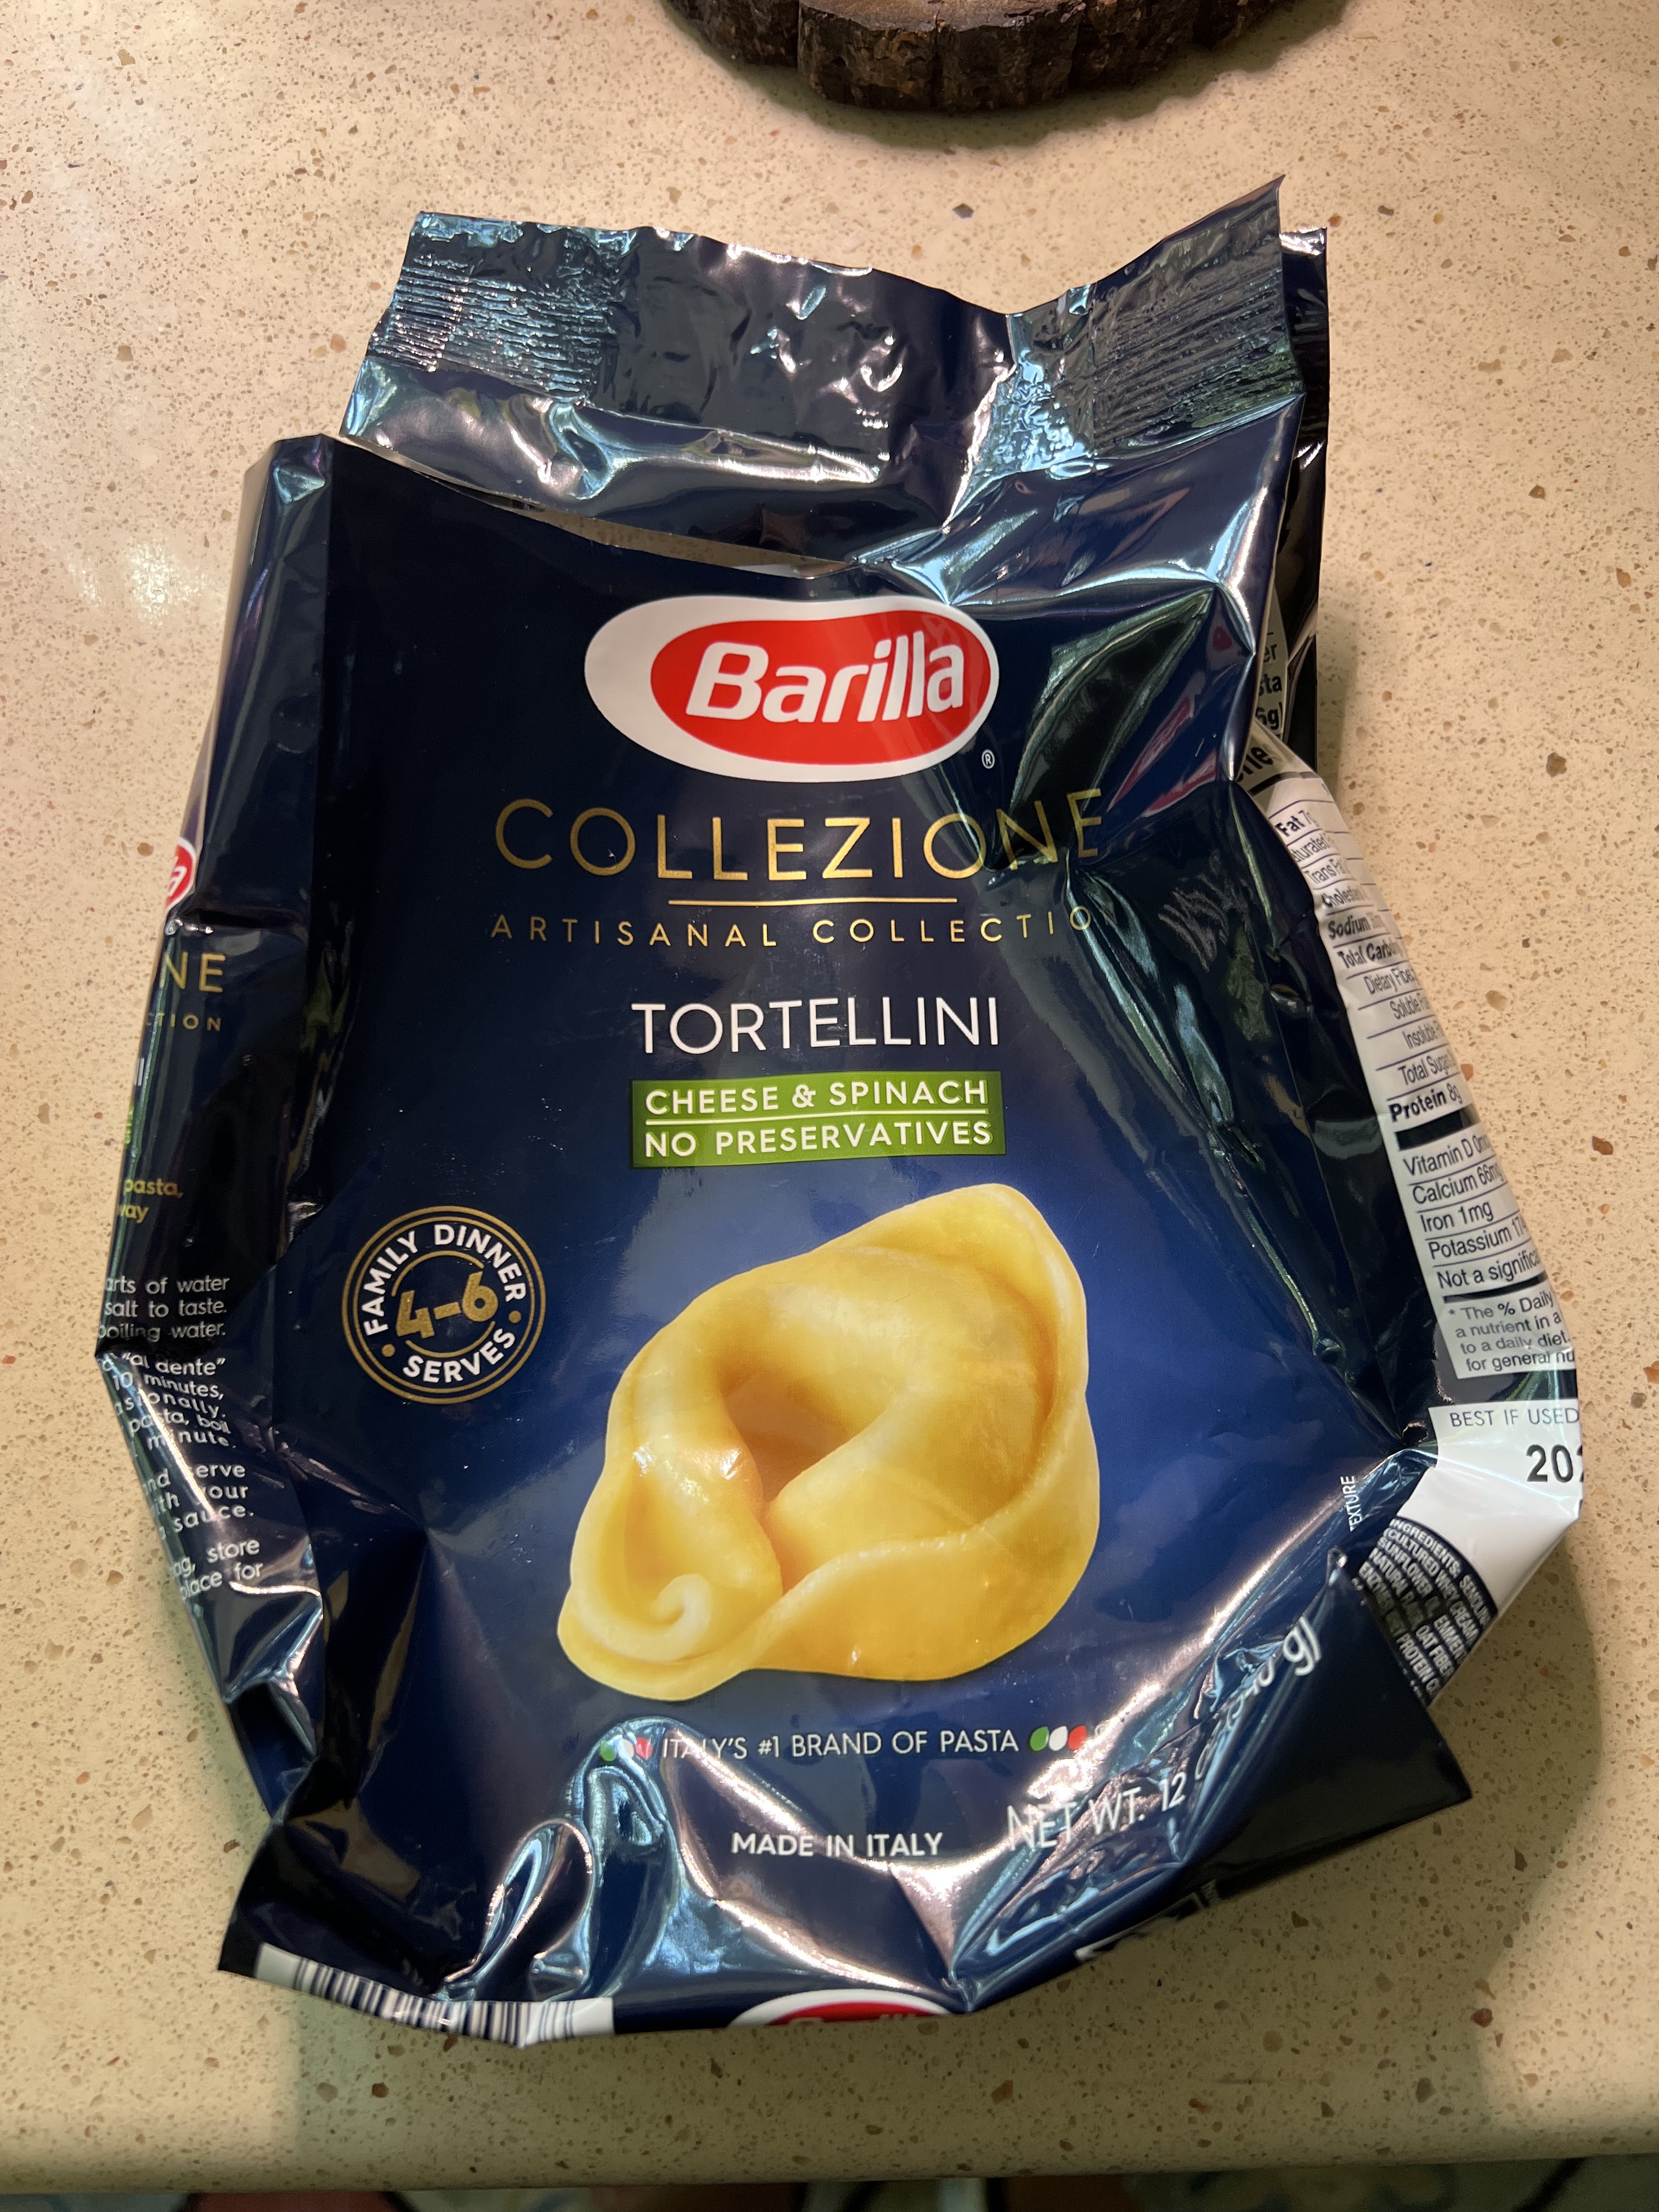
I'm not exactly sure if I didn't follow the directions correctly or what, but this 'soup' turned out like pasta with sauce and is amazing! I think maybe using dried tortellini (found in the boxed pasta aisle) instead of fresh tortellini maybe changed the recipe as written? I gave some to LeDonna and said I probably added too much pasta or whatever and that she could add water to it if she wanted to make it 'soup' like the recipe says but she said no, it's like beef stroganoff and don't change a thing. Whether soup or pasta, or if I use fresh pasta or dried, the flavor is great and I will absolutely make this again!

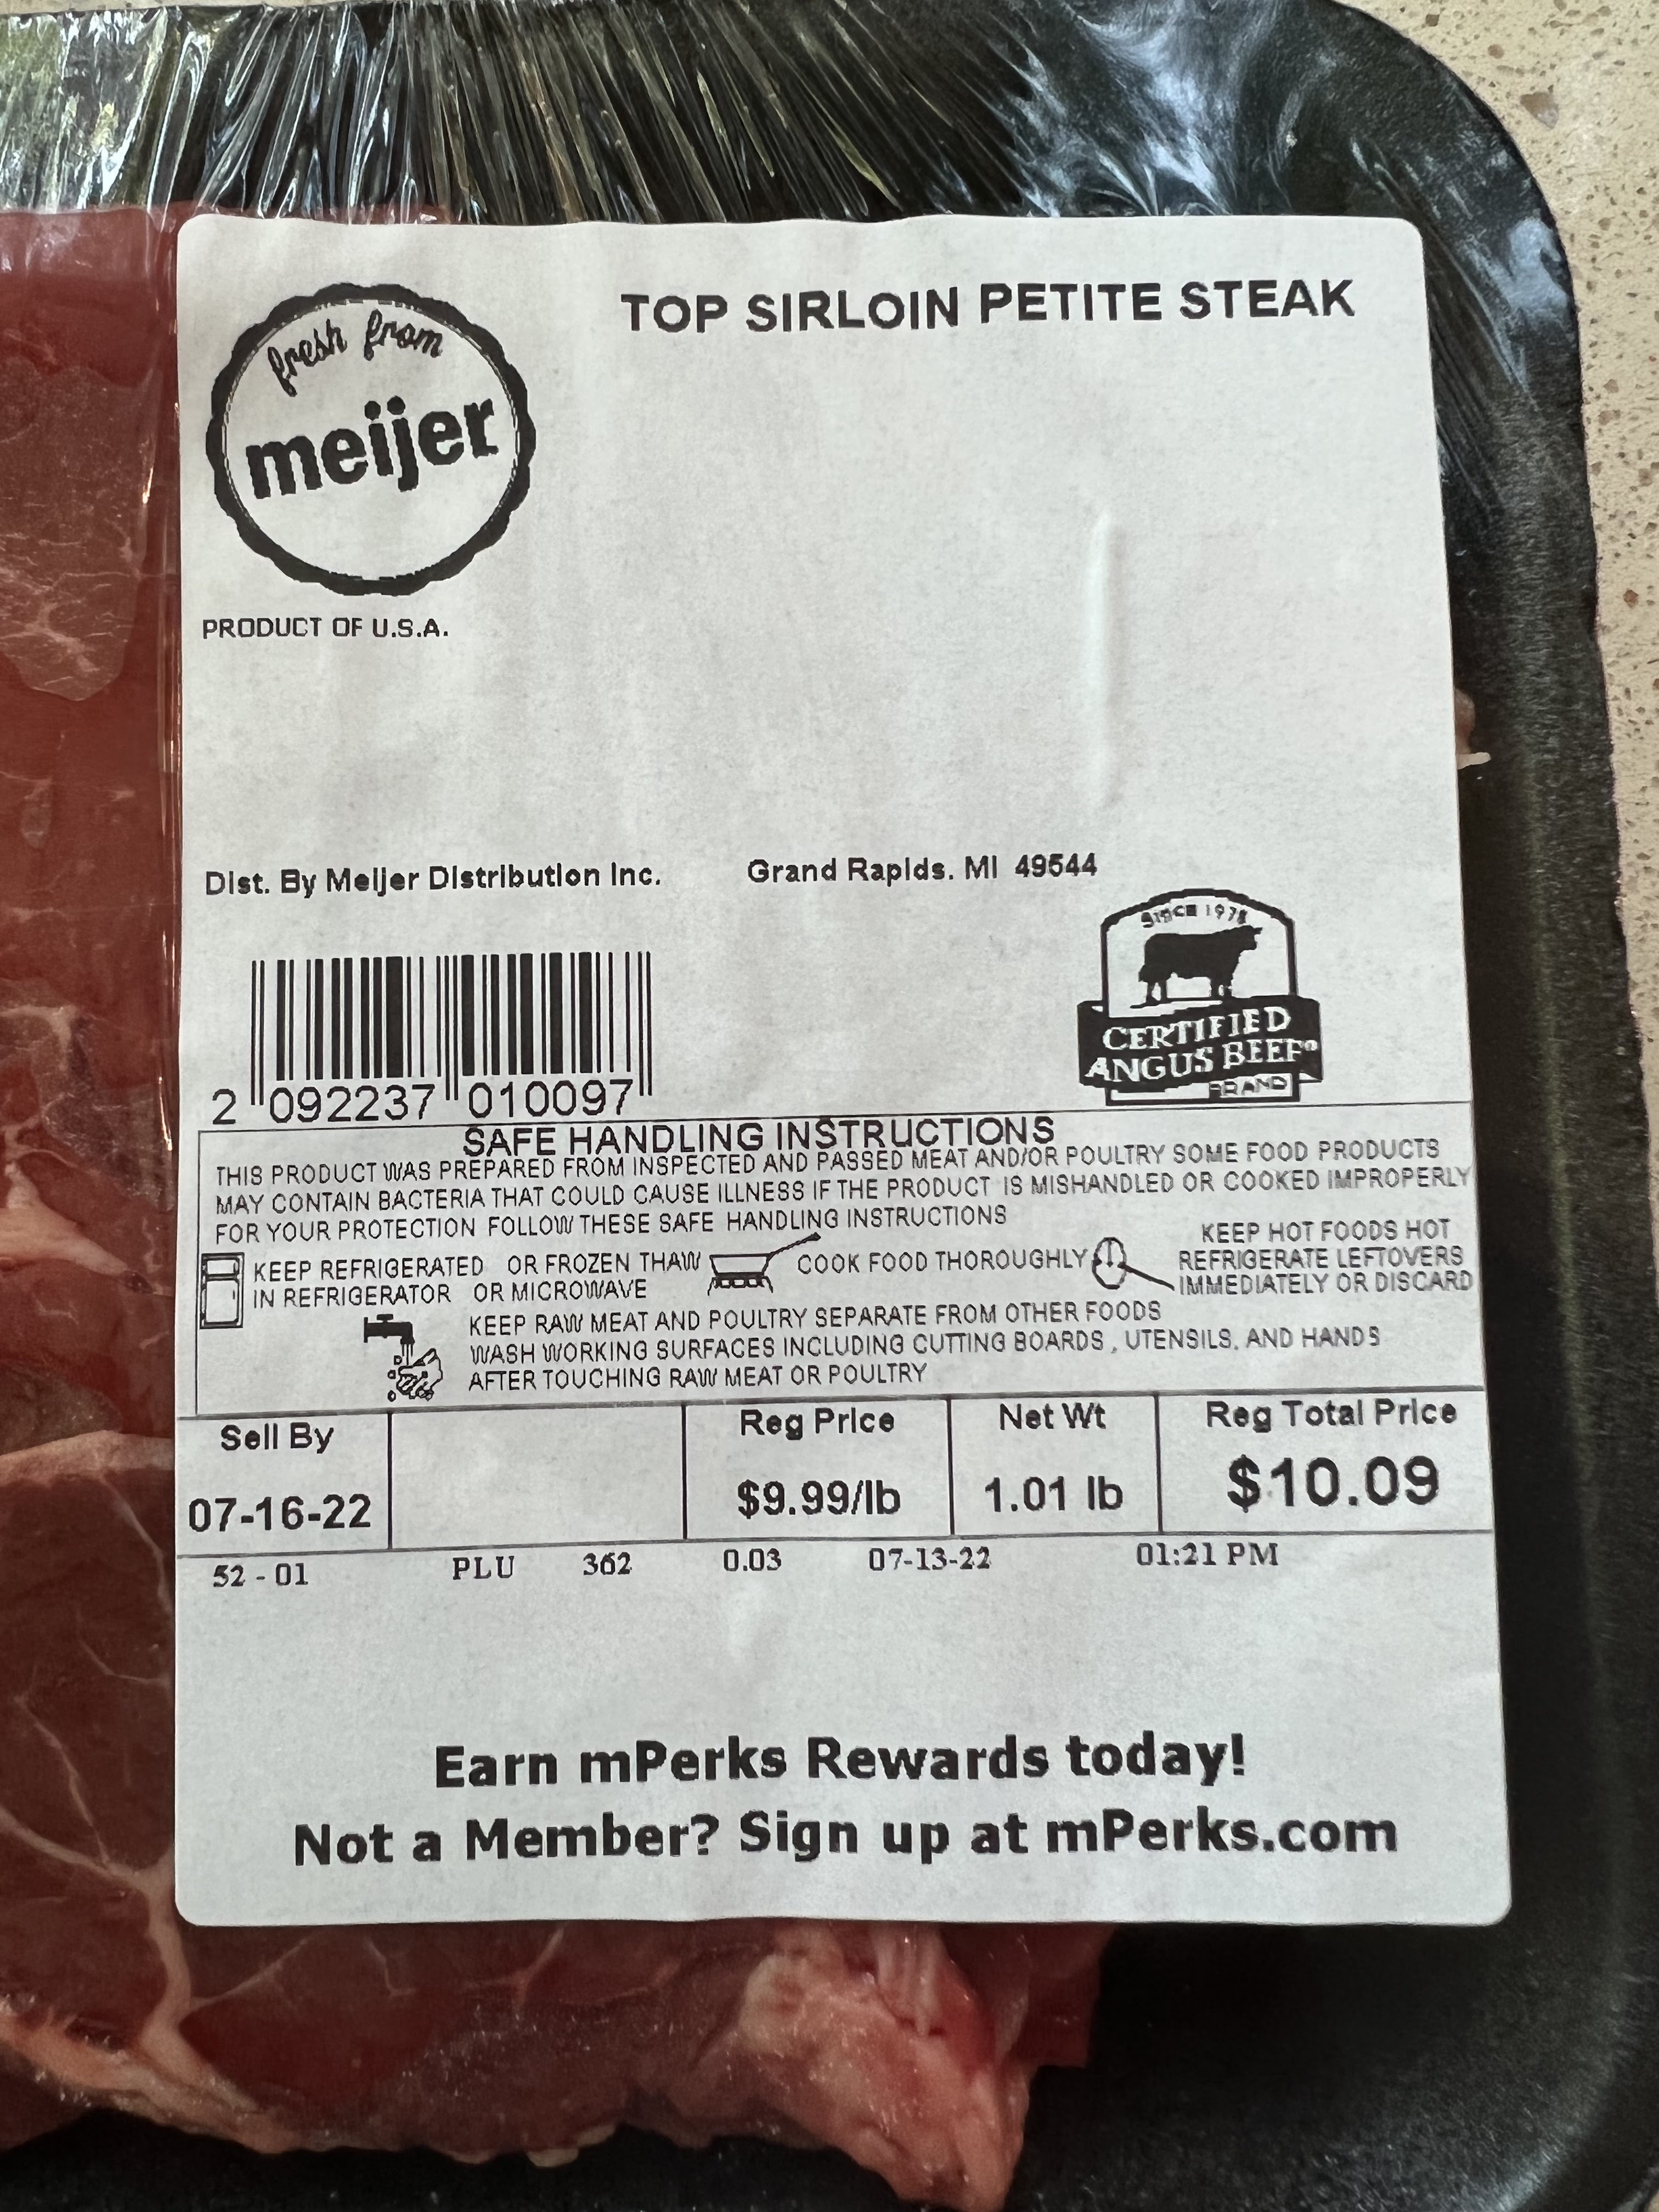
  • 1 pound boneless beef sirloin steak, trimmed and cut into thin bite-size strips
  • 1/2 t. salt
  • 1/2 t. pepper
  • 2 T. butter
  • 3 cups sliced fresh button mushrooms
  • 1 cup chopped onion
  • 2 cloves garlic, minced
  • 5 cups reduced-sodium beef broth
  • 1 T. tomato paste
  • 1 T. worcestershire sauce
  • 1 9 oz. package refrigerated mushroom-filled agnolotti or tortelloni
  • 1/2 cup sour cream
  • 2 T. flour 
  • chopped fresh Italian parsley for garnish
Step 1: sprinkle meat with salt and pepper. In a 5 to 6 quart Dutch oven, melt butter over medium-high heat. Add meat, half at a time, and cook and stir 2 minutes or until slightly pink in center. Remove meat.

Step 2: add mushrooms, onion, and garlic to Dutch oven. Cook over medium heat 5 to 7 minutes or until onion is tender, stirring occasionally. Stir in broth, tomato paste, and worcestershire sauce. Bring to boiling. Stir in agnolotti. Boil gently 3 to 5 minutes or until pasta is tender.

Step 3: in a medium bowl, whisk together sour cream and flour. Whisk about 1 cup of the hot broth mixture into sour cream mixture; return to remaining hot broth mixture in Dutch oven. Cook and stir until slightly thickened and bubbly,. Cook and stir 1 minute more. Stir in meat; heat through. Top servings with parsley. 

6 servings

NOTE: since I used dried tortellini I followed package directions for how long to cook. 


recipe found  here at bhg


8.4.21: milk dud cheesecake

8.4.20: tip-sy tuesday: how to make magic shell

8.4.19: ðŸ”¥ week 31

8.4.18: wrapped turquoise bracelet

8.4.17: California roll by Brooke

8.4.16: short hair style ideas


Wednesday, August 3, 2022

Chocolate Chip Caramel Cookies

I volunteered to make dessert for my b-i-l's birthday, I know he loves when I make ice cream cookie sandwiches so I thought I'd do a little twist on my regular chocolate chip cookie version by stuffing the dough with a soft caramel before baking. 

Side story - you might remember that last year I made him a Milk Dud ice cream cake thinking I was a genius for making up the recipe, only to find that frozen Milk Duds are hard as rocks and we were all in jeopardy of breaking a tooth. After making these chocolate chip caramel cookies it popped into my brain that I wonder if the soft caramel center would freeze into equally hard rocks, making the ice cream cookie sandwiches inedible? Sigh. I froze one to test and sure enough, rock hard!

I'm even more bummed about having to make a different birthday dessert because these cookies are 'oh.my.gosh.delicious'!!! Mega-delicious! I'll be taking a plate out to share because they're amazing, but I made him a salted caramel chocolate ice cream cake instead as his actual dessert. Which is also delicious and I'll share that with you later. 

For now, make these cookies! You'll be sooooo happy - just don't eat them frozen ;)

  • 2 ½ cups flour
  • 1 teaspoon baking soda
  • 1 teaspoon Salt
  • 1 cup unsalted butter, room temperature
  • 1 cup brown sugar, packed
  • ½ cup white granulated sugar
  • 1 teaspoon vanilla extract
  • 2 Large eggs
  • 1 1/2  cup semi-sweet chocolate chips
  • 1/3 cup white chips
  • 1/4 cup mini chocolate chips 
  • 22 soft caramels (use Werthers, not the kraft square kind), cut in half 
  • coarse or flaky salt

  • In a medium bowl, sift together the flour, baking soda, and salt. Set aside.
  • Using a mixer, beat butter, brown sugar, and white sugar together for 2 minutes on high. The batter should be light and fluffy. Add in vanilla and eggs. Mix on medium-high for 1 minute. Scrape the bowl.
  • Slowly add in the dry ingredients. Mix until cookie dough is formed. Add in chocolate chips and mix.
  • Prepare a cookie sheet with parchment paper. Use a medium sized cookie scoop to scoop cookie dough. Push 1/2 a caramel into the middle of the dough ball, then reform into a ball completely covering the caramel. Alternately you can flatten the cookie dough ball into a disc, fill it with 1 soft caramel, roll the cookie dough back into a ball. Place on cookie sheet. Fill the rest of the cookie dough.
  • Chill for 2 hours or overnight. If overnight, cover with foil. When ready to bake, preheat oven to 350°F. Prepare 2 large cookie sheets with parchment paper. 
  • Place 12 cookie dough balls per cookie sheet and bake 10-12 minutes. It should be lightly golden brown on the edges and slightly under done in the middle. 
  • Sprinkle with coarse or flaky sea salt, let cookies sit on cookie sheet for 5 minutes. If they spread too much or unevenly, take a spatula and gently push the cookie back into a circle while they are still warm. Transfer to cooling racks. 


    makes approx 40 cookies

original recipe found here

8.3.21: tip-sy tuesday: beverage markers


8.3.17: Deanna's pretty glass garden angel


Tuesday, August 2, 2022

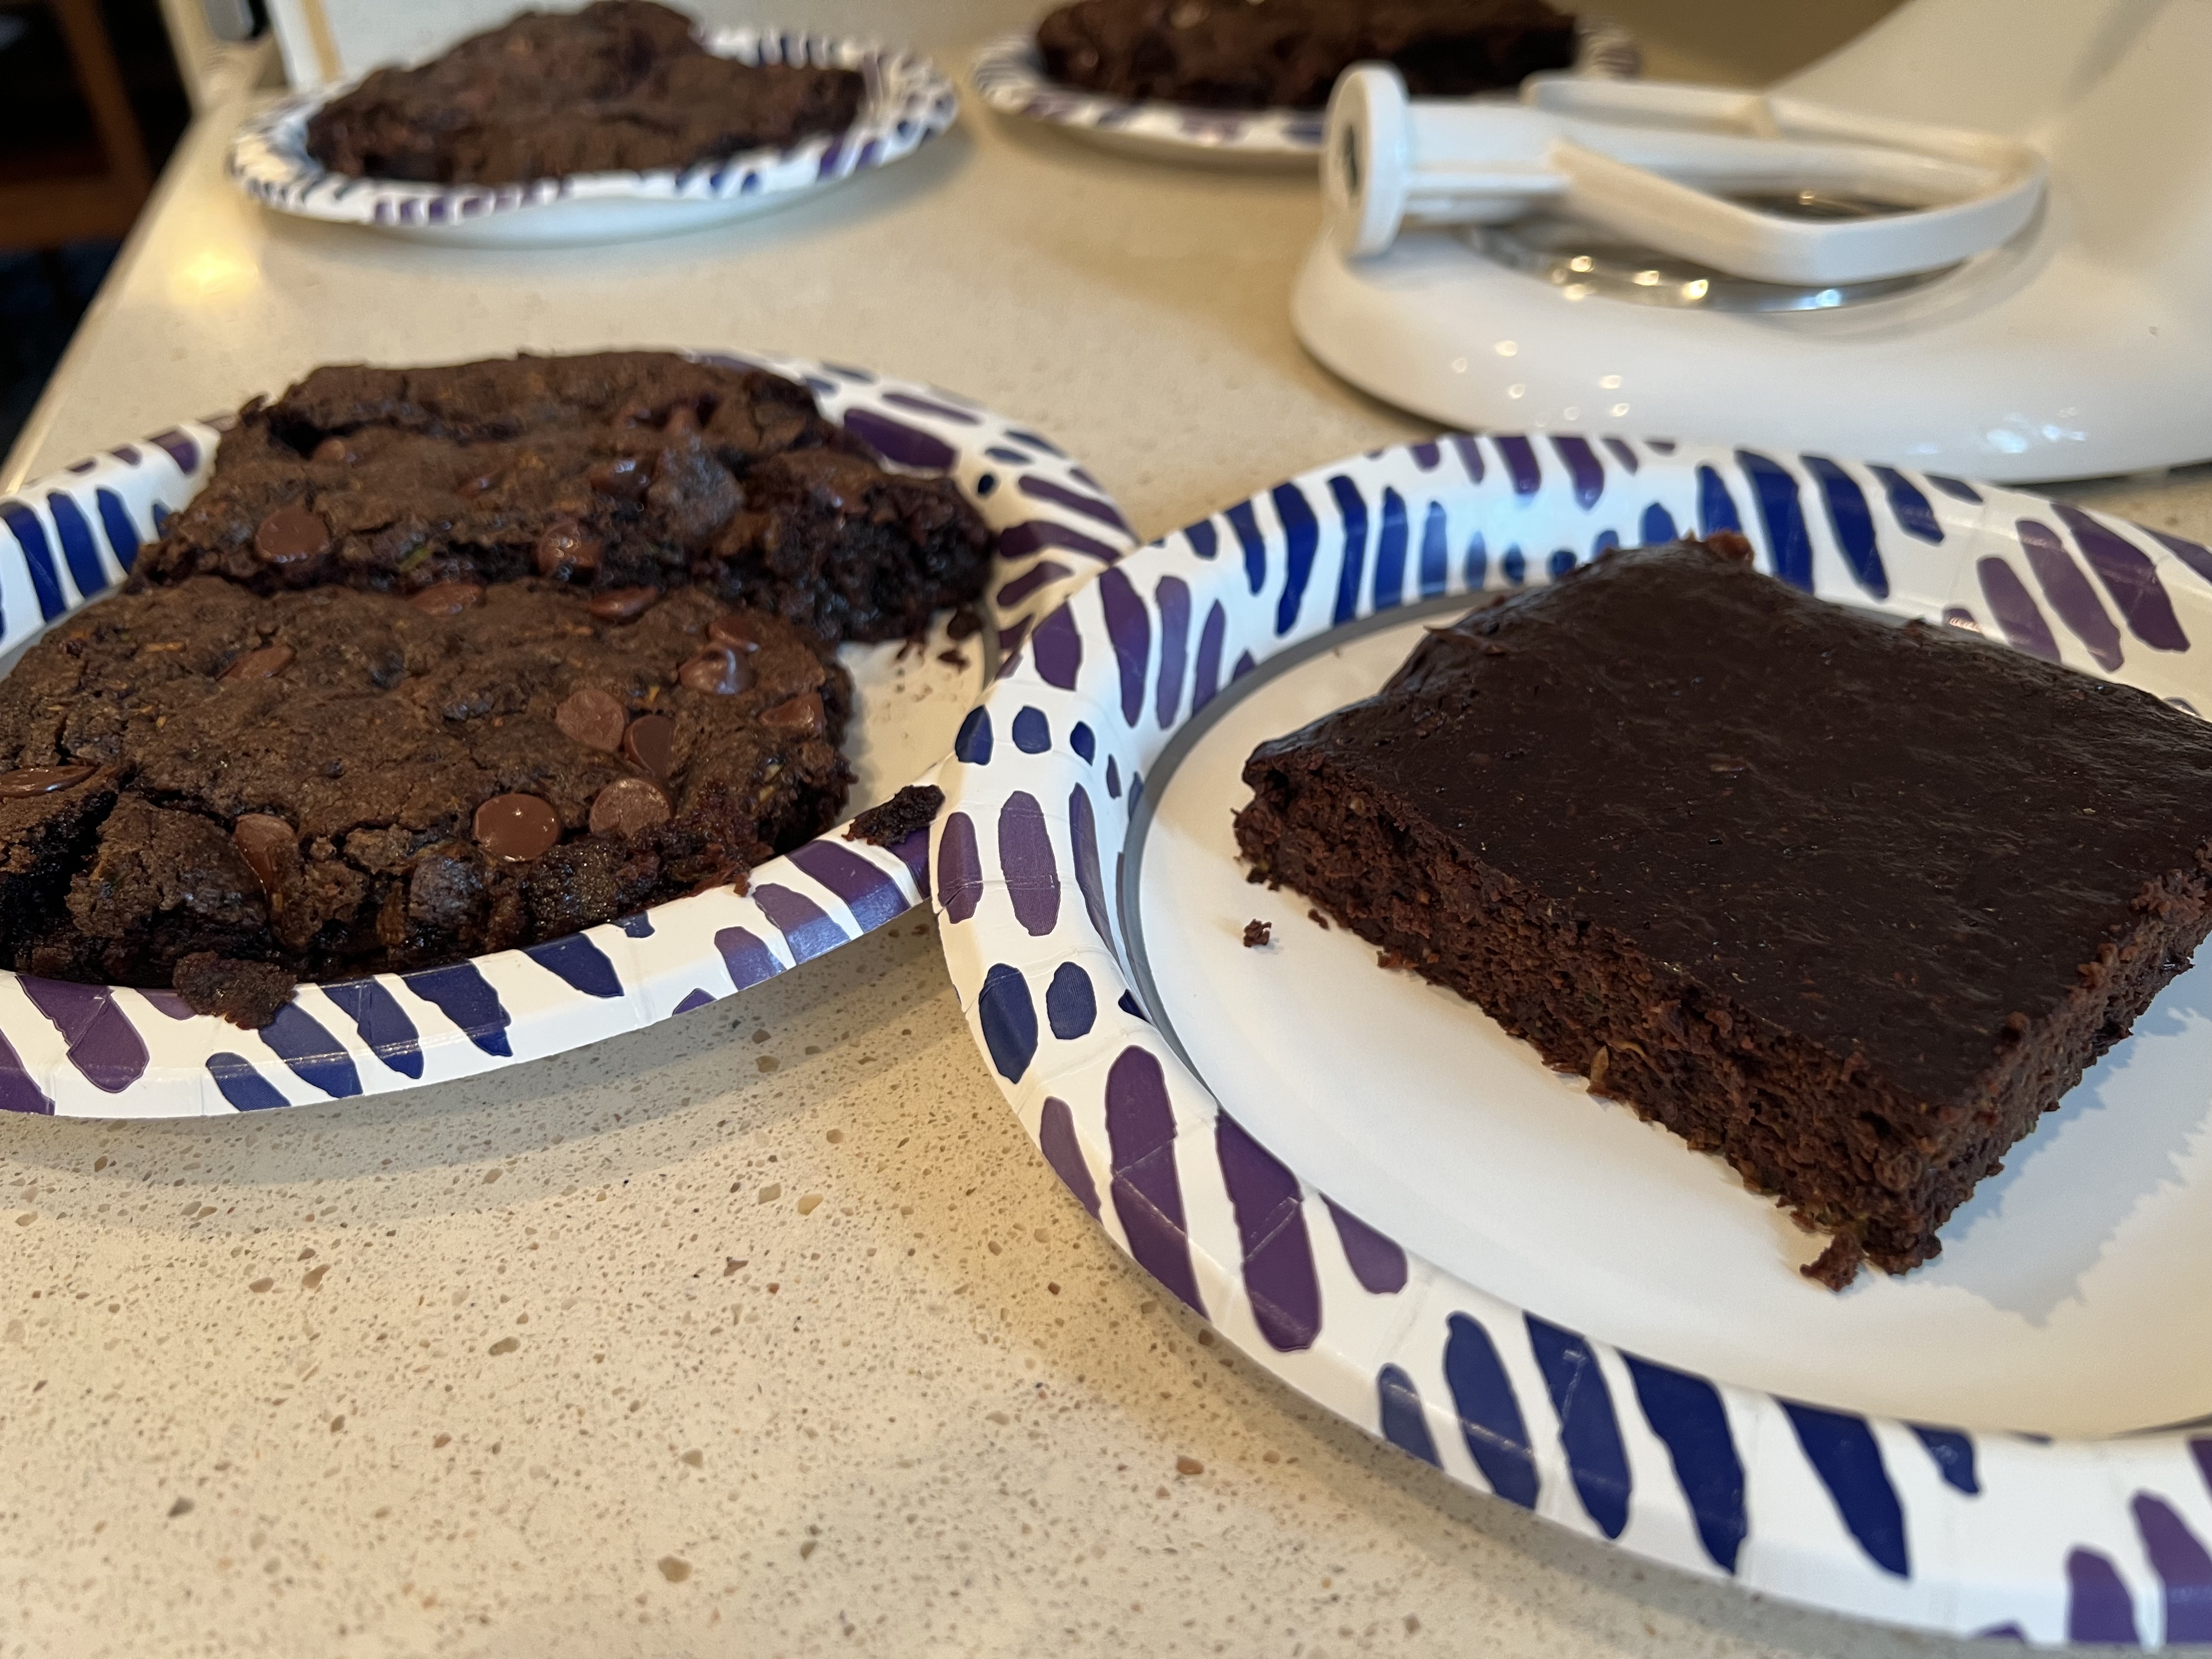
Tip-sy Tuesday: zucchini brownie taste testing

I posted last week about making 2 different kinds of zucchini brownies but it'd been months between making them so it was hard to remember which version we liked better - to clear up which is the keeper I decided to make both chocolate zucchini brownie recipes at the same time so we could do a side-by-side comparison. 


Here's the funny thing - it's a split decision! Everyone liked both of them but I asked them to pick a favorite. Some liked version #2 - it has eggs in the recipe and makes a denser brownie, some liked the cake-ier texture of version #1 that doesn't have eggs in it and chocolate chips on top. So today's Tip-sy Tuesday post is that they're both good and you won't go wrong making either recipe, no one from my taste-test would turn either one down!

click here for version #1

click here for version #2

8.2.21: crepe paper garland #2

8.2.20: 🔥 week 31

8.2.19: diaper wreath


8.2.18: birthday calendar

8.2.17: chocolate marshmallow cookies

8.2.16: uncomfortable shoe fix/tip

Monday, August 1, 2022

Man-day Monday: removing stains and scratches from stainless steel

I haven't done a 'man-day monday' post in awhile, so when Mark showed me this tip on how to remove the scratches from my RV stainless steel kitchen sink I knew I was going to share it on a Monday! 


Using a green scotchbrite pad and Bar Keepers Friend, and a lot of patience, most of the scratches are gone. I put the bar keepers friend on a wet scotchbrite and gently rubbed with the grain, I was very worried that this would make more scratches, but as long as you go with the grain it shouldn't. I was too scared to press hard when rubbing the sink so Mark did round 2 and this is where the patience comes in, he just kept going over and over making sure to rub in straight lines going with the grain. You can see the grain in stainless steel, it looks like brush marks and will definitely be going in one direction. Be careful to rub in straight lines, when I first started I was going across but in more of a smile shape, it's not easy to go straight back and forth. 


Obviously you should test this technique in an inconspicuous spot in case you have a different stainless steel than I do! Don't blame me if it doesn't work for you hahaha, I'm just sharing my outcome - which is amazing by the way. If a sparkling stain and scratch free sink can be amazing that is...:). I'm happy!

8.1.21: 🔥 week 31

8.1.20: grilled romaine with blue cheese dressing

8.1.19: msih: cowboy pasta salad

8.1.18: white chocolate brownies

8.1.17: microwave corn shortcut

8.1.16: fish lure earrings