I am very very bummed that Sarge's groomer is selling his business and moving 4 hours north. Nooooooo! He's the only groomer in over 11 years that has been able to work on Sarge with the least amount of drama (Kurt says they 'have an understanding' haha. Side story - once we took him to a groomer in CA and when I picked him up the woman said she 'didn't do Sarge's nails, he said no' LOL!). Anyway, I'm super worried about the next groomer but I can't change the situation and will figure it out. Meanwhile, I had the idea to make Kurt a small lap quilt using pieces of the bandanas he has sent Sarge home in after grooming and I've been saving them for a future project. Hopefully he doesn't already have anything like this!
For the record - I do know how to sew but am basically self-taught, for all you sewers and quilters out there please don't judge too harshly (or loudly hahaha) - there are probably better ways to go about doing what I'm about to do!
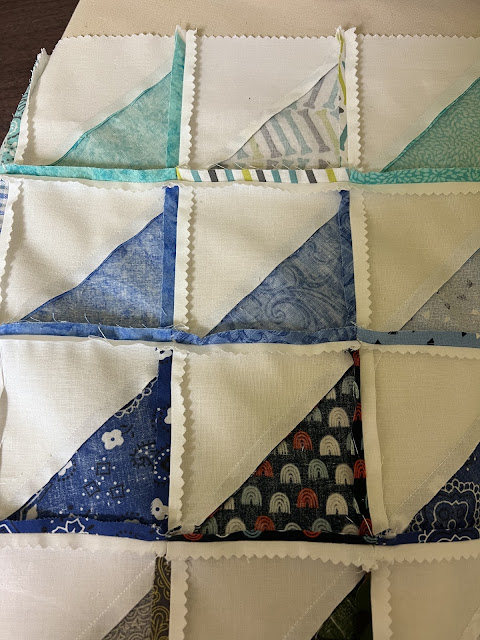
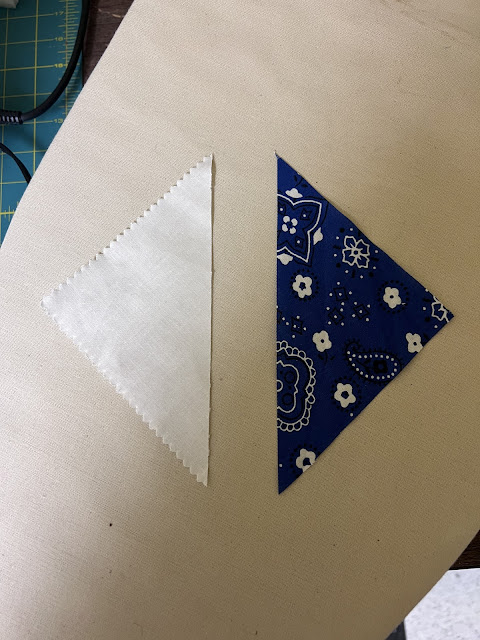
Today I'll show you the start of the quilt - I'm going simple so I can get it done ASAP by sewing half-triangles into squares, and then sewing the squares together. I went with half white and half a bandana piece to build the squares - since the patterns don't 'go together' at all, I think cutting it with white will give it a more cohesive look.
First I cut a triangle out of cardboard thinking I'd use it as a template but then I realized that the lines all over my cutting mat (that I never pay attention to) would help me with cutting uniform triangles - I'm not math-y at all so I cannot begin to tell you what degree or whatever I'm using hahaha, I just found a triangle on the mat that is the size I want (I highlighted with the pink lines so you can see it - I put down some tape to help me remember which triangle I'm using, I kept losing it!):
I folded one end of a bandana in half and put it on top of the mat triangle, then using a ruler and rotary blade cut out 2 triangles from each bandana:
For the white triangles I bought a package of precut 5" squares and cut them in half using the mat triangle as a guide.
Put right sides together and sew along the long edge, sewing the 2 triangles together to make a square. With the seam allowance I have roughly 4.5" squares once sewn together.
Open the square and iron, I trimmed the little tags that stuck out on each side of the seam, just to get rid of some bulk (see pink arrows above).
Repeat with all the triangles. One little trick I remembered is that you don't have to sew the triangles individually - you can 'string' them together without cutting threads after each one. When you get to the end of sewing a triangle, just let the machine sew on no fabric for a second before feeding the next triangle in. That creates a string space in the gap between each triangles, then you just clip them apart once they are all sewn. See these pictures for clarity:
Next up is to square-up each one so they are as close to being exactly the same size as possible. It's a little tedious but it will help a lot when sewing the squares together. More on that later.


